CADILLAC FLEETWOOD 1995 2.G Owners Manual
Manufacturer: CADILLAC, Model Year: 1995, Model line: FLEETWOOD, Model: CADILLAC FLEETWOOD 1995 2.GPages: 306, PDF Size: 15.72 MB
Page 211 of 306
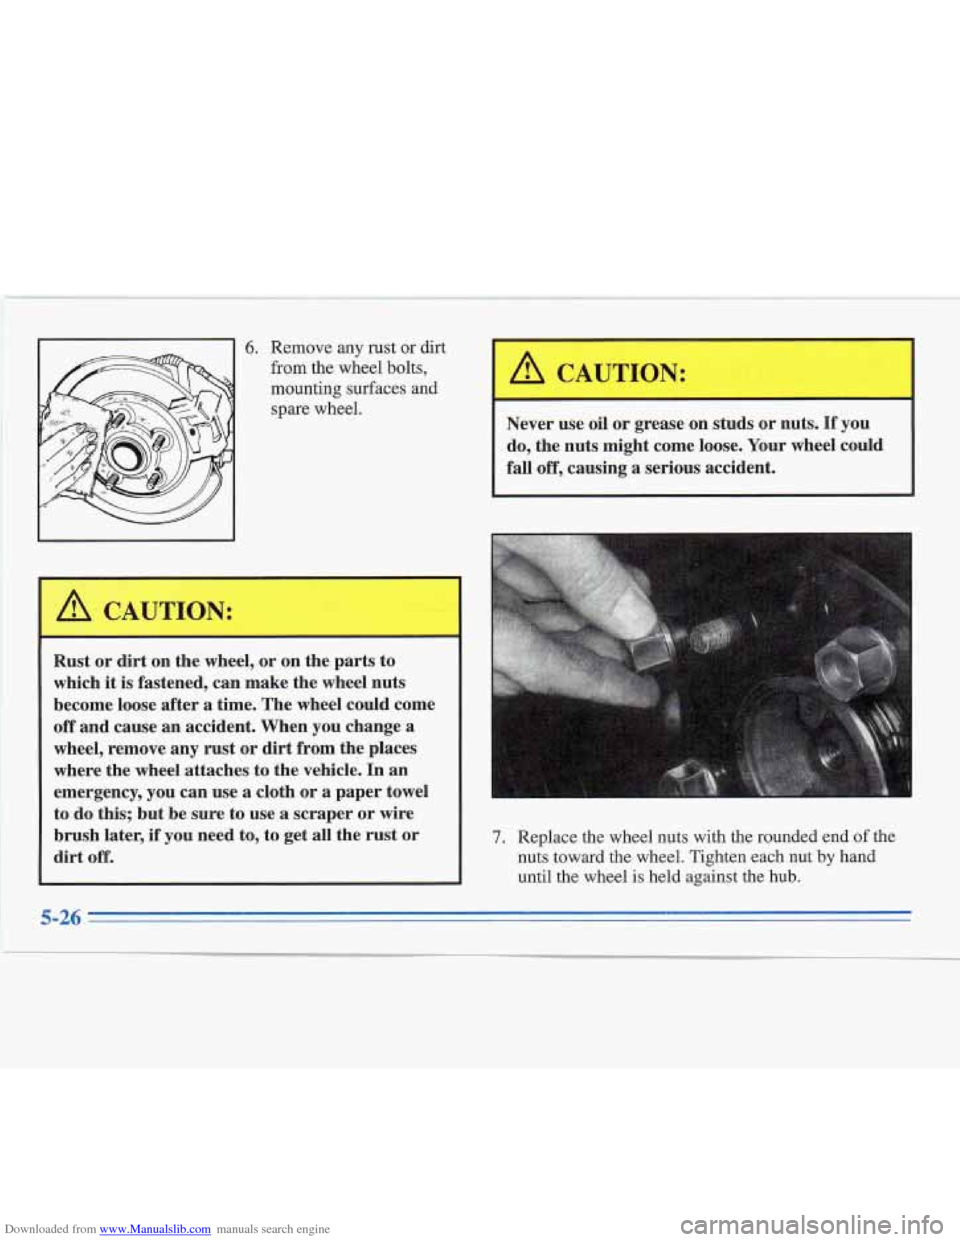
Downloaded from www.Manualslib.com manuals search engine 6. Remove any rust or dirt
from the wheel bolts,
mounting surfaces and
spare wheel.
L
Rust or dirt on the wheel, or on the parts to
which it
is fastened, can make the wheel nuts
become loose after
a time. The wheel could come
off and cause an accident. When you change a
wheel, remove any rust or dirt from the places
where the wheel attaches
to the vehicle. In an
emergency, you can use a cloth or
a paper towel
to do this; but be sure to use a scraper or wire
brush later,
if you need to, to get all the rust or
dirt off.
A CAUTION:
Never use oil or grease on studs or nuts. If you
do, the nuts might come loose. Your wheel could
fall off, causing a serious accident.
7. Replace the wheel nuts with the rounded end of the
nuts toward the wheel. Tighten each nut by hand
until the wheel is held against the hub.
5-26
1 li
Page 212 of 306
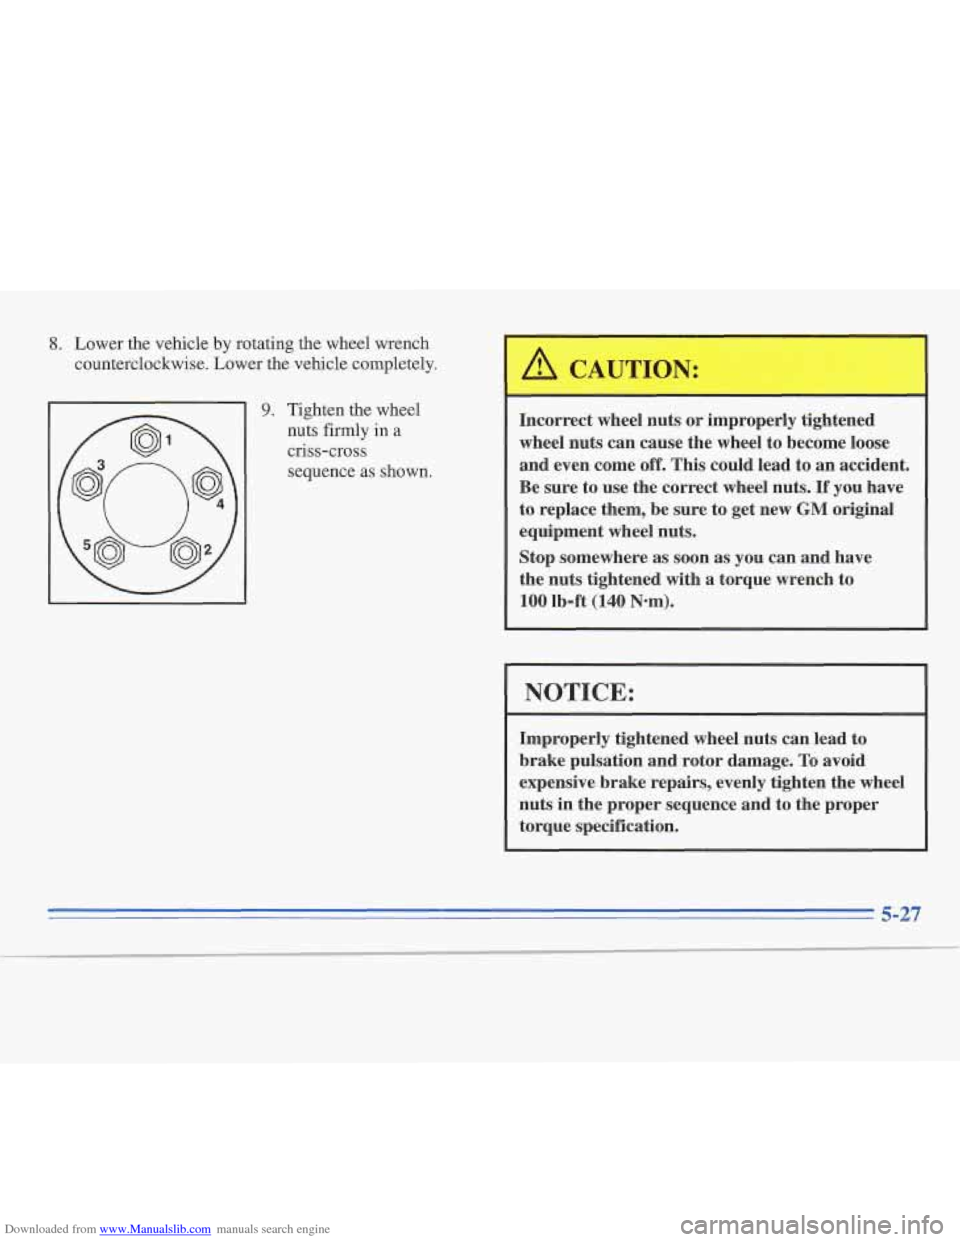
Downloaded from www.Manualslib.com manuals search engine 3. Lower the vehicle by rotating the wheel wrench
counterclockwise. Lower the vehicle completely.
9. Tighten the wheel
nuts firmly
in a
criss-cross
sequence as shown.
A CAUTION:
Incorrect wheel nuts or improperly tightened
wheel nuts can cause the wheel
to become loose
and even come
off. This could lead to an accident.
Be sure to use the correct wheel nuts.
If you have
to replace them, be sure to get new
GM original
equipment wheel nuts.
Stop somewhere as soon as you can and have
the nuts tightened with a torque wrench to
100 lb-ft (140 Nom).
1 NOTICE:
Improperly tightened wheel nuts can lead to
brake pulsation and rotor damage.
To avoid
expensive brake repairs, evenly tighten the wheel
nuts in the proper sequence and to the proper
torque specification.
Page 213 of 306
Downloaded from www.Manualslib.com manuals search engine I
Page 214 of 306
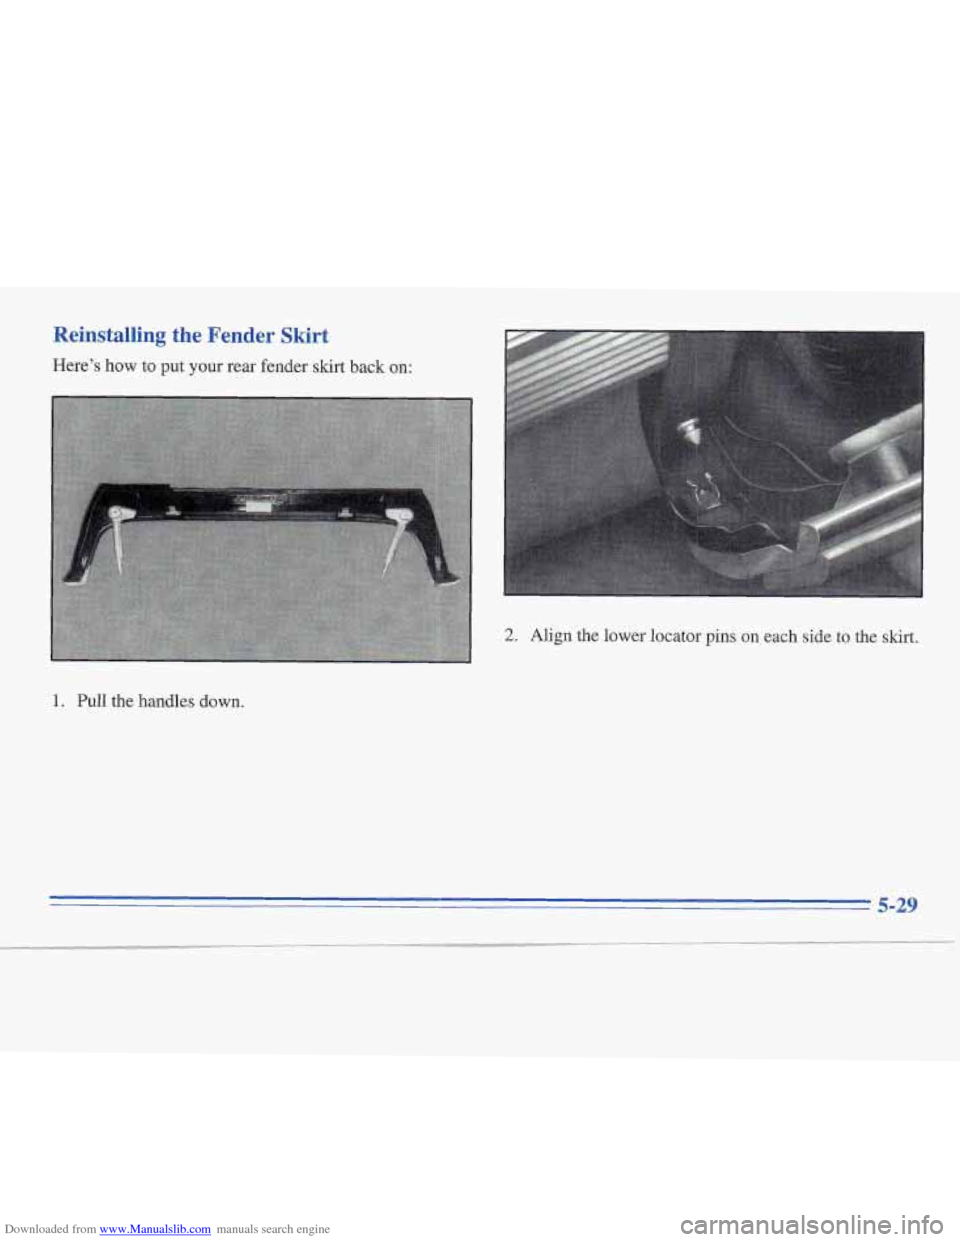
Downloaded from www.Manualslib.com manuals search engine Reinstalling the Fender Skirt
Here’s how to put your rear fender skirt back on:
2. Align the lower locator pins on each side to the skrrt.
1. Pull the handles down.
5-29
Page 215 of 306
Downloaded from www.Manualslib.com manuals search engine 1 Compact Spare Tire (If So Equipped)
Although the compact spare tire was fully inflated when
your vehcle was new, it can lose air after a time. Check
the inflation pressure regularly. It should be
60 psi
(420 Wa).
After installing the compact spare on your vehicle, you
should stop as soon as possible and make sure your
spare tire is correctly inflated. The compact spare is
made to perform well at posted speed limits for
distances up to
3,000 miles (5 000 km), so you can
finish your trip and have your full-size tire repaired
or
replaced where you want. Of course, it’s best to replace
your spare with a full-size tire as soon as you can. Your
spare will last longer and be in good shape in case you
Your anti-lock brake system warning light may come
on
“Anti-Lock Brake System Warning Light” in the Index.
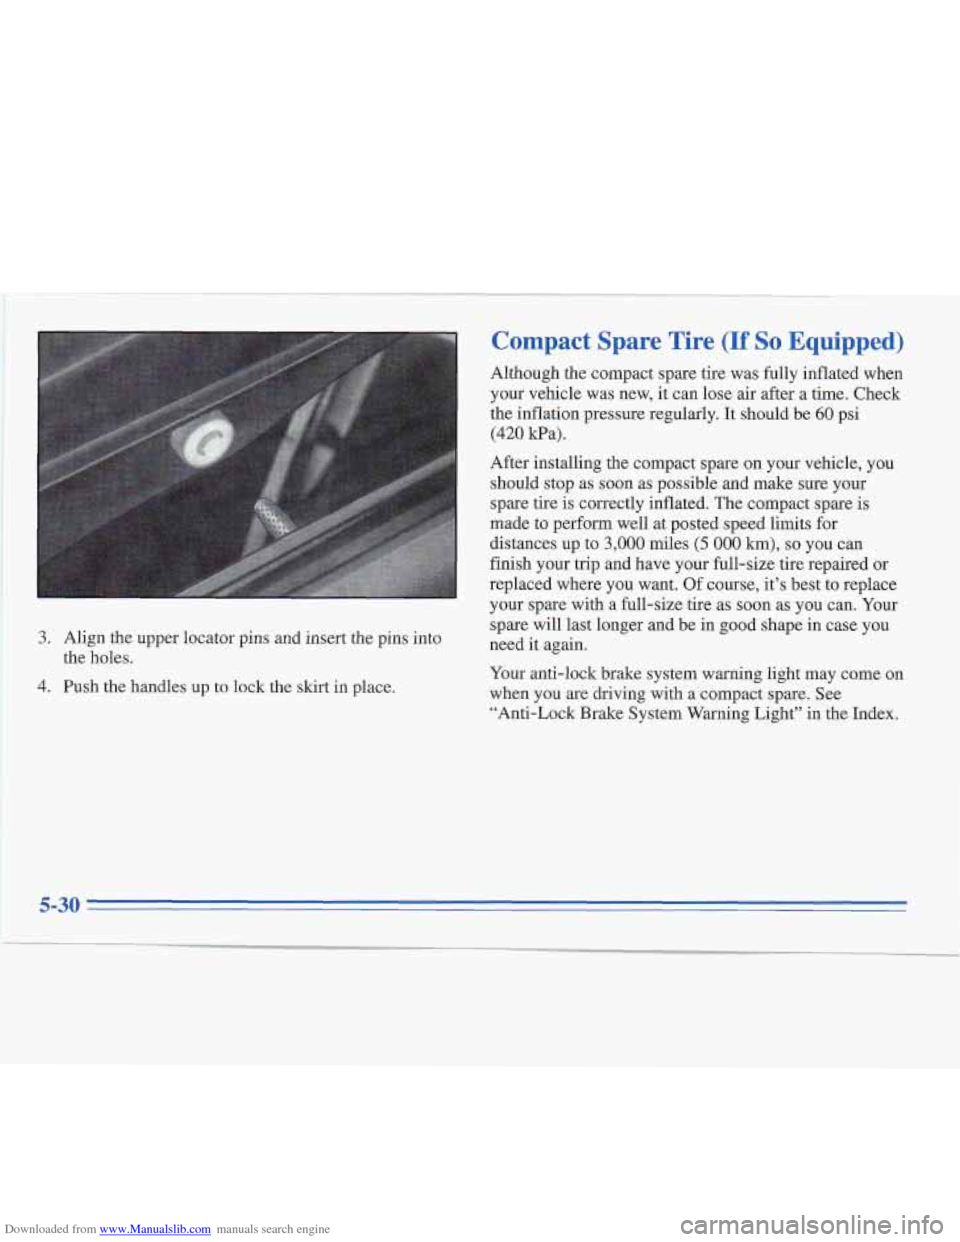
3. Align the upper locator pins and insert the pins into
need it again.
4. Push the handles up to lock the skirt in place.
when you are driving with a compact spare. See
the holes.
5-30
Page 216 of 306
Downloaded from www.Manualslib.com manuals search engine NOTICE:
When the compact spare is installed, don’t take
your vehicle through
an automatic car wash with
guide rails. The compact spare can get caught on
the rails. That can damage the tire and wheel,
and maybe other parts
of your vehicle.
Don’t use your compact spare on other vehicles.
And don’t mix your compact spare tire or wheel with
other wheels or tires. They won’t fit. Keep your spare
tire and its wheel together.
I NOTICE:
Tire chains won’t fit your compact spare. Using
them can damage your vehicle
and can damage
the chains too. Don’t use tire chains on your
compact spare.
5-31
Page 217 of 306
Downloaded from www.Manualslib.com manuals search engine If You’re Stuck: In Sand, Mud,
Ice or Snow
What you don’t want to do when your vehicle is stuck is
to spin your wheels too fast. The method known as
“rockmg” can help you get
out when you’re stuck, but
you must use caution.
5-32
Page 218 of 306
Downloaded from www.Manualslib.com manuals search engine Service and Appearance Care
Here you will find information about the care of your
Cadillac. This section begins with service and fuel
information, and then it shows how to check important
fluid and lubricant levels. There is also technical
information about your vehicle, and a part devoted to
its appearance care.
Service
Your Cadillac dealer knows your vehicle best and wants
you to be happy with it. We hope you’ll go to your
dealer for all your service needs. You’ll get genuine GM
parts and GM-trained and supported service people. We
hope you’ll want to keep your GM vehicle all
GM.
Genuine GM parts have one of these marks:
Doing Your Own Service Work
If you want to do some of your own service work, you’ll
want to get the proper Cadillac Service Manual. It tells
you much more about how to service your Cadillac than
this manual can. To order the proper service manual, see
“Service and Owner Publications” in the Index.
6- 1
Page 219 of 306
Downloaded from www.Manualslib.com manuals search engine Your vehicle has an air bag system. Before attempting to
do your own service work, see “Servicing Your Air
Bag-Equipped Cadillac” in the Index.
You should keep a record with all parts receipts and list
the mileage and the date of any service work you
perform. See “Maintenance Record” in the Index.
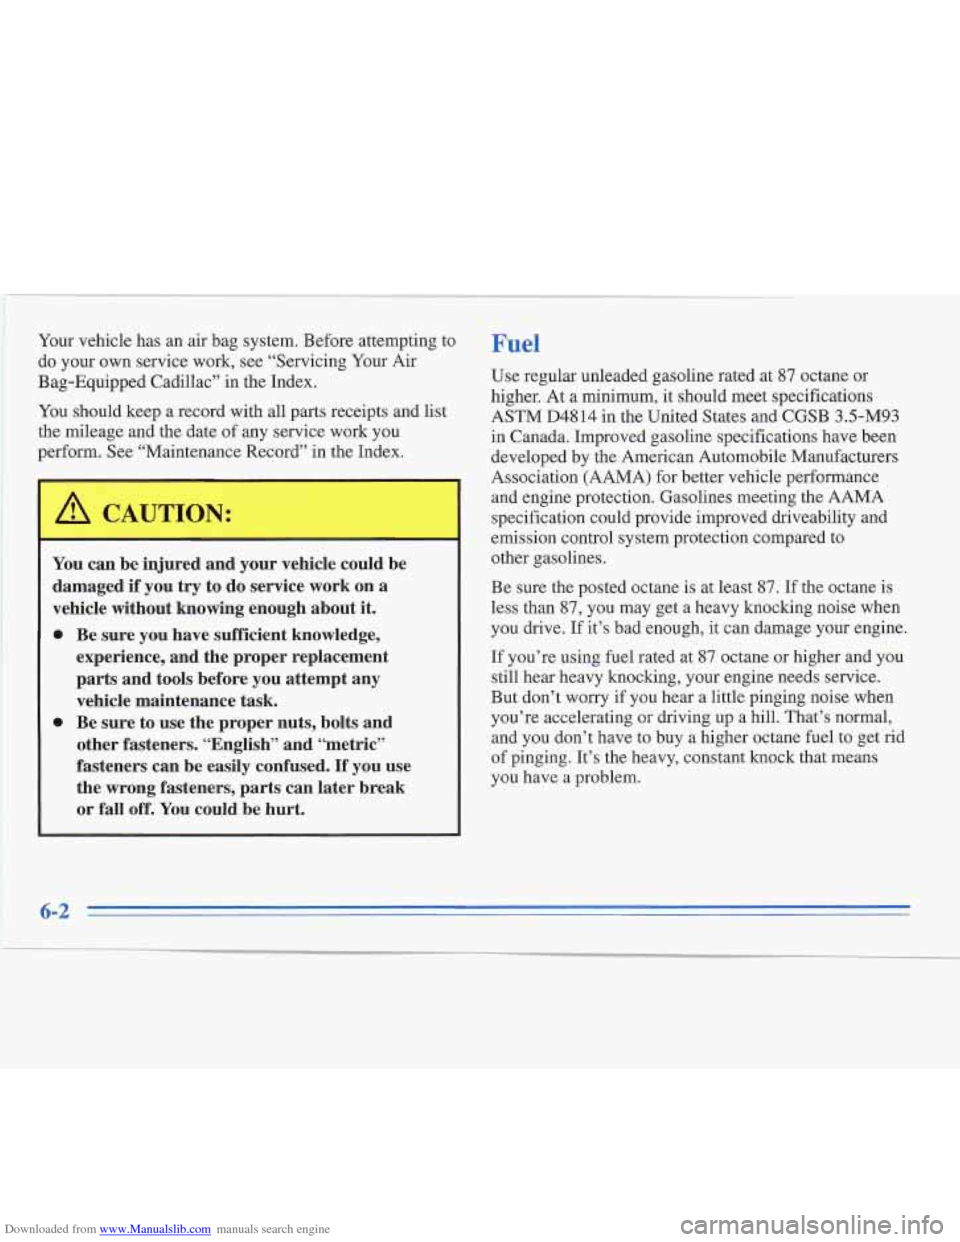
You can be injured and your vehicle could be
damaged
if you try to do service work on a
vehicle without knowing enough about it.
0 Be sure you have sufficient knowledge,
experience, and the proper replacement
parts and tools before you attempt any
vehicle maintenance task.
0 Be sure to use the proper nuts, bolts and
other fasteners. “English” and “metric”
fasteners can be easily confused.
If you use
the wrong fasteners, parts can later break
or
fall off. You could be hurt.
Fuel
Use regular unleaded gasoline rated at 87 octane or
higher. At
a minimum, it should meet specifications
ASTM D4814
in the United States and CGSB 3.5-M93
in Canada. Improved gasoline specifications have been
developed by the American Automobile Manufacturers
Association (AAMA) €or better vehicle performance
and engine protection. Gasolines meeting the AAMA
specification could provide improved driveability and
emission control system protection compared to
other gasolines.
Be sure the posted octane is at least 87.
If the octane is
less than 87, you may get a heavy knocking noise when
you drive. If it’s bad enough, it can damage your engine.
If you’re using fuel rated at 87 octane or higher and you
still hear heavy knocking, your engine needs service.
But don’t
worry if you hear a little pinging noise when
you’re accelerating or driving up a hill. That’s normal,
and you don’t have to buy a higher octane fuel to get rid
of pinging. It’s the heavy, constant knock that means
you have a problem.
6-2
Page 220 of 306
Downloaded from www.Manualslib.com manuals search engine