ECO mode CADILLAC FLEETWOOD 1996 2.G Owners Manual
[x] Cancel search | Manufacturer: CADILLAC, Model Year: 1996, Model line: FLEETWOOD, Model: CADILLAC FLEETWOOD 1996 2.GPages: 306, PDF Size: 15.72 MB
Page 101 of 306

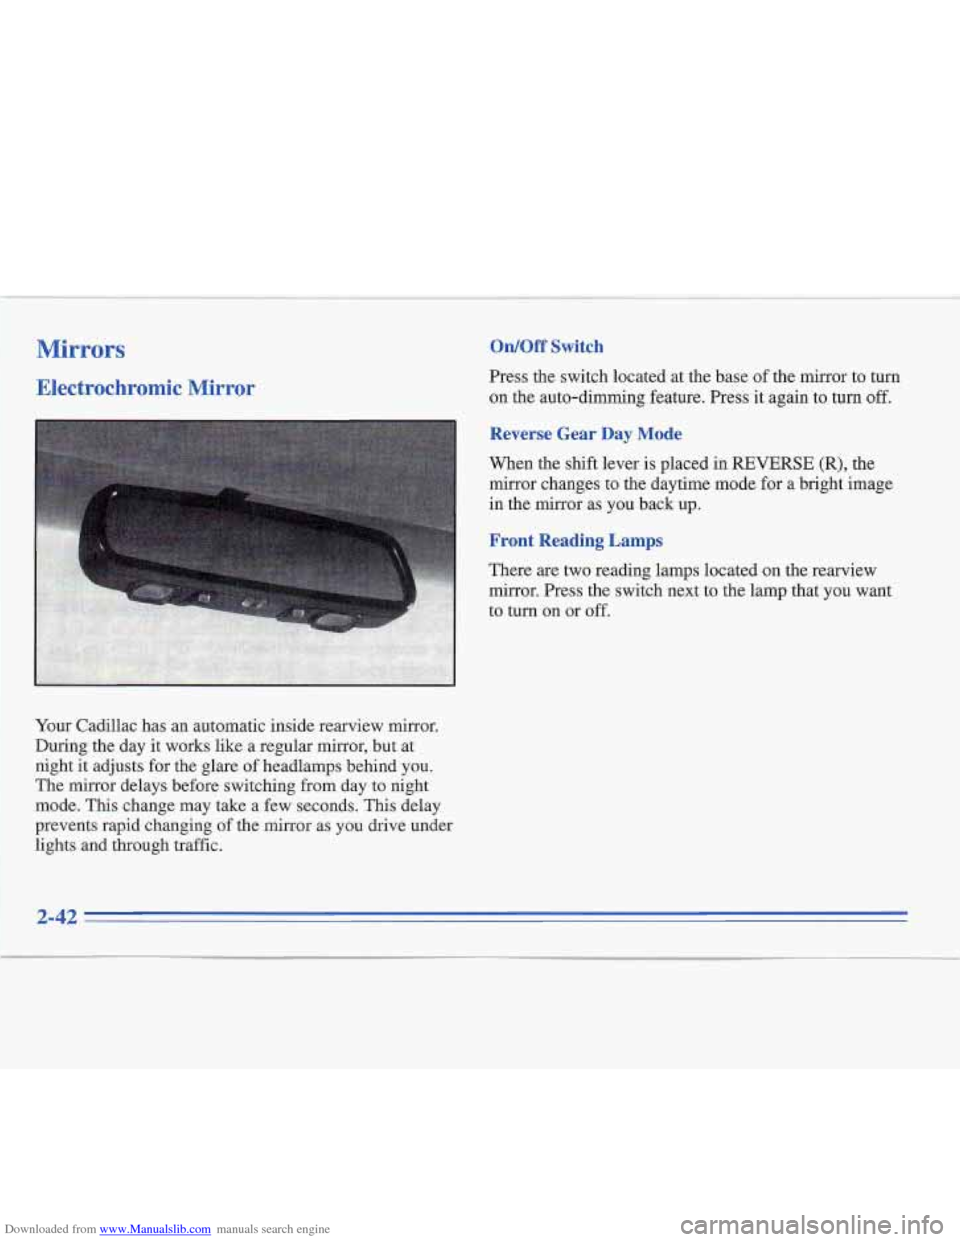
Downloaded from www.Manualslib.com manuals search engine Mirrors
Electrochromic Mirror
Your Cadillac has an automatic inside rearview mirror.
During the day
it works like a regular mirror, but at
night it adjusts for the glare of headlamps behind you.
The
mirror delays before switching from day to night
mode.
This change may take a few seconds. This delay
prevents rapid changing of the mirror as you drive under
lights and through traffic.
On/Off Switch
Press the switch located at the base of the mirror to turn
on the auto-dimming feature. Press it
again to turn off.
Reverse Gear Day Mode
When the shift lever is placed in REVERSE (R), the
mirror changes to the daytime mode for a bright image
in the mirror as you back up.
Front Reading Lamps
There are two reading lamps located on the rearview
mirror.
Press the switch next to the lamp that you want
to turn on
or off.
Page 108 of 306

Downloaded from www.Manualslib.com manuals search engine This device complies with Part 15 of the FCC Rules.
Operation is subject to the following two conditions:
(1) Th~s device may not cause harmful interference, and
(2) This device must accept any interference received,
including interference that may cause undesired operation.
Programming the Transmitter
Do not use the transmitter with any garage door opener
that does not have the “stop and reverse’’ safety feature.
This includes any garage door opener model
manufactured before April
1, 1982.
Be sure that people and objects are clear of the garage
door
you are programming!
Your vehicle’s engine should be turned off while
programming your transmitter. Follow these steps to
program up to three channels:
1. If you have not previously programmed a channel,
proceed to Step
2. Otherwise, hold down the two
outside buttons on the transmitter until the red light
begins to flash rapidly (approximately
20 seconds).
Then release the buttons. This procedure initializes
the memory and erases any previous settings for all
three channels.
2. Hold the end of your hand-held transmitter against
the bottom surface
of the transmitter so that you can
still see the red light.
3. Decide which one of the three channels you want to
program. Using both hands, press the hand-held
transmitter button and the desired button on the
transmitter. Continue to hold both buttons through
Step
4.
4. Hold down both buttons until you see the red light
on the transmitter flash rapidly. The rapid flashing,
which could take up to
90 seconds, indicates that the
transmitter has been programmed. Release both
buttons once the light starts to flash rapidly.
If you have trouble programming the transmitter, make
sure that you have followed the directions exactly as
described and that the batteries in the hand-held
transmitter
are not dead. If you still cannot program it,
rotate your hand-held transmitter end over end and try
again. The transmitter may not work with older garage
door openers that do not meet current Federal Consumer
Safety Standards. If you cannot program the transmitter
after repeated attempts, consult your Cadillac dealer.
Be sure to keep your original hand-held transmitter in
case you need to erase and reprogram the transmitter.
Page 133 of 306

Downloaded from www.Manualslib.com manuals search engine TONE: This feature allows you to choose preset treble
and bass equalization settings designed for jazz, vocal,
pop, rock and classical stations. JAZZ will appear on the
display when you first press TONE. Each time you press
it, another setting will appear on the display. Press
it
again after classic appears, and MANUAL will appear.
Tone control will return to the TREB and BASS knobs.
Also, if you use the TREB and BASS knobs, control
will return to them and MANUAL will appear.
SCAN: Press and release this button to listen to stations
for a few seconds. The radio will go to a station, stop for
a few seconds, then go on to the next station. Press
SCAN again to stop scanning. The sound will be muted
while scanning, and SCAN will appear on the display. If
you press SCAN
for more than two seconds, the radio
will change to PSCAN mode. PSCAN will appear on
the display.
PSCAN: Press SCAN for more than two seconds for
PSCAN to appear on the display. The radio will go to
the first preset station, stop for a few seconds, then
go to the next preset station. Press SCAN again to
stop scanning.
BASS: Press this knob lightly so it extends. Turn the
knob clockwise to increase bass and counterclockwise to
decrease bass. The middle position is a detent. Push the
knob back in when you’re not using
it.
TREB: Press this knob lightly so it extends. Then pull
the knob all the way out. Turn it clockwise to increase
treble and counterclockwise to decrease treble. The
middle position is a detent. Push the knob back in when
you’re not using it.
BAL: Press this knob lightly so it extends. Turn the
knob to move the sound to the left or right speakers. The
middle position is a detent and balances the speakers.
Push the knob back in when you’re not using it.
FADE: Press this knob lightly so it extends. Then pull
the knob all the way out. Turn it to move the sound to
the front or rear speakers. The middle position is a
detent and balances the speakers. Push the knob back in
when you’re not using it.
Playing a Cassette Tape
The longer side with the tape visible should face to the
right. If the ignition is on, but the radio
is off, the tape
will begin playing. If you hear nothing or hear a garbled
sound the tape may not be in squarely. Press EJECT to
remove the tape and start over.
3-6
Page 136 of 306

Downloaded from www.Manualslib.com manuals search engine RCL: Press this button briefly to recall the station being
played or
the clock display. To change what is normally
shown on
the display (station or time), press the button
until you see the &splay you want. Then, hold the button
until the display flashes.
If you press the button when the
ignition is
off, the clock will show for a few seconds.
AM-FM: Press this button to get AM, FMl or FM2.
The display shows your selection. You may also press
AM-FM to switch between the radio and tape when a
tape is in the player.
TUNE: Press this knob lightly so it extends. Turn it to
choose radio stations. Push the knob back in when
you're not using it.
SEEK: Press the up or down arrow to go to the
next higher or lower station. The sound will be muted
while seeking.
PUSHBUTTONS: The five numbered pushbuttons let
you return to your favorite stations. You can set up to
15 stations (five AM, five FM1 and five
FM2).
1. Press AM-FM to select the band.
2. Find the station you want by using TUNE or SEEK.
3. Press TONE to select the setting you prefer.
4. Press and hold one of the five numbered buttons.
5. The sound will mute. When it returns, release
the button. Whenever you press that numbered
button, the station you set will return and the
TONE you selected will be automatically selected
for that button.
TONE: This feature allows you to choose preset treble
and bass equalization settings designed for jazz, vocal,
pop, rock and classical stations. JAZZ will appear on the
display when you first press TONE. Each time you press
it, another setting will appear on the display. Press
it
again after classic appears, and MANUAL will appear.
Tone control will return to the TREB and BASS knobs.
Also, if you use the TREB and BASS knobs, control
will return to them and MANUAL will appear.
SCAN: Press and release this button to listen to stations
for a few seconds. The radio will go to a station, stop for
a few seconds, then go on to the next station. Press
SCAN again to stop scanning. The sound will be muted
while scanning, and SCAN will appear on the display.
If
you press SCAN for more than two seconds, the radio
will change to PSCAN mode. PSCAN will appear on
the display.
PSCAN: Press SCAN for more than two seconds for
PSCAN to appear
on the display. The radio will go to the
first preset station, stop for a few seconds, then go to the
next preset station. Press SCAN again to stop scanning.
3-9