manual radio set CADILLAC SEVILLE 1993 4.G Owners Manual
[x] Cancel search | Manufacturer: CADILLAC, Model Year: 1993, Model line: SEVILLE, Model: CADILLAC SEVILLE 1993 4.GPages: 407, PDF Size: 22.28 MB
Page 9 of 407
Downloaded from www.Manualslib.com manuals search engine For the 1948 model, Cadillac
introduced
the
which set the trend in autonlotive
styling for nearly
two decades. This
was followed by the 1949 model with
the two door hardtop Coupe DeVille
and
the modern overhead valve,
high compression
V8 engine.
Engineering innovations, con-
veniences and styling dominated the
'50s and '60s. Cruise control, auto-
matic climate control,
tilt and
telescoping steering wheels, twilight
sentinel and four door hard tops all
debuted in these years. In
1957 the
Eldorado Brougham featured ad-
vances such as air suspension, mem-
ory seat, automatic electric door
locks, transistor radio,
a brushed stainless steel
roof and
low profile
tires.
r' , The .. . . : ... . ...,:
t prado,l introduced in
1953, was redesigned for 1967 as the
first front wheel drive personal lux-
ury car.
The 472 cu. in. V8 engine
used in all Cadillacs in
1968 and
1969 was enlarged to 500 cu. in. for
all 1970 Eldorados.
An Air Cushion Restraint Sys-
tem (airbag) was available for 1974,
1975 and
1976 Cadillacs.
Analog Electronic Fuel Injec-
tion was available, on
1975 Cadillacs
and was standard on the new inter-
national size
7976 Seville. In 1978,
the Trip Computer option incor-
porated an on-board microprocessor.
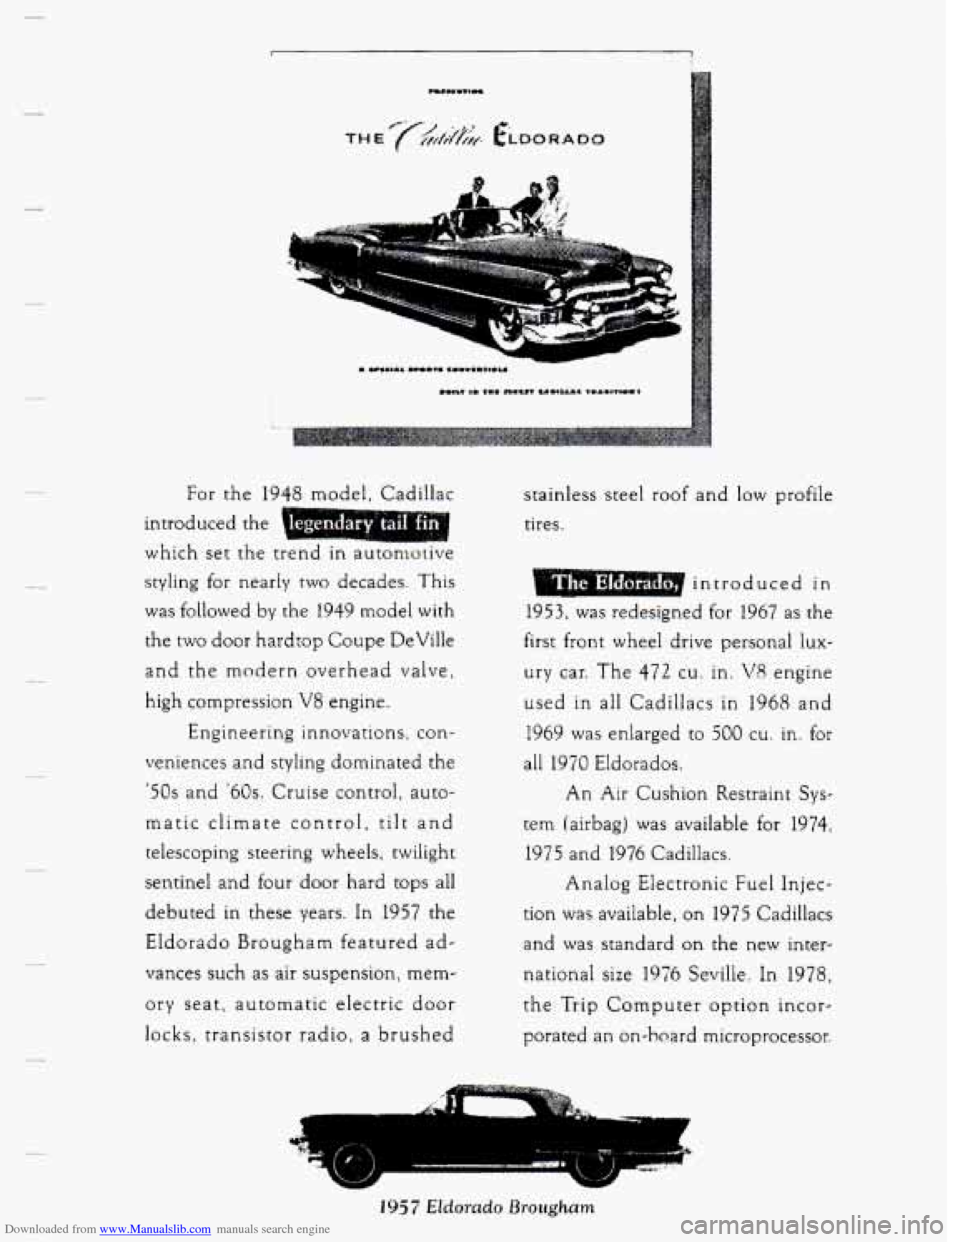
1957 Eldorado Brougham
Page 82 of 407
Downloaded from www.Manualslib.com manuals search engine Automatic Door Locks (Option)
Just close your doors, turn on the ignition and make sure the interior
courtesy lights are switched off. Every time you move your shift lever out
of “P” (Park) all of the doors will lock. And, every time you stop and
move your shift lever into
“P” (Park), your doors will unlock. If someone
needs to get out while you’re not in
“P” (Park), have that person use the
manual or power lock. When the door is closed again, it will not lock
automatically. Just use the manual or power lock to lock the door again.
Leaving Your Khicle
If you are leaving the vehicle, set the locks from inside, get out and close
the door.
Central Door Unlocking System (Option)
Your vehicle may be equipped with this feature. When unlocking either
door, you can unlock the other doors by holding the key in the turned
position for a
few seconds.
Illuminated Entry System
Your illuminated entry system turns on all the courtesy lights when either
door is opened. When the door is closed, the courtesy lights will stay on
for approximately
20 seconds or until the ignition is turned on.
Y
REMOTE KEKESS ENTRY SYSTEM
If your Cadillac has this option, you can lock and unlock your doors or
unlock your trunk from up to
15 feet (4.5 m) using the key chain
transmitter supplied with your vehicle.
Your Remote Keyless Entry System is intended to be used as a
supplementary vehicle entry device. It is
not intended to replace, but
rather should
be used in conjunction with a door lock key. It operates on
a radio frequency subject to Federal Communications Commission
(FCC) Rules.
This device complies with Part
15 of the FCC Rules. Operation is subject
to the following two conditions: (1) This device may not cause harmful
68
w
Page 152 of 407
Downloaded from www.Manualslib.com manuals search engine BATTERY VOLTS HIGH
This message shows that the electrical charging system is overcharging,
(more than 16 volts). To avoid being stranded have the electrical system
checked by your Cadillac dealership at your earliest convenience. You can
reduce the charging overload
by using the accessories. Turn on the lights,
radio, set the Climate Control on
“AUTO” and the fan speed on “HI”
and turn the rear window defogger on. You can monitor battery voltage
on the Driver Information Center by toggling the “INFORMATION”
button. When the engine is running, the normal range
is 11.5 to 15.5
volts.
c
BATTERY VOLTS LOW
This message will appear when the electrical system is charging less than
10 volts, or if the battery has been drained. If this message appears
immediately after starting it is possible that the generator can still
recharge the battery. The battery should recharge after driving a few
miles and the message should go out. If this message appears while
driving or after starting your vehicle and stays on, have it checked
immediately to determine the cause
of this problem. To help the
generator recharge the battery quickly,
you can reduce the load on the
electrical system by turning
off your accessories. You can monitor battery
voltage on the Driver Information Center by toggling the
“INFORMATION’’ button. The normal range is
11.5 to 15.5 volts.
CHANGE TRANS FLUID (Northstar Only)
This message will appear when it is time to replace the transaxle fluid.
See your maintenance booklet
for the proper fluid and change intervals.
CHECK BRAKE FLUID
This message is displayed to inform the driver that the brake reservoir
fluid level is low. Check the brake reservoir level and add as needed.
Have the brake system serviced by a Cadillac technician as soon as
possible.
If the brake warning light is on, follow the directions in that
section.
CHECK COOLANT LEVEL (Northstar Only)
This message will appear when there is a low level of engine coolant.
Have the cooling system serviced by a Cadillac technician as soon as
possible.
138
I
. -’
L
c
Page 168 of 407
Downloaded from www.Manualslib.com manuals search engine This means your radio can produce quality AM sound comparable to FM
stereo. AMAX@ reduces noise without reducing the high frequencies you
need for the best sound.
In addition to improved sound quality, AMAX@
includes more station on the AM band. You don't have to do anything in
your radio because AMAX@ is automatic.
AM Stereo
I
A CAUTION:
Hearing damage from loud noise is almost undetectable until it
is too late. Your hearing can adapt to higher volumes of sound.
Sound that seems normal can be loud and harmful
to your
hearing.
Take precautions by agjusting the volume control on
your radio to
a safe sound level before your hearing adapts to it.
To help avoid hearing loss or damage:
I.
0 Adjust the volume control to the lowest setting.
Increase volume slowly until you hear comfortably and
clearly.
154
I
I
I
Page 173 of 407

Downloaded from www.Manualslib.com manuals search engine To Play A Cassette Tape
0 Turn the radio on.
0 Insert the cassette through the tape door. (The “TAPE” indicator in
the display will light.)
If
you hear nothing or hear just a garbled sound, the cassette may not be
in squarely. Push the
EJCT button to remove the tape and start over. The
tape equalization is automatically sensed and set. Inserting the cassette
also automatically disables
DNR@* and activates DOLBY@ noise
reduction.
DNR@ is the Dynamic
Noise Reduction. It helps remove background hiss
noise from the radio.
Once the tape is playing, use the upper and lower knobs to adjust the
volume and balance, just as
you do for the radio. Push the upper knob
to change tape direction.
The arrow in the display show which
direction the tape is being played.
FWD (Forward)
Push the FWD button to move forward rapidly to another part of the
tape. The radio will play during fast forward.
To stop the tape push the
same button and the tape will start to play again.
REV (Reverse)
Push the REV button to move the tape rapidly backward. To stop the
tape, push
the same button lightly or any of the other buttons. The radio
will play during this reverse function.
To go
from one side of the tape to the other, push in the upper knob on
your radio. To remove the tape, push
EJCT. The tape can be ejected when
the ignition is turned off.
*DNR@ is a registered trademark of National Semiconductor
Corporation.
159
Page 174 of 407
Downloaded from www.Manualslib.com manuals search engine NEXT
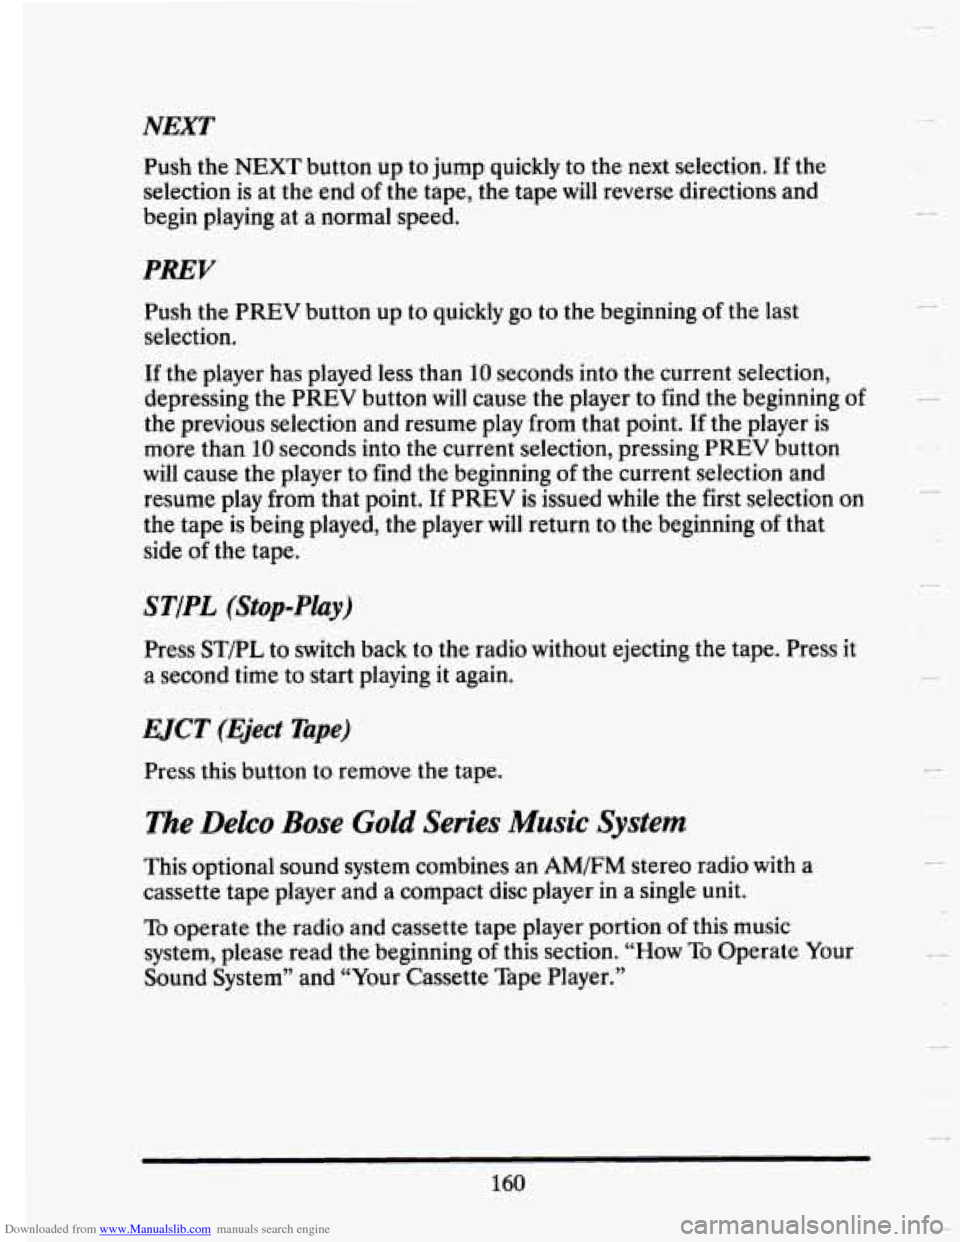
Push the NEXT button up to jump quickly to the next selection. If the
selection is at the end
of the tape, the tape will reverse directions and
begin playing at a normal speed.
PREY
Push the PREV button up to quickly go to the beginning of the last
selection.
If the player has played less than 10 seconds into the current selection,
depressing the
PREV button will cause the player to find the beginning of
the previous selection and resume play from that point.
If the player is
more than
10 seconds into the current selection, pressing PREV button
will cause the player to find the beginning of the current selection and
resume play from that point. If
PREV is issued while the first selection on
the tape is being played, the player
will return to the beginning of that
side
of the tape.
STfPL (St~p-Play)
Press STPL to switch back to the radio without ejecting the tape. Press it
a second time to start playing it again.
EJCT (Eject Tape)
Press this button to remove the tape.
The Delco Bose Gold Series Music System
This optional sound system combines an AM/FM stereo radio with a
cassette tape player and a compact disc player
in a single unit.
To operate the radio and cassette tape player portion of this music
system, please read the beginning
of this section. “How To Operate Your
Sound System” and “Your Cassette Tape Player.”
160
Y
c
Page 176 of 407
Downloaded from www.Manualslib.com manuals search engine Prev (Previous)
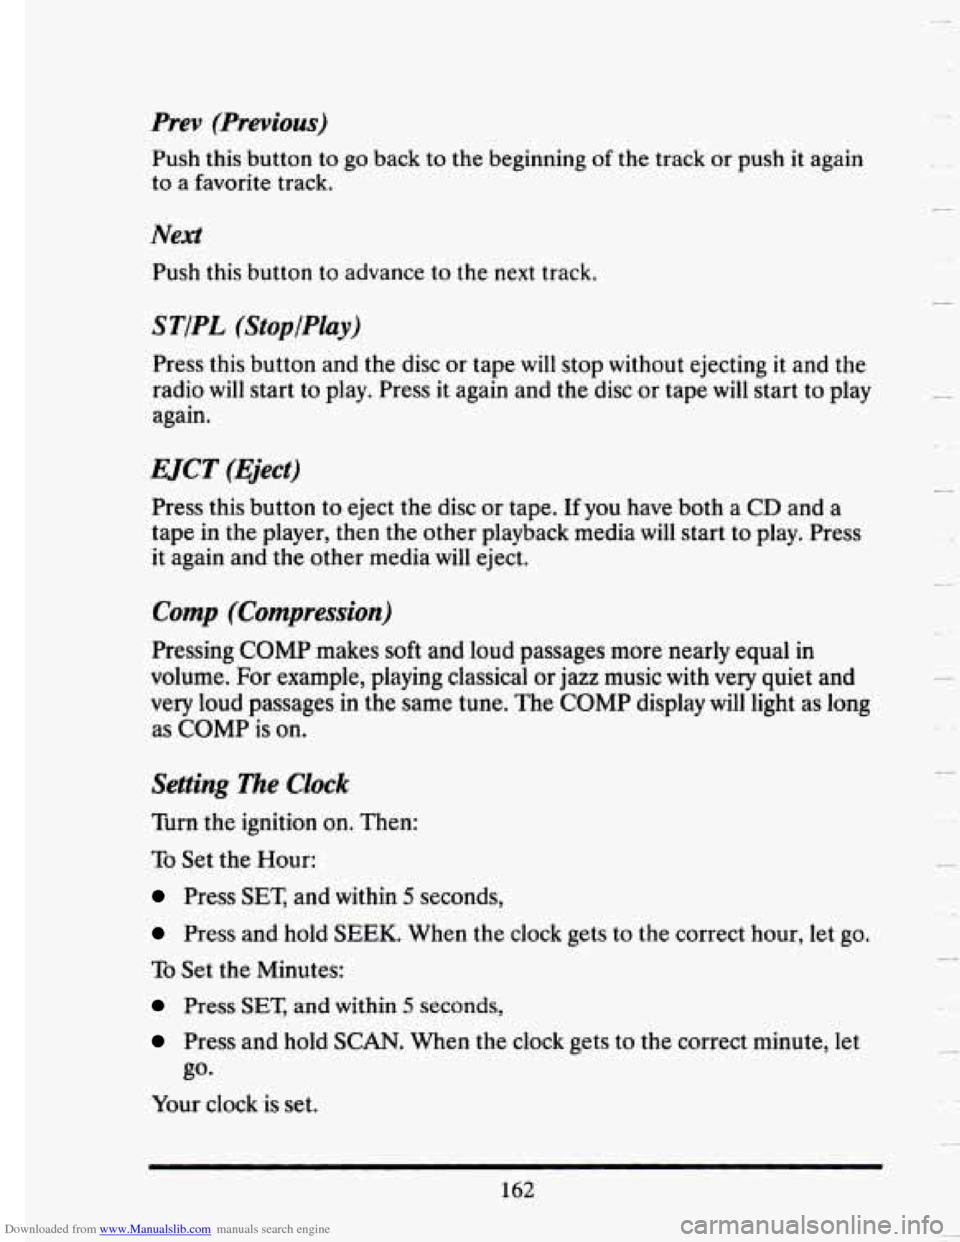
Push this button to go back to the beginning of the track or push it again
to a favorite track.
Next
Push this button to advance to the next track.
STiPL (StopfPlay)
Press this button and the disc or tape will stop without ejecting it and the
radio
will start to play. Press it again and the disc or tape will start to play
again.
EJCT (Eject)
Press this button to eject the disc or tape. If you have both a CD and a
tape in the player, then the other playback media
will start to play. Press
it again and the other media will eject.
Comp (Compression)
Pressing COMP makes soft and loud passages more nearly equal in
volume. For example, playing classical
or jazz music with very quiet and
very loud passages
in the same tune. The COMP display will light as long
as
COMP is on.
Setting The Clock
Turn the ignition on. Then:
To Set the Hour:
Press SET, and within 5 seconds,
Press and hold SEEK. When the clock gets to the correct hour, let go.
To Set the Minutes:
Press SET, and within 5 seconds,
Press and hold SCAN. When the clock gets to the correct minute, let
Your clock is set.
go.
162
u
Page 238 of 407
Downloaded from www.Manualslib.com manuals search engine 2. Get the vehicles close enough so the jumper cables can reach, but be
sure the vehicles aren’t touching each other. If they are, it could cause
a ground connection you don’t want.
You wouldn’t be able to start
your Cadillac, and the bad grounding could damage the electrical
systems.
A CAUTION:
You could be injured if the vehicles roll. Set the parking brake
firmly
on each vehicle. Put an automatic transaxle in “P”
(Park).
3. Turn off the ignition on both vehicles. lbrn off all lights that aren’t
needed, and radios. This will avoid sparks and help
save both
batteries. And it could
save your radio!
4. Open the hoods and locate the batteries:
A CAUTION:
An electric fan can start up even when the engine is not running
and can injure you. Keep hands, clothing and tools away
from
any underhood electric fan.
Find the positive (+) and negative (-) terminals on each battery.
224
I
I
I
I
I
I
Page 392 of 407
Downloaded from www.Manualslib.com manuals search engine .
.
.
. .
.
.
.
.
.
Carbon Monoxide In Exhaust ........................ 211
Cassette Tape Player. Care Of Your ................... 163
Cassette Tape Systems .............................. 158
CB Radio. Adding A ............................. 155. 326
Cellular Telephone. Adding A ..................... 155. 326
Center Console ..................................... 73
Central Door Unlocking System ....................... 68
Chains. Tire ....................................... 314
Change The Oil. When To ........................... 275
Changing A Flat Tire ............................... 250
Charge. Battery. No Warning Light .................... 131
Chassis Lubrication ................. See Maint . Book. p.18
Checking The Brake Fluid
................................. 292
The Engine Oil Level ............................ 270
The Power Steering Fluid ......................... 287
The Transaxle Fluid .............................. 278
Things Under The Hood .......................... 267
Your Restraint Systems ............................ 61
Your Safety Belt Systems ........................... 61
Checks. Service Station ............... See Maint . Book. p.8
Chemical Paint Spotting
............................. 323
Child Restraint. Securing ............................. 47
Child Restraints ..................................... 46
Children And Safety Belts ............................ 43
Cigarette Lighter ................................... 122
Circuit Breakers ................................... 327
City Driving ....................................... 198
Cleaner. Air ....................................... 277
Cleaning
Aluminum Wheels
............................... 322
Fabric .......................................... 317
Glass .......................................... 320
Virql or 1.c.11hcr ................................. 319
I hi lndc ()I jtur ('ddI.~c ....................... 316
I tih 1'1 .u . r . 1rr1c IULL ...................... 164
I tlL. I iltfcl th ds ( )I )tu11 ( .......................... 323
I hc i+ wd4wld . rrrd M qwc Dladcs .................. 320
Nc.~lllcr rtp ................................... 322
('loch . Scltlng 1 hc .................................. 162
('limatc ('onlrc.1 . Electronic .......................... 147
~Ioscd-11~ H.ICCS. Don't Idle In ........................ 96
CO In Your Exhaust .............................. 95. 211
Cautions. Safety ...................................... 1
5.11L.1) Ikll .............................. 319
I hL ( )141\,c ~IL. ( )t jthidl (.,IL!III.Ic ..................... 321
I hi I4 ai? Ill I tlL iil\ll UlllL Ill l'.lll r.1 ................... 319
.
.
3