manual radio set CADILLAC SEVILLE 1996 4.G Owners Manual
[x] Cancel search | Manufacturer: CADILLAC, Model Year: 1996, Model line: SEVILLE, Model: CADILLAC SEVILLE 1996 4.GPages: 354, PDF Size: 20.21 MB
Page 10 of 354
Downloaded from www.Manualslib.com manuals search engine c . . .- . '.
For the 1948 model, Cadillac introduced the legendary
tail fin which once more set the trend in automotive
styling for nearly two decades. This was closely
followed with the two door hardtop Coupe DeVille and
the industry's
first modern overhead valve, high
compression
V8 engine on the 1949 model.
Engineering innovations, conveniences and styling
dominated the
'50s and '60s. Cruise control, automatic
climate control, tilt and telescoping steering wheels,
twilight sentinel and four door hard tops all debuted in
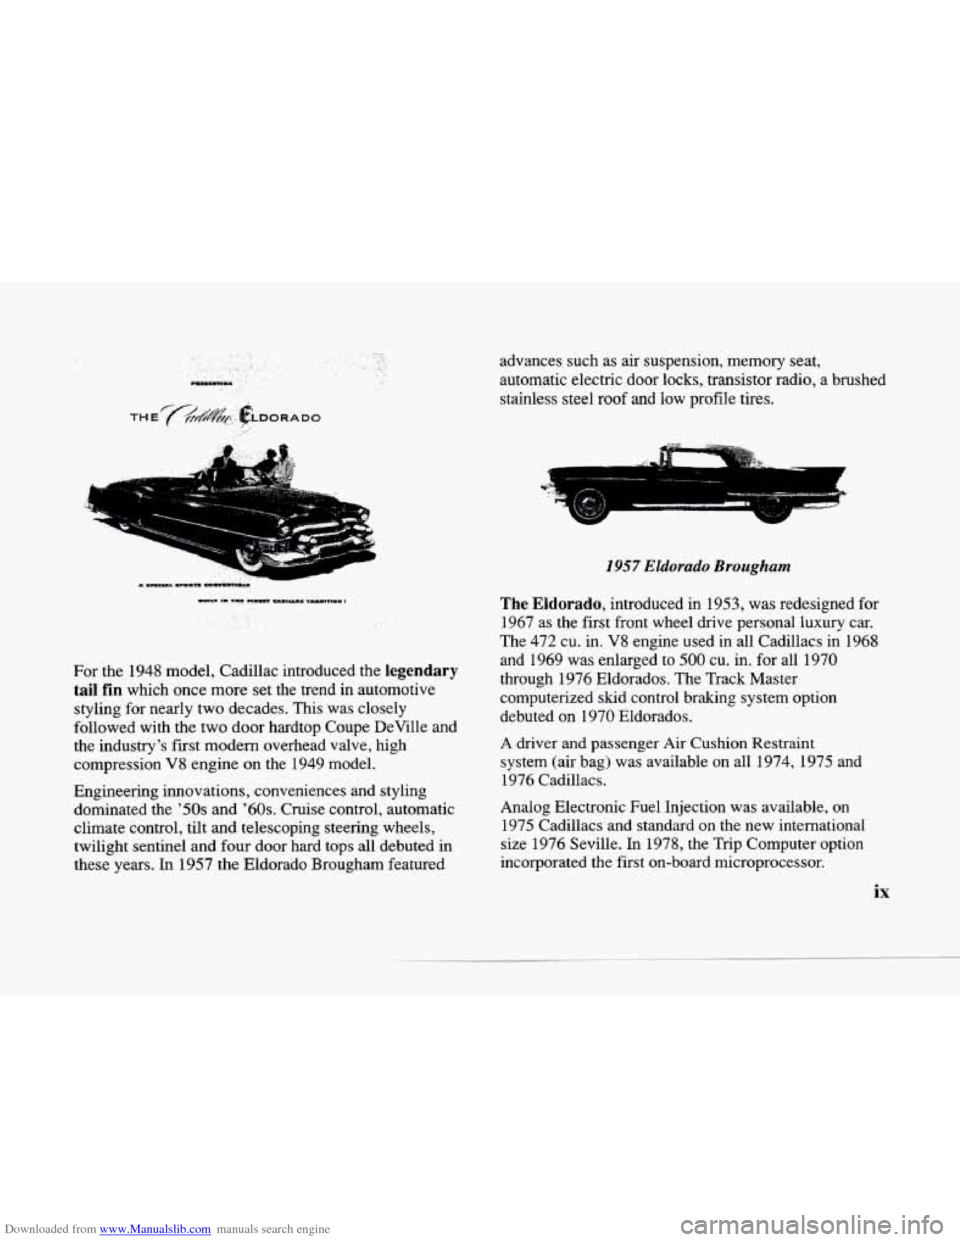
these years. In 1957 the Eldorado Brougham featured advances such
as air suspension,
memory seat,
automatic electric door locks, transistor radio, a brushed
stainless steel roof and low profile tires.
7
1957 Eldorado Brougham
The Eldorado, introduced in 1953, was redesigned for
1967 as the first front wheel drive personal luxury
car.
The 472 cu. in. V8 engine used in all Cadillacs in 1968
and 1969 was enlarged to
500 cu. in. for all 1970
through 1976 Eldorados. The Track Master
computerized skid control braking system option
debuted on 1970 Eldorados.
A driver and passenger Air Cushion Restraint
system (air bag) was available
on all 1974, 1975 and
1976 Cadillacs.
Analog Electronic Fuel Injection was available, on
1975 Cadillacs and standard
on the new international
size 1976 Seville. In 1978, the Trip Computer option
incorporated the first on-board microprocessor.
ix
Page 18 of 354
Downloaded from www.Manualslib.com manuals search engine L
#--
Memory Seat (Option)
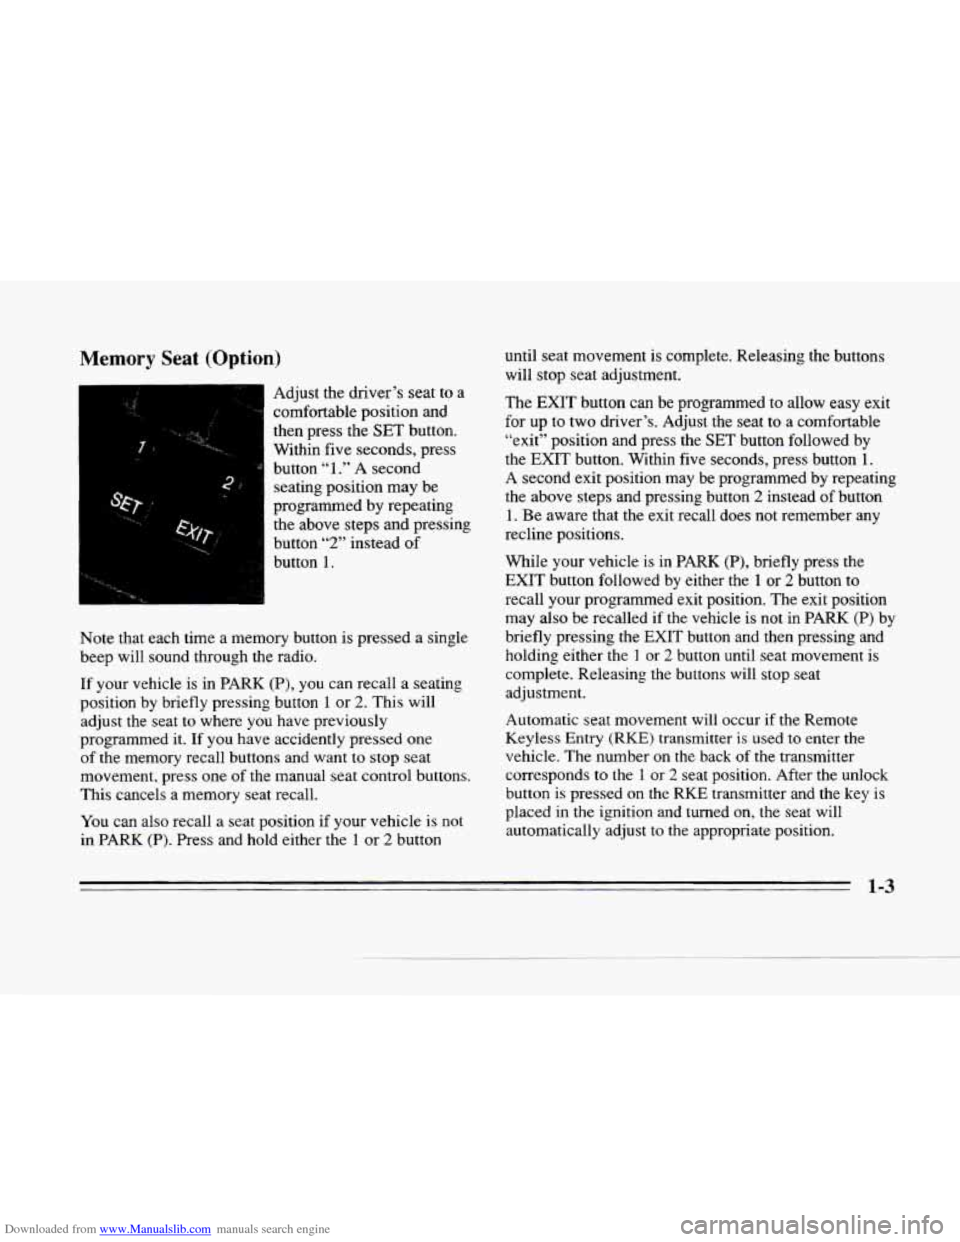
Adjust the driver’s seat to a
comfortable position and
then press the
SET button.
Within five seconds, press
button
“1 .” A second
seating position may be
programmed by repeating
the above steps and pressing
button
“2” instead of
Note that each time a memory button is pressed a single
beep will sound through the radio.
If your vehicle is in PARK (P), you can recall a seating
position by briefly pressing button
1 or 2. This will
adjust
the seat to where you have previously
programmed it.
If you have accidently pressed one
of the memory recall buttons and want to stop seat
movement, press one
of the manual seat control buttons.
This cancels a memory seat recall.
c
c
You can also recall a seat position if your vehicle is not
in PARK
(P). Press and hold either the 1 or 2 button until seat movement
is complete.
Releasing the buttons
will stop seat adjustment.
The
EXIT button can be programmed to allow easy exit
for up to two driver’s. Adjust the seat to a comfortable
“exit” position and press the SET button followed by
the EXIT button. Within five seconds, press button
1.
A second exit position may be programmed by repeating
the above steps and pressing button
2 instead of button
1. Be aware that the exit recall does not remember any
recline positions.
While your vehicle is in PARK
(P), briefly press the
EXIT button followed by either the
1 or 2 button to
recall your programmed exit position. The exit position
may also be recalled
if the vehicle is not in PARK (P) by
briefly pressing the
EXIT button and then pressing and
holding either the
1 or 2 button until seat movement is
complete. Releasing the buttons will stop seat
adjustment.
Automatic seat movement will occur if the Remote
Keyless Entry
(RKE) transmitter is used to enter the
vehicle. The number on the back
of the transmitter
corresponds to the
1 or 2 seat position. After the unlock
button is pressed on the RKE transmitter and the key is
placed in
the ignition and turned on, the seat will
automatically adjust to the appropriate position.
1-3
Page 69 of 354
Downloaded from www.Manualslib.com manuals search engine Frunk
A CAUTION:
It can be dangerous to drive with the trunk lid
open because carbon monoxide
(CO) gas can
come into your vehicle.
You can’t see or smell
CO. It can cause unconsciousness and even death.
If you must drive with the trunk lid open or if
electrical wiring
or other cable connections must
pass through the seal between the body and the
trunk lid:
Make sure all windows are shut.
e lhrn the fan on your heating or cooling
system to its highest speed with the setting
on
AUTO or ECON and the temperature
between
65°F (18OC) and 85°F (29°C).
That will force outside air into your vehicle.
See “Comfort Controls” in the Index.
instrument panel, open them all the
way.
If you have air outlets on or under the
See “Engine Exhaust” in the Index.
Trunk Lock Release (Option)
TRUNK
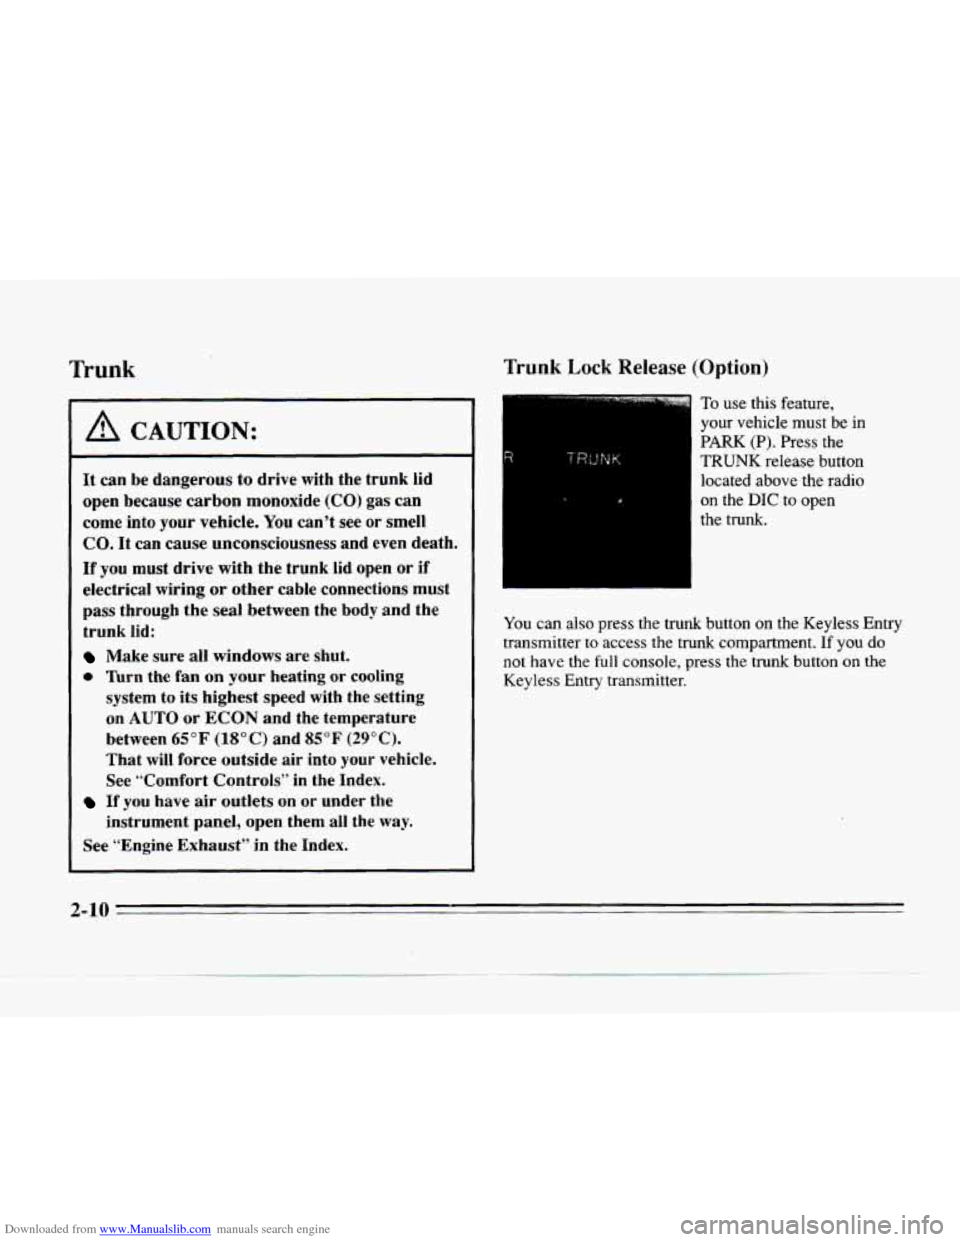
To use this feature,
your vehicle must
be in
PARK (P). Press the
TRUNK release button
located above the radio
on the
DIC to open
the trunk. P
You can also press the trunk button on the Keyless Entry
transmitter to access the trunk compartment.
If you do
not have the full console, press the trunk button on the
Keyless Entry transmitter.
2-10
Page 104 of 354
Downloaded from www.Manualslib.com manuals search engine h
L
Reading Lamps
i
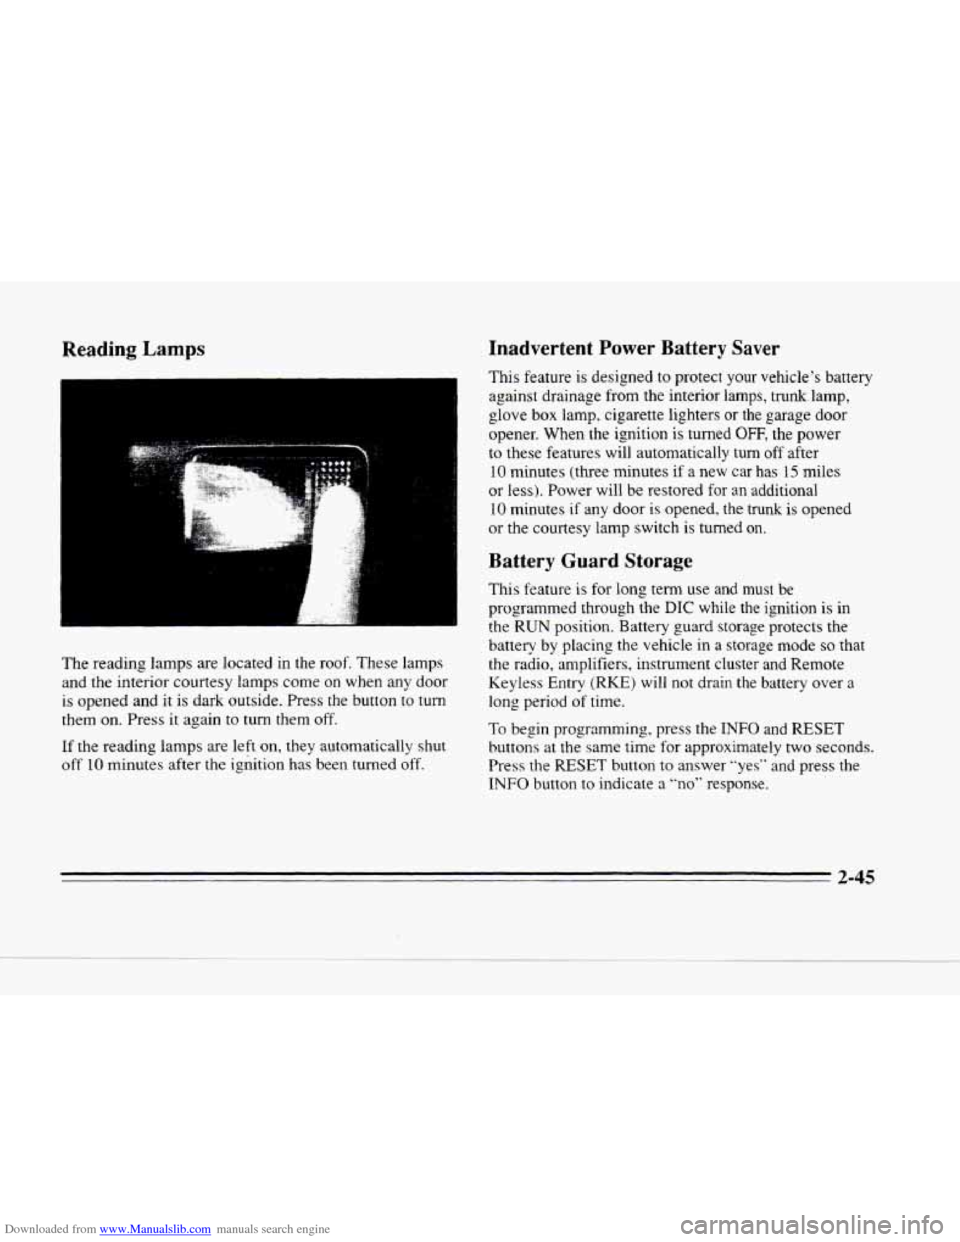
The reading lamps are located in the roof. These lamps
and the interior courtesy lamps come on when any door
is opened and it is dark outside. Press the button to turn
them on. Press it again
to turn them off.
If the reading lamps are left on, they automatically shut
off 10 minutes after the ignition has been turned off.
Inadvertent Power Battery Saver
This feature is designed to protect your vehicle's battery
against drainage from the interior lamps, trunk.lamp,
glove
box lamp, cigarette lighters or the garage door
opener. When
the ignition is turned OFF, the power
to these features will automatically
turn off after
10 minutes (three minutes if a new car has 15 miles
or
Iess). Power will be restored for an additional
10 minutes if any door is opened, the trunk is opened
or the courtesy lamp switch
is turned on.
Battery Guard Storage
This feature is for long term use. and must be
programmed through the
DIC while the ignition is in
the RUN position. Battery guard storage protects the
battery by placing the vehicle
in a storage mode so that
the radio, amplifiers, instrument cluster and Remote
Keyless Entry
(RKE) will not drain the battery over a
long period of time.
To begin programming, press the INFO and RESET
buttons at the same time for approximately two seconds.
Press the
RESET button to answer "yes" and press the
INFO button to indicate a "no" response.
2-45
Page 140 of 354
Downloaded from www.Manualslib.com manuals search engine P
c
BATTERY NO CHARGE - 07: This message will
appear if the battery is not being charged. Have the
electrical system checked by your Cadillac dealership
at your earliest convenience.
BATTERY VOLTS HIGH - 08: This message shows
that the electrical charging system is overcharging (more
than 16 volts).
To avoid being stranded, have the
electrical system checked by your Cadillac dealership.
You can reduce the charging overload by using the
accessories. Turn on the lamps and radio, set the climate
control on
AUTO and the fan speed on HI, and turn the
rear window defogger on. You can monitor battery
voltage on the
DIC by pressing the INFORMATION
button. The normal range
is 11.5 to 15.5 volts when the
engine is running.
BATTERY VOLTS LOW - 06: This message will
appear when the electrical system
‘is charging less than
10 volts or if the battery has been drained. If this message
appears immediately after starting,
it is possible that the
generator can still recharge the battery. The battery should
recharge after driving a few
miles and the message should
go out.
Lf this message appears while driving or after
starting your vehicle and stays on, have it checked
immediately to determine the cause
of this problem. To
help the generator recharge the battery quickly you can
reduce the load on the electrical system by turning
off the
accessories.
You can monitor battery voltage on the DIC
by pressing the INFORMA’TION button. The normal range
is 11.5 to
15.5 volts.
BRAKE VACUUM PROBLEM - 108: Thecircuit in
the brake booster vacuum has shorted
or is loose when
this message appears. Your vehicle
may lose power
brakes but you will still have the
use of manual brakes.
The power brakes will not be affected
if the problem is
caused by a failed sensor. Have your vehicle serviced
immediately at your Cadillac dealership.
CHANGE ENGINE OIL - 82: This means that the life
of the engine oil has expired and it should be changed
within
200 miles. See “Engine Oil” and “Filter
Recommendations” in the Maintenance Schedule. After
an oil change, the Oil Life Indicator must be reset. See
“Oil Life Indicator” in the Index
on how to reset it.
CHANGE TRANS FLUID - 47: This message will
appear when it is time
to replace the transaxle fluid
(system has determined that the transaxle fluid has
reached
0%). See the Maintenance Schedule booklet for
the proper fluid and change intervals.
CHECK BRAKE FLUID LEVEL - 37: This message
will display if the ignition is in the
RUN position to
inform the driver that the brake fluid level is low. Check
the brake reservoir level and add
fluid as needed. Have
the brake system serviced by a Cadillac technician as
soon
as possible. If the brake warning light is on, follow
the directions in that part.
2-81
Page 162 of 354
Downloaded from www.Manualslib.com manuals search engine AM-FM Stereo with Cassette Tape Player
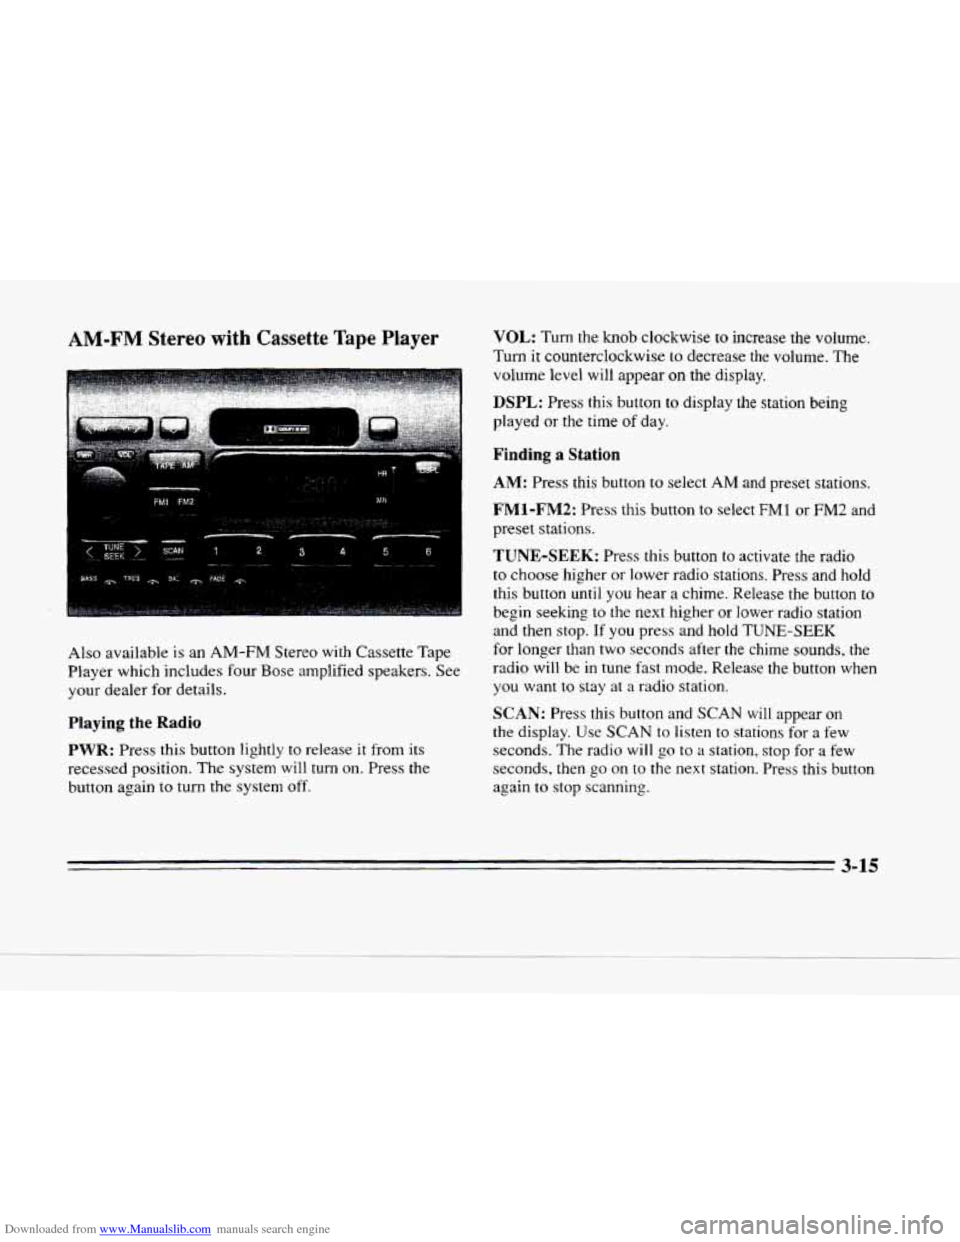
Also available is an AM-FM Stereo with Cassette Tape
Player which includes four Bose amplified speakers. See
your dealer for details.
Playing the Radio
PWR: Press this button lightly to release it from its
recessed position. The system will
turn on. Press the
button again
to turn the system off.
VOL: Turn the knob clockwise to increase the volume.
Turn it counterclockwise to decrease the volume. The
volume level will appear on the display.
DSPL: Press this button to display the station being
played or the time
of day.
Finding a Station
AM: Press this button to select AM and preset stations.
FM1-FM2: Press this button to select FMl or FM2 and
preset stations.
TUNE-SEEK: Press this button to activate the radio
to choose higher or lower radio stations. Press and hold
this
button until you hear a chime. Release the button to
begin seeking to the next higher or lower radio station
and then stop.
If you press and hold TUNE-SEEK
for longer than two seconds after the chime sounds. the
radio will be in tune fast mode. Release the button when
you want to
stay at a radio station.
SCAN: Press this button and SCAN will appear on
the display. Use SCAN to listen to stations for a few
seconds. The radio will
go to a station. stop for a few
seconds, then
go on to the next station. Press this button
again
to stop scanning.
3-15
Page 163 of 354
Downloaded from www.Manualslib.com manuals search engine PUSHBUTTONS: The six numbered pushbuttons let
you return to your favorite stations. You can set up to
18 stations (six AM, six FM1 and six FM2).
1. Press AM, FM1 or FM2 to select the band.
Setting the Tone
BASS: Press this button lightly so it extends. Turn the
BASS knob clockwise to increase and counterclockwise
to decrease bass. The middle position is a detent.
2. Find the station you want by pressing TUNE-SEEK.
3. Press and hold one of the six numbered buttons until
you hear a chime. A preset number will appear on
the display.
4. The sound will mute. When it returns, release the
button. Whenever you press that numbered button,
the station you set will return.
PSCAN: Press and hold SCAN for two to three seconds
until
PSCAN (preset scan) appears on the display to
listen to each
of your preset stations for a few seconds
(factory presets which have not been reprogrammed
with your stations will be ignored). The radio will go to
the first preset station stored on your pushbuttons, stop
for
a few seconds, then go on to the next preset station.
Press
SCAN again to stop scanning. If a preset station
has weak reception, the radio will not stop at the preset
station.
TREB: Press this button lightly so it extends. Turn the
TREB knob clockwise to increase and counterclockwise
to decrease
treble. The middle position is a detent.
Push
the knobs back in when you are not using them.
Adjusting the Speakers
BAL: Press this button lightly so it extends. Turn
the
BAL knob to move the sound to the left or right
speakers. The middle position is a detent and balances
the speakers.
Turn the knob clockwise to adjust sound
to the right speakers and counterclockwise for left
speakers.
FADE: Press this button lightly so it extends. Turn
the FADE knob to move the sound to the front or rear
speakers. The middle position
is a detent and balances
the speakers. Turn the knob clockwise
to adjust the
sound to the front speakers and counterclockwise for
rear speakers.
Push the knobs back in when you’re not using them.
3-16
b
Page 164 of 354
Downloaded from www.Manualslib.com manuals search engine L
Lp
c
L-
Playing a Cassette Tape
With the radio on, insert a cassette tape. The tape will
begin playing as soon as it is inserted.
While the tape is playing, use the VOL, FADE, BAL,
TREB and BASS controls just as you do for the radio.
Other controls may have different functions when a tape
is inserted. The display will show
TAPE with an arrow
to indicate which side of the tape is playing. PLAY will
appear on
the display when a tape is playing.
If
an error occurs while trying to play a cassette tape, it
could be that:
0 The cassette tape is tight and the cassette player
cannot turn the hubs
of the tape. (Hold the cassette
tape with the open end
down and try turning the right
hub counterclockwise with a pencil. Flip the tape
over and repeat. If the hubs do not turn easily, your
cassette tape may be damaged and should not be
used in the player. Try
a new tape to be sure your
player
is working properly.
0 The cassette tape is broken. (Check to see if your
tape
is broken. Try a new tape.)
Note that cassette tape adapter kits for portable compact
disc players will not work in your cassette player. These
adapters will cause an error message to show
on the
display, and the adapter cassette will be ejected.
TAPE: Press this button to switch from radio to cassette
tape play. Press
AM, FM1 or FM2 to switch to the radio.
SEEK: Press the forward arrow to search for the next
selection
on the tape. Press the backward arrow to
search
for the previous selection on the tape (REP will
appear on the display). Your tape must have at least
three seconds of silence between each selection for
SEEK to work. The sound will be muted while seeking.
REV: Press this left arrow button to reverse the tape
rapidly. Press it again to return to playing speed. The
radio will play while the tape reverses
and REV will
appear on the display. You may use your station
pushbuttons to tune to another radio station while in
REV mode.
FF: Press this right arrow button to advance quickly to
another part
of the tape. Press the button again to return
to playing speed. The radio will play while the tape
advances and
FWD will appear on the display. You may
use your station pushbuttons to tune
to another radio
station while
in FWD mode.
SIDE: Press this button to change the side of the tape
that is playing.
3-17
Page 165 of 354
Downloaded from www.Manualslib.com manuals search engine SCAN: Press this button. SCAN wi11 appear on the
display until the next selection is found and then
PLAY
will appear on the display. Use SCAN to listen to
selections for a few seconds. The tape will go to a
selection, stop for
a few seconds, then go on to the next
selection. Press this button again to stop scanning.
A (EJECT): Press the upward triangle button to
remove a tape. The radio will play. Eject may be
activated with the radio off if the ignition is on. Cassette
tapes may
be loaded with the radio off but they will not
start playing until the
PWR button is turned on. Press
PWR or turn the ignition key OFF to stop the cassette
tape player.
The tape will stay in the player and resume
play at the point where
it stopped.
CLN: This message may appear on the display. If it
does, your cassette tape player needs to be cleaned. It
will still play tapes, but you should clean it as soon as
possible to prevent damage to your tapes and player.
See "Care
of Your Cassette Tape Player" in the Index.
After you clean the player, press and hold
EJECT for
five seconds to reset the CLN indicator. The radio will
display
--- to show the indicator was reset.
Dolby@ Noise Reduction is manufactured under
a
license from Dolby Laboratories Licensing Corporation.
Dolby and
the double-D symbol are trademarks of
Dolby Laboratories Licensing Corporation.
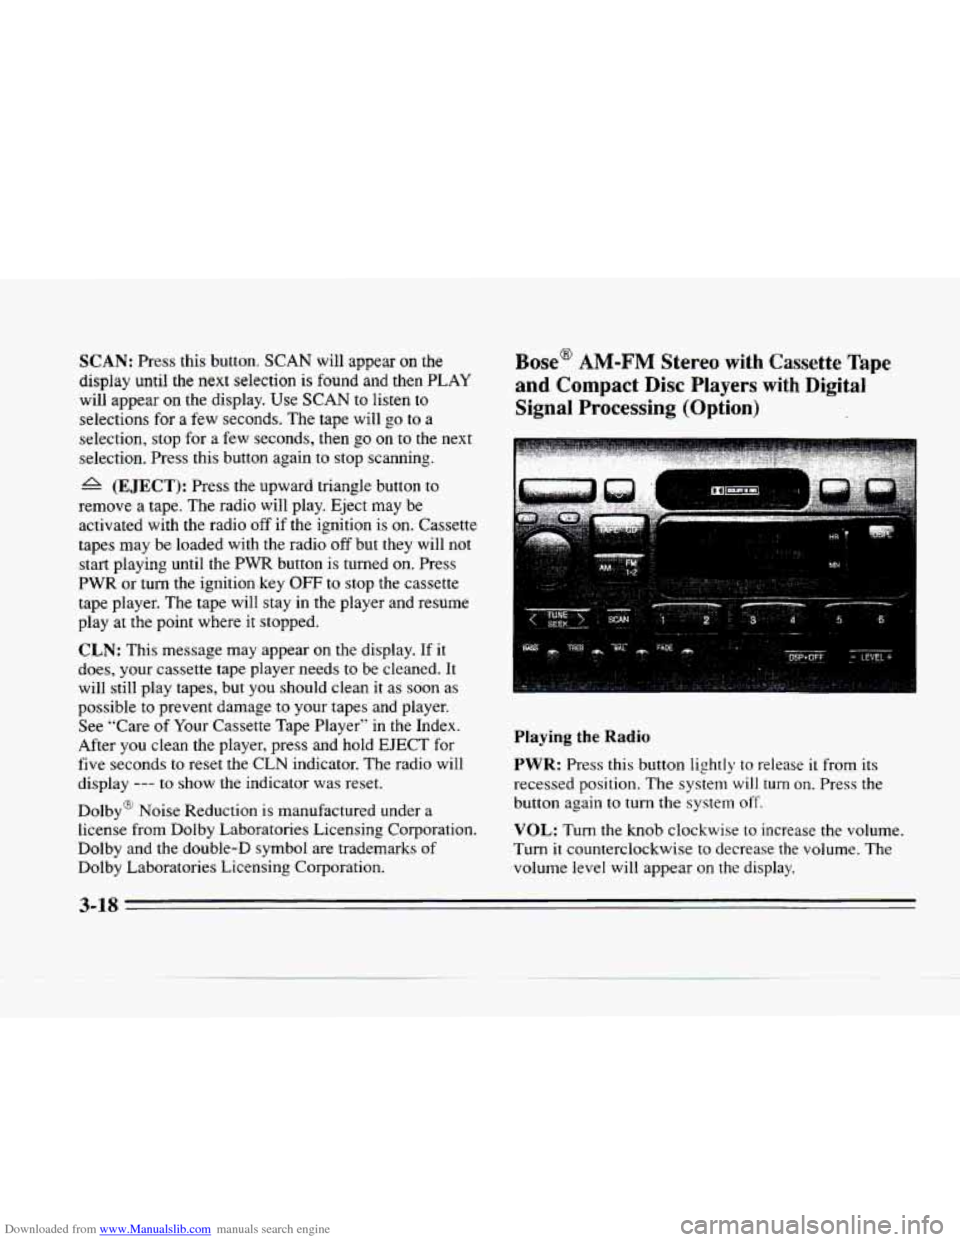
Base@ AM-FM Stereo with Cassette Tape
and Compact Disc Players with Digital
Signal Processing (Option)
Playing the Radio
PWR: Press this button lightly to release it from its
recessed position. The system
will turn on. Press the
button again
to turn the system off.
VOL: Turn the knob clockwise to increase the volume.
Turn it counterclockwise
to decrease the volume. The
volume level will appear
on the display.
3-18
Page 166 of 354
Downloaded from www.Manualslib.com manuals search engine c
c
L
Finding a Station
AM: Press this button to select AM ana preset stations.
FM 1-2: Press this button to select FM1 or FM2 and
preset stations.
TUNE-SEEK: Press this button to activate the radio to
choose higher or lower radio stations. Press and hold
this button until you hear a chime. Release the button to
begin seeking to the next higher or lower radio station
and then stop.
If you press and hold TUNE-SEEK for
longer than two seconds after the chime sounds, the
radio will be
in tune fast mode. Release the button when
you want to stay
at a radio station.
SCAN: Press this button and SCAN will appear on the
display. Use
SCAN to listen to stations for a few
seconds. The radio will go to
a station, stop for a few
seconds, then go
on to the next station. Press this button
again to stop scanning.
PUSHBUTTONS: The six numbered pushbuttons let
you return to your favorite stations. You can set up to
18 stations (six AM, six FM 1 and six FM2).
1. Press AM or FM 1-2 to select the band.
2. Find the station you want by pressing TUNE-SEEK.
3. Press and hold one of the six numbered buttons until
you hear
a chime. A preset number will appear on
the display.
4. The sound will mute. When it returns, release the
button. Whenever
you press that numbered button,
the station you set will return.
PSCAN: Press and hold SCAN for two to three seconds
until
PSCAN (preset scan) appears on the display to listen
to each of your preset stations for a few seconds (factory
presets which have not been reprogrammed with your
stations will be ignored). The radio will go to the fast
preset station stored on your pushbuttons, stop for a few
seconds, then
go on to the next preset station. Press SCAN
again to stop scanning. If a preset station has weak
reception, the radio will not stop at the preset station.
Setting the Tone
BASS: Press this button lightly so it extends. Turn the
BASS knob clockwise to increase and counterclockwise
to decrease bass. The middle position
is a detent.
TREB: Press this button lightly so it extends. Turn the
TREB knob clockwise to increase and counterclockwise
to decrease treble. The middle position is a detent.
Push the knobs back
in when you are not using them.
3-19