seats CADILLAC SEVILLE 1997 4.G Owners Manual
[x] Cancel search | Manufacturer: CADILLAC, Model Year: 1997, Model line: SEVILLE, Model: CADILLAC SEVILLE 1997 4.GPages: 370, PDF Size: 20.52 MB
Page 2 of 370
Downloaded from www.Manualslib.com manuals search engine c
c
1-1
2- I
3-1
4- I
5-1
6- 1
7-3
8-1
Seats and Restraint Systems
This section tells you how to use your seats and safety belts properly. It also explains the "SIR" system.
Features and Controls
This section explains how to start and operate your Cadiliac.
Comfort Controls and. Audio Systems
This section tells you how to acljust the ventilation and comfort controls and how to operate your audio system.
Your Driving and the Road
Here you'll find helpful information and tips about the road and how to drive under different conditions.
Problems on the Road
This section tells what to do if you have a problem while driving, such as a flat tire or overheated engine, etc.
Service and Appearance Care
Here the manual tells you how to keep your Cadillac running properly a1~1 loolting good.
Customer Assistance Information
This section tells you how to contact Cadillac for assistance and how tu get service and owner publications.
It also gives
you information on "Reporting Safety Defects" on pase 7- 1 I?.
Index
Here's an alphabetical listing of almost every subject in this manurd. You can use it to quickly find
something you want to read.
i
Page 16 of 370
Downloaded from www.Manualslib.com manuals search engine f
f 1.
I
r
Here you'll find information about the seats in your Cadillac \
and how to use your safety belts properly. You can also
learn about some things you should not do with air bags and safety belts.
1-2
1-6
1-1 1
Seats and Seat Controls
Safety Belts: They're for Everyone
Here Are Questions Many People
Ask About
Safety Belts
-- and the Answers
1-12 How to Wear Safety Belts Properly
1-12 Driver Position
1-20 Safety Belt Use During Pregnancy
1-21 Right Front Passenger Position 1-2
1 Supplemental Inflatable
Restraint (SIR) System 1-27 Rear Seat Passengers
1-30 Center Passenger Position
1-3
1 Children
1-33 Child Restraints
1-40 Larger Children 1-43 Safety Belt Extender
' 1-43 Checking Your Restraint Systems
1-43 Replackg Restraint System Parts
After
a Crash
Page 17 of 370
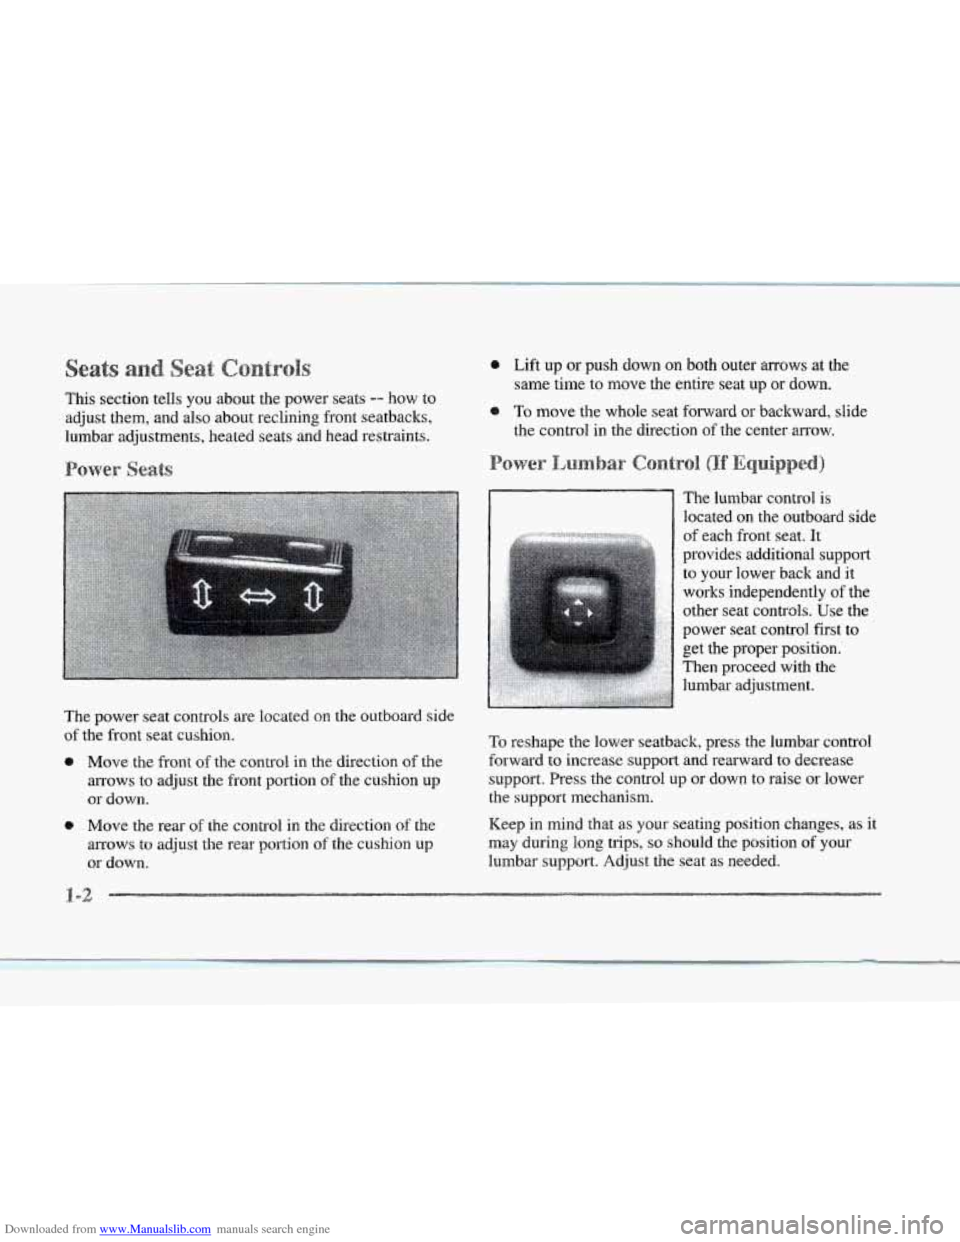
Downloaded from www.Manualslib.com manuals search engine This section tells you about the power seats -- how to
adjust them, and also about reclining front seatbacks,
lumbar adjustments, heated seats and head restraints.
The power seat controls are located
on the outboard side
of the front seat cushion.
0 Move the front of the control in the direction of the
arrows to adjust the front portion of the cushion up
or down.
Move
the rear of the control in the direction of the
arrows
to adjust the rear portion of the cushion up
or down.
@ Lift up or push down on both outer arrows at the
same time
to move the entire seat up or down.
0 To move the whole seat forward or backward, slide
the control in the direction of the center arrow.
The lumbar control is
located on the outboard side
of each front seat. It
provides additional
support
to your lower back and it
works independently
of the
other seat controls. Use the
power seat control first
to
get the proper position.
Then proceed with the
lumbar adjustment.
To reshape the lower seatback, press the lumbar control
forward to increase support and rearward to decrease
support. Press the control up or down to raise or lower
the support mechanism.
Keep in mind that
as your seating position changes, as it
may during long trips,
so should the position of your
lumbar support. Adjust the seat
as needed.
Page 19 of 370
Downloaded from www.Manualslib.com manuals search engine Automatic seat and mirror movement is programmed
through the Driver Information Center
(DIC j so that the
driver can select whether or
not n~ove~nent will occur
using the RKE transmitter or by placing the ignition key
in the ignition. For more information, see "Remote
Recall Memory"
in the Index.
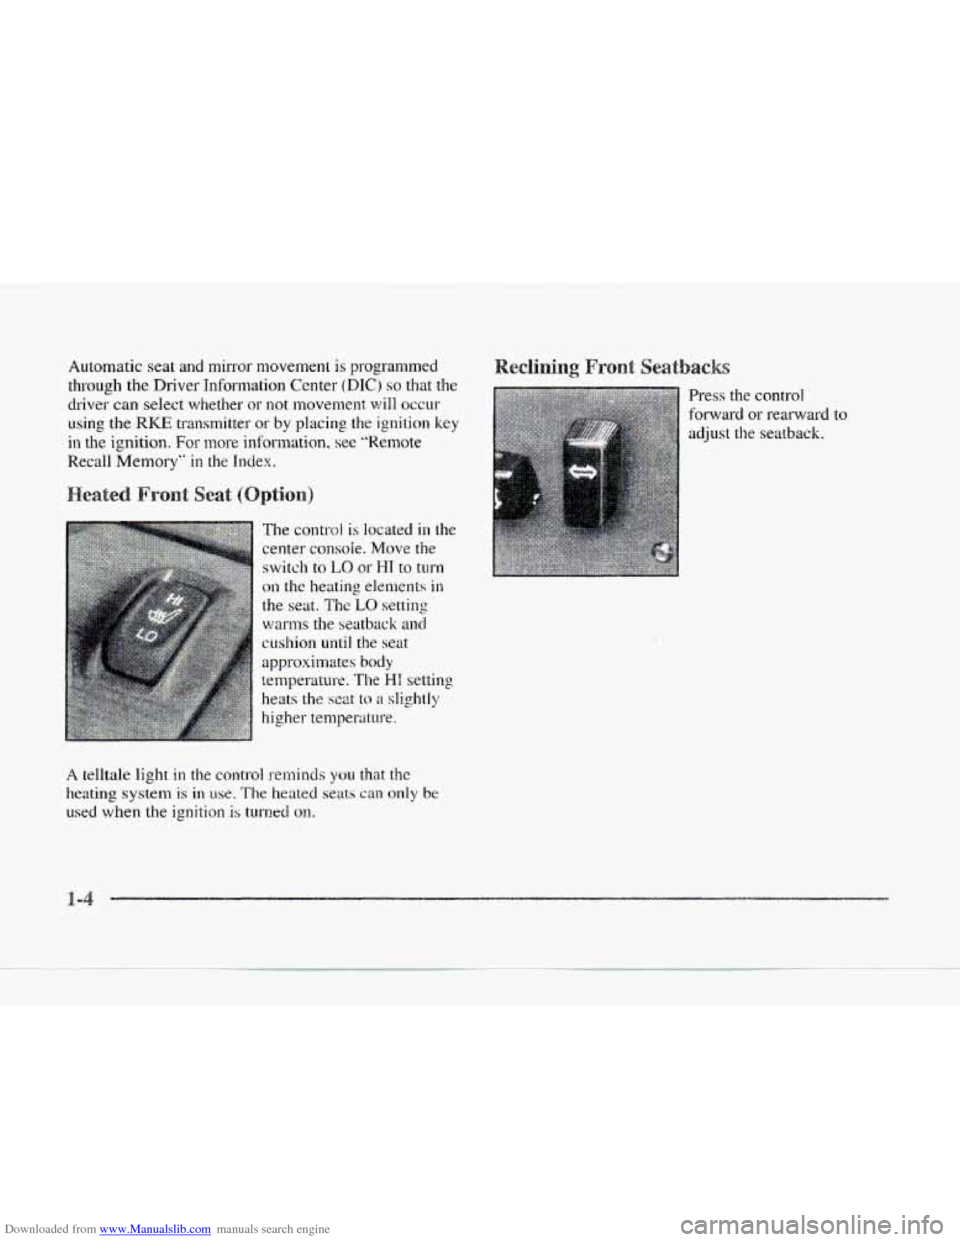
The control is located in the
center
console. Move the
switch
to LO or HI to turn
on the heating elements
in
the seat. The LO setting
warms the seatback and
cushion until the seat
A telltale light in the control reminds you that the
heating system
is in use. The heated seats can only be
used when the ignition is turned on.
Press the control
forward
or reatward
adjust the
seatback.
to
Page 22 of 370
Downloaded from www.Manualslib.com manuals search engine c A CAUTION:
-
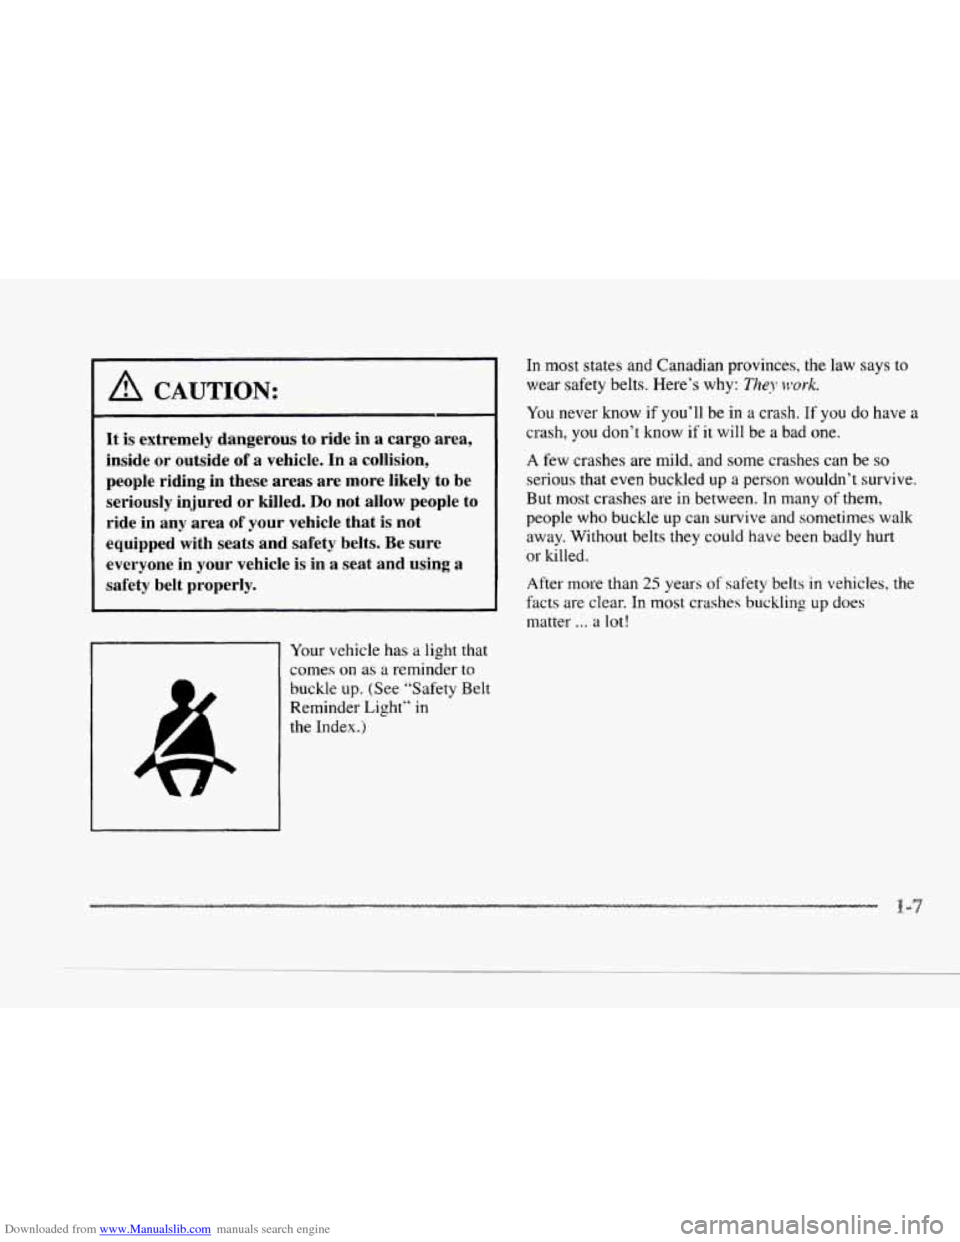
It is extremely dangerous to ride in a cargo area,
inside or outside of
a vehicle. In a collision,
people riding in these areas are more likely
to be
seriously injured
or killed. Do not allow people to
ride in any area
of your vehicle that is not
equipped with seats and safety
belts. Be sure
everyone in your vehicle is in
a seat and using a
safety belt properly.
1
Your vehicle has a light that
comes
on as a reminder to
buckle up. (See “Safety Belt
Reminder Light’’ in
1
the Index.)
In most states and Canadian provinces, the law says to
wear safety belts. Here’s why: They \,vork.
You never know if you’ll be in a crash. If you do have a
crash, you don’t know if it will be a bad one.
A few crashes are mild, and some crashes can be so
serious that even buckled up a person wouldn’t survive.
But most crashes are in between.
In many of them,
people who buckle up can survive and sometimes walk
away. Without belts they could have been badly hurt
or killed.
After more than 25 years of safety belts in vehicles, the
facts are clear.
In most crashes buckling up does
matter ... a lot!
Page 27 of 370
Downloaded from www.Manualslib.com manuals search engine This part is only for people of adult size.
Be aware that there are special things
to know mout safety
belts and children.
And there are different rules for smaller
children and babies.
If a child will be riding in your
Cadillac,
see the part of this manual called “Children.”
Follow those rules for everyone’s protection.
First, you’ll want to know which restraint systems your
vehicle has.
We’ll start with
the driver position.
This
part describes the driver’s restraint system.
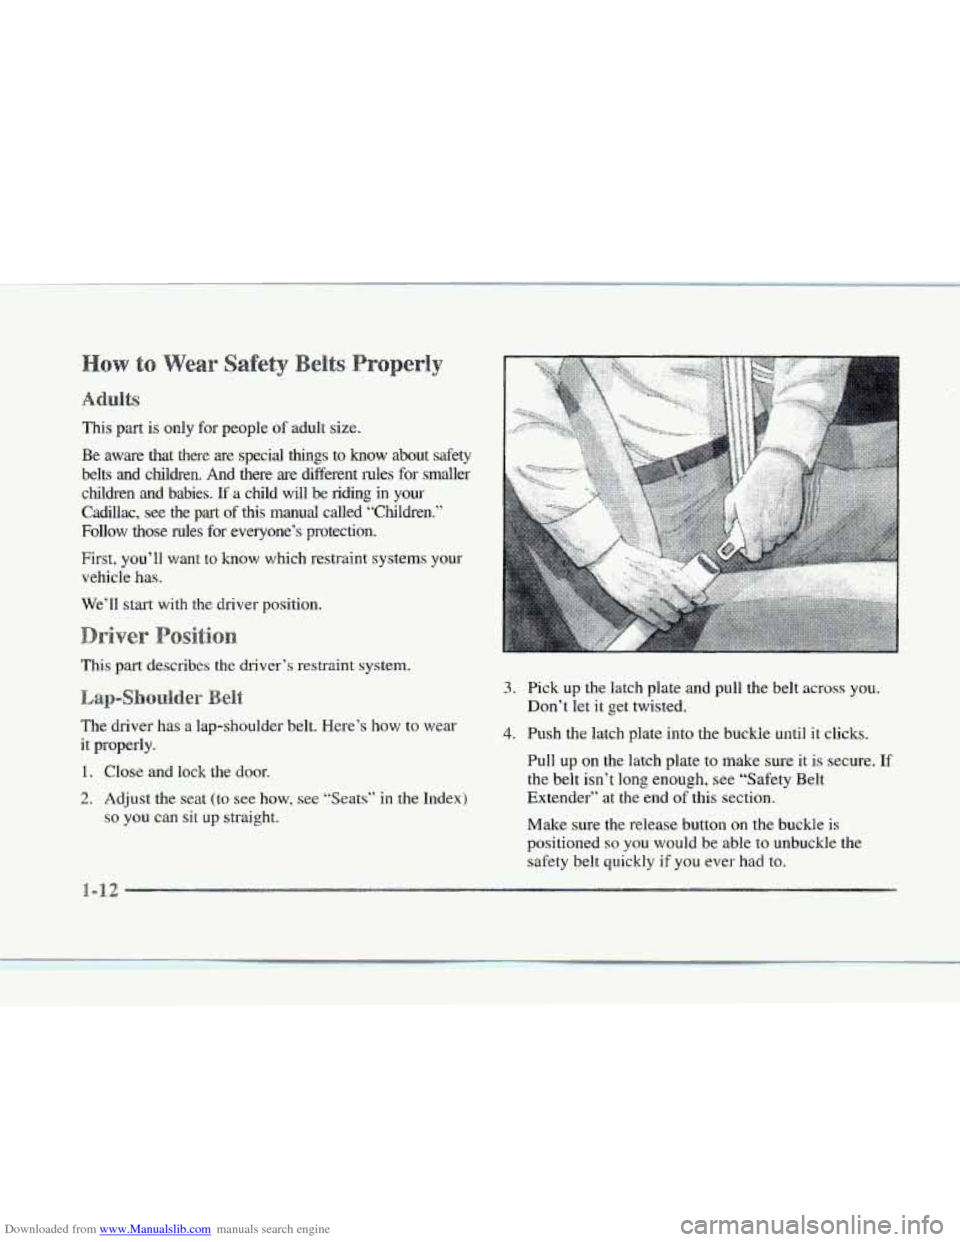
The driver has
a lap-shoulder belt. Here’s how to wear
it properly.
1. Close and lock the door.
2. Adjust the seat (to see how, see “Seats” in the Index)
so YOU can sit up straight.
3.
4.
Pick up the latch plate and pull the belt across you.
Don’t let
it get twisted.
Push the latch plate into the buckle until it clicks.
Pull up on the latch plate to make sure it
is secure. If
the belt isn’t long enough, see “Safety Belt
Extender” at the end
of this section.
Make sure
the release button on the buckle is
positioned so you would be able
to unbuckle the
safety belt quickly
if you ever had to.
Page 53 of 370
Downloaded from www.Manualslib.com manuals search engine To remove the child restraint, just unbuckle the vehicle’s
safety belt.
It will be ready to work for an adult or larger
child passenger.
n 7 -.
3.
4.
You’ll be using the lap-shoulder belt. See the earlier part
about the top strap if the child restraint has one.
1. Because your vehicle has a right front passenger air
bag, always move the seat
as far back as it will go
before securing a forward-facing child restraint. (See
“Seats” in the Index.)
Put the restraint
on the seat. Follow the instructions
for the child restraint.
Secure the child in the child restraint as the
instructions say.
Pick up the latch plate, and run the lap and shoulder
portions
of the vehicle’s safety belt through or
around the restraint. The child restraint instructions
will show you how.’
If the shoulder belt goes in front of the child’s face or
neck, put
it behind the child restraint.
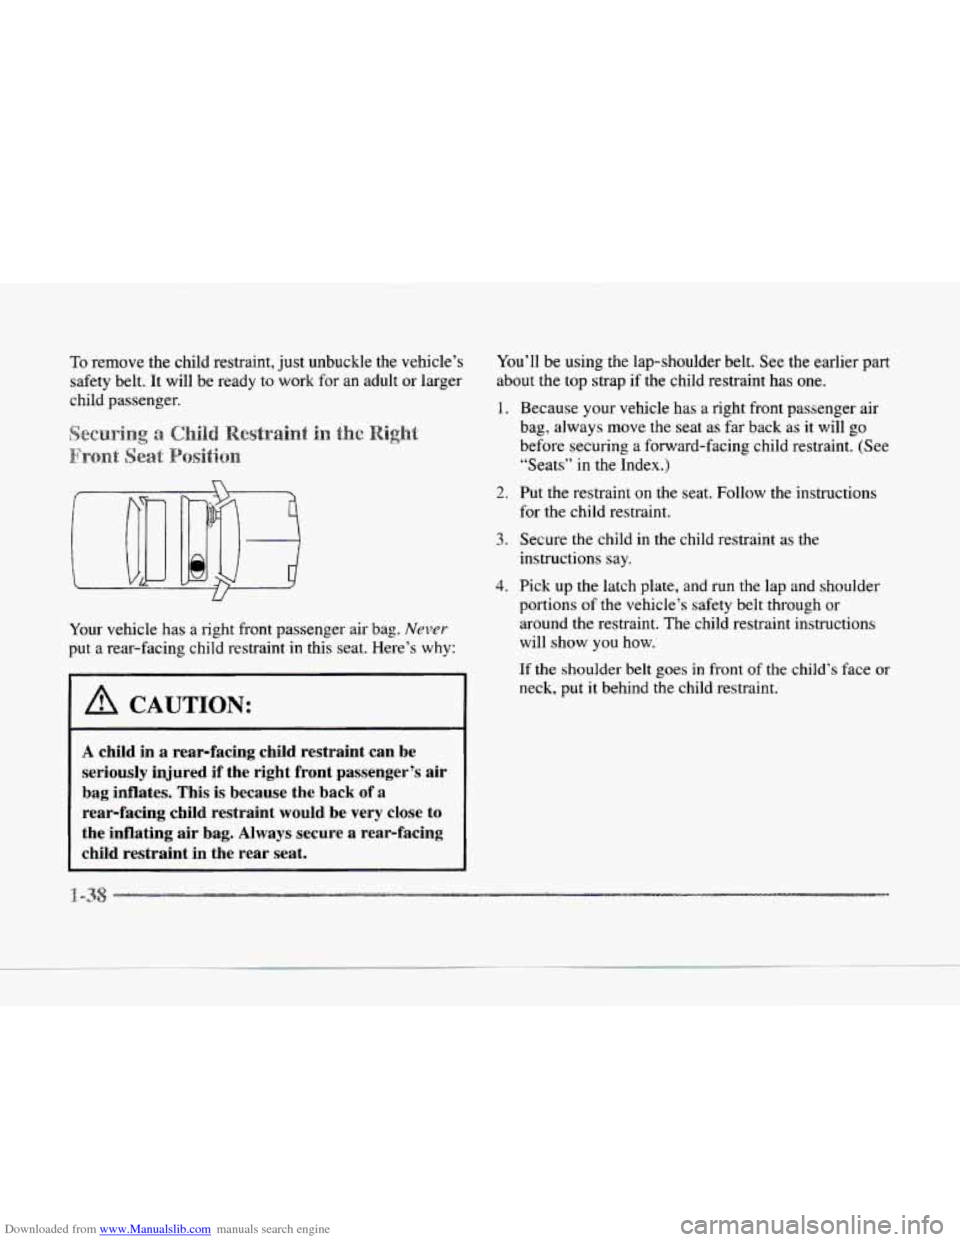
Your
vehicle has a right front passenger air bag.
Never
put a rear-facing child restraint in this seat. Here’s why:
A CAUTION:
A child in a rear-facing child restraint can be
seriously injured if the right front passenger’s air
bag inflates. This is because the back
of a
rear-facing child restraint would be very close to
the inflating air bag. Always secure a rear-facing
child restraint in the rear seat.
1. -35
rl
Page 70 of 370
Downloaded from www.Manualslib.com manuals search engine c
L
c
e Pras this symbol to open the trunk.
Press this button
to open the fuel door.
The RKE transmitter can also be used to recall
the memory seats for up to two drivers.
For rnore
information, see “Memory Seat and Mirrors”
in
the Index.
Note that pressing the transmitter buttons numerous
times (approximately
500 times) out of the vehicle’s
operating range may cause the transmitter not to work.
Replacing the battery and pressing the transmitter
buttons
10 or more times out of range will also cause
the transmitter not to work. To reset the transmitter,
you must be within the vehicle’s operating range.
Press and hold the trunk button,
and within one second,
press and hold the lock button. Continue to hold both
buttons
for approximately three seconds. See your
Cadillac dealer for service
if your transmitter still
doesn’t work properly.
This personalization feature
allo\vs the drikw tc;
program the parking lamps to blink or to remain
off when the lock or unlock buttons on the RICE
transmitter are pressed. Press the TRIP SET (TRIP
RESET) button
to answer “yes,” press the RESET
(INFO RESET) button to indicate
“no” or press the
INFORMATION (INFO) button
to ”skip” to the
next personalization feature.
To begin programming, press the unlock button of the
RICE transmitter for the appropriate driver (1 or 2).
The ignition must be in the RUN position. Press and
hold the INFORMATION (INFO) and RESET (INFO
RESET) buttons at the same time. The first message
to appear refers to the programmable automatic door
loclts.
To skip this prompt. press the INFORMATION
(INFO) button.
When REMOTE FLASH
LIGHTS appears on the DIC
display, press the yes button to program the parking
lamps
to blink once when the lock button on the RKE
transmitter is pressed and
to blink twice when the
unlock button
is pressed. If you don‘t want the parking
lamps
to blink when using the RKE transmitter, press
the
no button.
FEATURE
ON will display if REMOTE FLASH
LIGH’TS
was selected and FEATURE OFF will show
it you answer no.
For a list of the other pe.rsonalization features available,
see “Memory
and Personalization Features” later in
this section.
Page 167 of 370
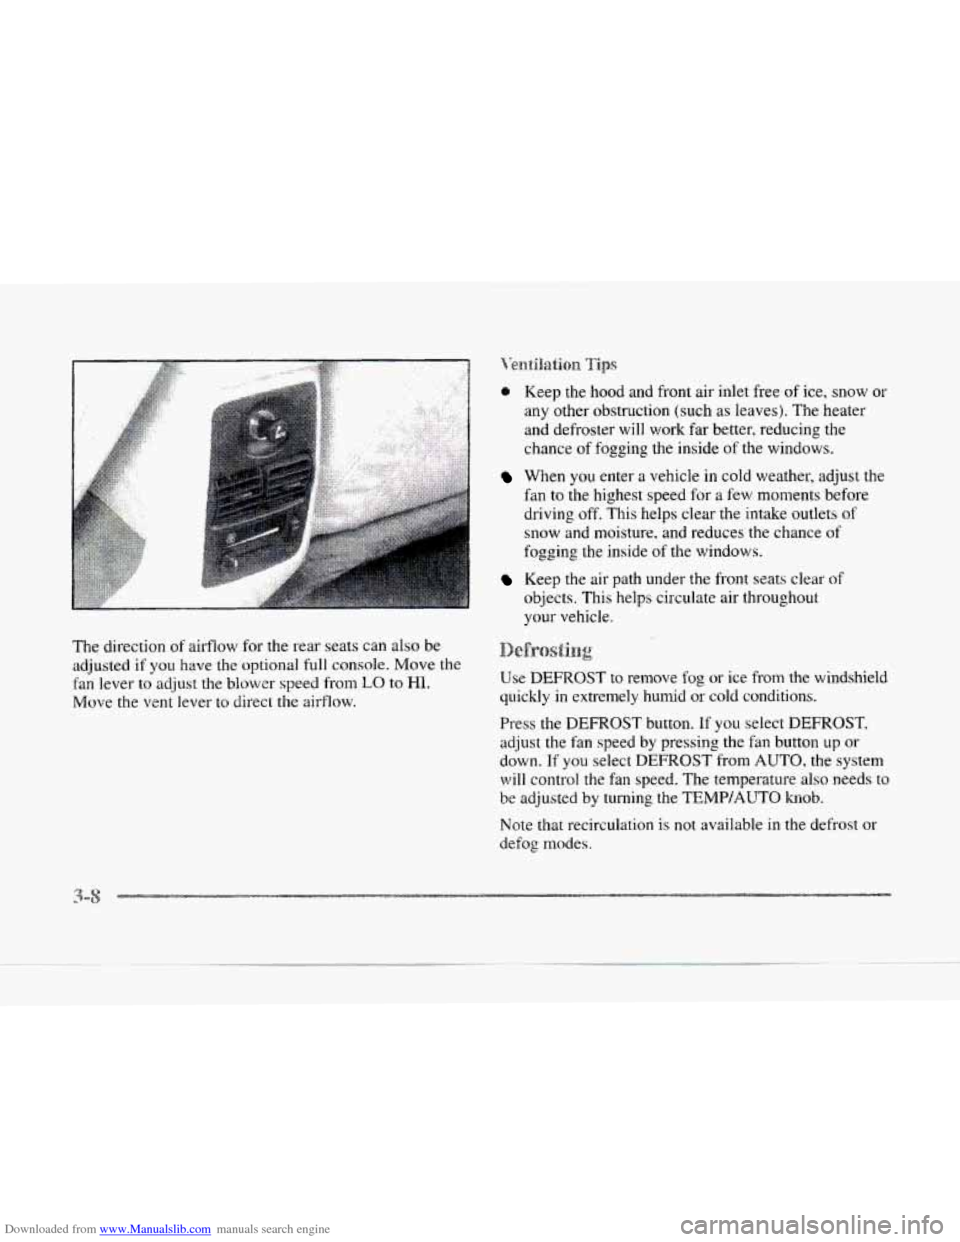
Downloaded from www.Manualslib.com manuals search engine The direction of airflow for the rear seats can also be
adjusted if you have the optional full console. Move the
fan lever to- adjust the blower
spe.ed from LQ to HI.
Move the vent lever to direct the airflow.
~~~~~~~~~~~~~~ Tips
0 Keep the hood and front air inlet free of ice, snow or
any other obstruction (such as leaves). The heater
and defroster will work far better, reducing the
chance
of fogging the inside of the windows.
When you enter a vehicle in cold weather, adjust the
fan to the highest speed for
a few moments before
driving off. This helps clear
the intake outlets of
snow and moisture. and reduces the chance of
fogging the inside of the windows.
Keep the air path under the front seats clear of
objects. This helps circulate air throughout
your vehicle.
Use DEFROST to remove fog or ice from the windshield
quickly
in extremely humid or cold conditions.
Press the
DEFROST button. If you select DEFROST,
adjust the fan speed by pressing the fan button up or
down. If you select DEFROST from AUTO, the system
will control the fan speed. The temperature also needs to
be adjusted by turning the
TEMP/AUTO knob.
Note that recirculation is not available in
the defrost or
defog modes.
.. -
Page 223 of 370
Downloaded from www.Manualslib.com manuals search engine A CAUTION:
Things you put inside your vehicle can strike
and injure people in
a sudden stop or turn, or in
a crash.
Put things in the trunk of your vehicle. In a
trunk, put them as far forward as you can.
Try to spread the weight evenly.
inside the vehicle
so that some of them are
above the tops of the seats.
Don’t leave an unsecured child restraint in
your vehicle.
When you carry something inside the
vehicle, secure it whenever you can.
Never stack heavier things, like suitcases,
,eve% ~~onta-sl
This feature keeps the rear of your vehicle level as the
load changes. It’s autonmtic
-- you don’t need to
adjust anything.
A CAUTION:
If you don’t use the correct equipment and drive
properly, you can lose control when
you pull I
trailer. For example, if the trailer is too hca1-y. the
brakes may not work well
-- or even at all. JOu
and your passengers could be seriously i11.jureci.
Pull
a trailer only if you have followed all the
steps in this section. Ask your
Cadillac dealer for
advice and information about towing a trailer with your vehicle.
’
NOTICE:
Pulling a trailer improperly can damage your
vehicle and result in costly repairs not covered by
your warranty.
To pull a trailer correctly, follow
the advice in this part, and see
your Cadillac
dealer for important information about towing
a
trailer with your vehicle.