fuel cap CADILLAC SEVILLE 1998 4.G Owners Manual
[x] Cancel search | Manufacturer: CADILLAC, Model Year: 1998, Model line: SEVILLE, Model: CADILLAC SEVILLE 1998 4.GPages: 378, PDF Size: 21.99 MB
Page 132 of 378
Downloaded from www.Manualslib.com manuals search engine If the Light Is Flashing
The following may prevent more serious damage to
your vehicle:
0 Reducing vehicle speed.
0 Avoiding hard accelerations.
0 Avoiding steep uphill grades.
If the Light Is On Steady
You may be able to correct the emission system
malfunction by considering the following:
Did you recently put fuel into your vehicle?
If
so, reinstall the fuel cap, making sure to fully install
the cap. The diagnostic system can determine
if the fuel
cap has been left
off or improperly installed. A loose or
missing fuel cap will allow fuel to evaporate into the
atmosphere. A few driving trips with the cap properly
installed should turn the light off.
Did you just drive through a deep puddle of water? If you are towing a trailer, reduce the amount of
cargo being hauled as soon as it is possible.
If the light stops flashing and remains on steady, see “If
the Light
Is On Steady” following.
If the light continues to flash, when it is safe to
do so,
stop the vehicle. Find a safe place to park your vehicle.
Turn the key
off, wait at least 10 seconds and restart the
engine.
If the light remains on steady, see “If the Light
Is On Steady” following. If the light is still flashing,
follow
the previous steps, and drive the vehicle to your
dealer or qualified service center for service. If
so, your electrical system may be wet.
The condition
will usually be corrected when the electrical system
dries out.
A few driving trips should turn the light off.
Are you low on fuel?
As your engine starts to run out
of fuel, your engine may
not run as efficiently as designed since small amounts of
air are sucked into the fuel line causing a misfire. The
system can detect this. Adding fuel should correct this
condition. Make sure to install the fuel cap properly. It
will take a few driving trips to turn the light off.
Have you recently changed brands of fuel?
Page 145 of 378
Downloaded from www.Manualslib.com manuals search engine CHECK FUEL GAGE - 50: This message will appear
when the fuel supply is less than
5 gallons (1 8.9 L) and
the display is turned off.
A single chime will also sound
when this message is displayed.
CHECK GAS CAP - 61: This message will appear if
the gas cap has not been fully tightened. You should
recheck your gas cap to ensure that it’s fully tightened.
CHECK OIL LEVEL - 36: For correct operation of
the low oil sensing system, your vehicle should be on a
level surface.
A false CHECK OIL LEVEL message
may appear if the vehicle is parked on grades. The oil
level sensing system does not check for actual oil level
if the engine has been
off for a short period of time, and
the oil
level is never sensed while the engine is running.
If the CHECK OIL LEVEL message appears, and your
vehicle has been parked
on level ground with the engine
off for at least 30 minutes, the oil level should be
checked by observing the oil dipstick. Prior to checking
the oil level, be sure the engine has been off for
a few
minutes and your vehicle is on a level surface. Then
check the dipstick and add oil if necessary. See “Engine
Oil” in the Index.
CHECK WASHER FLUID - 25: This message will
appear to indicate that you need washer solvent.
DRIVER DOOR A JAR - 140: This message will
display anytime the key is in
ON and your driver’s door
is open or ajar.
A chime will also sound when the
vehicle’s speed is greater than
3 mph (4.8 km/h).
DRIVER NO. X (1 OR 2) : This message will appear
when the remote keyless entry is used. The message will
show which driver is activating the personalization
feature. It will only stay on for five seconds.
This message will appear when the engine coolant temperature is over
262 OF ( 128 O C). Stop and allow your
vehicle to idle in
PARK (P) until it cools down and the
message is removed.
Do not increase engine speed
above a normal idle.
If it does not cool down, turn off
the engine and have it serviced before driving it again.
Severe engine damage can result from an overheated
engine. See “Engine Overheating” in the Index.
ENGINE HOT-A/C OFF - 16: This message displays
when the engine coolant becomes hotter than the normal
operating temperature. To avoid added strain on a hot
engine, the air conditioning compressor is automatically
turned off. When the coolant temperature returns to
normal, the
A/C operation will automatically resume.
You can continue to drive your vehicle.
If this message
continues to appear, have the system repaired as soon as
possible to avoid compressor damage.
ENGINE COOLANT HOT IDLE ENGINE - 44:
2-84
Page 226 of 378
Downloaded from www.Manualslib.com manuals search engine Run your engine only as long as you must. This saves
fuel. When you run the engine, make it go a little faster
than just idle. That
is, push the accelerator slightly. This
uses less fuel for the heat that you get and it keeps the
battery charged.
You will need a well-charged battery to
restart the vehicle, and possibly for signaling later on
with your headlamps. Let the heater run for a while.
Then, shut the engine
off and close the window almost
all the way to preserve the heat. Start the engine again
and repeat this only when you feel really uncomfortable
from the cold.
But do it as little as possible. Preserve the
fuel as long as you can. To help keep warm, you can get
out
of the vehicle and do some fairly vigorous exercises
every half hour or
so until help comes.
Loading Your Vehicle
TIRE-LOADING INFORMATION
VEHICLE CAP. WT.
FRT. CTR. RR. TOTAL LBS.
MAX. LOADING
& GVWR SAME AS VEHICLE
CAPACITY WEIGHT XXX
COLD TIRE
TIRE SIZE SPEED PRESSURE
RTG PSI/KPa
FRT.
RR.
SPA.
IF TIRES ARE HOT, ADD 4PS1/28KPa
SEE OWNER’S MANUAL FOR ADDITIONAL
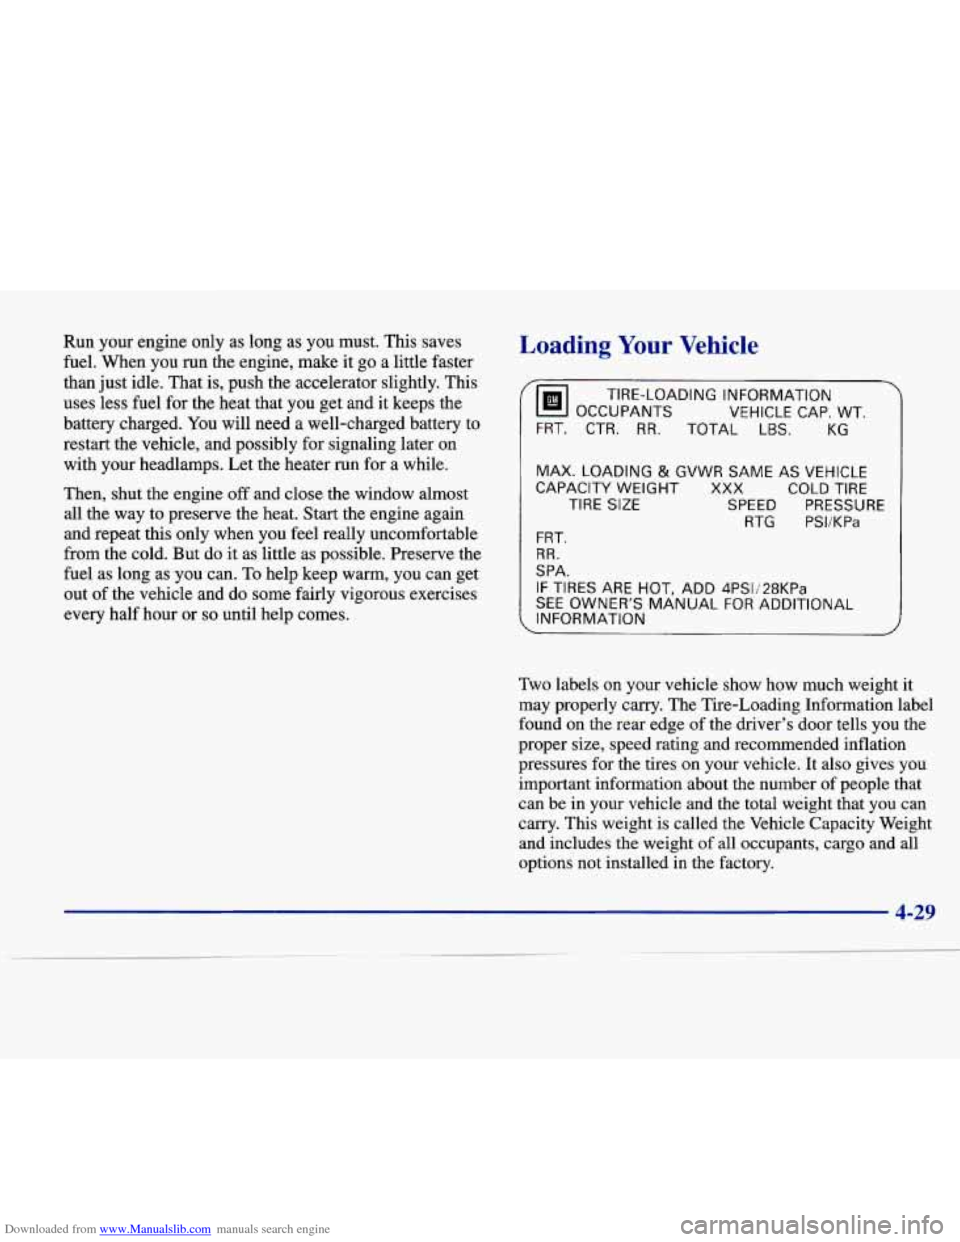
may properly carry. The Tire-Loading Information label
found on the rear edge
of the driver’s door tells you the
proper size, speed rating and recommended inflation
pressures for the tires on your vehicle. It also gives you
important information about the number of people that
can be in your vehicle and the total weight that you can
carry. This weight is called the Vehicle Capacity Weight
and includes the weight
of all occupants, cargo and all
options not installed in the factory.
4-29
Page 227 of 378
Downloaded from www.Manualslib.com manuals search engine /-
MFDBYGENERALMOTORSCORP DATE GVWR
GAWR FRT GAWR RR
THIS VEHICLE CONFORMS TO ALL APPLI-
CABLE
U.S. FEDERAL MOTOR VEHICLE
SAFETY,
BUMPER, AND THEFT PREVENTION
STANDARDS
IN EFFECT ON THE DATE OF
MANUFACTURE SHOWN ABOVE.
:
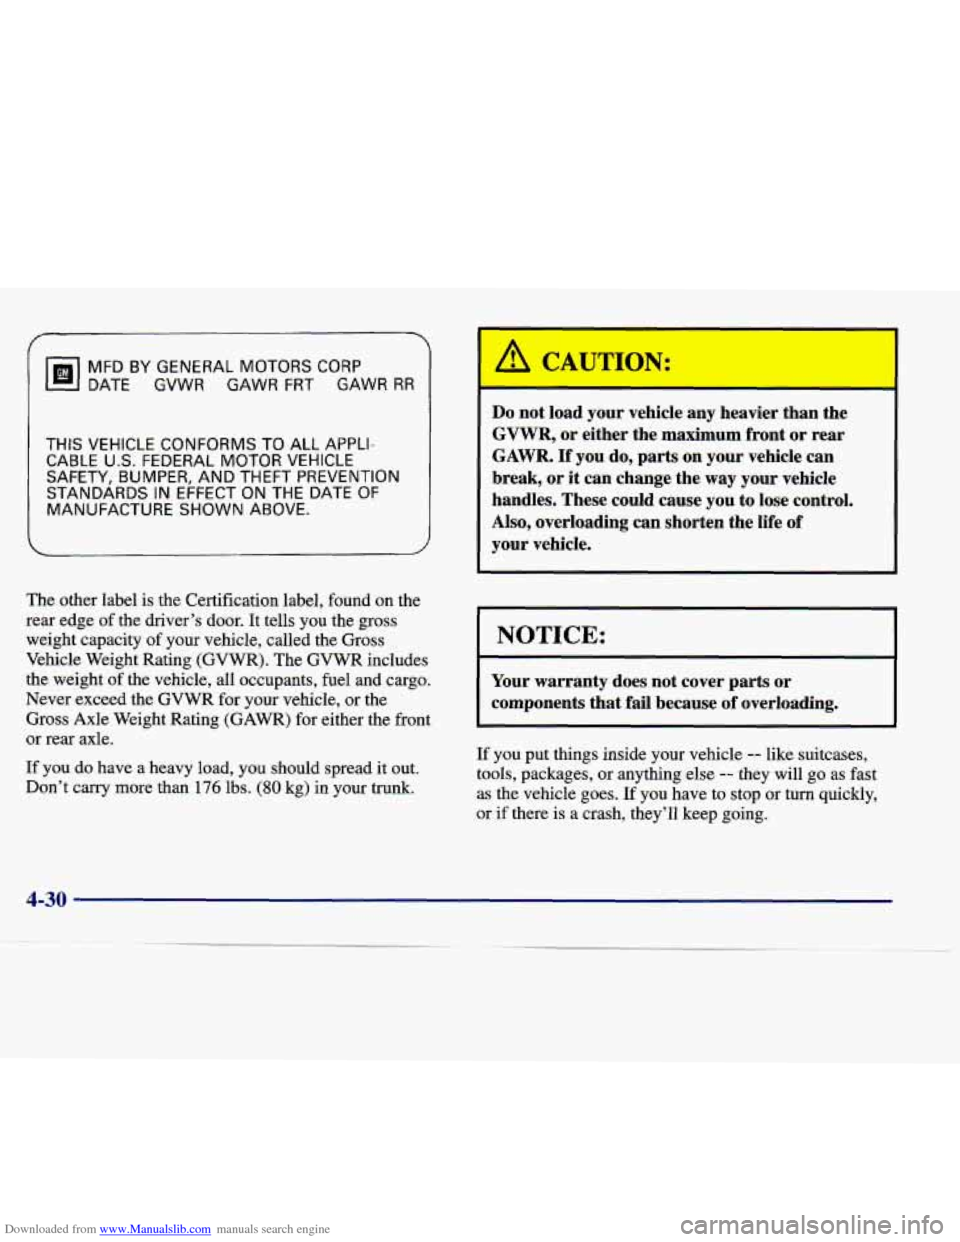
The other label is the Certification label, found on the
rear edge of
the driver’s door. It tells you the gross
weight capacity of your vehicle, called the Gross
Vehicle Weight Rating
(GVWR). The GVWR includes
the weight of the vehicle, all occupants, fuel and cargo.
Never exceed the GVWR for your vehicle, or the
Gross Axle Weight Rating (GAWR) for either the front
or rear axle.
If you do have a heavy load, you should spread
it out.
Don’t carry more than
176 lbs. (80 kg) in your trunk.
Do not load your vehicle any heavier than the
GVWR, or either the maximum front or rear
GAWR.
If you do, parts on your vehicle can
break, or it can change the
way your vehicle
handles. These could cause you to lose control.
Also, overloading can shorten the life
of
your vehicle.
NOTICE:
Your warranty does not cover parts or
components that fail because
of overloading.
If you put things inside your vehicle -- like suitcases,
tools, packages, or anything else
-- they will go as fast
as the vehicle goes.
If you have to stop or turn quickly,
or
if there is a crash, they’ll keep going.
4-30
Page 276 of 378
Downloaded from www.Manualslib.com manuals search engine -a+
Section 6 Service and Appearance Care
Here you will find information about the care of your vehicle. This section begins with service and fuel information,
and then it shows how to check important fluid and lubricant levels. There is also technical information about your
vehicle, and a part devoted to its appearance care.
6-2
6-3
6-5
6- 8
6- 8
6-1 1
6- 16
6- 19
6-22
6-25
6-26
6-28
6-32
6-34
6-4 1 Service
Fuel
Filling Your Tank
Filling
a Portable Fuel Container
Checking Things Under the Hood
Engine Oil
Air Cleaner
Automatic Transaxle Fluid
Engine Coolant
Surge
Tank Pressure Cap
Windshield Washer Fluid
Brakes
Battery
Bulb Replacement
Windshield Wiper Blade Replacement
6-4 I
6-50
6-50
6-53
6-54
6-55
6-57
6-58
6-58
6-59
6-66
6-66
6-67
6-68
6-68
Tires
Appearance Care
Cleaning the Inside of Your Vehicle
Care of Safety Belts
Cleaning the Outside of Your Vehicle
Cleaning Tires
Appearance Care Materials Chart
Vehicle Identification Number (VIN)
Service Parts Identification Label
Electrical System
Replacement Bulbs Capacities and Specifications
Removing the Rear Seat Cushion
Air Conditioning Refrigerants
Normal Maintenance Replacement
Parts
6-1
Page 280 of 378
Downloaded from www.Manualslib.com manuals search engine Fuels in Foreign Countries
If you plan on driving in another country outside the
United States or Canada, the proper
fuel may be hard to
find. Never use leaded gasoline
or any other fuel not
recommended in the previous text on fuel. Costly repairs
caused by use of improper
fuel wouldn’t be covered by
your warranty.
To check on fuel availability, ask an auto club, or
contact a major oil company that does business in the
country where you’ll be driving.
You can also write
us at the following address for
advice. Just tell us where you’re going and give your
Vehicle Identification Number
(VIN).
General Motors Overseas Distribution Corporation
1908 Colonel Sam Drive
Oshawa, Ontario LlH 8P7
Filling Your Tank
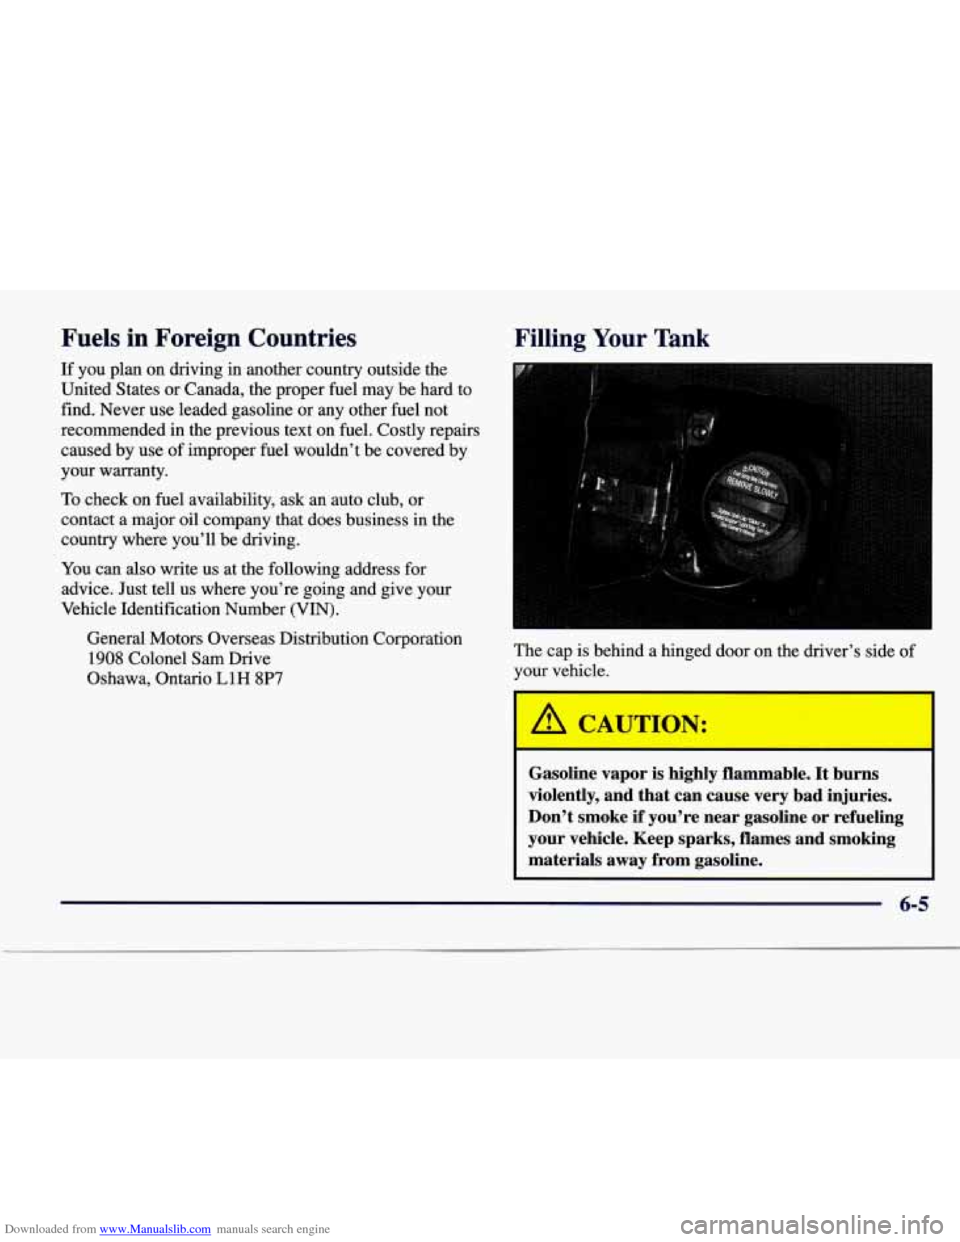
The cap is behind a hinged door on the driver’s side of
your vehicle.
Gasoline vapor is highly flammable. It burns
violently, and that can cause very bad injuries.
Don’t smoke
if you’re near gasoline or refueling
your vehicle. Keep sparks, flames and smoking
materials away from gasoline.
6-5
Page 281 of 378
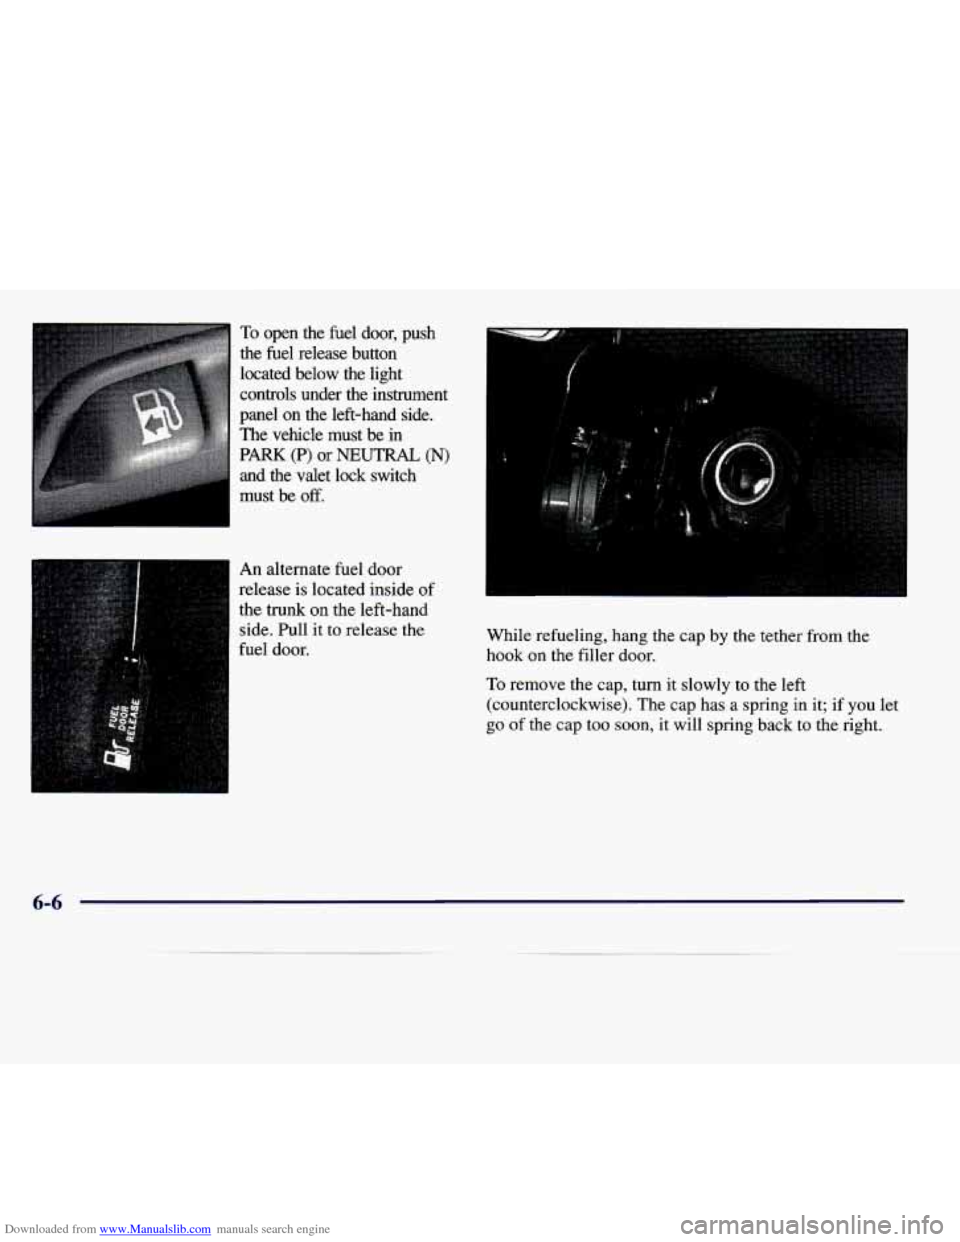
Downloaded from www.Manualslib.com manuals search engine To open the fuel door, push
the fuel release button
located below the light
controls under the instrument
panel on the left-hand side.
The vehicle must be in
PARK (P) or NEUTRAL (N)
and the valet lock switch
must be
off.
An alternate fuel door
release is located inside of
the
trunk on the left-hand
side. Pull it to release the
fuel door.
f
While refueling, hang the cap by the tether from the
hook on
the filler door.
To remove the cap, turn it slowly to the left
(counterclockwise). The cap has a spring in
it; if you let
go of the cap too soon, it will spring back to the right.
6-6
Page 282 of 378
Downloaded from www.Manualslib.com manuals search engine A C’
If you get gasoline on yourself and then
something ignites
it, you could be badly burned.
Gasoline can spray out on you if you open the
fuel filler cap too quickly. This spray can happen
if your tank is nearly full, and is more likely in
hot weather. Open the fuel filler
cap slowly and
wait for any “hiss” noise to stop. Then unscrew
the cap all the way.
Be careful not to spill gasoline. Clean gasoline from
painted surfaces as
soon as possible. See “Cleaning the
Outside of Your Vehicle” in the Index. When you put the cap back on,
turn it
to the right
(clockwise) until
you hear a clicking sound. Make sure
you fully install the cap. The diagnostic system can
determine if the fuel cap has been left
off or improperly
installed. This would allow fuel to evaporate into the
atmosphere. See “Malfunction Indicator Lamp” in
the Index.
NOTICE:
If you need a new cap, be sure to get the right
type. Your dealer can get one for you.
If you get
the wrong type, it may not
fit properly. This may
cause your malfunction indicator lamp
to light
and your fuel tank and emissions system may be
damaged. See “Malfunction Indicator Lamp” in
the Index.
6-7
Page 286 of 378
Downloaded from www.Manualslib.com manuals search engine Before closing the hood, be sure all filler caps are on
properly. Then pull the hood down and close it firmly.
Underhood Lamp
Turn the parking lamps on to operate the underhood
lamp. The underhood lamp will come on when the hood
is opened.
Engine Oil
It's a good idea to check your engine oil every time you
get fuel. In order to get an accurate reading, the oil must
be warm and the vehicle must be on level ground.
The engine oil dipstick is
located directly behind the
radiator. The black handle
says
ENGINE OIL on it.
Turn off the engine and give the oil a few minutes to
drain back into the oil pan.
If you don't, the oil dipstick
might not show the actual level.
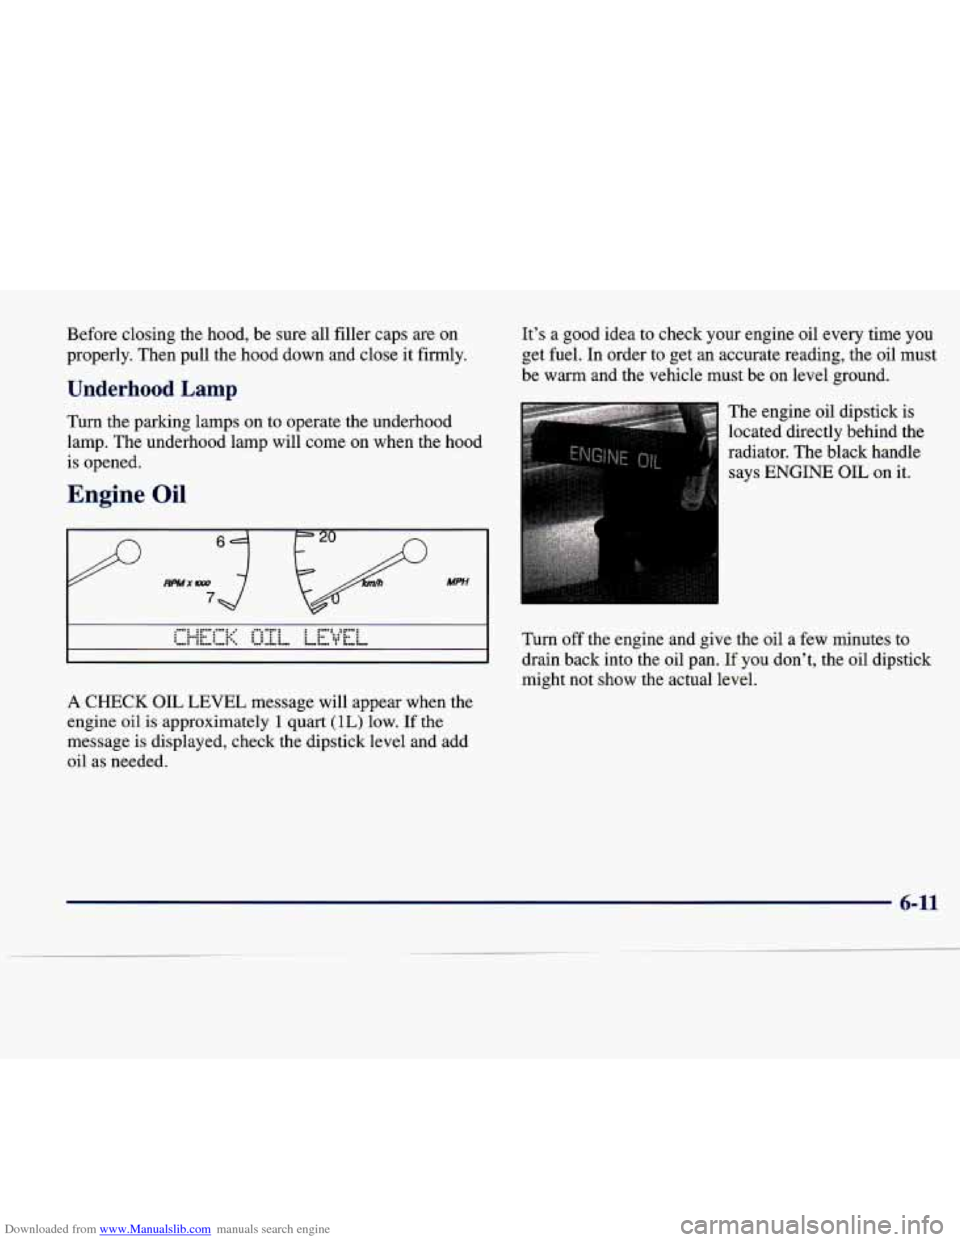
A CHECK OIL LEVEL message will appear when the
engine
oil is approximately 1 quart (IL) low. If the
message is displayed, check the dipstick level and add
oil as needed.
6-11
Page 318 of 378
Downloaded from www.Manualslib.com manuals search engine Example:
You’ll find maximum load and inflation pressure
molded on the tire’s sidewall, in small letters, near the
rim flange. It will read something
like this: Maximum
load
690 kg (1521 lbs.) @ 300 kPa (44 psi) Max. Press.
For this example, you would set the inflation pressure
for high-speed driving at
38 psi (265 kPa).
NOTICE:
Don’t let anyone tell you that underinflation or
overinflation is
all right. It’s not. If your tires
don’t have enough
air (underinflation), you can
get the following:
4) Too much flexing
4) Too much heat
4) Tire overloading
Bad wear
Bad handling
a Bad fuel economy.
NOTICE: (Continued)
I NOTICE: (Continued)
If your tires have too much air (overinflation),
you can get the following:
Unusual wear
Bad handling
Rough ride
0 Needless damage from road hazards.
When
to Check
Check your tires once a month or more.
Don’t forget your compact spare tire. It should be at
60 psi (420 Pa).
How to Check
Use a good quality pocket-type gage to check tire
pressure. You can’t
tell if your tires are properly inflated
simply by looking at them. Radial tires may
look
properly inflated even when they’re underinflated.
Be sure to put the valve caps back on the valve stems.
They help prevent leaks by keeping out
dirt and moisture.
6-43