instrument panel CADILLAC SEVILLE 1998 4.G Owners Manual
[x] Cancel search | Manufacturer: CADILLAC, Model Year: 1998, Model line: SEVILLE, Model: CADILLAC SEVILLE 1998 4.GPages: 378, PDF Size: 21.99 MB
Page 21 of 378
Downloaded from www.Manualslib.com manuals search engine . ..
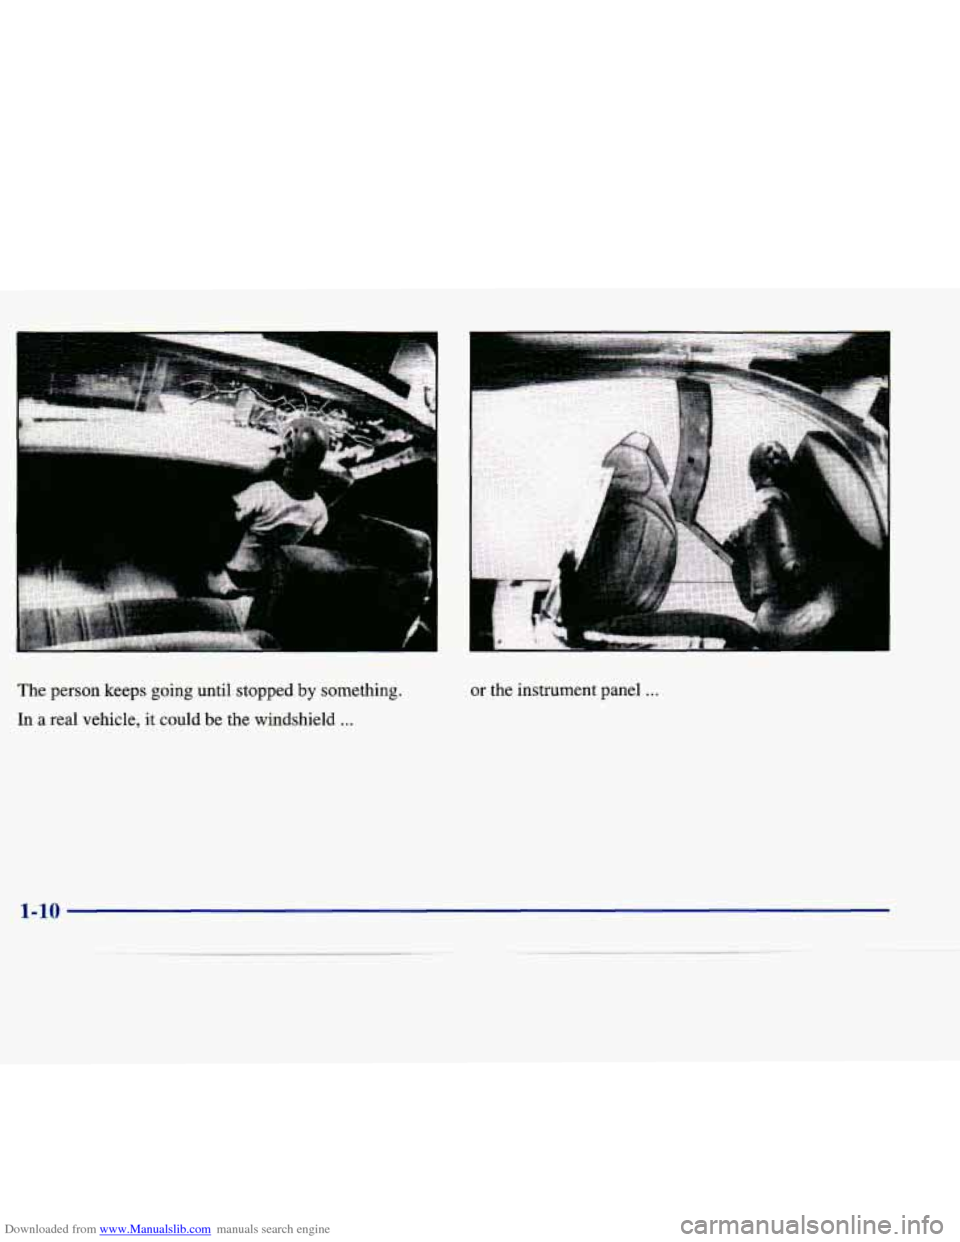
The person keeps going until stopped by something.
In a real vehicle, it could
be the windshield ...
or the instrument panel ...
1-10
Page 33 of 378
Downloaded from www.Manualslib.com manuals search engine AIR
BAG
There is an air bag readiness
light
on the instrument
panel, which shows
AIR BAG.
The system checks the air bag electrical system for
malfunctions. The light tells
you if there is an electrical
problem. See “Air Bag Readiness Light”
in the Index
for more information.
How the Air Bag Systems Work
Where are the air bags?
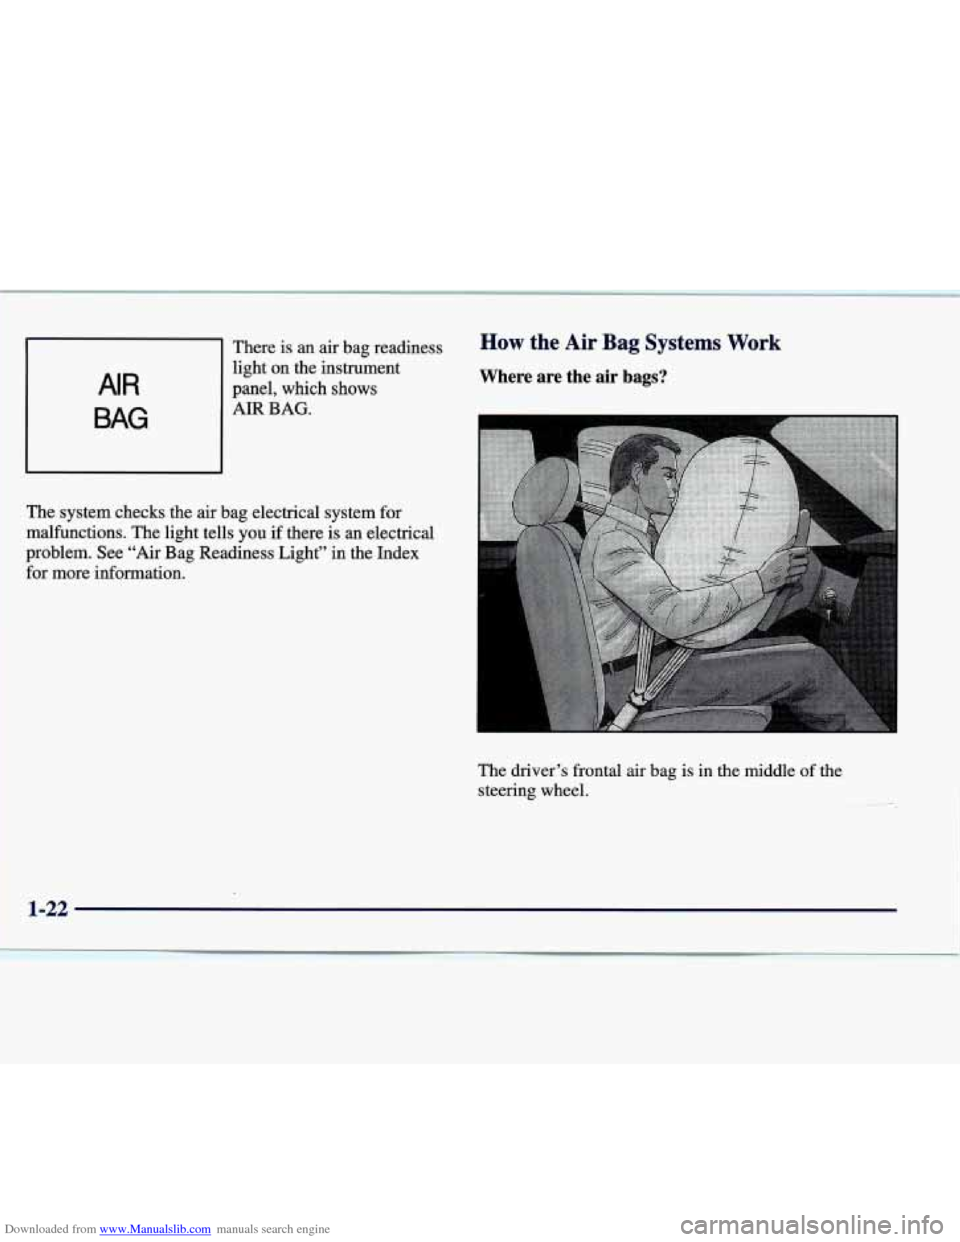
The driver’s frontal air bag is in the middle of the
steering wheel.
1-22
Page 34 of 378
Downloaded from www.Manualslib.com manuals search engine L
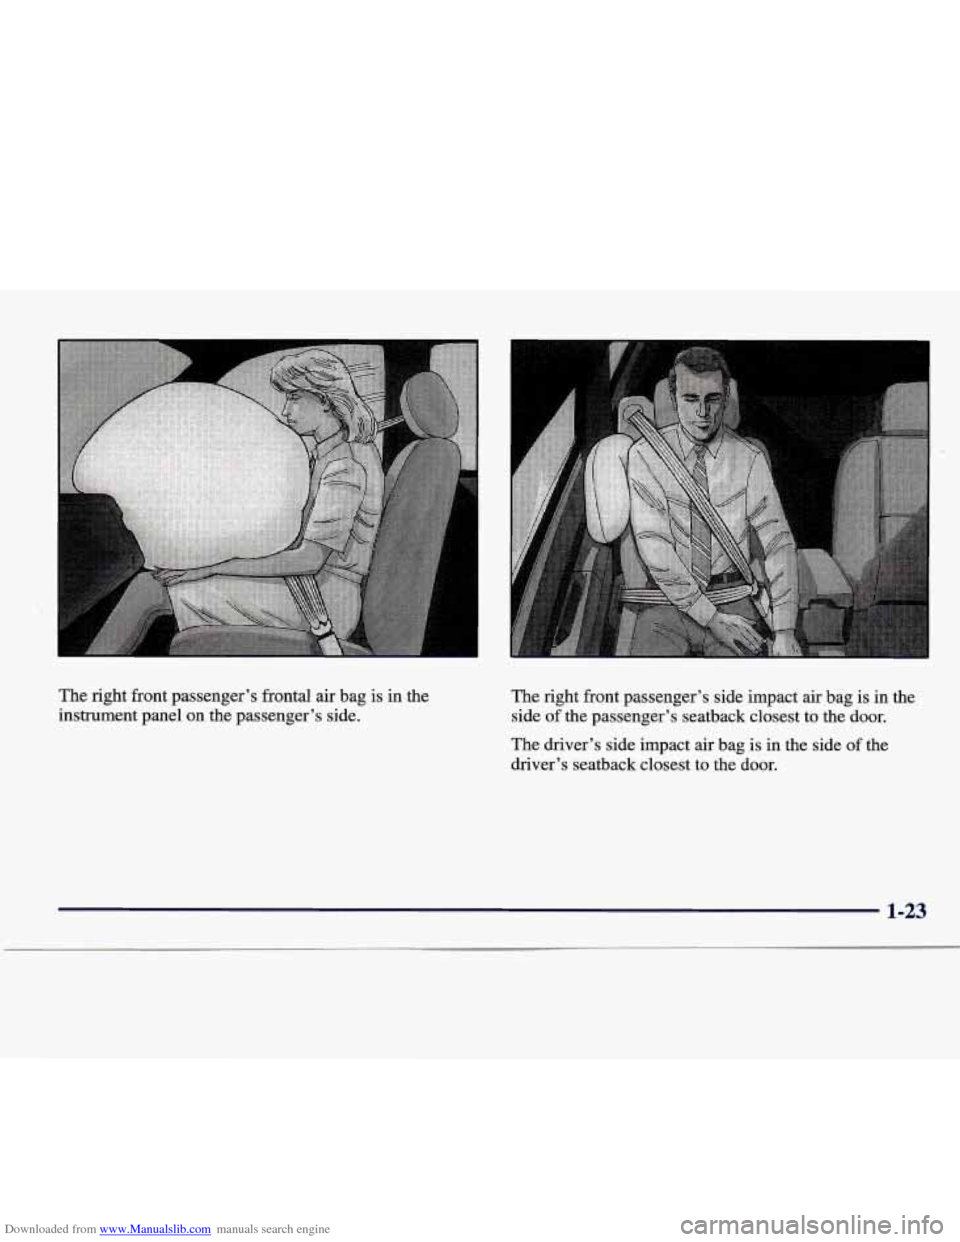
The right front passenger’s frontal air bag is in the
instrument panel
on the passenger’s side. The right front passenger’s side impact air bag
is in the
side of the passenger’s seatback closest to the door.
The driver’s side impact air bag is in the side of the
driver’s seatback closest to the door.
1-23
Page 36 of 378
Downloaded from www.Manualslib.com manuals search engine What makes an air bag inflate?
In an impact of sufficient severity, the air bag sensing
system detects that the vehicle is in
a crash. For both
frontal and side impact air bags, the sensing system
triggers
a release of gas from the inflator, which inflates
the air bag. The inflator, air bag and related hardware
are all part of the air bag modules inside the steering
wheel, instrument panel and the side of the front
seatbacks closest to the door.
How does an air bag restrain?
In moderate to severe frontal or near frontal collisions,
even belted occupants can contact the steering wheel or
the instrument panel. In moderate to severe side collisions, even belted occupants can contact the inside
of the vehicle. The air bag supplements the protection
provided by safety belts. Air bags distribute the force of
the impact more evenly over the occupant’s upper body, stopping the occupant more gradually. But the frontal air
bags would not help you in many types of collisions,
including rollovers, rear impacts, and side impacts,
primarily because an occupant’s motion is not toward
the air bag. Side impact air bags would not help you in
many types
of collisions, including frontal or near frontal collisions, rollovers, and rear impacts, primarily
because an occupant’s motion
is not toward those air
bags. Air bags should never be regarded as anything
more than
a supplement to safety belts, and then only in
moderate to severe frontal
or near-frontal collisions for
the driver’s and right front passenger’s frontal air bags,\
and only in moderate to severe side collisions for the
driver’s and right front passenger’s side impact air bags.\
What will you see after an air bag inflates?
After an air bag inflates, it quickly deflates, so quickly
that some people may not even realize the air bag
inflated. Some components of the air bag module
-- the
steering wheel hub for the driver’s air bag, the
instrument panel for the right front passenger’s bag, the
side of the seatback closest to the door for the driver and
right front passenger’s side impact air bags
-- will be
hot for a short time. The parts of the bag that come into
contact with you may be warm, but not too hot to touch.
There will be some smoke and dust coming from the
vents in the deflated air bags. Air bag inflation doesn’t
prevent the driver from seeing or being able to steer the vehicle, nor does it stop people from leaving the vehicle.
1-25
Page 38 of 378
Downloaded from www.Manualslib.com manuals search engine NOTICE:
If you damage the covering for the driver’s or the
right front passenger’s
air bag, or the air bag
covering on the driver’s and right front
passenger’s seatback, the bag may not work
properly. You may have to replace the air bag
module in the steering wheel, both the air bag
module and the instrument panel for the right
front passenger’s air bag, or both the air bag
module and seatback for the driver’s and right
front passenger’s side impact air bag.
Do not
open
or break the air bag coverings.
Servicing Your Air Bag-Equipped Vehicle
Air bags affect how your vehicle should be serviced.
There are parts
of the air bag systems in several places
around your vehicle. Your dealer and the Seville Service
Manual have information about servicing your vehicle
and the air bag systems.
To purchase a service manual,
see “Service and Owner Publications” in the Index.
For up to 10 seconds after the ignition key is
turned off and the battery is disconnected, an air
bag can still inflate during improper service. You
can be injured if you are
close to an air bag when
it inflates. Avoid yellow connectors. They are
probably part of the air bag systems. Be sure
to
follow proper service procedures, and make sure
the person performing work for you is qualified
to do
so.
The air bag systems do not need regular maintenance.
Rear Seat Passengers
It’s very important for rear seat passengers to buckle up!
Accident statistics show that unbelted people in the rear
seat are hurt more often in crashes than those who are
wearing safety belts.
Rear passengers who aren’t safety belted can be thrown
out
of the vehicle in a crash. And they can strike others
in the vehicle who are wearing safety belts.
1-27
Page 62 of 378
Downloaded from www.Manualslib.com manuals search engine a- ‘A-
Section 2 Features and Controls
Here you can learn about the many standard and optional features on your vehicle, and inform\
ation on starting,
shifting and braking. Also explained are the instrument panel and the warning systems that tell you if everything is
working properly
-- and what to do if you have a problem.
2-2
2-4
2-7
2-10
2- 14
2- 14
2-16
2-17
2-18
2-
19
2-20
2-2
1
2-25
2-26
2-28
2-29 Keys
Door Locks
Remote Keyless Entry
(RKE) System
Trunk
Theft
Theft-Deterrent System
PASS-Key@
I11
New Vehicle “Break-In”
Ignition Positions Starting Your Engine
Engine Coolant Heater (If Equipped)
Automatic Transaxle Operation Parking Brake
Shifting Into PARK (P)
Shifting Out of PARK (P)
Parking Over Things That Burn 2-29
2-30
2-3
1
2-32
2-33
2-40
2-44
2-46
2-5 1
2-53
2-55
2-56
2-60
2-64
2-75
Engine Exhaust
Running Your Engine While You’re Parked
Windows
Tilt Wheel
Turn SignaVMultifunction Lever
Exterior Lamps
Interior Lamps
Mirrors
Storage Compartments
Sun Visors
Express
Sunroof (Option)
Universal Transmitter (Option)
The Instrument Panel: Your
Information System
Warning Lights, Gages and Indicators Driver Information Center (DIC)
2-1
Page 71 of 378
Downloaded from www.Manualslib.com manuals search engine Trunk
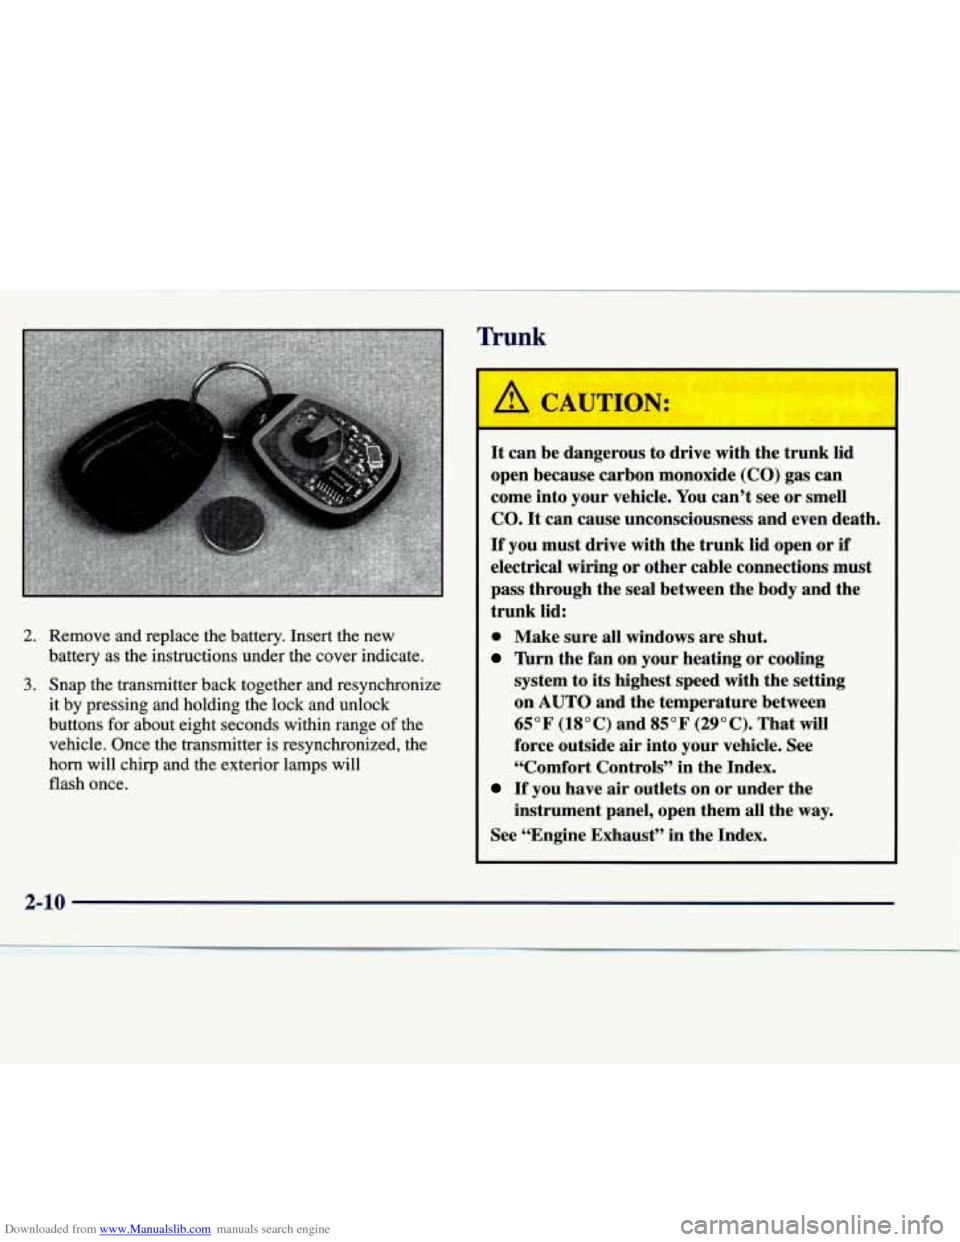
2. Remove and replace the battery. Insert the new
battery as the instructions under the cover indicate.
3. Snap the transmitter back together and resynchronize
it by pressing and holding the lock and unlock
buttons
for about eight seconds within range of the
vehicle. Once the transmitter is resynchronized, the
horn will chirp and the exterior lamps will
flash once.
It can be dangerous to drive with the trunk lid
open because carbon monoxide
(CO) gas can
come into your vehicle. You can’t see or smell
CO. It can cause unconsciousness and even death.
If you must drive with the trunk lid open or if
electrical wiring or other cable connections must
pass through the seal between the body and the
trunk lid:
0 Make sure all windows are shut.
”urn the fan on your heating or cooling
system to its highest speed with the setting
on AUTO and the temperature between
65°F (18°C) and 85°F (29°C). That will
force outside air into your vehicle. See
ccComfort Controls” in the Index.
If you have air outlets on or under the
instrument panel, open them all the
way.
See ccEngine Exhaust” in the Index.
2-10
Page 72 of 378
Downloaded from www.Manualslib.com manuals search engine Trunk Lock Release Trunk Lid Tie Down
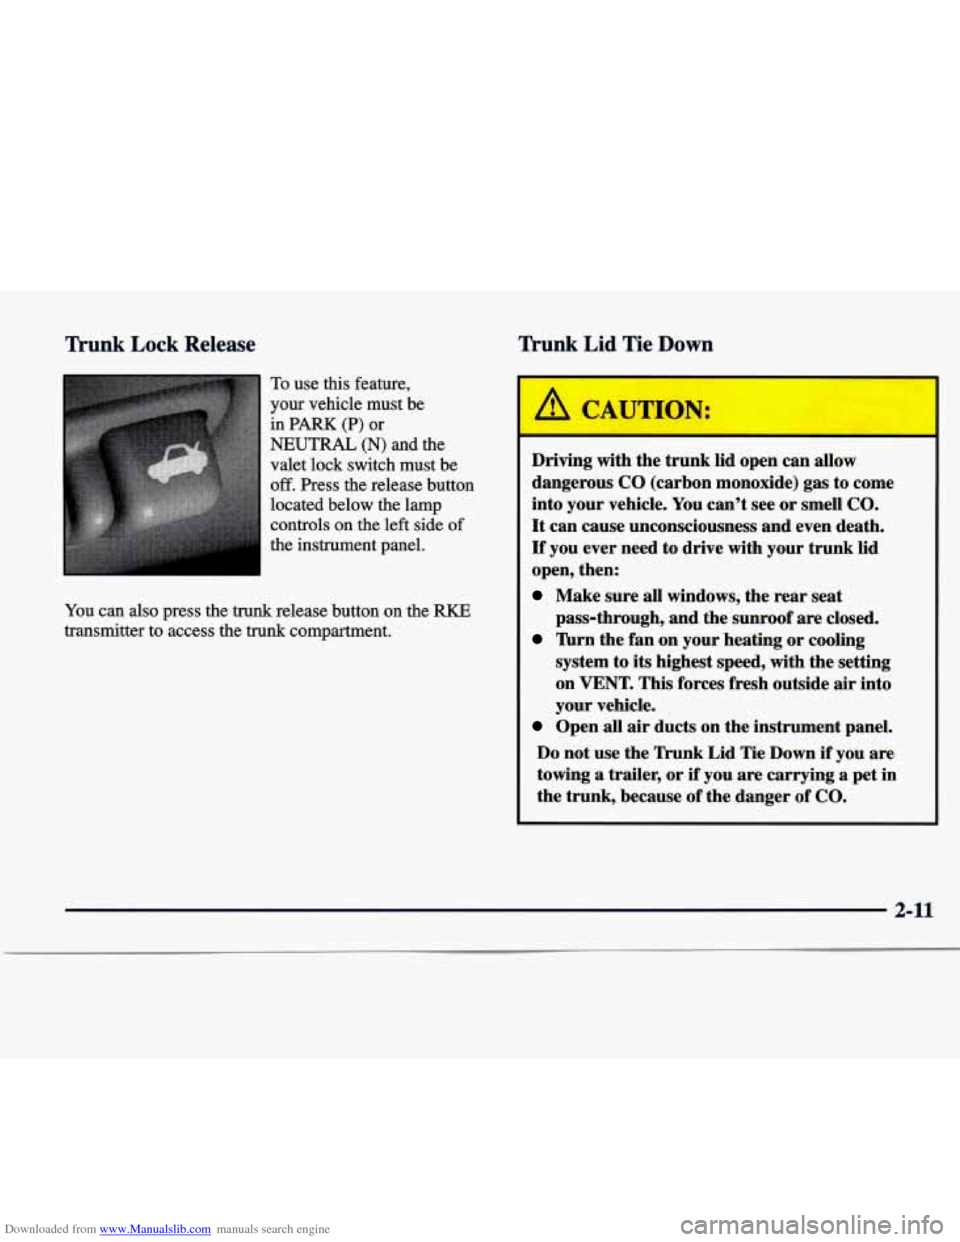
To use this feature,
your vehicle must be
in
PARK (P) or
NEUTRAL (N) and the
valet lock switch must be
off. Press the release button
located below the lamp
controls on the left side
of
the instrument panel.
You can also press the trunk release button on the RKE
transmitter to access the trunk compartment.
A CAUTION:
Driving with the trunk lid open can allow
dangerous
CO (carbon monoxide) gas to come
into your vehicle. You can't see or smell
CO.
It can cause unconsciousness and even death.
If you ever need to drive with your trunk lid
open, then:
Make sure all windows, the rear seat
'hrn the fan on your heating or cooling
pass-through, and the sunroof
are closed.
system to its highest speed, with the setting
on
VENT. This forces fresh outside air into
your vehicle.
Open all air ducts on the instrument panel.
Do not use the Trunk Lid Tie Down if you are
towing a trailer, or
if you are carrying a pet in
the trunk, because of the danger of
CO.
2-11
Page 87 of 378
Downloaded from www.Manualslib.com manuals search engine Before releasing the manual parking brake, be sure
to put the vehicle
in PARK (P) and turn the ignition
to
OFF.
Reach under the driver’s side of the instrument panel
and pull down on the manual release lever, which
is
located rearward of the parking brake pedal. A yellow
tab is attached to the manual release lever. If the
parking
brake does not release, you should have your vehicle
towed
to your dealer for service.
NOTICE:
Driving with the parking brake on can cause
your rear brakes
to overheat. You may have to
replace them and you could also damage other
parts of your vehicle.
If
you are towing a trailer and are parking on a hill, see
“Towing a Trailer”
in the Index. This section shows
what to do first to keep the trailer from moving.
Shifting Into PARK (P)
I
’
A CAUTIO,.:
It can be dangerous to get out of your vehicle if
the shift lever
is not fully in PARK (P) with the
parking brake firmly set. Your vehicle can roll. If
you have left the engine running, the vehicle can
move suddenly. You or others could be injured.
To be sure your vehicle won’t move, even when
you’re on fairly level ground, use the steps that
follow.
If you’re pulling a trailer, see “Towing a
Trailer” in the Index.
26
Page 94 of 378
Downloaded from www.Manualslib.com manuals search engine Turn SignaVMultifunction Lever
’hrn and Lane Change Signals
To signal a turn, move the lever on the left side of the
steering wheel all the
way up or down. The lever returns
automatically when the turn is complete.
I A I An arrow on the instrument
panel will flash in the
direction of the turn
or lane change.
Raise or lower the lever until the arrow starts to flash to
signal a lane change. Hold it there until the lane change
is complete. The lever returns when it’s released.
If the turn signal is left
on, a warning chime will sound
and the
DIC will display TURN SIGNAL ON (after
driving about a mile) to remind you to turn it off.
Arrows that flash rapidly when signaling for
a turn or
lane change may be caused by a burned-out signal bulb. Other drivers won’t see the turn signal.
Replace burned-out bulbs
to help avoid possible
accidents. Check the fuse (see “Fuses and Circuit Breakers”
in the Index) and check
for burned-out bulbs
if the arrow fails to work when signaling
a turn.
Headlamp High/Low-Beam Changer
Flash-To-Pass
When the headlamps are on,
push the lever to turn the headlamp high beams on, and pull it to the center
position
to turn on the low
beams. This light on the
instrument panel will be on,
indicating high-beam usage.
This lets
you use the high-beam headlamps to signal the
driver in front
of you that you want to pass.
Pull the turn signal lever toward you briefly to
flash-to-pass. When
you do:
If the headlamps are either off or in the DRL mode,
the high-beam headlamps will turn
on. They’ll stay
on as long as you hold the lever there. Release the
lever to turn them off.
If the headlamps are on low beam, low beam will
remain active and high beam will also illuminate
until you release the lever.