maintenance schedule CADILLAC SEVILLE 1998 4.G Owners Manual
[x] Cancel search | Manufacturer: CADILLAC, Model Year: 1998, Model line: SEVILLE, Model: CADILLAC SEVILLE 1998 4.GPages: 378, PDF Size: 21.99 MB
Page 143 of 378
Downloaded from www.Manualslib.com manuals search engine Once TIMER 0O:OO:OO is displayed, press the ON/OFF
button to start the timing feature. Press the ON/OFF
button again to stop it. If you will be starting and
stopping your vehicle, during a trip for instance, the
TIMER feature will automatically start timing where it
left off when you last stopped.
To reset it, press and hold
the INFO RESET button until the display reads TIMER
0O:OO:OO. Press the INFO button to exit from the
TIMER function.
ENGINE OIL LIFE (Reset): Press the INFO button to
display the ENGINE OIL LIFE, then press and hold
the
INFO RESET button until 100% ENGINE OIL LIFE is
displayed. (This only needs to be reset after you have
had the oil changed.)
Transmission Fluid Life Monitor: Under normal
conditions, the rate of deterioration
of the transmission
fluid is slow. See the Maintenance Schedule booklet for
proper fluid and change intervals. Press the INFO button
to display the TRANS FLUID LEFT, then press and
hold the INFO RESET button until
100% TRANS
FLUID LEFT is displayed. (This only needs to be reset after you have had the fluid changed.)
Driver Information Center Messages
These messages will appear if there is a problem sensed
in one of your vehicle’s systems. Vehicles that
are first
sold in Canada will have a number after each message.
This number helps to identify the message which is only
displayed in English.
BATTERY NOT CHARGING - 7: This message will
appear if the battery is not being charged. Have the
electrical system checked by your dealership at your
earliest convenience.
BATTERY SAVER ACTIVE - 27: This message is
displayed when the vehicle has detected that the battery
voltage is dropping beyond a reasonable point. The
battery saver system will start reducing certain features
of the vehicle that you may not be able to notice. At the
point that features are disabled, this message is displayed. It is used to convey that the vehicle is trying
to save the charge in the battery. Turn
off unnecessary
accessories to allow the battery to recharge.
ENGMET: Press this button to display information in
the English (miles) or metric (kilometers) system.
2-82
Page 144 of 378
Downloaded from www.Manualslib.com manuals search engine BATTERY VOLTAGE HIGH - 8: This message shows
that the electrical charging system is overcharging (more
than 16 volts). To avoid being stranded, have the electrical
system checked by your dealership.
You can reduce the
charging overload by using the accessories.
Turn on the
lamps and radio, set the climate control on
AUTO and the
fan speed on
HI, and turn the rear window defogger on.
You can monitor battery voltage on the DIC by pressing
the
INFiO button. The normal range is 11.5 to 15.5 volts
when the engine is running.
BATTERY VOLTAGE LOW - 6: This message will
appear when the electrical system is charging less than
9 volts or if the battery has been drained. If this message
appears immediately after starting, it
is possible that the
generator can still recharge the battery. The battery should recharge while driving but may take a few hours
to do
so. Consider using an auxiliary charger (be sure to
follow the manufacturer’s instructions) to boost the
battery after returning home or to a final destination. If
this message appears while driving or after starting your
vehicle and stays on, have
it checked immediately to
determine the cause of this problem.
To help the
generator recharge the battery quickly, you can reduce
the load on the electrical system by turning
off the
accessories.
You can monitor battery voltage on the DIC
by pressing the INFO button. The normal range is 11.5
to 15.5 volts.
CHANGE BRAKE PADS - 125: This message is used
to notify you that the brake pads may have worn down.
A sensor is connected to the brake pads and is triggered
when they wear to a certain point. Have the front and
rear brakes serviced by your dealer as soon as possible.
CHANGE TRANS FLUID - 47: This message will
appear when
it is time to replace the transaxle fluid. See
the Maintenance Schedule booklet for the proper fluid and change intervals.
CHECK BRAKE FLUID - 37: This message will
display if the ignition is in
ON to inform the driver that
the brake fluid level is low. Have the brake system
serviced by a technician as soon as possible. See “Brake
System Warning Light” in the Index.
CHECK COOLANT LEVEL - 2: This message will
appear when there is a low level of engine coolant. Have
the cooling system serviced by a technician as soon
as possible.
CHANGE ENGINE OIL - 82: This means that the life
of the engine oil has expired and it should be changed
within
200 miles. See “Engine Oil” and “Filter
Recommendations” in the Maintenance Schedule
booklet. After
an oil change, the Oil Life Indicator must
be reset. See “Oil Life Indicator” in the Index
on how to
reset
it.
2-83
Page 150 of 378
Downloaded from www.Manualslib.com manuals search engine Oil Life Indicator
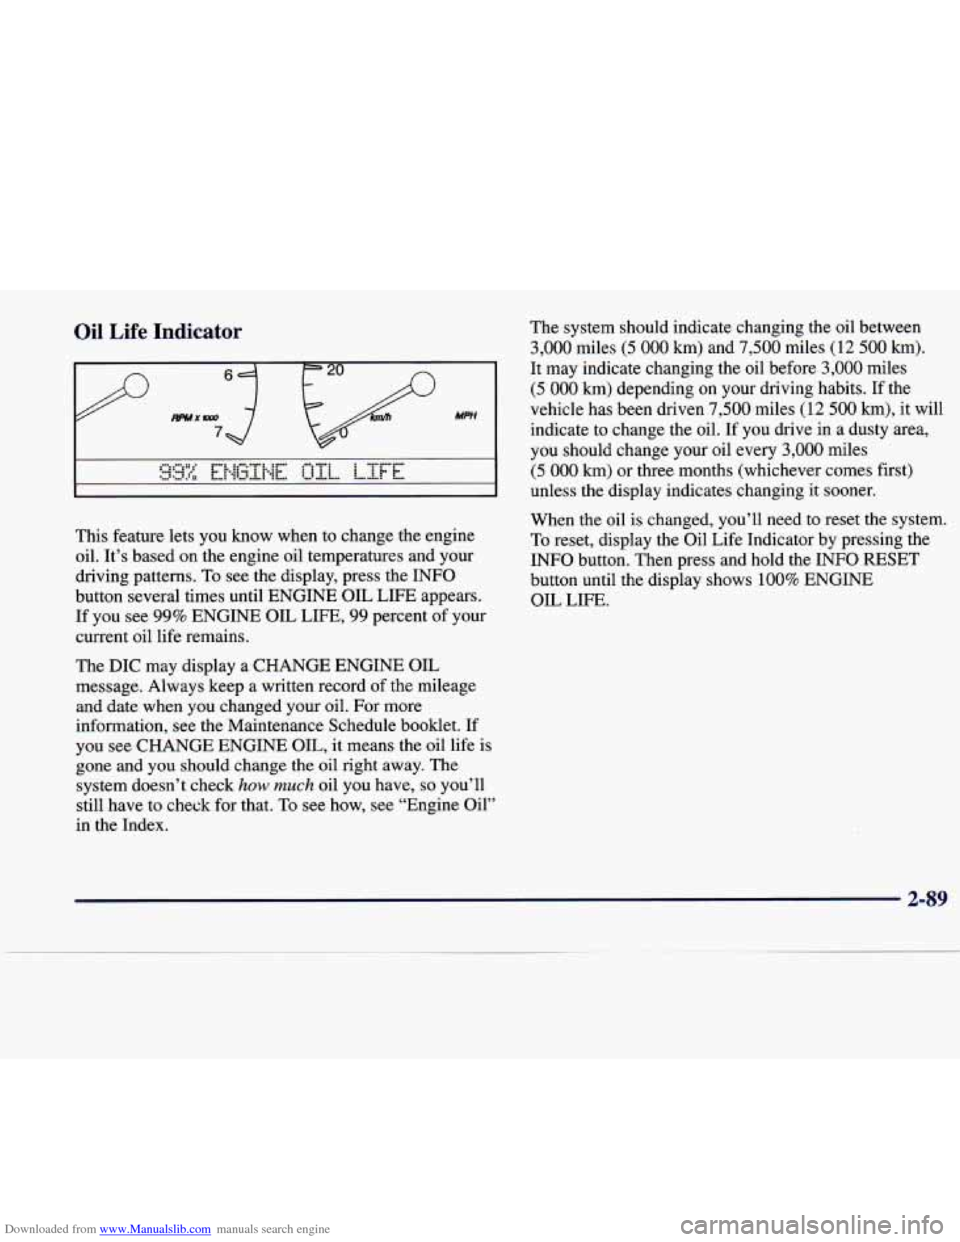
This feature lets you know when to change the engine
oil. It's based on the engine oil temperatures and your
driving patterns. To see the display, press the INFO
button several times until ENGINE OIL LIFE appears.
If you see 99% ENGINE OIL LIFE, 99 percent of your
current oil life remains.
The DIC may display a CHANGE ENGINE OIL
message. Always keep a written record of the mileage
and date when
you changed your oil. For more
information, see the Maintenance Schedule booklet. If
you see CHANGE ENGINE OIL, it means the oil life
is
gone and you should change the oil right away. The
system doesn't check
how much oil you have, so you'll
still have to check for that.
To see how, see "Engine Oil"
in the Index. The
system should indicate changing the oil between
3,000 miles (5 000 km) and 7,500 miles (12 500 km).
It may indicate changing the oil before 3,000 miles
(5 000 km) depending on your driving habits. If the
vehicle has been driven
7,500 miles (12 500 km), it will
indicate to change the oil. If you drive
in a dusty area,
you should change your oil every
3,000 miles
(5 000 km) or three months (whichever comes first)
unless the display indicates changing it sooner.
When the oil is changed, you'll need to reset the system.
To reset, display the Oil Life Indicator by pressing the
INFO button. Then press and hold the INFO RESET
button until the display shows
100% ENGINE
OIL LIFE.
2-89
Page 160 of 378
Downloaded from www.Manualslib.com manuals search engine Ventilation Tips
0 Keep the hood and front air inlet free of ice, snow or
any other obstruction (such as leaves). The heater
and defroster will work far better, reducing the
chance of fogging the inside of the windows.
of objects. This helps circulate air throughout
your vehicle.
0 Keep the air path under the front seats clear
Passenger Compartment Air Filter
Passenger compartment air, both outside air and
recirculated air, is routed through
a passenger
compartment filter, which is part of
a three-piece filter
system. The filter removes certain contaminants from
the air, including pollen and dust particles. Reductions
in airflow, which
may occur more quickly in dusty
areas, indicate that the filter needs to be replaced early. The
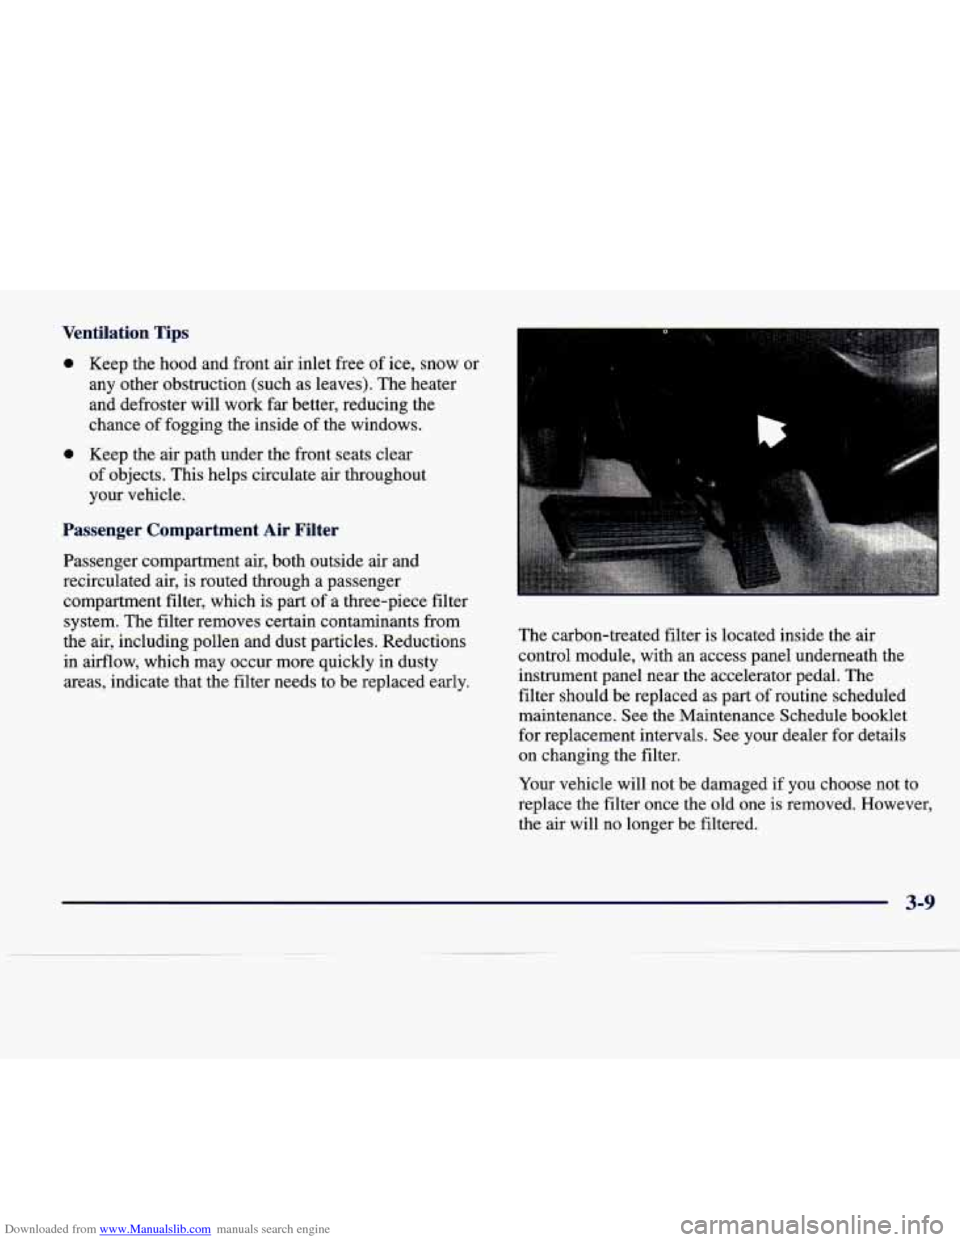
carbon-treated filter is located inside the air
control module, with an access panel underneath the
instrument panel near the accelerator pedal. The
filter should be replaced as part of routine scheduled
maintenance. See the Maintenance Schedule booklet
for replacement intervals. See your dealer for details
on changing the filter.
Your vehicle will not be damaged if
you choose not to
replace the filter once the old one is removed. However,
the air will no longer be filtered.
3-9
Page 235 of 378
Downloaded from www.Manualslib.com manuals search engine When You Are Ready to Leave After
Parking on a Hill
1. Apply your regular brakes and hold the pedal down
while you:
0 Start your engine;
0 Shift into a gear; and
0 Be sure the parking brake has released.
2. Let up on the brake pedal.
3. Drive slowly until the trailer is clear of the chocks.
4. Stop and have someone pick up and store the chocks.
Maintenance When Trailer Towing
Your vehicle will need service more often when you’re
pulling a trailer. See the Maintenance Schedule booklet
for more on this. Things that are especially important
in trailer operation are automatic transaxle fluid (don’t
overfill), engine oil, drive belt, cooling system and
brake adjustment.
If you’re trailering, it’s a good idea to
review this information before you start your trip.
Check periodically to see that all hitch nuts and bolts
are tight.
Engine Cooling When Trailer Towing
Your cooling system may temporarily overheat during
severe operating conditions. See “Engine Overheating’’
in the Index.
4-38
Page 277 of 378
Downloaded from www.Manualslib.com manuals search engine Service
Your dealer knows your vehicle best and wants you to
be happy with it. We hope you’ll go to your dealer for
all your service needs. You’ll get genuine GM parts and
GM-trained and supported service people.
We hope you’ll want to keep your GM vehicle all GM.
Genuine
GM parts have one of these marks:
Genuine
Doing Your Own Service Work
If you want to do some of your own service work, you’ll
want to use the proper Cadillac Service Manual. It tells
you much more about how to service your vehicle than
this manual can.
To order the proper service manual, see
“Service and Owner Publications” in the Index.
Your vehicle has an air bag system. Before attempting to
do your own service work, see “Servicing Your Air
Bag-Equipped Vehicle” in the Index.
You should keep a record with all parts receipts and list
the mileage and the date of any service work you
perform. See “Maintenance Record” in the Maintenance
Schedule Booklet.
6-2
Page 293 of 378
Downloaded from www.Manualslib.com manuals search engine Follow these steps to reinstall the air cleaner assembly:
1.
2.
3.
4.
5.
Slide the air cleaner lid into the slots in the bottom of
the air cleaner base.
Close the cover and make sure that both latches are
secure and fully engaged.
Reinstall the clean air duct over the mass airflow
sensor. Make sure that the duct is secure around the
entire outer edge of the sensor.
Tighten the air duct clamp. Reconnect the
MI’ sensor.
Refer to the Maintenance Schedule
to determine when to
replace the air filter.
See “Scheduled Maintenance Services” in the
Maintenance Schedule booklet.
’ A ( JTION:
Operating the engine with the air cleaner off can
cause you or others to be burned, The
air cleaner
not only cleans the
air, it stops flame if the engine
backfires.
If it isn’t there, and the engine
backfires, you could be burned. Don’t drive with
it
off, and be careful working on the engine with
the air cleaner off.
I NOTICE:
If the air cleaner is off, a backfire can cause a
damaging engine fire. And, dirt can easily get
into your engine, which will damage it. Always
have the air cleaner in place when you’re driving.
6-18
Page 294 of 378
Downloaded from www.Manualslib.com manuals search engine Automatic Transaxle Fluid
When to Check and Change
A good time to check your automatic transaxle fluid
level is when the engine oil is changed.
Change both the fluid and filter every
50,000 miles
(83 000 km) if the vehicle is mainly driven under one
or more of these conditions:
0 In heavy city traffic where the outside temperature
0 In hilly or mountainous terrain. regularly reaches
90 OF (32 O C) or higher.
0 When doing frequent trailer towing.
0 Uses such as found in taxi, police or delivery service.
If you do not use your vehicle under any of these
conditions, the fluid and filter do not require change
until the message CHANGE
TRANS FLUID appears on
the Driver Information Center.
See “Scheduled Maintenance Services” in the Index.
How to Check
Because this operation can be a little difficult, you may
choose to have this done
at your Cadillac dealership
Service Department.
If you do it yourself, be sure to follow all the instructions
here, or you could get a false reading on the dipstick.
1 NOTICE: - -1
Too much or too little fluid can damage your
transaxle.
Too much can mean that some of the
fluid could come out and fall on hot engine parts or exhaust system parts, starting a fire. Be sure to
get an accurate reading if you check your
transaxle fluid.
Wait at least 30 minutes before checking the transaxle
fluid level if you have been driving:
When outside temperatures are above 90°F (32°C).
At high speed for quite a while.
In heavy traffic -- especially in hot weather.
0 While pulling a trailer.
6-19
Page 296 of 378
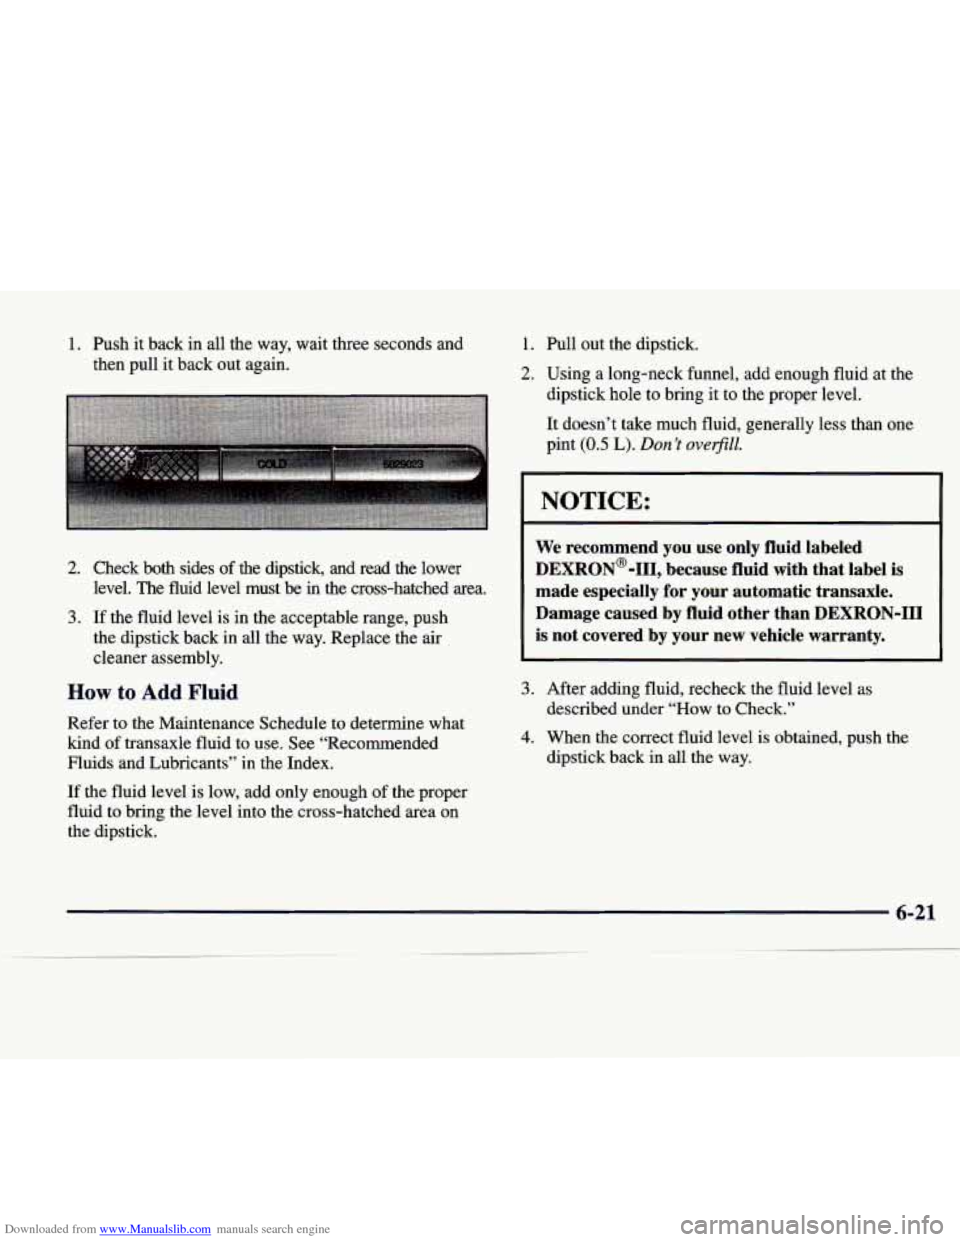
Downloaded from www.Manualslib.com manuals search engine 1. Push it back in all the way, wait three seconds and
then pull it back out again.
2. Check both sides of the dipstick, and read the lower
3. If the fluid level is in the acceptable range, push
the dipstick back in all the way. Replace the air
cleaner assembly. level. The fluid level must be in the cross-hatched area.
How to Add Fluid
Refer to the Maintenance Schedule to determine what
kind of transaxle fluid
to use. See “Recommended
Fluids and Lubricants” in the Index.
If the fluid level is low, add only enough of the proper
fluid to bring the level into the cross-hatched area on
the dipstick.
1. Pull out the dipstick.
2. Using a long-neck funnel, add enough fluid at the
dipstick hole
to bring it to the proper level.
It doesn’t take much fluid, generally less than one
pint
(0.5 L). Don’t overfill.
I NOTICE: I
We recommend you use only fluid labeled
DEXRON@-111, because fluid with that label is
made especially
for your automatic transaxle.
Damage caused by fluid other than DEXRON-I11
is not covered by your new vehicle warranty.
3. After adding fluid, recheck the fluid level as
described under
“How to Check.”
4. When the correct fluid level is obtained, push the
dipstick back in all the way.
Page 301 of 378
Downloaded from www.Manualslib.com manuals search engine Power Steering Fluid
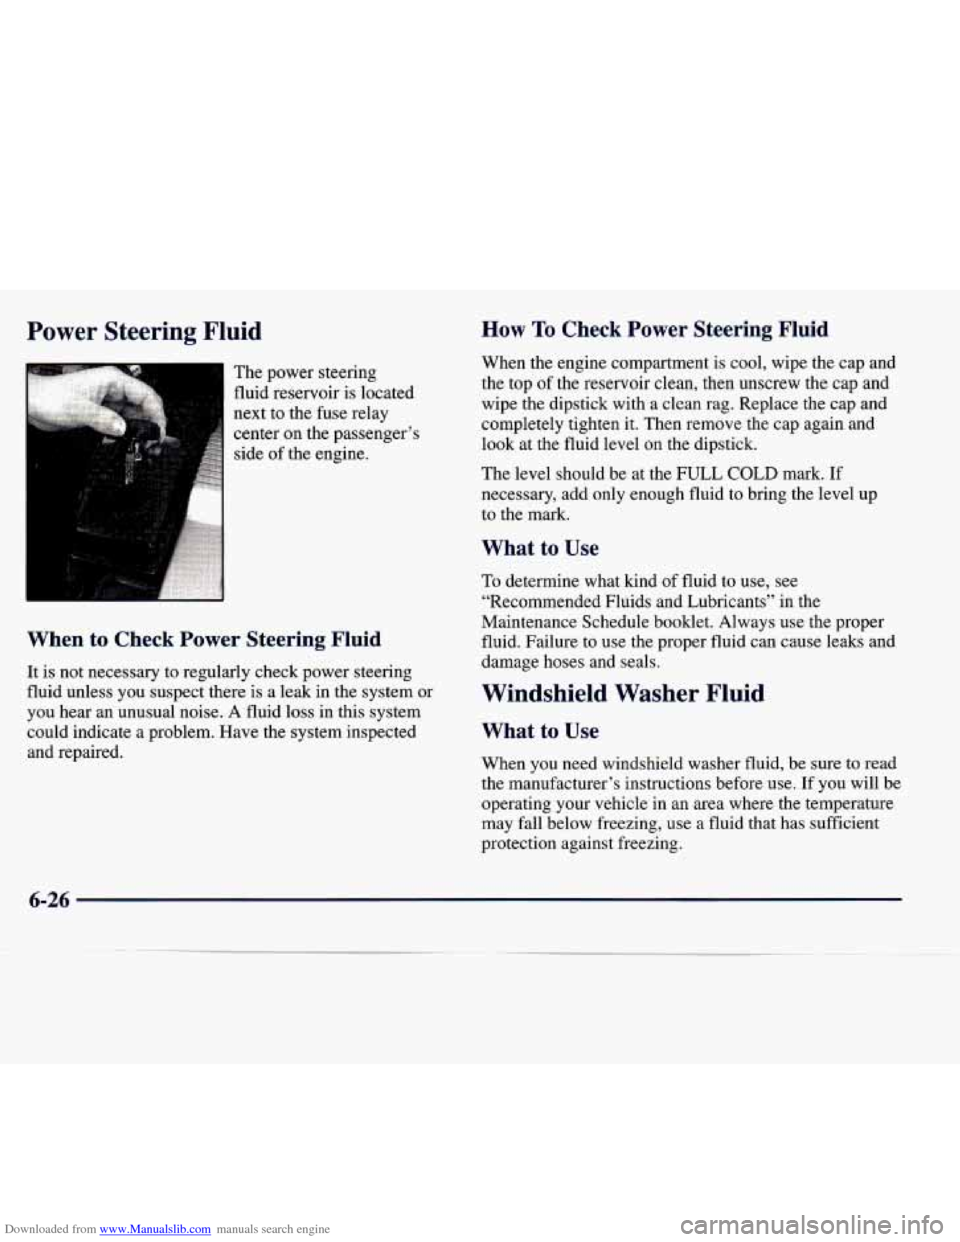
The power steering
fluid reservoir is located
next to the fuse relay
center on the passenger’s
side of the engine.
When to Check Power Steering Fluid
It is not necessary to regularly check power steering
fluid unless you suspect there
is a leak in the system or
you hear an unusual noise. A fluid loss in this system
could indicate a problem. Have the system inspected
and repaired.
How To Check Power Steering Fluid
When the engine compartment is cool, wipe the cap and
the top of the reservoir clean, then unscrew the cap and
wipe the dipstick with a clean rag. Replace the cap and
completely tighten it. Then remove the cap again and
look at the fluid level on the dipstick.
The level should be at the
FULL COLD mark. If
necessary, add only enough fluid
to bring the level up
to the mark.
What to Use
To determine what kind of fluid to use, see
“Recommended Fluids and Lubricants” in the
Maintenance Schedule booklet. Always use the proper
fluid, Failure
to use the proper fluid can cause leaks and
damage hoses and seals.
Windshield Washer Fluid
What to Use
When you need windshield washer fluid, be sure to read
the manufacturer’s instructions before use.
If you will be
operating your vehicle
in an area where the temperature
may fall below freezing, use a fluid that has sufficient
protection against freezing.
6-26