battery location CADILLAC SEVILLE 2004 5.G Owners Manual
[x] Cancel search | Manufacturer: CADILLAC, Model Year: 2004, Model line: SEVILLE, Model: CADILLAC SEVILLE 2004 5.GPages: 410, PDF Size: 2.64 MB
Page 63 of 410
Remote Keyless Entry System
Your keyless entry system operates on a radio
frequency subject to Federal Communications
Commission (FCC) Rules and with Industry Canada.
This device complies with Part 15 of the FCC Rules.
Operation is subject to the following two conditions:
1. This device may not cause interference, and
2. This device must accept any interference received,
including interference that may cause undesired
operation of the device.
This device complies with RSS-210 of Industry Canada.
Operation is subject to the following two conditions:
1. This device may not cause interference, and
2. This device must accept any interference received,
including interference that may cause undesired
operation of the device.
Changes or modifications to this system by other than
an authorized service facility could void authorization to
use this equipment.At times you may notice a decrease in range. This is
normal for any remote keyless entry system. If the
transmitter does not work or if you have to stand closer
to your vehicle for the transmitter to work, try this:
•Check the distance. You may be too far from your
vehicle. You may need to stand closer during
rainy or snowy weather.
•Check the location. Other vehicles or objects may
be blocking the signal. Take a few steps to the
left or right, hold the transmitter higher, and
try again.
•Check to determine if battery replacement is
necessary. See “Battery Replacement” under
Remote Keyless Entry System Operation on
page 2-6.
•If you are still having trouble, see your dealer or a
qualified technician for service.
2-5
Page 66 of 410
Battery Replacement
Under normal use, the battery in your remote keyless
entry transmitter should last about four years.
You can tell the battery is weak if the transmitter will not
work at the normal range in any location. If you have
to get close to your vehicle before the transmitter works,
it is probably time to change the battery.
Notice:When replacing the battery, use care not to
touch any of the circuitry. Static from your body
transferred to these surfaces may damage the
transmitter.
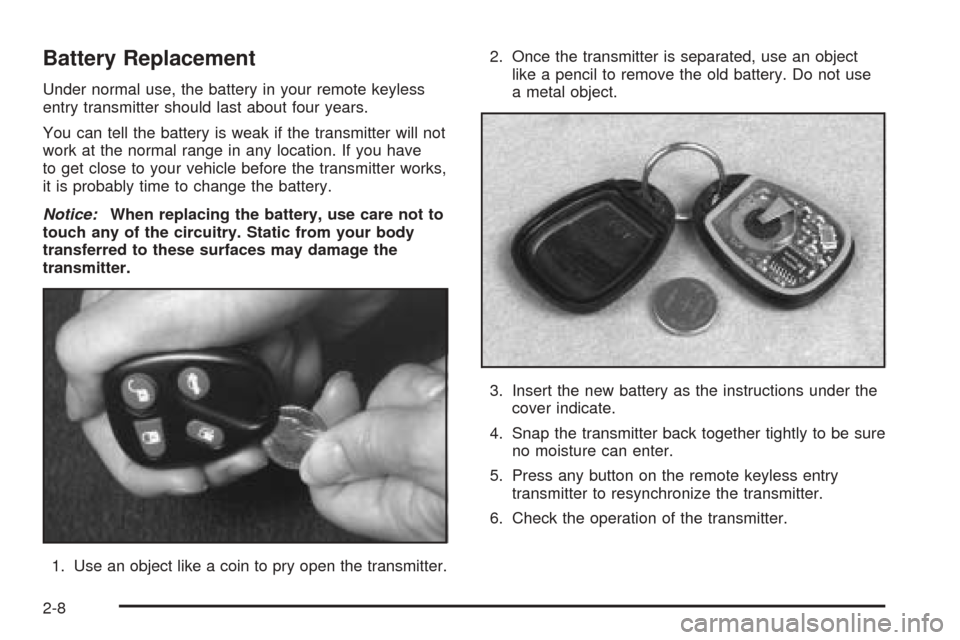
1. Use an object like a coin to pry open the transmitter.2. Once the transmitter is separated, use an object
like a pencil to remove the old battery. Do not use
a metal object.
3. Insert the new battery as the instructions under the
cover indicate.
4. Snap the transmitter back together tightly to be sure
no moisture can enter.
5. Press any button on the remote keyless entry
transmitter to resynchronize the transmitter.
6. Check the operation of the transmitter.
2-8
Page 213 of 410
Cellular Phone Usage
Cellular phone usage may cause interference with your
vehicle’s radio. This interference may occur when making
or receiving phone calls, charging the phone’s battery, or
simply having the phone on. This interference is
described as an increased level of static while listening to
the radio. If you notice static while listening to the radio,
unplug the cellular phone and turn it off.
Weather Band
Weather band is restricted to speech and the audio
quality is not as good as with the AM or FM bands.
Depending on location, the radio should receive one or
two channels.
Care of Your Cassette Tape Player
A tape player that is not cleaned regularly can cause
reduced sound quality, ruined cassettes, or a damaged
mechanism. Cassette tapes should be stored in their
cases away from contaminants, direct sunlight, and
extreme heat. If they are not, they may not operate
properly or may cause failure of the tape player.Your tape player should be cleaned regularly after every
50 hours of use. Your radio may display CLEAN
TAPE to indicate that you have used your tape player
for 50 hours without resetting the tape clean timer. If this
message appears on the display, your cassette tape
player needs to be cleaned. It will still play tapes,
but you should clean it as soon as possible to prevent
damage to your tapes and player. If you notice a
reduction in sound quality, try a known good cassette to
see if the tape or the tape player is at fault. If this
other cassette has no improvement in sound quality,
clean the tape player.
For best results, use a scrubbing action, non-abrasive
cleaning cassette with pads which scrub the tape
head as the hubs of the cleaner cassette turn. The
recommended cleaning cassette is available through
your dealer.
3-101
Page 304 of 410
4. Open the hoods and locate the positive (+) and
negative (−) terminal locations on the other
vehicle. Your vehicle has a remote (+) jump starting
terminal and a remote negative (−) jump starting
terminal. You should always use these remote
terminals instead of the terminals on the battery.
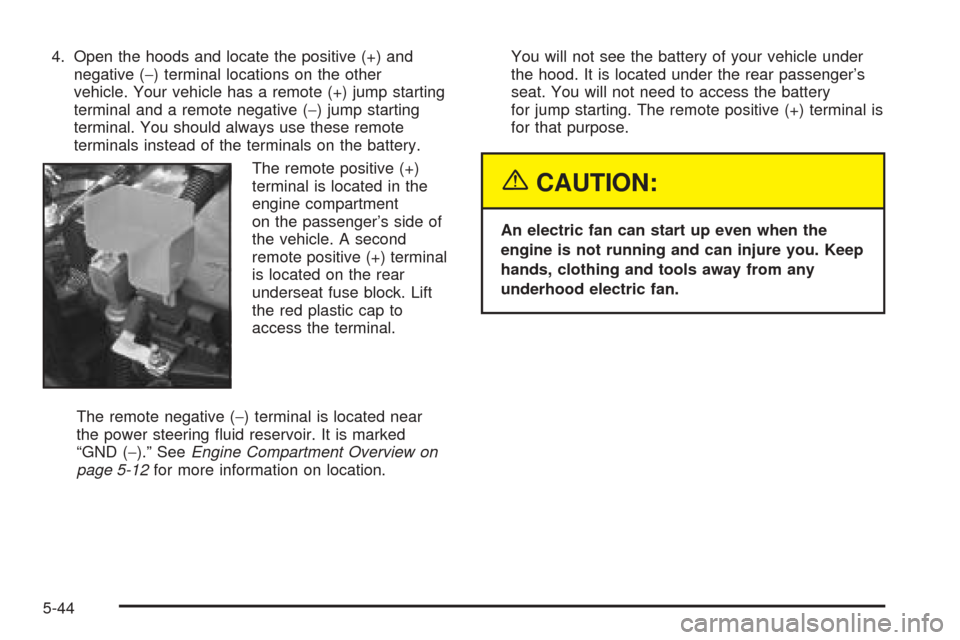
The remote positive (+)
terminal is located in the
engine compartment
on the passenger’s side of
the vehicle. A second
remote positive (+) terminal
is located on the rear
underseat fuse block. Lift
the red plastic cap to
access the terminal.
The remote negative (−) terminal is located near
the power steering fluid reservoir. It is marked
“GND (−).” SeeEngine Compartment Overview on
page 5-12for more information on location.You will not see the battery of your vehicle under
the hood. It is located under the rear passenger’s
seat. You will not need to access the battery
for jump starting. The remote positive (+) terminal is
for that purpose.
{CAUTION:
An electric fan can start up even when the
engine is not running and can injure you. Keep
hands, clothing and tools away from any
underhood electric fan.
5-44
Page 306 of 410
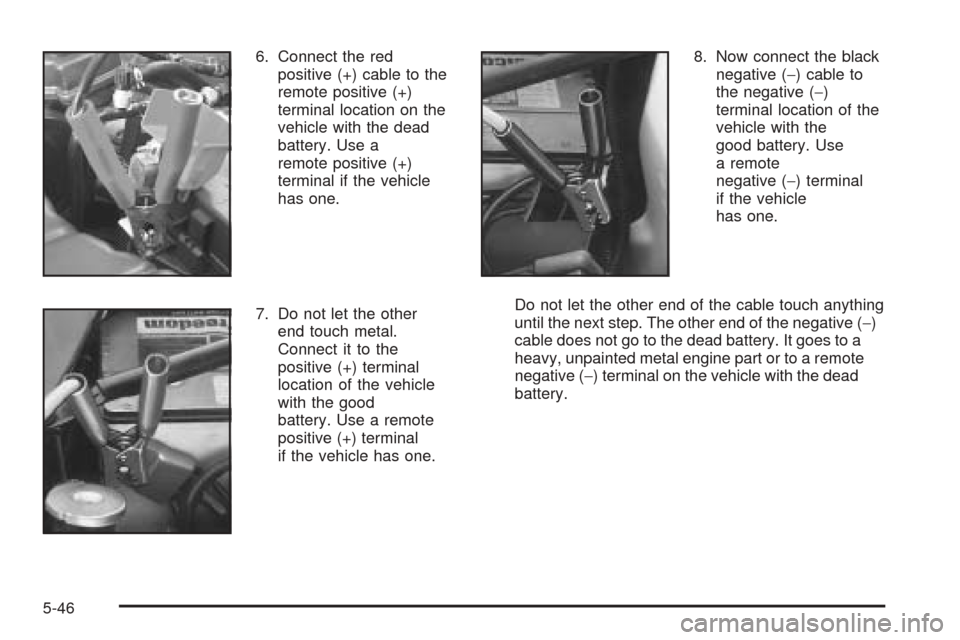
6. Connect the red
positive (+) cable to the
remote positive (+)
terminal location on the
vehicle with the dead
battery. Use a
remote positive (+)
terminal if the vehicle
has one.
7. Do not let the other
end touch metal.
Connect it to the
positive (+) terminal
location of the vehicle
with the good
battery. Use a remote
positive (+) terminal
if the vehicle has one.8. Now connect the black
negative (−) cable to
the negative (−)
terminal location of the
vehicle with the
good battery. Use
a remote
negative (−) terminal
if the vehicle
has one.
Do not let the other end of the cable touch anything
until the next step. The other end of the negative (−)
cable does not go to the dead battery. It goes to a
heavy, unpainted metal engine part or to a remote
negative (−) terminal on the vehicle with the dead
battery.
5-46
Page 307 of 410
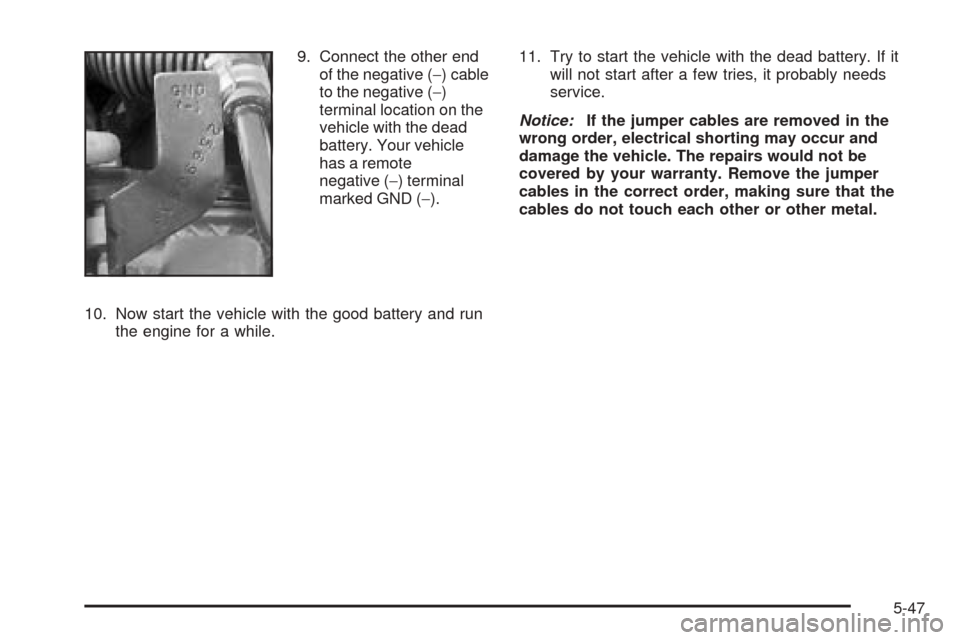
9. Connect the other end
of the negative (−) cable
to the negative (−)
terminal location on the
vehicle with the dead
battery. Your vehicle
has a remote
negative (−) terminal
marked GND (−).
10. Now start the vehicle with the good battery and run
the engine for a while.11. Try to start the vehicle with the dead battery. If it
will not start after a few tries, it probably needs
service.
Notice:If the jumper cables are removed in the
wrong order, electrical shorting may occur and
damage the vehicle. The repairs would not be
covered by your warranty. Remove the jumper
cables in the correct order, making sure that the
cables do not touch each other or other metal.
5-47