low beam CADILLAC SEVILLE 2004 5.G Owners Manual
[x] Cancel search | Manufacturer: CADILLAC, Model Year: 2004, Model line: SEVILLE, Model: CADILLAC SEVILLE 2004 5.GPages: 410, PDF Size: 2.64 MB
Page 121 of 410
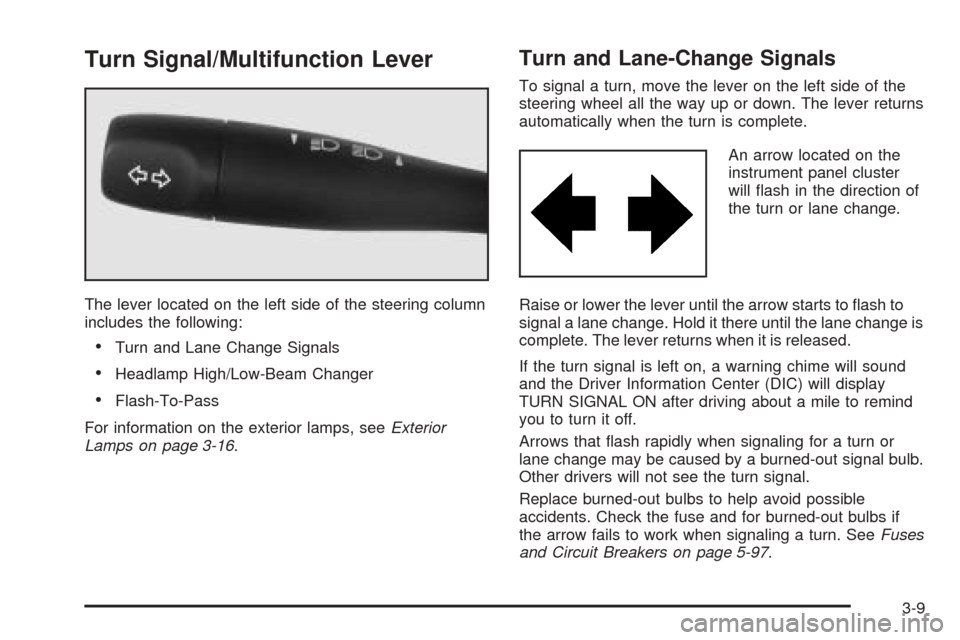
Turn Signal/Multifunction Lever
The lever located on the left side of the steering column
includes the following:
•Turn and Lane Change Signals
•Headlamp High/Low-Beam Changer
•Flash-To-Pass
For information on the exterior lamps, seeExterior
Lamps on page 3-16.
Turn and Lane-Change Signals
To signal a turn, move the lever on the left side of the
steering wheel all the way up or down. The lever returns
automatically when the turn is complete.
An arrow located on the
instrument panel cluster
will flash in the direction of
the turn or lane change.
Raise or lower the lever until the arrow starts to flash to
signal a lane change. Hold it there until the lane change is
complete. The lever returns when it is released.
If the turn signal is left on, a warning chime will sound
and the Driver Information Center (DIC) will display
TURN SIGNAL ON after driving about a mile to remind
you to turn it off.
Arrows that flash rapidly when signaling for a turn or
lane change may be caused by a burned-out signal bulb.
Other drivers will not see the turn signal.
Replace burned-out bulbs to help avoid possible
accidents. Check the fuse and for burned-out bulbs if
the arrow fails to work when signaling a turn. SeeFuses
and Circuit Breakers on page 5-97.
3-9
Page 122 of 410
Headlamp High/Low-Beam Changer
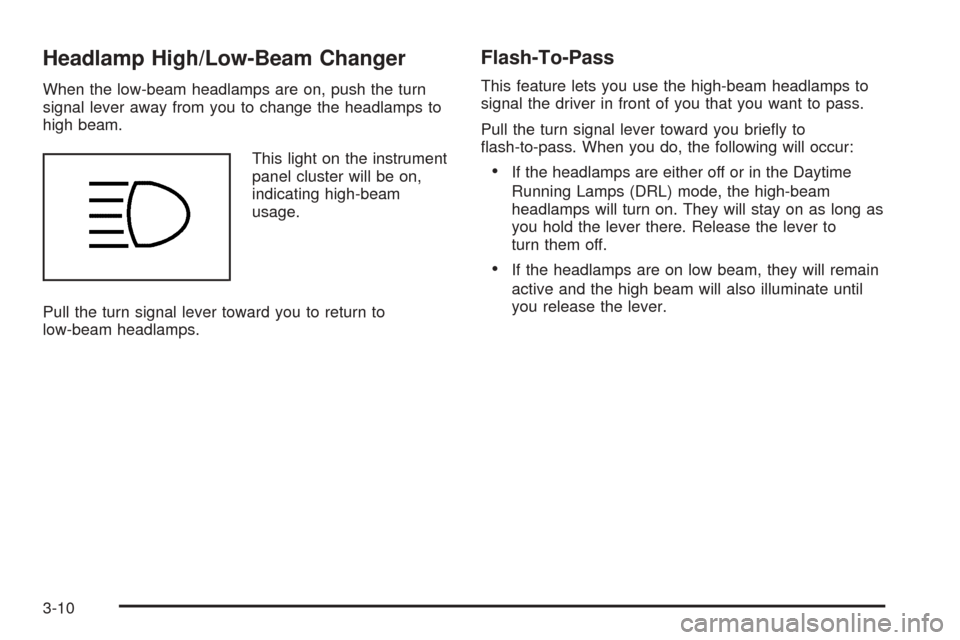
When the low-beam headlamps are on, push the turn
signal lever away from you to change the headlamps to
high beam.
This light on the instrument
panel cluster will be on,
indicating high-beam
usage.
Pull the turn signal lever toward you to return to
low-beam headlamps.
Flash-To-Pass
This feature lets you use the high-beam headlamps to
signal the driver in front of you that you want to pass.
Pull the turn signal lever toward you briefly to
flash-to-pass. When you do, the following will occur:
•If the headlamps are either off or in the Daytime
Running Lamps (DRL) mode, the high-beam
headlamps will turn on. They will stay on as long as
you hold the lever there. Release the lever to
turn them off.
•If the headlamps are on low beam, they will remain
active and the high beam will also illuminate until
you release the lever.
3-10
Page 130 of 410
Daytime Running Lamps
Daytime Running Lamps (DRL) can make it easier for
others to see the front of your vehicle during the
day. DRL can be helpful in many different driving
conditions, but they can be especially helpful in the short
periods after dawn and before sunset. Fully functional
daytime running lamps are required on all vehicles
first sold in Canada.
The DRL system will make the high-beam headlamps
come on at reduced brightness when the following
conditions are met:
•It is still daylight and the ignition is on,
•the exterior lamp control is in the off position and
•the transaxle is not in PARK (P).
When DRL are on, only your high-beam headlamps (at
reduced brightness) will be on. No other exterior
lamps such as the parking lamps, taillamps, etc. will be
on when the DRL are being used. Your instrument
panel will not be lit up either.
When the Twilight Sentinel
®lever is on and it is dark
enough outside, the high-beam headlamps (at reduced
intensity) will turn off and normal low-beam headlamp
operation will occur.When the Twilight Sentinel
®lever is on and it is bright
enough outside, the regular lamps will go off, and
the high-beam headlamps at reduced brightness will
take over. If you start your vehicle in a dark garage, the
automatic headlamp system will come on immediately.
Once you leave the garage, it will take approximately
one minute for the automatic headlamp system to
change to DRL if it is light outside. During that delay,
your instrument panel cluster may not be as bright
as usual. Make sure your instrument panel brightness
knob is in the full bright position. See “Instrument Panel
Brightness” underInterior Lamps on page 3-22.
If it is dark enough outside and the Twilight Sentinel
®
lever is off, a HEADLAMPS SUGGESTED message will
display on the Driver’s Information Center (DIC). This
message informs the driver that turning on the exterior
lamps is recommended even though the DRL are
still illuminated. Turning on the Twilight Sentinel
®or the
headlamps will deactivate the DRL and remove the
HEADLAMPS SUGGESTED message. If the parking
lamps or the fog lamps were turned on instead, the DRL
will still deactivate and the HEADLAMPS SUGGESTED
message will continue to be displayed.
3-18
Page 131 of 410
To idle your vehicle with the DRL off at night, turn off
the Twilight Sentinel®and shift the transaxle into
PARK (P). Placing your vehicle in PARK (P) disables
the DRL. The DRL will stay off until you shift out
of PARK (P).
To drive your vehicle with the DRL off, turn off the
Twilight Sentinel
®and manually turn on the parking
lamps or fog lamps.
As with any vehicle, you should turn on the regular
headlamp system when you need it.
Fog Lamps
Use the fog lamps for better vision in foggy or misty
conditions.
-(Fog Lamps):Press the button with this symbol on
it, located next to the exterior lamp control, to turn the
fog lamps on.
When the ignition is on and you press the fog lamp
button, a small indicator light in the fog lamp button, the
LIGHTS ON and fog lamp indicator lights on the
instrument panel cluster will come on to indicate that the
fog and the parking lamps are on.Press the fog lamp button again to turn off the fog
lamps.
If you turn on the high-beam headlamps, the fog lamps
will turn off. They will turn back on again when you
switch to low-beam headlamps.
When the Twilight Sentinel
®is on and the fog lamps are
turned on, the fog lamps, headlamps and parking
lamps will remain on.
The ignition must be on for the fog lamps to operate.
Cornering Lamps
The cornering lamps come on when the headlamps or
parking lamps are on and you signal a turn with the
multifunction lever. They provide more light for
cornering.
3-19
Page 135 of 410
Entry Lighting
The entry lighting system automatically turns on the
courtesy lamps and the backlighting to the door switches
and to the exterior lamp control when a door is opened
or if you press the remote keyless entry transmitter
unlock button. If activated due to the transmitter,
the lighting will remain active for about 40 seconds.
Since the entry lighting system uses the light sensor, it
must be dark outside in order for the courtesy lamps
to turn on. The courtesy lamps turn off approximately
25 seconds after the last door is closed. They will dim to
off if the ignition key is placed in ON, or immediately
deactivate if the power locks are activated.
Parade Dimming
This feature prohibits dimming of the digital displays and
backlighting during daylight hours when the key is in
the ignition and the headlamps are on. This feature
operates with the light sensor for the Twilight
Sentinel
®and is fully automatic. When the light sensor
reads darkness outside and the parking lamps are
active, the digital displays can be adjusted by turning
the instrument panel brightness knob counterclockwise
to dim and clockwise to brighten lighting.
Reading Lamps
The front reading lamps are located in the overhead
console. These lamps and the interior courtesy lamps
come on when a door is opened and it is dark outside.
The rear reading lamps will not come on when a
front door is opened.
The rear courtesy lamps are located on the rear
headliner above the rear seat outboard positions. When
a rear door is opened, both the front and rear reading
lamps come on with the courtesy lamps.
Press the button near each lamp to turn it on and off.
If the reading lamps are left on, they automatically shut
off 10 minutes after the ignition has been turned off.
Battery Load Management
The battery load management feature is designed to
monitor the vehicle’s electrical load and determine when
the battery is in a heavy discharge condition. During
times of high electrical loading, the engine may idle at a
higher revolutions per minute (rpm) setting than
normal to make sure the battery charges. High electrical
loads may occur when several of the following are
on: headlamps, high beams, fog lamps, rear window
defogger, the climate control fan at high speeds, heated
seats and engine cooling fans.
3-23
Page 232 of 410
You can be temporarily blinded by approaching
headlamps. It can take a second or two, or even several
seconds, for your eyes to readjust to the dark. When you
are faced with severe glare (as from a driver who does
not lower the high beams, or a vehicle with misaimed
headlamps), slow down a little. Avoid staring directly into
the approaching headlamps.
Keep your windshield and all the glass on your vehicle
clean — inside and out. Glare at night is made much
worse by dirt on the glass. Even the inside of the glass
can build up a film caused by dust. Dirty glass makes
lights dazzle and flash more than clean glass would,
making the pupils of your eyes contract repeatedly.
Remember that your headlamps light up far less of a
roadway when you are in a turn or curve. Keep
your eyes moving; that way, it is easier to pick out dimly
lighted objects. Just as your headlamps should be
checked regularly for proper aim, so should your eyes
be examined regularly. Some drivers suffer from
night blindness — the inability to see in dim light — and
are not even aware of it.Driving in Rain and on Wet Roads
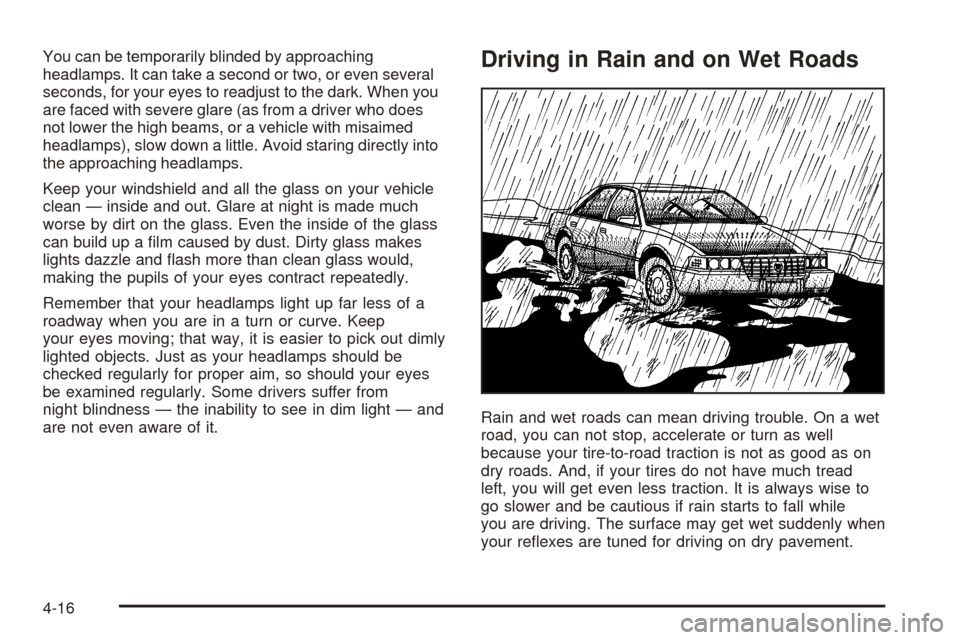
Rain and wet roads can mean driving trouble. On a wet
road, you can not stop, accelerate or turn as well
because your tire-to-road traction is not as good as on
dry roads. And, if your tires do not have much tread
left, you will get even less traction. It is always wise to
go slower and be cautious if rain starts to fall while
you are driving. The surface may get wet suddenly when
your reflexes are tuned for driving on dry pavement.
4-16
Page 309 of 410

Headlamp Aiming
Your vehicle has a visual optical headlamp aiming
system equipped with horizontal aim indicators. The aim
has been preset at the factory and should need no
further adjustment. This is true even though your
horizontal aim indicators may not fall exactly on the “0”
(zero) marks on their scales.If your vehicle is damaged in an accident, the headlamp
aim may be affected. Aim adjustment to the low beam
may be necessary if it is difficult to see lane markers (for
horizontal aim), or if oncoming drivers flash their high
beams at you (for vertical aim). If you believe your
headlamps need to be re-aimed, we recommend that
you take your vehicle to your dealer for service.
However, it is possible for you to re-aim your headlamps
as described in the following procedure.
Notice:To make sure your headlamps are aimed
properly, read all the instructions before beginning.
Failure to follow these instructions could cause
damage to headlamp parts.
5-49
Page 310 of 410
The vehicle should be properly prepared as follows:
•The vehicle should be placed so the headlamps are
25 ft. (7.6 m) from a light colored wall or other flat
surface.
•The vehicle must have all four tires on a perfectly
level surface which is level all the way to the wall
or other flat surface.
•The vehicle should be placed so it is perpendicular
to the wall or other flat surface.
•The vehicle should not have any snow, ice or mud
attached to it.
•The vehicle should be fully assembled and all other
work stopped while headlamp aiming is being done.
•The vehicle should be normally loaded with a
full tank of fuel and one person or 160 lbs (75 kg) on
the driver’s seat.
•Tires should be properly inflated.
•Start the vehicle and rock it to level the suspension.
Headlamp aiming is done with the vehicle low beam
lamps. The high beam lamps will be correctly aimed if
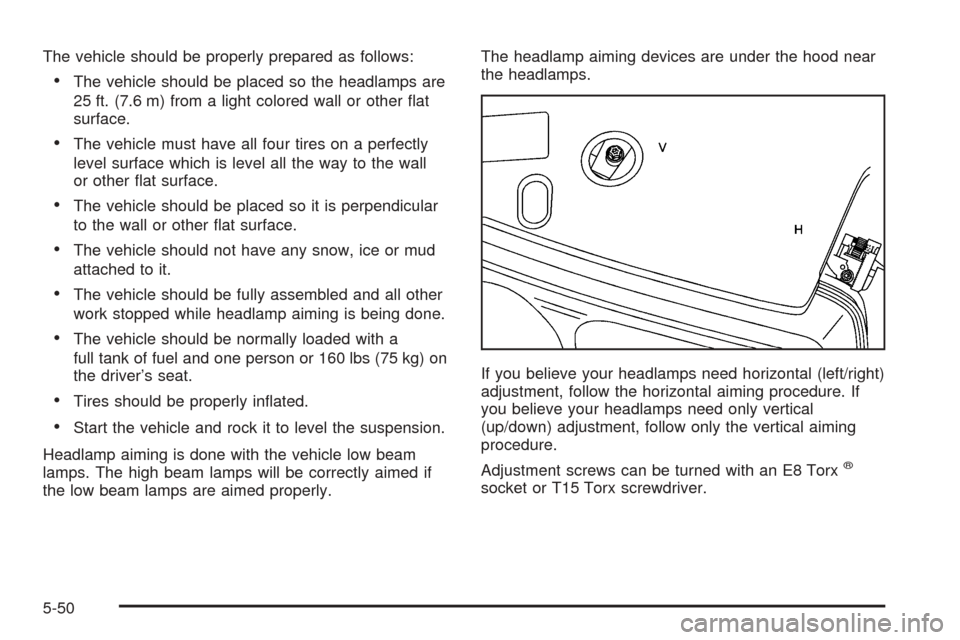
the low beam lamps are aimed properly.The headlamp aiming devices are under the hood near
the headlamps.
If you believe your headlamps need horizontal (left/right)
adjustment, follow the horizontal aiming procedure. If
you believe your headlamps need only vertical
(up/down) adjustment, follow only the vertical aiming
procedure.
Adjustment screws can be turned with an E8 Torx
®
socket or T15 Torx screwdriver.
5-50
Page 311 of 410
Headlamp Horizontal Aiming
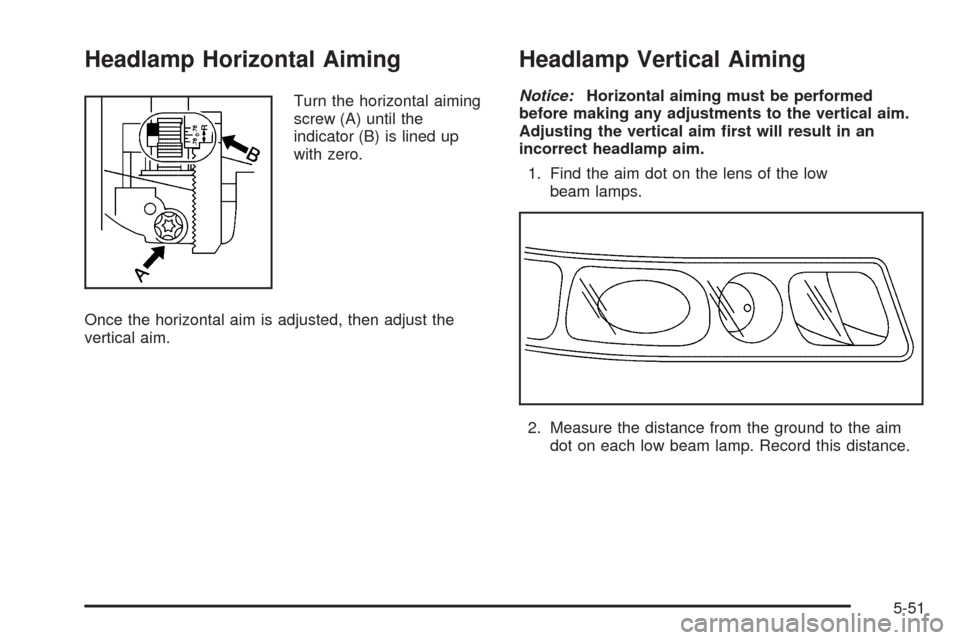
Turn the horizontal aiming
screw (A) until the
indicator (B) is lined up
with zero.
Once the horizontal aim is adjusted, then adjust the
vertical aim.
Headlamp Vertical Aiming
Notice:Horizontal aiming must be performed
before making any adjustments to the vertical aim.
Adjusting the vertical aim first will result in an
incorrect headlamp aim.
1. Find the aim dot on the lens of the low
beam lamps.
2. Measure the distance from the ground to the aim
dot on each low beam lamp. Record this distance.
5-51
Page 312 of 410
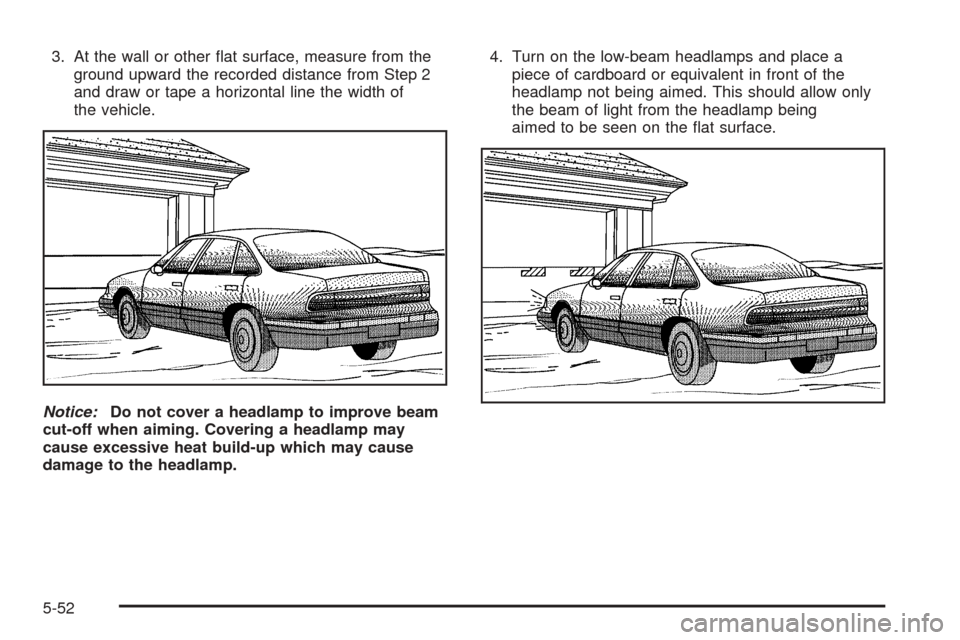
3. At the wall or other flat surface, measure from the
ground upward the recorded distance from Step 2
and draw or tape a horizontal line the width of
the vehicle.
Notice:Do not cover a headlamp to improve beam
cut-off when aiming. Covering a headlamp may
cause excessive heat build-up which may cause
damage to the headlamp.4. Turn on the low-beam headlamps and place a
piece of cardboard or equivalent in front of the
headlamp not being aimed. This should allow only
the beam of light from the headlamp being
aimed to be seen on the flat surface.
5-52