set clock CADILLAC SRX 2009 1.G Owners Manual
[x] Cancel search | Manufacturer: CADILLAC, Model Year: 2009, Model line: SRX, Model: CADILLAC SRX 2009 1.GPages: 442, PDF Size: 2.42 MB
Page 140 of 442

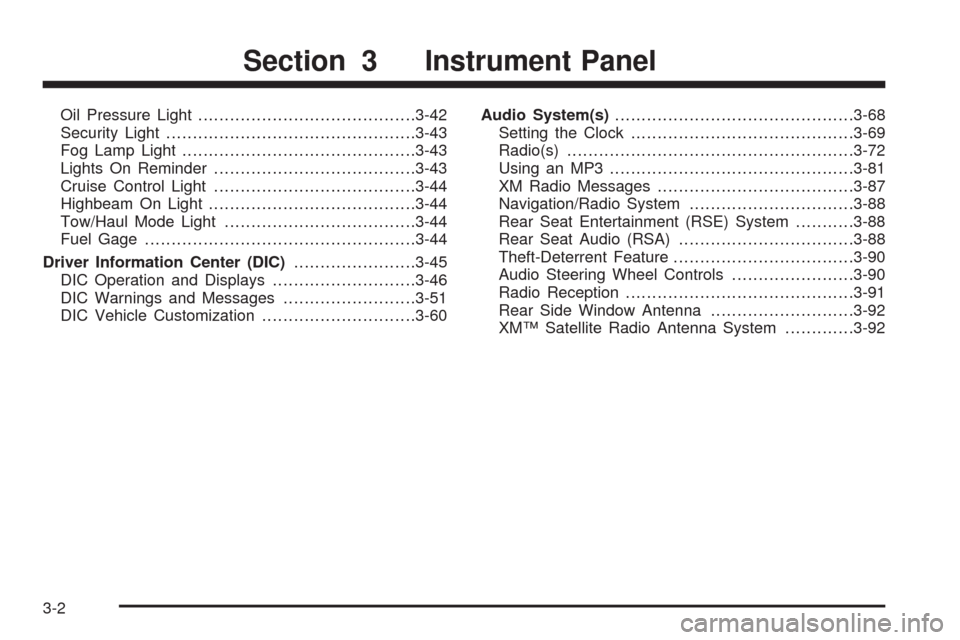
Oil Pressure Light.........................................3-42
Security Light...............................................3-43
Fog Lamp Light............................................3-43
Lights On Reminder......................................3-43
Cruise Control Light......................................3-44
Highbeam On Light.......................................3-44
Tow/Haul Mode Light....................................3-44
Fuel Gage...................................................3-44
Driver Information Center (DIC).......................3-45
DIC Operation and Displays...........................3-46
DIC Warnings and Messages.........................3-51
DIC Vehicle Customization.............................3-60Audio System(s).............................................3-68
Setting the Clock..........................................3-69
Radio(s)......................................................3-72
Using an MP3..............................................3-81
XM Radio Messages.....................................3-87
Navigation/Radio System...............................3-88
Rear Seat Entertainment (RSE) System...........3-88
Rear Seat Audio (RSA).................................3-88
Theft-Deterrent Feature..................................3-90
Audio Steering Wheel Controls.......................3-90
Radio Reception...........................................3-91
Rear Side Window Antenna...........................3-92
XM™ Satellite Radio Antenna System.............3-92
Section 3 Instrument Panel
3-2
Page 207 of 442

Notice:Contact your dealer/retailer before adding
any equipment.
Adding audio or communication equipment could
interfere with the operation of the vehicle’s engine,
radio, or other systems, and could damage them.
Follow federal rules covering mobile radio and
telephone equipment.
The vehicle has Retained Accessory Power (RAP).
With RAP, the audio system can be played even after
the ignition is turned off. SeeRetained Accessory
Power (RAP) on page 2-24for more information.
Setting the Clock
Radio with a Single CD or a Six-Disc
CD Player
Vehicles equipped with a Bose®sound system,
have an analog clock as well as the digital radio clock.
At the time of new vehicle delivery, the digital radio
clock display should be disabled. If you decide to
use the digital radio clock as well as the analog
clock, you can change the setting to enable the
radio clock display.
Enabling/Disabling the Digital
Radio Clock
For the Single CD Player
To turn the radio clock display on or off:
1. Turn the radio on.
2. Press the
Hbutton until the clock and date setting
menus appear.
3. Press the pushbutton located under the forward
arrow label until the menu for default clock and
date settings appear.
4. Press the pushbutton located under the currently
displayed status of either ON or OFF. The ON
display indicates the radio clock display is disabled
and the OFF display indicates the radio clock
display is enabled. Press this pushbutton to toggle
the radio clock display on or off.
If the radio clock display is turned on, the screen
displays Radio Clock ON for 10 seconds, then
returns to the original clock display menu.
If the radio clock display is turned off, the screen
displays Radio Clock OFF for 10 seconds.
The menus for clock and date settings are removed,
and ON displays as a current status indicating
that the clock display can be turned on, if desired.
The radio clock and analog clock are not synchronized.
Occasionally you might need to set the digital radio clock
using the procedure below to synchronize both clocks.
3-69
Page 208 of 442

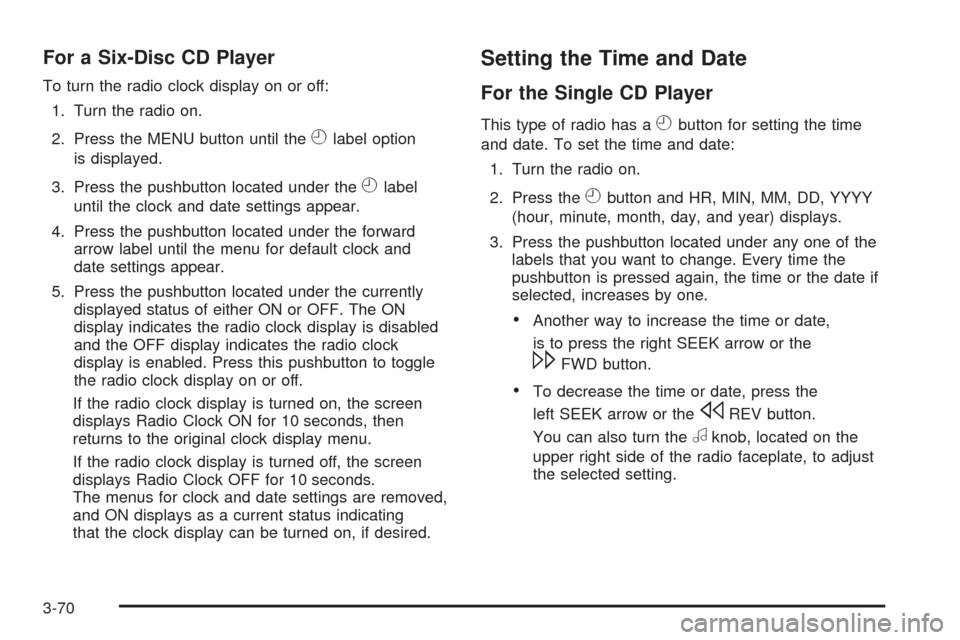
For a Six-Disc CD Player
To turn the radio clock display on or off:
1. Turn the radio on.
2. Press the MENU button until the
Hlabel option
is displayed.
3. Press the pushbutton located under the
Hlabel
until the clock and date settings appear.
4. Press the pushbutton located under the forward
arrow label until the menu for default clock and
date settings appear.
5. Press the pushbutton located under the currently
displayed status of either ON or OFF. The ON
display indicates the radio clock display is disabled
and the OFF display indicates the radio clock
display is enabled. Press this pushbutton to toggle
the radio clock display on or off.
If the radio clock display is turned on, the screen
displays Radio Clock ON for 10 seconds, then
returns to the original clock display menu.
If the radio clock display is turned off, the screen
displays Radio Clock OFF for 10 seconds.
The menus for clock and date settings are removed,
and ON displays as a current status indicating
that the clock display can be turned on, if desired.
Setting the Time and Date
For the Single CD Player
This type of radio has aHbutton for setting the time
and date. To set the time and date:
1. Turn the radio on.
2. Press the
Hbutton and HR, MIN, MM, DD, YYYY
(hour, minute, month, day, and year) displays.
3. Press the pushbutton located under any one of the
labels that you want to change. Every time the
pushbutton is pressed again, the time or the date if
selected, increases by one.
Another way to increase the time or date,
is to press the right SEEK arrow or the
\FWD button.
To decrease the time or date, press the
left SEEK arrow or the
sREV button.
You can also turn the
aknob, located on the
upper right side of the radio faceplate, to adjust
the selected setting.
3-70
Page 209 of 442

For a Six-Disc CD Player
This type of radio has a MENU button for setting the
time and date. To set the time and date:
1. Turn the radio on.
2. Press the MENU button until the
Hlabel option is
displayed.
3. Press the pushbutton located under the
Hlabel
and the HR, MIN, MM, DD, YYYY (hour, minute,
month, day, and year) displays.
4. Press the pushbutton located under any one of the
labels that you want to change. Every time the
pushbutton is pressed again, the time or the date if
selected, increases by one.
Another way to increase the time or date,
is to press the right SEEK arrow or the
\FWD button.
To decrease the time or date, press the
left SEEK arrow or the
sREV button. You can
also turn the
a(tune) knob, located on the
upper right side of the radio faceplate, to adjust
the selected setting.
Changing the Time and Date
Default Setting
For the Single CD Player
To change the time and date default setting:
1. Change the time default setting from 12 hour
to 24 hour or the date default setting from
month/day/year to day/month/year, by pressing
the
Hbutton.
2. Once the clock and date settings display along with
the forward arrow, press the pushbutton located
under the forward arrow until the time 12H and 24H,
and the date MM/DD/YYYY (month, day, and
year) and DD/MM/YYYY (day, month, and year)
displays.
3. Press the pushbutton located under the desired
option, then press the
Hbutton again to apply
the selected default, or let the screen time out.
3-71
Page 211 of 442

Playing the Radio
O
(Power/Volume):Press to turn the system on
and off.
Turn clockwise or counterclockwise to increase or
decrease the volume.
Speed Compensated Volume (SCV):Radios with
Speed Compensated Volume (SCV) automatically
adjusts radio volume to compensate for road and wind
noise as driving speed changes. That way, the
volume level should sound about the same as you
drive. To activate SCV:
1. Set the radio volume to the desired level.
2. Press the MENU button to display the radio
setup menu.
3. Press the pushbutton under the AUTO VOLUM
(volume) label on the radio display.
4. Press the pushbutton under the desired Speed
Compensated Volume setting (OFF, Low, Med
(medium), or High) to select the level of radio
volume compensation. The display times out after
approximately 10 seconds. Each higher setting
allows for more radio volume compensation at faster
vehicle speeds.
Finding a Station
BAND:Press to switch between AM, FM, or XM™.
The display shows the selection.
a(Tune):Turn to select radio stations.
©SEEK¨:Press the arrows to go to the previous or
to the next station and stay there.
To scan stations, press and hold either arrow for
three seconds until a beep sounds. The radio goes to a
station, plays for a few seconds, then goes to the
next station. Press either arrow again to stop scanning.
The radio only seeks and scan stations with a strong
signal that are in the selected band.
4(Information) (XM Satellite Radio Service,
MP3/WMA, and RDS Features):Press to
simultaneously display the Channel Number, Song Title,
and Artist information while in XM mode. Press to
display additional text information related to the current
FM-RDS, or MP3/WMA song, if available.
When information is not available, No Info displays.
3-73
Page 213 of 442

Setting the Tone
(Bass/Midrange/Treble)
BASS/MID/TREB (Bass, Midrange, or Treble):
To adjust bass, midrange, or treble, press the
aknob
until the tone control labels display. Continue pressing to
highlight the desired label, or press the pushbutton
positioned under the desired label. Turn this knob
clockwise or counterclockwise to adjust the highlighted
setting. The highlighted setting can also be adjusted
by pressing either SEEK arrow,
\FWD, orsREV
button until the desired levels are obtained. If a
station’s frequency is weak, or if there is static, decrease
the treble.
To quickly adjust bass, midrange, or treble to the middle
position, press the
aknob for more than two seconds.
A beep sounds and the level adjusts to the middle
position. Pressing this knob for more than two seconds
also centers the fade and balance settings to the
factory default positions.
Finding a Category (CAT) Station
CAT (Category):The CAT button is used to �nd
XM stations when the radio is in the XM mode.
To �nd XM channels within a desired category:
1. Press the BAND button until the XM frequency
displays. Press the CAT button to display the
category labels on the radio display. Continue
pressing the CAT button until the desired category
name displays.
2. Press either of the two buttons below the desired
category label to immediately tune to the �rst
XM station associated with that category.
3. Turn the
aknob, press the buttons below the right
or left arrows displayed, or press either SEEK arrow
to go to the previous or to the next XM station
within the selected category.
4. To exit the category search mode, press the
FAV button or BAND button to display your
favorites again.
3-75
Page 216 of 442

a(Tune):Turn to select tracks on the CD currently
playing.
©SEEK¨:Press the left arrow to go to the start of the
current track, if more than ten seconds have played.
Press the right arrow to go to the next track. If either
arrow is held or pressed multiple times, the player
continues moving backward or forward through the CD.
sREV (Fast Reverse):Press and hold to reverse
playback quickly within a track. Sound is heard at
a reduced volume. Release to resume playing the track.
The elapsed time of the track displays.
\FWD (Fast Forward):Press and hold to advance
playback quickly within a track. Sound is heard at a
reduced volume. Release to resume playing the track.
The elapsed time of the track displays.
RDM (Random):With the random setting, CD tracks
can be played in random, rather than sequential
order. This feature is not available in playlist mode.
To use random:
1. To play tracks from the CD you are listening to in
random order, press the pushbutton positioned
under the RDM label. The random icon displays.
2. Press the same pushbutton again to turn off random
play. The random icon disappears from the display.RDM (Random):For the Radio with Six-Disc CD
player, the tracks can be listened to in random, rather
than sequential order, on one CD or all CDs in the
six-disc CD player. To use random:
To play the tracks from the CD you are listening to
in random order, press the pushbutton positioned
under the RDM label until Randomize Current
Disc displays. Press the pushbutton again to turn
off random play.
To play tracks from all CDs loaded in a six-disc CD
player in random order, press the pushbutton
positioned under the RDM label until Randomize All
Discs displays. Press the same pushbutton again
to turn off random play.
4(Information):Press to switch the display between
the track number, elapsed time of the track, and
the time. When the ignition is off, press to display the
time, if the clock display is enabled.
BAND:Press to listen to the radio when a CD is
playing. The CD remains inside the radio for future
listening.
3-78
Page 249 of 442

If the vehicle stalls, or is about to stall, and you cannot
make it up the hill:
Push the brake pedal to stop the vehicle and keep
it from rolling backwards and apply the parking
brake.
If the engine is still running, shift the transmission to
R (Reverse), release the parking brake, and slowly
back down the hill in R (Reverse).
If the engine has stopped running, you need to
restart it. With the brake pedal pressed and the
parking brake still applied, shift the transmission to
P (Park) and restart the engine. Then, shift to
R (Reverse), release the parking brake, and slowly
back down the hill as straight as possible in
R (Reverse).
While backing down the hill, put your left hand on the
steering wheel at the 12 o’clock position so you can
tell if the wheels are straight and can maneuver as
you back down. It is best to back down the hill with
the wheels straight rather than in the left or right
direction. Turning the wheel too far to the left or right
will increase the possibility of a rollover.Things not to do if the vehicle stalls, or is about to stall,
when going up a hill:
Never attempt to prevent a stall by shifting into
N (Neutral) to rev-up the engine and regain forward
momentum. This will not work. The vehicle can
roll backward very quickly and could go out
of control.
Never try to turn around if about to stall when going
up a hill. If the hill is steep enough to stall the vehicle,
it is steep enough to cause it to roll over. If you
cannot make it up the hill, back straight down the hill.
If, after stalling, you try to back down the hill and decide
you just cannot do it, set the parking brake, put your
transmission in P (Park), and turn off the engine. Leave
the vehicle and go get some help. Exit on the uphill
side and stay clear of the path the vehicle would take if
it rolled downhill.
4-19
Page 430 of 442

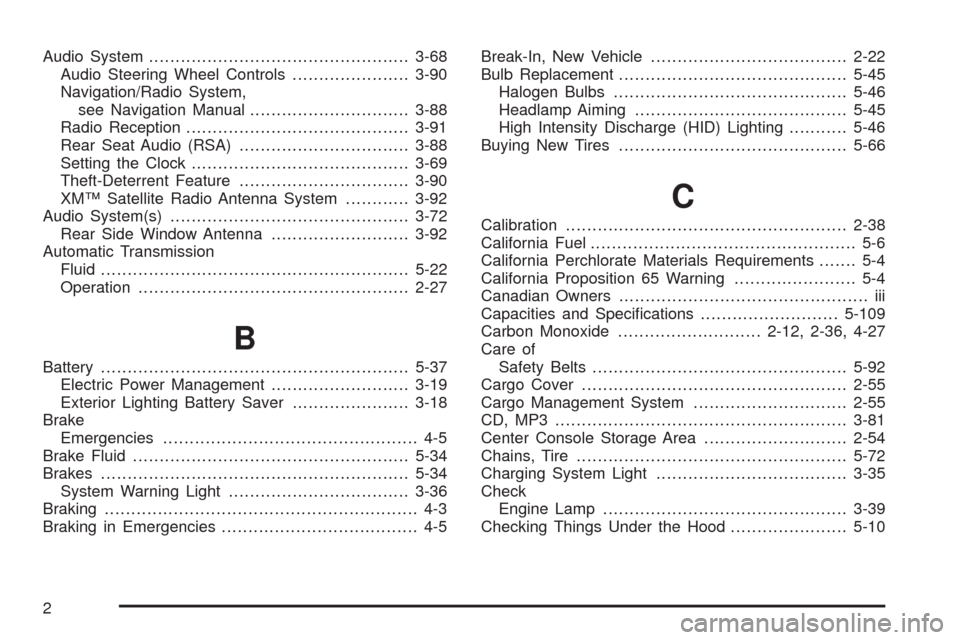
Audio System.................................................3-68
Audio Steering Wheel Controls......................3-90
Navigation/Radio System,
see Navigation Manual..............................3-88
Radio Reception..........................................3-91
Rear Seat Audio (RSA)................................3-88
Setting the Clock.........................................3-69
Theft-Deterrent Feature................................3-90
XM™ Satellite Radio Antenna System............3-92
Audio System(s).............................................3-72
Rear Side Window Antenna..........................3-92
Automatic Transmission
Fluid..........................................................5-22
Operation...................................................2-27
B
Battery..........................................................5-37
Electric Power Management..........................3-19
Exterior Lighting Battery Saver......................3-18
Brake
Emergencies................................................ 4-5
Brake Fluid....................................................5-34
Brakes..........................................................5-34
System Warning Light..................................3-36
Braking........................................................... 4-3
Braking in Emergencies..................................... 4-5Break-In, New Vehicle.....................................2-22
Bulb Replacement...........................................5-45
Halogen Bulbs............................................5-46
Headlamp Aiming........................................5-45
High Intensity Discharge (HID) Lighting...........5-46
Buying New Tires...........................................5-66
C
Calibration.....................................................2-38
California Fuel.................................................. 5-6
California Perchlorate Materials Requirements....... 5-4
California Proposition 65 Warning....................... 5-4
Canadian Owners............................................... iii
Capacities and Speci�cations..........................5-109
Carbon Monoxide...........................2-12, 2-36, 4-27
Care of
Safety Belts................................................5-92
Cargo Cover..................................................2-55
Cargo Management System.............................2-55
CD, MP3 .......................................................3-81
Center Console Storage Area...........................2-54
Chains, Tire...................................................5-72
Charging System Light....................................3-35
Check
Engine Lamp..............................................3-39
Checking Things Under the Hood......................5-10
2
Page 431 of 442

Chemical Paint Spotting...................................5-96
Child Restraints
Child Restraint Systems...............................1-39
Infants and Young Children...........................1-36
Lower Anchors and Tethers for Children..........1-43
Older Children.............................................1-33
Securing a Child Restraint in a
Rear Seat Position...................................1-49
Securing a Child Restraint in the
Right Front Seat Position..........................1-52
Where to Put the Restraint...........................1-42
Cigarette Lighter.............................................3-20
Cleaning
Aluminum or Chrome-Plated Wheels..............5-95
Exterior Lamps/Lenses.................................5-93
Fabric/Carpet..............................................5-90
Finish Care.................................................5-94
Instrument Panel, Vinyl, and Other
Plastic Surfaces.......................................5-92
Interior.......................................................5-89
Leather......................................................5-91
Speaker Covers..........................................5-92
Tires..........................................................5-96
Underbody Maintenance...............................5-96
Washing Your Vehicle...................................5-93
Weatherstrips..............................................5-93
Windshield and Wiper Blades........................5-94
Wood Panels..............................................5-92Climate Control System
Air Filter, Passenger Compartment.................3-28
Dual ..........................................................3-22
Outlet Adjustment........................................3-26
Rear Air Conditioning System........................3-27
Clock............................................................3-21
Clock, Setting.................................................3-69
Collision Damage Repair..................................7-11
Compact Spare Tire........................................5-88
Compass.......................................................2-38
Control of a Vehicle.......................................... 4-3
Coolant
Engine.......................................................5-23
Engine Temperature Gage............................3-38
Engine Temperature Warning Light.................3-38
Surge Tank Pressure Cap.............................5-29
Cooling System..............................................5-22
Cruise Control................................................3-12
Cruise Control Light........................................3-44
Cupholders....................................................2-54
Customer Assistance Information
Courtesy Transportation................................7-10
Customer Assistance for Text
Telephone (TTY) Users............................... 7-6
Customer Assistance Offices........................... 7-6
Customer Satisfaction Procedure..................... 7-2
GM Mobility Reimbursement Program............... 7-7
Reporting Safety Defects to General Motors.......7-15
3