display CADILLAC SRX 2012 2.G User Guide
[x] Cancel search | Manufacturer: CADILLAC, Model Year: 2012, Model line: SRX, Model: CADILLAC SRX 2012 2.GPages: 502, PDF Size: 6.23 MB
Page 38 of 502
Black plate (8,1)Cadillac SRX Owner Manual (Include Mex) - 2012
2-8 Keys, Doors, and Windows
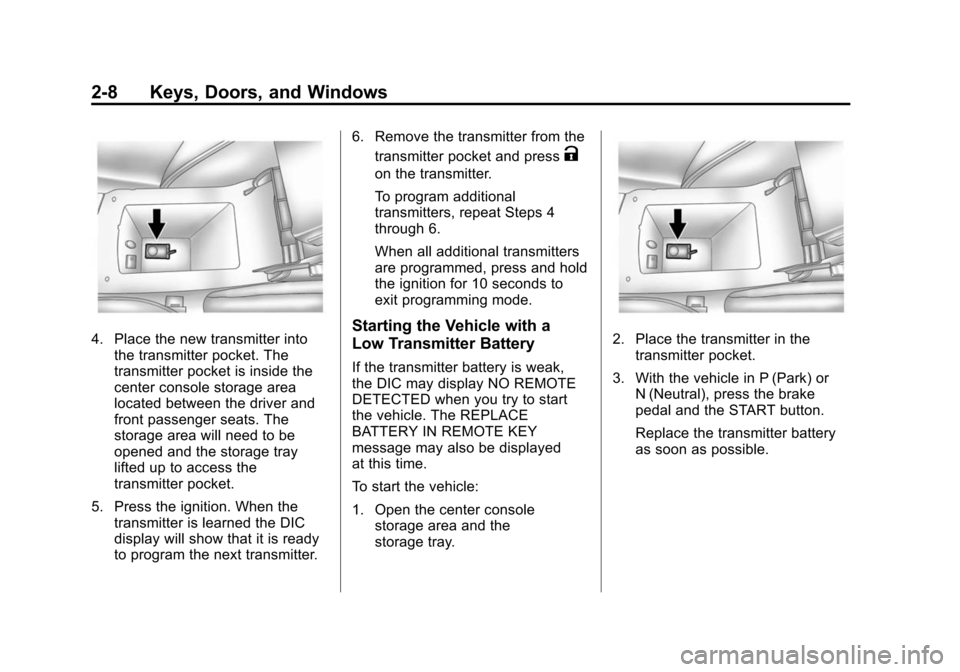
4. Place the new transmitter intothe transmitter pocket. The
transmitter pocket is inside the
center console storage area
located between the driver and
front passenger seats. The
storage area will need to be
opened and the storage tray
lifted up to access the
transmitter pocket.
5. Press the ignition. When the transmitter is learned the DIC
display will show that it is ready
to program the next transmitter. 6. Remove the transmitter from the
transmitter pocket and press
K
on the transmitter.
To program additional
transmitters, repeat Steps 4
through 6.
When all additional transmitters
are programmed, press and hold
the ignition for 10 seconds to
exit programming mode.
Starting the Vehicle with a
Low Transmitter Battery
If the transmitter battery is weak,
the DIC may display NO REMOTE
DETECTED when you try to start
the vehicle. The REPLACE
BATTERY IN REMOTE KEY
message may also be displayed
at this time.
To start the vehicle:
1. Open the center consolestorage area and the
storage tray.
2. Place the transmitter in thetransmitter pocket.
3. With the vehicle in P (Park) or N (Neutral), press the brake
pedal and the START button.
Replace the transmitter battery
as soon as possible.
Page 39 of 502
Black plate (9,1)Cadillac SRX Owner Manual (Include Mex) - 2012
Keys, Doors, and Windows 2-9
Battery Replacement
Notice:When replacing the
battery, do not touch any of the
circuitry on the transmitter. Static
from your body could damage the
transmitter.
Replace the battery if the REPLACE
BATTERY IN REMOTE KEY
message displays in the DIC.
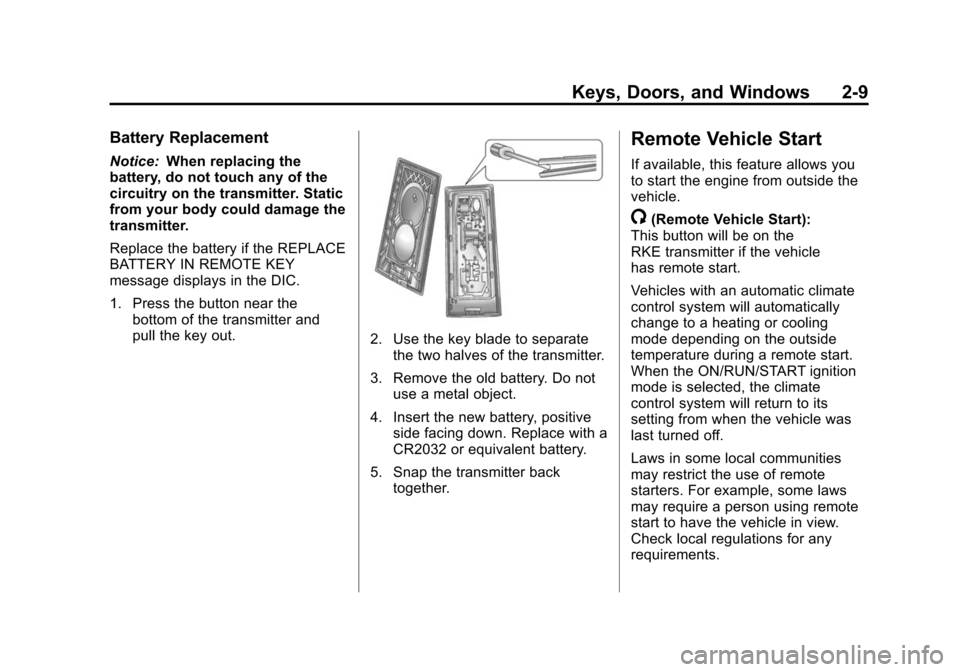
1. Press the button near the bottom of the transmitter and
pull the key out.
2. Use the key blade to separate
the two halves of the transmitter.
3. Remove the old battery. Do not use a metal object.
4. Insert the new battery, positive side facing down. Replace with a
CR2032 or equivalent battery.
5. Snap the transmitter back together.
Remote Vehicle Start
If available, this feature allows you
to start the engine from outside the
vehicle.
/(Remote Vehicle Start):
This button will be on the
RKE transmitter if the vehicle
has remote start.
Vehicles with an automatic climate
control system will automatically
change to a heating or cooling
mode depending on the outside
temperature during a remote start.
When the ON/RUN/START ignition
mode is selected, the climate
control system will return to its
setting from when the vehicle was
last turned off.
Laws in some local communities
may restrict the use of remote
starters. For example, some laws
may require a person using remote
start to have the vehicle in view.
Check local regulations for any
requirements.
Page 55 of 502
Black plate (25,1)Cadillac SRX Owner Manual (Include Mex) - 2012
Keys, Doors, and Windows 2-25
If the window will not express up
after power has been restored and a
message is displayed in the Driver
Information Center:
1. Close all doors.
2. Place the ignition in ACC/ACCESSORY or ON/RUN/
START.
3. From any partial open position, close the window and continue
to pull the switch briefly after the
window has fully closed.
Obstacle Detection Feature
The Obstacle Detection Feature is
part of the express-up feature and is
active:
.In the middle and upper portions
of the window opening.
.During window up movements.
.In ignition OFF during all window
up movements and during
express-up window movements
in ignition ON/RUN/START. If there is something blocking the
window during automatic closing,
the window will reverse direction for
a short distance. Weather conditions
such as extreme cold and/or
ice may cause the window to
auto-reverse. The window will return
to normal operation once the object
or condition is removed.
If conditions prevent the window
from closing and the window
continues to auto-reverse, it is
possible to close the window with
the ignition in ON/RUN/START by
holding the window switch in the
partially or fully pulled up position.
Release of the switch from the
partially pulled up position will cause
the window to stop. Release of the
switch from the fully pulled up
position will activate the express-up
and related obstacle detection
features.
Overload
If the windows are repeatedly
operated within a short time, the
window operation is disabled for a
short time.
Remote Window Operation
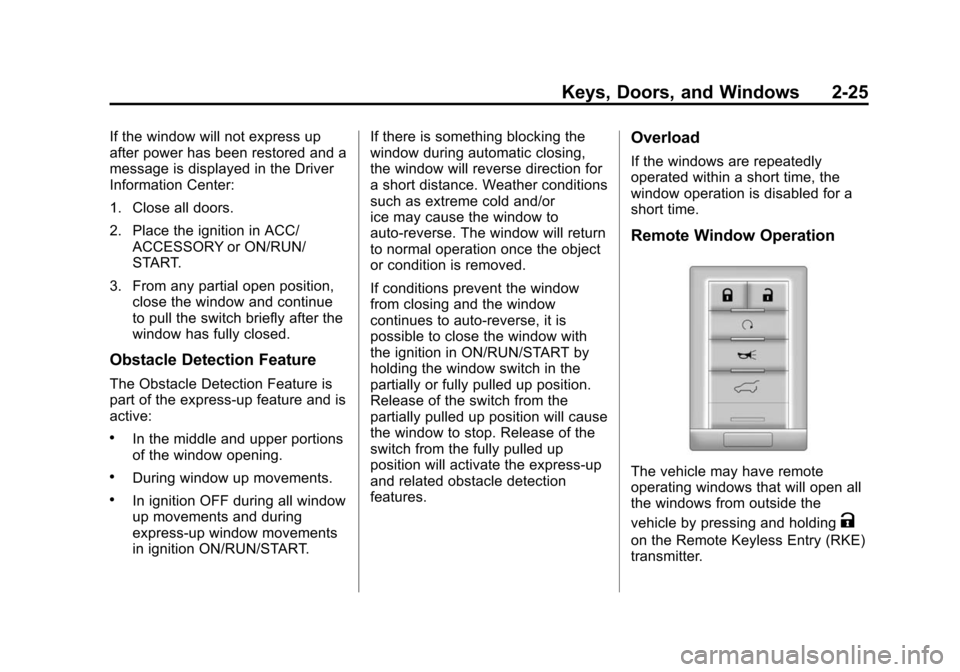
The vehicle may have remote
operating windows that will open all
the windows from outside the
vehicle by pressing and holding
K
on the Remote Keyless Entry (RKE)
transmitter.
Page 71 of 502
Black plate (13,1)Cadillac SRX Owner Manual (Include Mex) - 2012
Seats and Restraints 3-13
Heated Rear Seats
{WARNING
If you cannot feel temperature
change or pain to the skin, the
seat heater may cause burns
even at low temperatures. See
the Warning underHeated and
Ventilated Front Seats on
page 3‑10.
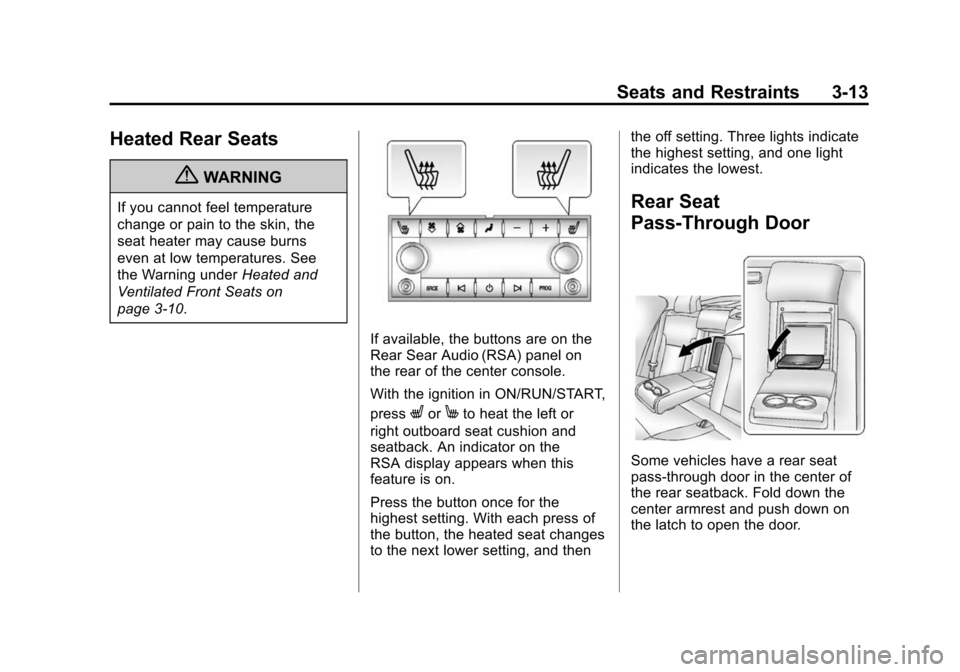
If available, the buttons are on the
Rear Sear Audio (RSA) panel on
the rear of the center console.
With the ignition in ON/RUN/START,
press
LorMto heat the left or
right outboard seat cushion and
seatback. An indicator on the
RSA display appears when this
feature is on.
Press the button once for the
highest setting. With each press of
the button, the heated seat changes
to the next lower setting, and then the off setting. Three lights indicate
the highest setting, and one light
indicates the lowest.
Rear Seat
Pass-Through Door
Some vehicles have a rear seat
pass-through door in the center of
the rear seatback. Fold down the
center armrest and push down on
the latch to open the door.
Page 131 of 502
Black plate (1,1)Cadillac SRX Owner Manual (Include Mex) - 2012
Instruments and Controls 5-1
Instruments and
Controls
Controls
Steering Wheel Adjustment . . . 5-2
Steering Wheel Controls . . . . . . 5-2
Heated Steering Wheel . . . . . . . 5-3
Horn . . . . . . . . . . . . . . . . . . . . . . . . . . 5-3
Windshield Wiper/Washer . . . . . 5-4
Rear Window Wiper/Washer . . . . . . . . . . . . . . . . . . . . . . 5-6
Headlamp Washer . . . . . . . . . . . . 5-6
Compass . . . . . . . . . . . . . . . . . . . . . 5-7
Clock (Analog Clock) . . . . . . . . . . 5-7
Clock (Digital Clock) . . . . . . . . . . 5-7
Power Outlets . . . . . . . . . . . . . . . . . 5-8
Cigarette Lighter . . . . . . . . . . . . . . 5-9
Ashtrays . . . . . . . . . . . . . . . . . . . . . 5-10
Warning Lights, Gauges, and
Indicators
Warning Lights, Gauges, and Indicators . . . . . . . . . . . . . . . . . . 5-10
Instrument Cluster . . . . . . . . . . . 5-11
Speedometer . . . . . . . . . . . . . . . . 5-12
Odometer . . . . . . . . . . . . . . . . . . . . 5-12
Tachometer . . . . . . . . . . . . . . . . . . 5-12 Fuel Gauge . . . . . . . . . . . . . . . . . . 5-12
Fuel Economy Gauge . . . . . . . . 5-13
Engine Coolant Temperature
Gauge . . . . . . . . . . . . . . . . . . . . . . 5-14
Safety Belt Reminders . . . . . . . 5-15
Airbag Readiness Light . . . . . . 5-16
Passenger Airbag Status
Indicator . . . . . . . . . . . . . . . . . . . . 5-17
Charging System Light . . . . . . 5-18
Malfunction Indicator Lamp . . . . . . . . . . . . . 5-18
Brake System Warning Light . . . . . . . . . . . . . . . . . . . . . . . 5-21
Electric Parking Brake Light . . . . . . . . . . . . . . . . . . . . . . . 5-21
Antilock Brake System (ABS) Warning Light . . . . . . . . . . . . . . 5-22
Traction Off Light . . . . . . . . . . . . 5-23
StabiliTrak
®OFF Light . . . . . . . 5-23
Traction Control System (TCS)/StabiliTrak
®Light . . . . 5-24
Tire Pressure Light . . . . . . . . . . 5-24
Engine Oil Pressure Light . . . . 5-25
Fuel Economy Light . . . . . . . . . 5-25
Low Fuel Warning Light . . . . . . 5-26
Security Light . . . . . . . . . . . . . . . . 5-26
High-Beam On Light . . . . . . . . . 5-26
Adaptive Forward Lighting (AFL) Light . . . . . . . . . . . . . . . . . 5-27 Front Fog Lamp Light . . . . . . . . 5-27
Lamps On Reminder . . . . . . . . . 5-27
Cruise Control Light . . . . . . . . . 5-28
Information Displays
Driver Information
Center (DIC) . . . . . . . . . . . . . . . 5-28
Vehicle Messages
Vehicle Messages . . . . . . . . . . . 5-32
Battery Voltage and ChargingMessages . . . . . . . . . . . . . . . . . . 5-33
Brake System Messages . . . . 5-33
Compass Messages . . . . . . . . . 5-34
Cruise Control Messages . . . . 5-34
Door Ajar Messages . . . . . . . . . 5-34
Engine Cooling System Messages . . . . . . . . . . . . . . . . . . 5-34
Engine Oil Messages . . . . . . . . 5-35
Engine Power Messages . . . . 5-35
Fuel System Messages . . . . . . 5-36
Key and Lock Messages . . . . . 5-36
Lamp Messages . . . . . . . . . . . . . 5-36
Object Detection System Messages . . . . . . . . . . . . . . . . . . 5-37
Ride Control System Messages . . . . . . . . . . . . . . . . . . 5-37
Airbag System Messages . . . . 5-38
Safety Belt Messages . . . . . . . 5-38
Page 133 of 502
Black plate (3,1)Cadillac SRX Owner Manual (Include Mex) - 2012
Instruments and Controls 5-3
yorz:Pressyto select the
next favorite radio station or next
CD, DVD, if equipped, or MP3 track.
Press
zto select the previous
favorite radio station or previous
CD, DVD, if equipped, or MP3 track.
+
x− (Volume): Press + to
increase the volume; press −to
decrease the volume.
b/g(Push to Talk): For vehicles
with an OnStar®, Bluetooth®,
or navigation system, press to
interact with those systems. See
Bluetooth (Overview) on page 7‑47
or Bluetooth (Infotainment Controls)
on page 7‑49 orBluetooth (Voice
Recognition) on page 7‑53 or
Bluetooth (UHP Mexico Only) on
page 7‑59, OnStar Overview on
page 14‑1, or the separate
navigation manual for more
information.
0/c(End Call/Mute): Press to
silence the vehicle speakers only.
Press again to turn the sound on.
For vehicles with OnStar or
Bluetooth systems, press to reject
an incoming call, or end a
current call.
SRCE: Press to select an audio
source. For vehicles with a heated
steering wheel, use the infotainment
buttons to select an audio source.
See Heated Steering Wheel on
page 5‑3 orOverview (Radio with
CD) on page 7‑3 orOverview
(Radio with CD/DVD and MEM) on
page 7‑5 for more information.Heated Steering Wheel
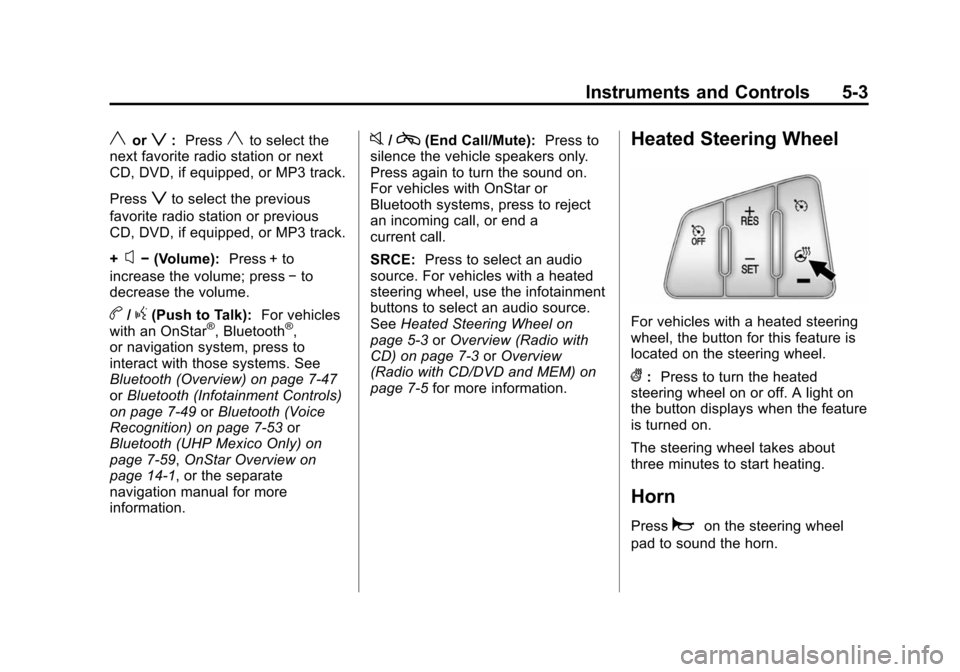
For vehicles with a heated steering
wheel, the button for this feature is
located on the steering wheel.
(:Press to turn the heated
steering wheel on or off. A light on
the button displays when the feature
is turned on.
The steering wheel takes about
three minutes to start heating.
Horn
Pressaon the steering wheel
pad to sound the horn.
Page 137 of 502
Black plate (7,1)Cadillac SRX Owner Manual (Include Mex) - 2012
Instruments and Controls 5-7
Compass
The vehicle may have a compass
display on the Driver Information
Center (DIC). The compass receives
its heading and other information
from the Global Positioning
System (GPS) antenna, StabiliTrak,
and vehicle speed information.
Avoid covering the GPS antenna for
long periods of time with objects
that may interfere with the antenna's
ability to receive a satellite signal.
SeeMulti-Band Antenna on
page 7‑18 for the location of the
vehicle's antenna. The compass
system is designed to operate for a
certain number of miles or degrees
of turn before needing a signal
from the GPS satellites. When the
compass display shows CAL, drive
the vehicle for a short distance in an
open area where it can receive a
GPS signal. The compass system
will automatically determine when a
GPS signal is restored and provide
a heading again. See
Compass Messages on
page 5‑34 for more information on
the messages that may be
displayed for the compass.
Clock (Analog Clock)
The analog clock is located on the
instrument panel above the radio.
The clock is not connected with any
other vehicle system and runs by
itself. To adjust the clock:
1. Locate the adjustment buttons directly below the clock face.
2. Push and hold either adjustment button to advance or reverse the
clock hands. Holding the buttons
down will cause the clock to
advance faster. Release the
buttons before reaching the
desired time.
3. Push and release the buttons to increase the time by one minute
increments until the desired time
is reached.
Clock (Digital Clock)
The infotainment system controls
are used to access the time and
date settings through the menu
system. See Operation on page 7‑7
for information about how to use the
menu system. See the separate
navigation manual for instructions
on how to operate the digital clock
for the navigation system.
To turn the digital clock on or off:
1. Press the CONFIG button.
2. Select Time and Date Settings.
3. Select Clock Displayed.
4. Press MENU/SELECT to turn the clock on or off.
Page 138 of 502
Black plate (8,1)Cadillac SRX Owner Manual (Include Mex) - 2012
5-8 Instruments and Controls
Setting the Time and Date
1. Press the CONFIG button.
2. Select Time and Date Settings.
3. Select Set Time or Set Date.
4. Turn the MENU/SELECT knob toadjust the highlighted value.
5. Press the MENU/SELECT knob to select the next value.
6. To save the time or date and return to the Time and Date
Settings menu, press the
BACK
/button at any time or
press the MENU/SELECT knob
after adjusting the minutes
or year.
Setting the 12/24 Hour Format
1. Press the CONFIG button.
2. Select Time and Date Settings.
3. Highlight 12/24 Hour Format.
4. Press the MENU/SELECT knob to select the 12 hour or 24 hour
display format.
Setting the Month & Day
Format
1. Press the CONFIG button.
2. Select Time and Date Settings.
3. Highlight Month & Day Format.
4. Press the MENU/SELECT knobto select MM/DD (month/day) or
DD/MM (day/month).
Setting the Auto Time Adjust
1. Press the CONFIG button.
2. Select Time and Date Settings.
3. Highlight Auto Time Adjust.
4. Press the MENU/SELECT knobto turn Auto Time Adjust on
or off.
Power Outlets
The accessory power outlets can be
used to plug in electrical equipment,
such as a cell phone or MP3 player.
The vehicle has four accessory
power outlets. The power outlets
located below the climate control
system inside the front storage bin,
inside the center floor console, and
on the rear of the center floor
console are powered while the
vehicle is in ON/RUN/START or
ACC/ACCESSORY mode, or until
the driver door is opened within
10 minutes of turning off the vehicle.
The power outlet located in the rear
cargo area is powered at all times.
Page 142 of 502
Black plate (12,1)Cadillac SRX Owner Manual (Include Mex) - 2012
5-12 Instruments and Controls
Speedometer
The speedometer shows the
vehicle's speed in either kilometers
per hour (km/h) or miles per
hour (mph).
Odometer
The odometer shows how far the
vehicle has been driven, in either
kilometers or miles.
This vehicle has a tamper-resistant
odometer. If the vehicle needs a
new odometer installed, the new
one is set to the mileage of the old
odometer. If this is not possible, it is
set at zero and a label is put on
the driver door to show the old
mileage reading.
Tachometer
The tachometer displays the
engine speed in revolutions per
minute (rpm).
Notice:If the engine is operated
with the tachometer in the shaded
warning area, the vehicle could
be damaged, and the damages
would not be covered by the
vehicle warranty. Do not operate
the engine with the tachometer in
the shaded warning area.
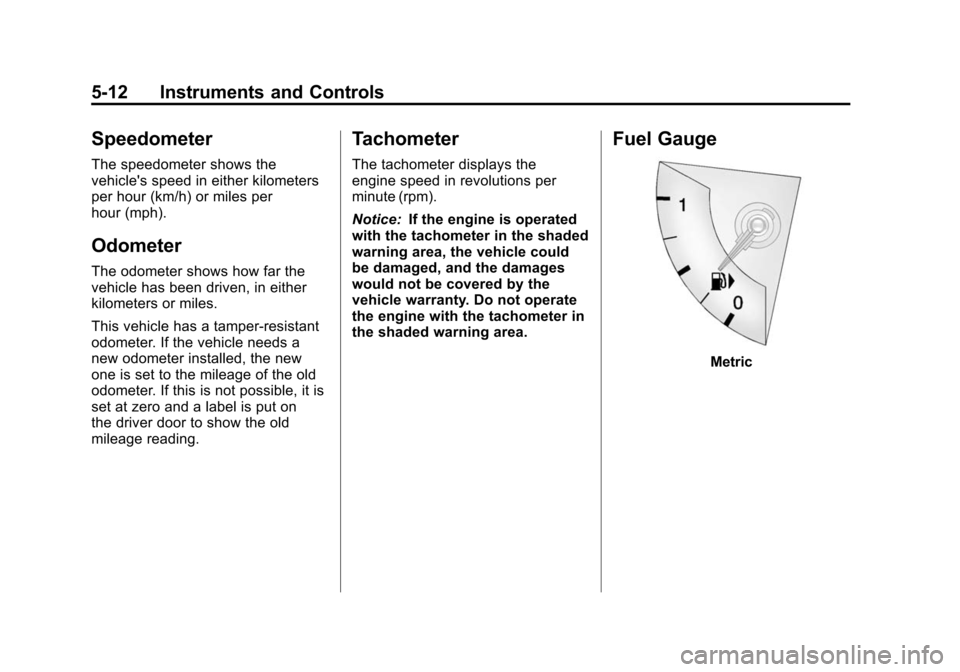
Fuel Gauge
Metric
Page 145 of 502
Black plate (15,1)Cadillac SRX Owner Manual (Include Mex) - 2012
Instruments and Controls 5-15
Safety Belt Reminders
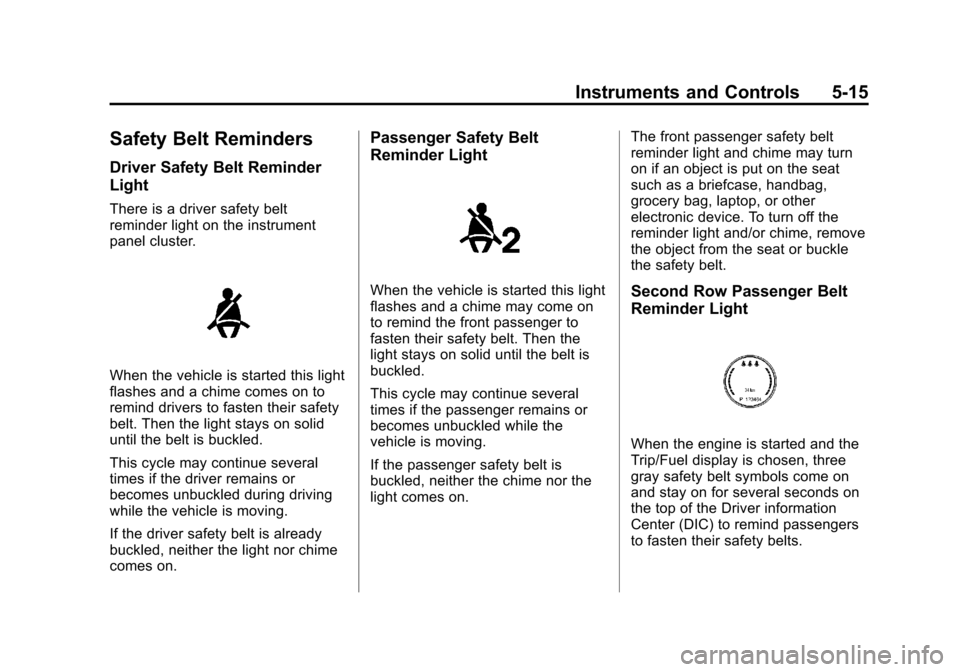
Driver Safety Belt Reminder
Light
There is a driver safety belt
reminder light on the instrument
panel cluster.
When the vehicle is started this light
flashes and a chime comes on to
remind drivers to fasten their safety
belt. Then the light stays on solid
until the belt is buckled.
This cycle may continue several
times if the driver remains or
becomes unbuckled during driving
while the vehicle is moving.
If the driver safety belt is already
buckled, neither the light nor chime
comes on.
Passenger Safety Belt
Reminder Light
When the vehicle is started this light
flashes and a chime may come on
to remind the front passenger to
fasten their safety belt. Then the
light stays on solid until the belt is
buckled.
This cycle may continue several
times if the passenger remains or
becomes unbuckled while the
vehicle is moving.
If the passenger safety belt is
buckled, neither the chime nor the
light comes on.The front passenger safety belt
reminder light and chime may turn
on if an object is put on the seat
such as a briefcase, handbag,
grocery bag, laptop, or other
electronic device. To turn off the
reminder light and/or chime, remove
the object from the seat or buckle
the safety belt.Second Row Passenger Belt
Reminder Light
When the engine is started and the
Trip/Fuel display is chosen, three
gray safety belt symbols come on
and stay on for several seconds on
the top of the Driver information
Center (DIC) to remind passengers
to fasten their safety belts.