warning lights CADILLAC XT5 2017 1.G Owners Manual
[x] Cancel search | Manufacturer: CADILLAC, Model Year: 2017, Model line: XT5, Model: CADILLAC XT5 2017 1.GPages: 339, PDF Size: 2.75 MB
Page 59 of 339
Cadillac XT5 Owner Manual (GMNA-Localizing-MidEast-10260744) - 2017 -
crc - 1/14/16
Seats and Restraints 59
Heated and Ventilated
Front Seats
{Warning
If you cannot feel temperature
change or pain to the skin, the
seat heater may cause burns. To
reduce the risk of burns, people
with such a condition should use
care when using the seat heater,
especially for long periods of
time. Do not place anything on
the seat that insulates against
heat, such as a blanket, cushion,
cover, or similar item. This may
cause the seat heater to
overheat. An overheated seat
heater may cause a burn or may
damage the seat.
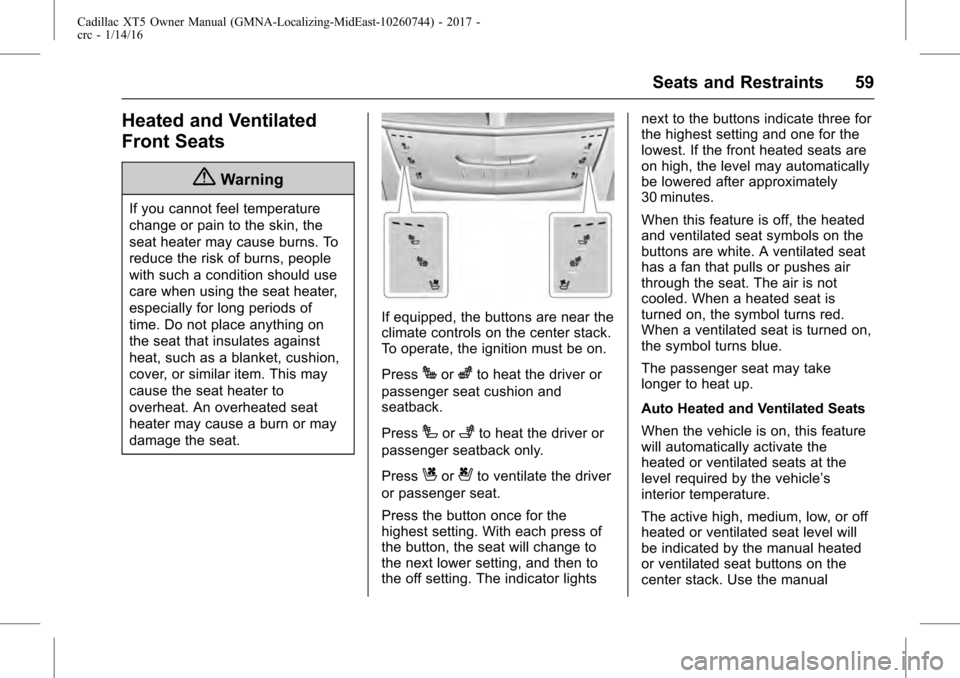
If equipped, the buttons are near the
climate controls on the center stack.
To operate, the ignition must be on.
Press
Jorzto heat the driver or
passenger seat cushion and
seatback.
Press
Ior+to heat the driver or
passenger seatback only.
Press
Cor{to ventilate the driver
or passenger seat.
Press the button once for the
highest setting. With each press of
the button, the seat will change to
the next lower setting, and then to
the off setting. The indicator lights next to the buttons indicate three for
the highest setting and one for the
lowest. If the front heated seats are
on high, the level may automatically
be lowered after approximately
30 minutes.
When this feature is off, the heated
and ventilated seat symbols on the
buttons are white. A ventilated seat
has a fan that pulls or pushes air
through the seat. The air is not
cooled. When a heated seat is
turned on, the symbol turns red.
When a ventilated seat is turned on,
the symbol turns blue.
The passenger seat may take
longer to heat up.
Auto Heated and Ventilated Seats
When the vehicle is on, this feature
will automatically activate the
heated or ventilated seats at the
level required by the vehicle’s
interior temperature.
The active high, medium, low, or off
heated or ventilated seat level will
be indicated by the manual heated
or ventilated seat buttons on the
center stack. Use the manual
Page 63 of 339
Cadillac XT5 Owner Manual (GMNA-Localizing-MidEast-10260744) - 2017 -
crc - 1/14/16
Seats and Restraints 63
To fold, lift the armrest up and push
it rearward until it is flush with the
seatback.
The armrest may also have controls
for the infotainment system. See the
infotainment manual.
Heated Rear Seats
{Warning
If you cannot feel temperature
change or pain to the skin, the
seat heater may cause burns.
See the Warning underHeated
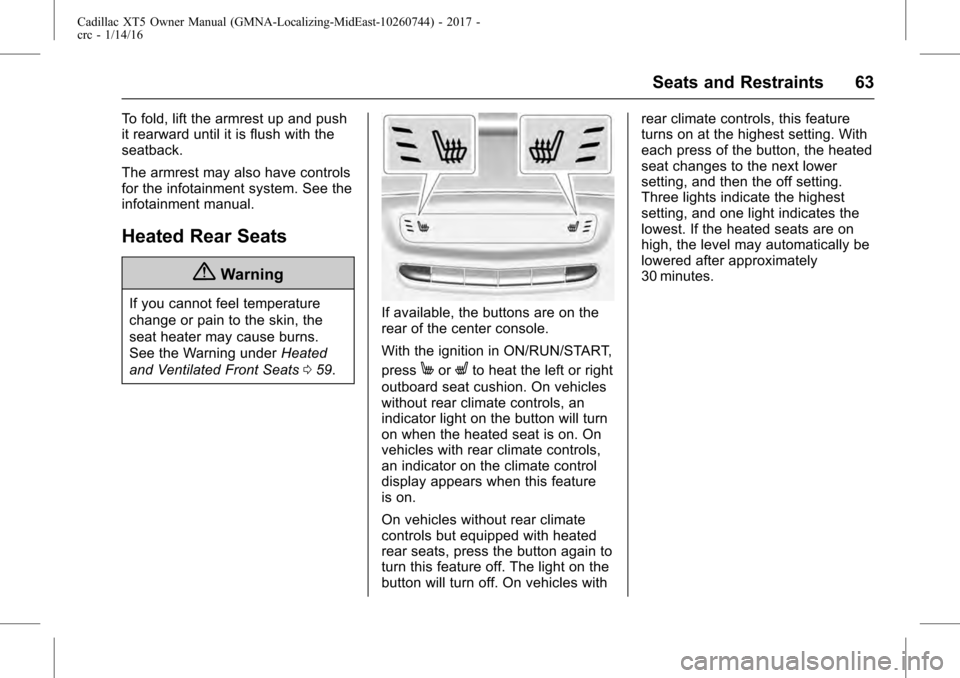
and Ventilated Front Seats 059.If available, the buttons are on the
rear of the center console.
With the ignition in ON/RUN/START,
press
MorLto heat the left or right
outboard seat cushion. On vehicles
without rear climate controls, an
indicator light on the button will turn
on when the heated seat is on. On
vehicles with rear climate controls,
an indicator on the climate control
display appears when this feature
is on.
On vehicles without rear climate
controls but equipped with heated
rear seats, press the button again to
turn this feature off. The light on the
button will turn off. On vehicles with rear climate controls, this feature
turns on at the highest setting. With
each press of the button, the heated
seat changes to the next lower
setting, and then the off setting.
Three lights indicate the highest
setting, and one light indicates the
lowest. If the heated seats are on
high, the level may automatically be
lowered after approximately
30 minutes.
Page 108 of 339
Cadillac XT5 Owner Manual (GMNA-Localizing-MidEast-10260744) - 2017 -
crc - 1/14/16
108 Instruments and Controls
Instruments and
Controls
Controls
Steering Wheel Adjustment . . . 109
Steering Wheel Controls . . . . . . 109
Heated Steering Wheel . . . . . . . 109
Horn . . . . . . . . . . . . . . . . . . . . . . . . . . 110
Windshield Wiper/Washer . . . . 110
Rear Window Wiper/Washer . . . . . . . . . . . . . . . . . . . . . . 112
Clock . . . . . . . . . . . . . . . . . . . . . . . . . 113
Power Outlets . . . . . . . . . . . . . . . . 114
Wireless Charging . . . . . . . . . . . . 114
Cigarette Lighter . . . . . . . . . . . . . . 115
Ashtrays . . . . . . . . . . . . . . . . . . . . . . 116
Warning Lights, Gauges, and
Indicators
Warning Lights, Gauges, and Indicators . . . . . . . . . . . . . . . . . . . 116
Instrument Cluster (Base Cluster) . . . . . . . . . . . . . . . . . . . . . 117
Instrument Cluster (Uplevel Cluster) . . . . . . . . . . . . . . . . . . . . . 119
Speedometer . . . . . . . . . . . . . . . . . 121
Odometer . . . . . . . . . . . . . . . . . . . . . 121
Trip Odometer . . . . . . . . . . . . . . . . 121
Tachometer . . . . . . . . . . . . . . . . . . . 121 Fuel Gauge . . . . . . . . . . . . . . . . . . . 121
Engine Oil Pressure
Gauge . . . . . . . . . . . . . . . . . . . . . . 122
Engine Coolant Temperature Gauge . . . . . . . . . . . . . . . . . . . . . . 123
Voltmeter Gauge (Uplevel Cluster) . . . . . . . . . . . . . . . . . . . . . 124
Safety Belt Reminders . . . . . . . . 125
Airbag Readiness Light . . . . . . . 125
Passenger Airbag Status Indicator . . . . . . . . . . . . . . . . . . . . 126
Charging System Light . . . . . . . 126
Malfunction Indicator Lamp (Check Engine Light) . . . . . . . . 127
Brake System Warning Light . . . . . . . . . . . . . . . . . . . . . . . . 129
Electric Parking Brake Light . . . . . . . . . . . . . . . . . . . . . . . . 129
Service Electric Parking Brake Light . . . . . . . . . . . . . . . . . . . . . . . . 129
Antilock Brake System (ABS) Warning Light . . . . . . . . . . . . . . . 130
Lane Keep Assist (LKA) Light . . . . . . . . . . . . . . . . . . . . . . . . 130
Vehicle Ahead Indicator . . . . . . 131
Pedestrian Ahead Indicator . . . 131
Traction Off Light . . . . . . . . . . . . . 131
StabiliTrak
®OFF Light . . . . . . . . 131
Traction Control System (TCS)/ StabiliTrak
®Light . . . . . . . . . . . 132 Engine Coolant Temperature
Warning Light . . . . . . . . . . . . . . . 132
Tire Pressure Light . . . . . . . . . . . 132
Engine Oil Pressure Light . . . . 133
Low Fuel Warning Light . . . . . . 133
Security Light . . . . . . . . . . . . . . . . . 134
High-Beam On Light . . . . . . . . . . 134
Lamps On Reminder . . . . . . . . . 134
Cruise Control Light . . . . . . . . . . 134
Door Ajar Light . . . . . . . . . . . . . . . 135
Information Displays
Driver Information Center (DIC) . . . . . . . . . . . . . . . . 135
Head-Up Display (HUD) . . . . . . 137
Vehicle Messages
Vehicle Messages . . . . . . . . . . . . 140
Battery Voltage and Charging Messages . . . . . . . . . . . . . . . . . . . 141
Brake System Messages . . . . . 141
Cruise Control Messages . . . . . 142
Door Ajar Messages . . . . . . . . . . 142
Engine Cooling System Messages . . . . . . . . . . . . . . . . . . . 142
Engine Oil Messages . . . . . . . . . 143
Engine Power Messages . . . . . 143
Fuel System Messages . . . . . . . 144
Key and Lock Messages . . . . . 144
Lamp Messages . . . . . . . . . . . . . . 144
Page 116 of 339
Cadillac XT5 Owner Manual (GMNA-Localizing-MidEast-10260744) - 2017 -
crc - 1/14/16
116 Instruments and Controls
Ashtrays
If equipped, the ashtray is in the
center console cupholder.
Caution
If papers, pins, or other
flammable items are put in the
ashtray, hot cigarettes or other
smoking materials could ignite
them and possibly damage the
vehicle. Never put flammable
items in the ashtray.
To remove the ashtray, pull it from
the cupholder. Push it back down to
be sure it is secure.
Warning Lights,
Gauges, and
Indicators
Warning lights and gauges can
signal that something is wrong
before it becomes serious enough
to cause an expensive repair or
replacement. Paying attention to the
warning lights and gauges could
prevent injury.
Some warning lights come on briefly
when the engine is started to
indicate they are working. When
one of the warning lights comes on
and stays on while driving, or when
one of the gauges shows there may
be a problem, check the section that
explains what to do. Waiting to do
repairs can be costly and even
dangerous.
Page 126 of 339
Cadillac XT5 Owner Manual (GMNA-Localizing-MidEast-10260744) - 2017 -
crc - 1/14/16
126 Instruments and Controls
{Warning
If the airbag readiness light stays
on after the vehicle is started or
comes on while driving, it means
the airbag system might not be
working properly. The airbags in
the vehicle might not inflate in a
crash, or they could even inflate
without a crash. To help avoid
injury, have the vehicle serviced
right away.
If there is a problem with the airbag
system, a Driver Information Center
(DIC) message may also come on.
See Airbag System
Messages 0148.
Passenger Airbag Status
Indicator
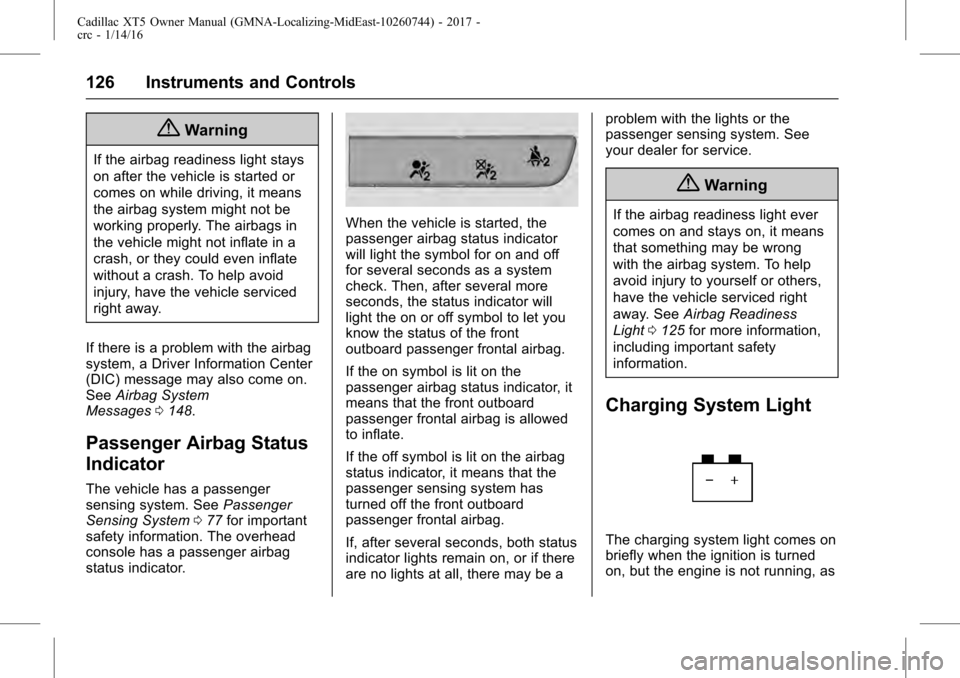
The vehicle has a passenger
sensing system. See Passenger
Sensing System 077 for important
safety information. The overhead
console has a passenger airbag
status indicator.
When the vehicle is started, the
passenger airbag status indicator
will light the symbol for on and off
for several seconds as a system
check. Then, after several more
seconds, the status indicator will
light the on or off symbol to let you
know the status of the front
outboard passenger frontal airbag.
If the on symbol is lit on the
passenger airbag status indicator, it
means that the front outboard
passenger frontal airbag is allowed
to inflate.
If the off symbol is lit on the airbag
status indicator, it means that the
passenger sensing system has
turned off the front outboard
passenger frontal airbag.
If, after several seconds, both status
indicator lights remain on, or if there
are no lights at all, there may be a problem with the lights or the
passenger sensing system. See
your dealer for service.
{Warning
If the airbag readiness light ever
comes on and stays on, it means
that something may be wrong
with the airbag system. To help
avoid injury to yourself or others,
have the vehicle serviced right
away. See
Airbag Readiness
Light 0125 for more information,
including important safety
information.
Charging System Light
The charging system light comes on
briefly when the ignition is turned
on, but the engine is not running, as
Page 166 of 339
Cadillac XT5 Owner Manual (GMNA-Localizing-MidEast-10260744) - 2017 -
crc - 1/14/16
166 Lighting
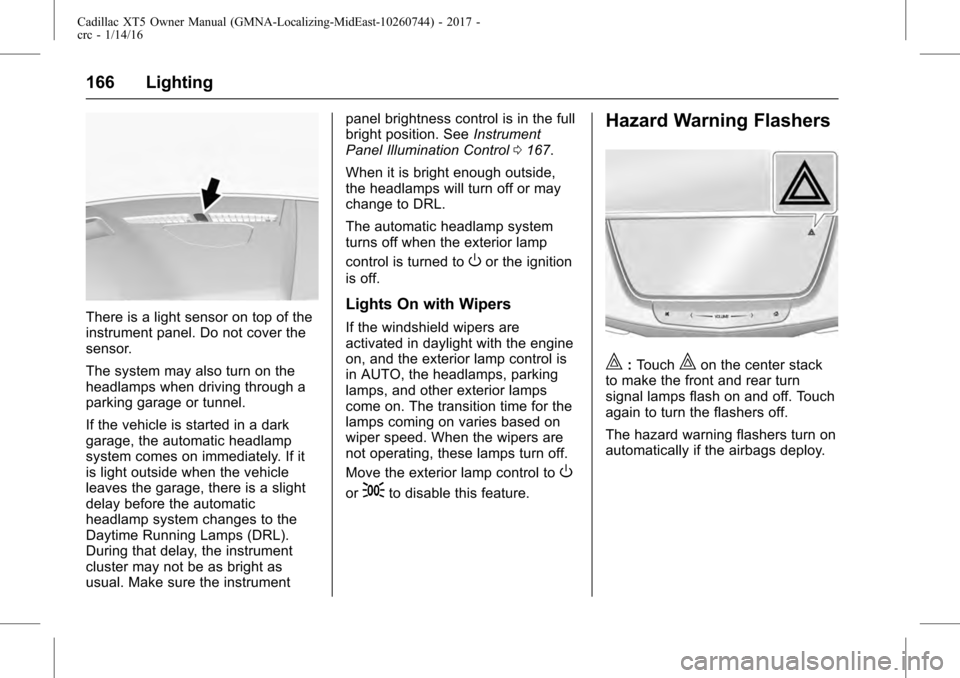
There is a light sensor on top of the
instrument panel. Do not cover the
sensor.
The system may also turn on the
headlamps when driving through a
parking garage or tunnel.
If the vehicle is started in a dark
garage, the automatic headlamp
system comes on immediately. If it
is light outside when the vehicle
leaves the garage, there is a slight
delay before the automatic
headlamp system changes to the
Daytime Running Lamps (DRL).
During that delay, the instrument
cluster may not be as bright as
usual. Make sure the instrumentpanel brightness control is in the full
bright position. See
Instrument
Panel Illumination Control 0167.
When it is bright enough outside,
the headlamps will turn off or may
change to DRL.
The automatic headlamp system
turns off when the exterior lamp
control is turned to
Oor the ignition
is off.
Lights On with Wipers
If the windshield wipers are
activated in daylight with the engine
on, and the exterior lamp control is
in AUTO, the headlamps, parking
lamps, and other exterior lamps
come on. The transition time for the
lamps coming on varies based on
wiper speed. When the wipers are
not operating, these lamps turn off.
Move the exterior lamp control to
O
or;to disable this feature.
Hazard Warning Flashers
|: Touch|on the center stack
to make the front and rear turn
signal lamps flash on and off. Touch
again to turn the flashers off.
The hazard warning flashers turn on
automatically if the airbags deploy.
Page 216 of 339
Cadillac XT5 Owner Manual (GMNA-Localizing-MidEast-10260744) - 2017 -
crc - 1/14/16
216 Driving and Operating
Approaching and Following a
Vehicle
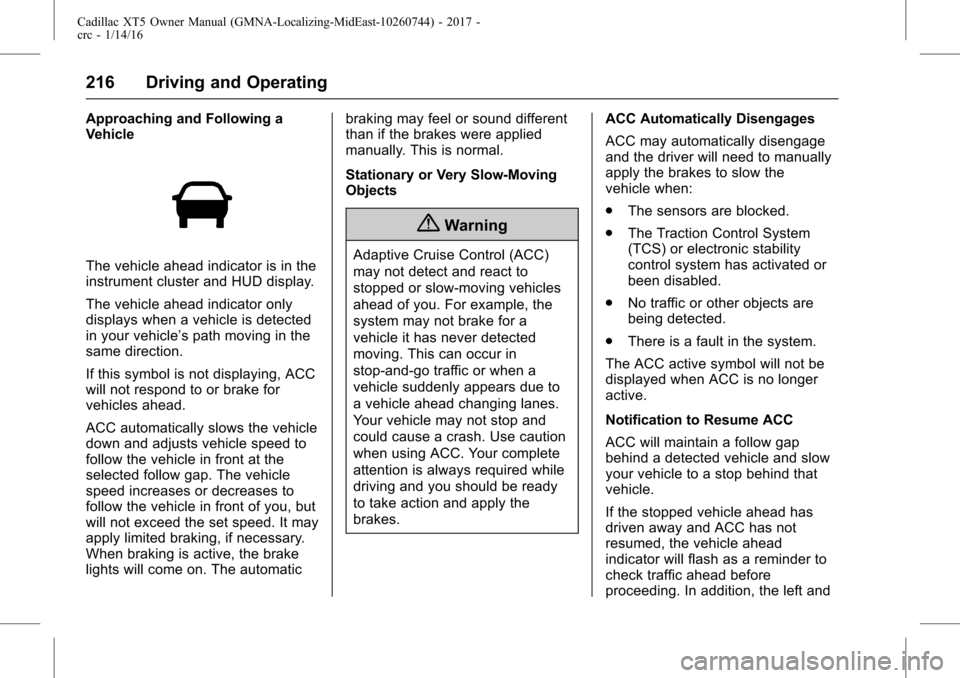
The vehicle ahead indicator is in the
instrument cluster and HUD display.
The vehicle ahead indicator only
displays when a vehicle is detected
in your vehicle’s path moving in the
same direction.
If this symbol is not displaying, ACC
will not respond to or brake for
vehicles ahead.
ACC automatically slows the vehicle
down and adjusts vehicle speed to
follow the vehicle in front at the
selected follow gap. The vehicle
speed increases or decreases to
follow the vehicle in front of you, but
will not exceed the set speed. It may
apply limited braking, if necessary.
When braking is active, the brake
lights will come on. The automaticbraking may feel or sound different
than if the brakes were applied
manually. This is normal.
Stationary or Very Slow-Moving
Objects
{Warning
Adaptive Cruise Control (ACC)
may not detect and react to
stopped or slow-moving vehicles
ahead of you. For example, the
system may not brake for a
vehicle it has never detected
moving. This can occur in
stop-and-go traffic or when a
vehicle suddenly appears due to
a vehicle ahead changing lanes.
Your vehicle may not stop and
could cause a crash. Use caution
when using ACC. Your complete
attention is always required while
driving and you should be ready
to take action and apply the
brakes.
ACC Automatically Disengages
ACC may automatically disengage
and the driver will need to manually
apply the brakes to slow the
vehicle when:
.
The sensors are blocked.
. The Traction Control System
(TCS) or electronic stability
control system has activated or
been disabled.
. No traffic or other objects are
being detected.
. There is a fault in the system.
The ACC active symbol will not be
displayed when ACC is no longer
active.
Notification to Resume ACC
ACC will maintain a follow gap
behind a detected vehicle and slow
your vehicle to a stop behind that
vehicle.
If the stopped vehicle ahead has
driven away and ACC has not
resumed, the vehicle ahead
indicator will flash as a reminder to
check traffic ahead before
proceeding. In addition, the left and
Page 227 of 339
Cadillac XT5 Owner Manual (GMNA-Localizing-MidEast-10260744) - 2017 -
crc - 1/14/16
Driving and Operating 227
beeps or pulses the driver seat.
FCA also lights an amber visual
alert if following another vehicle
much too closely.
FCA detects vehicles within a
distance of approximately 60 m
(197 ft) and operates at speeds
above 8 km/h (5 mph). If the vehicle
has Adaptive Cruise Control (ACC),
it can detect vehicles to distances of
approximately 110 m (360 ft) and
operates at all speeds. See
Adaptive Cruise Control0212.
{Warning
FCA is a warning system and
does not apply the brakes. When
approaching a slower-moving or
stopped vehicle ahead too rapidly,
or when following a vehicle too
closely, FCA may not provide a
warning with enough time to help
avoid a crash. It also may not
provide any warning at all. FCA
does not warn of pedestrians,
animals, signs, guardrails,
bridges, construction barrels,
(Continued)
Warning (Continued)
or other objects. Be ready to take
action and apply the brakes. See
Defensive Driving0182.
FCA can be disabled with the FCA
steering wheel control, or if your
vehicle is equipped with Adaptive
Cruise Control (ACC), through
vehicle personalization. See
“Collision/Detection Systems” under
Vehicle Personalization 0151.
Detecting the Vehicle Ahead
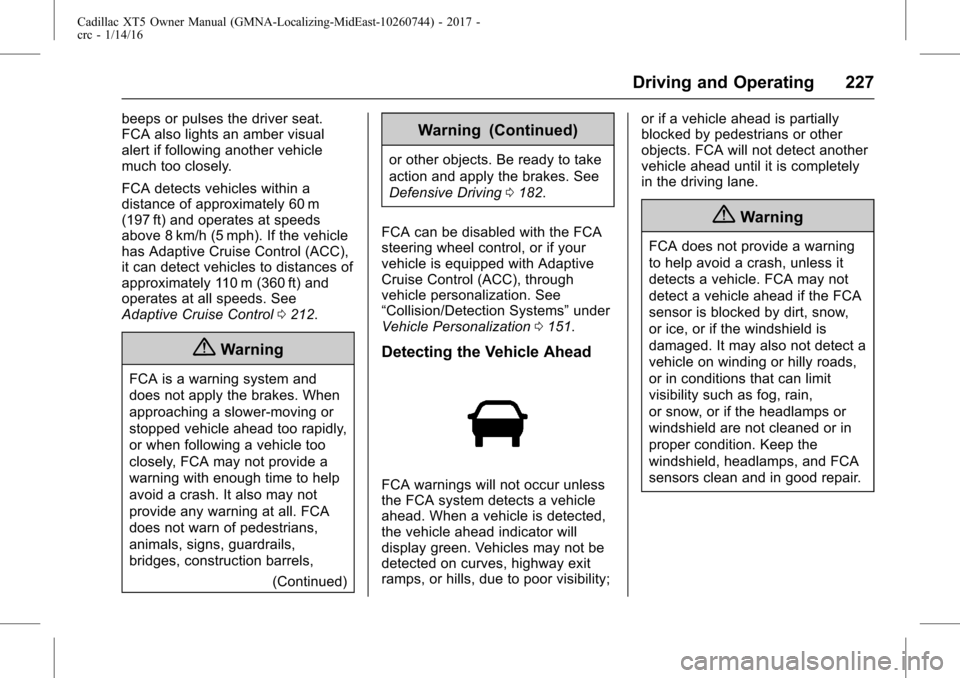
FCA warnings will not occur unless
the FCA system detects a vehicle
ahead. When a vehicle is detected,
the vehicle ahead indicator will
display green. Vehicles may not be
detected on curves, highway exit
ramps, or hills, due to poor visibility; or if a vehicle ahead is partially
blocked by pedestrians or other
objects. FCA will not detect another
vehicle ahead until it is completely
in the driving lane.
{Warning
FCA does not provide a warning
to help avoid a crash, unless it
detects a vehicle. FCA may not
detect a vehicle ahead if the FCA
sensor is blocked by dirt, snow,
or ice, or if the windshield is
damaged. It may also not detect a
vehicle on winding or hilly roads,
or in conditions that can limit
visibility such as fog, rain,
or snow, or if the headlamps or
windshield are not cleaned or in
proper condition. Keep the
windshield, headlamps, and FCA
sensors clean and in good repair.
Page 234 of 339
Cadillac XT5 Owner Manual (GMNA-Localizing-MidEast-10260744) - 2017 -
crc - 1/14/16
234 Driving and Operating
How the System Works
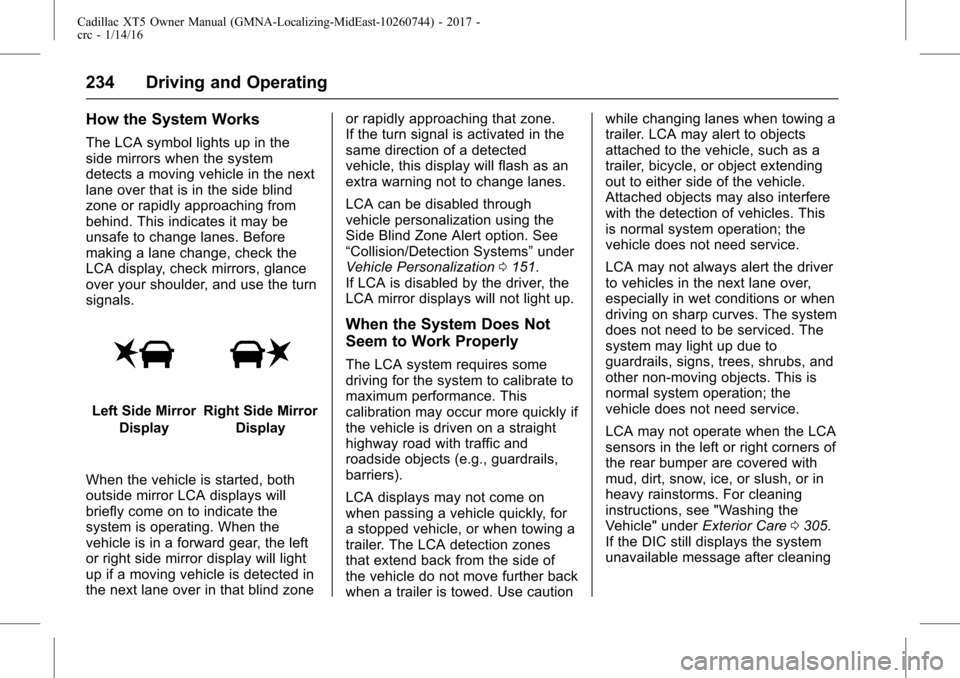
The LCA symbol lights up in the
side mirrors when the system
detects a moving vehicle in the next
lane over that is in the side blind
zone or rapidly approaching from
behind. This indicates it may be
unsafe to change lanes. Before
making a lane change, check the
LCA display, check mirrors, glance
over your shoulder, and use the turn
signals.
Left Side MirrorDisplayRight Side Mirror Display
When the vehicle is started, both
outside mirror LCA displays will
briefly come on to indicate the
system is operating. When the
vehicle is in a forward gear, the left
or right side mirror display will light
up if a moving vehicle is detected in
the next lane over in that blind zone or rapidly approaching that zone.
If the turn signal is activated in the
same direction of a detected
vehicle, this display will flash as an
extra warning not to change lanes.
LCA can be disabled through
vehicle personalization using the
Side Blind Zone Alert option. See
“Collision/Detection Systems”
under
Vehicle Personalization 0151.
If LCA is disabled by the driver, the
LCA mirror displays will not light up.
When the System Does Not
Seem to Work Properly
The LCA system requires some
driving for the system to calibrate to
maximum performance. This
calibration may occur more quickly if
the vehicle is driven on a straight
highway road with traffic and
roadside objects (e.g., guardrails,
barriers).
LCA displays may not come on
when passing a vehicle quickly, for
a stopped vehicle, or when towing a
trailer. The LCA detection zones
that extend back from the side of
the vehicle do not move further back
when a trailer is towed. Use caution while changing lanes when towing a
trailer. LCA may alert to objects
attached to the vehicle, such as a
trailer, bicycle, or object extending
out to either side of the vehicle.
Attached objects may also interfere
with the detection of vehicles. This
is normal system operation; the
vehicle does not need service.
LCA may not always alert the driver
to vehicles in the next lane over,
especially in wet conditions or when
driving on sharp curves. The system
does not need to be serviced. The
system may light up due to
guardrails, signs, trees, shrubs, and
other non-moving objects. This is
normal system operation; the
vehicle does not need service.
LCA may not operate when the LCA
sensors in the left or right corners of
the rear bumper are covered with
mud, dirt, snow, ice, or slush, or in
heavy rainstorms. For cleaning
instructions, see "Washing the
Vehicle" under
Exterior Care0305.
If the DIC still displays the system
unavailable message after cleaning
Page 302 of 339
Cadillac XT5 Owner Manual (GMNA-Localizing-MidEast-10260744) - 2017 -
crc - 1/14/16
302 Vehicle Care
2. Position the two vehicles sothat they are not touching.
3. Set the parking brake firmly and put the shift lever in
P (Park). See Shifting Into
Park 0195.
Caution
If any accessories are left on or
plugged in during the jump
starting procedure, they could be
damaged. The repairs would not
be covered by the vehicle
warranty. Whenever possible, turn
off or unplug all accessories on
either vehicle when jump starting.
4. Set the ignition to OFF. Turn off all lights and accessories in
both vehicles, except the
hazard warning flashers if
needed.
{Warning
An electric fan can start up even
when the engine is not running
and can injure you. Keep hands,
clothing, and tools away from any
underhood electric fan.
{Warning
Using a match near a battery can
cause battery gas to explode.
People have been hurt doing this,
and some have been blinded.
Use a flashlight if you need more
light.
Battery fluid contains acid that
can burn you. Do not get it on
you. If you accidentally get it in
your eyes or on your skin, flush
the place with water and get
medical help immediately.
{Warning
Fans or other moving engine
parts can injure you badly. Keep
your hands away from moving
parts once the engine is running.
5. Connect one end of the red positive (+) cable to the remote
positive (+) terminal on the
discharged battery.
6. Connect the other end of the red positive (+) cable to the
positive (+) terminal of the good
battery.
7. Connect one end of the black negative (–) cable to the
negative (–) terminal of the
good battery.
8. Connect the other end of the black negative (–) cable to the
remote negative (–) ground
terminal for the discharged
battery.
9. Start the engine in the vehicle with the good battery and run
the engine at idle speed for at
least four minutes.