ECU CADILLAC XT6 2020 Owner's Guide
[x] Cancel search | Manufacturer: CADILLAC, Model Year: 2020, Model line: XT6, Model: CADILLAC XT6 2020Pages: 385, PDF Size: 6.63 MB
Page 99 of 385
Cadillac XT6 Owner Manual (GMNA-Localizing-U.S./Canada-12984300) -
2020 - CRC - 3/19/19
98 STORAGE
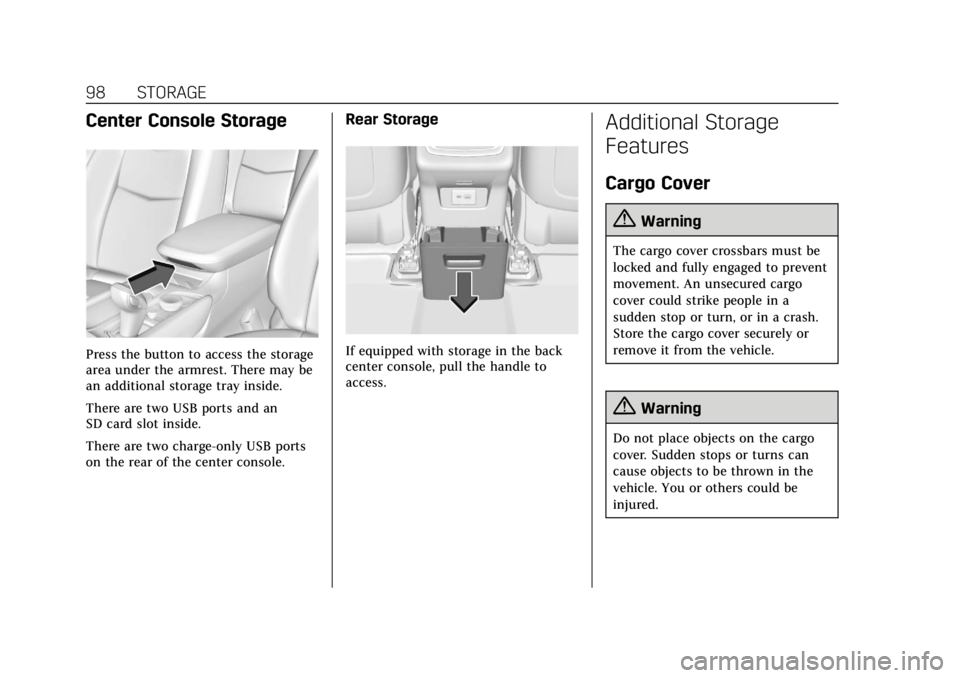
Center Console Storage
Press the button to access the storage
area under the armrest. There may be
an additional storage tray inside.
There are two USB ports and an
SD card slot inside.
There are two charge-only USB ports
on the rear of the center console.
Rear Storage
If equipped with storage in the back
center console, pull the handle to
access.
Additional Storage
Features
Cargo Cover
{Warning
The cargo cover crossbars must be
locked and fully engaged to prevent
movement. An unsecured cargo
cover could strike people in a
sudden stop or turn, or in a crash.
Store the cargo cover securely or
remove it from the vehicle.
{Warning
Do not place objects on the cargo
cover. Sudden stops or turns can
cause objects to be thrown in the
vehicle. You or others could be
injured.
Page 102 of 385
Cadillac XT6 Owner Manual (GMNA-Localizing-U.S./Canada-12984300) -
2020 - CRC - 3/19/19
STORAGE 101
8. Place the cargo cover in thestorage bin.
9. After storing the cargo cover, make sure to properly secure the
load floor.
10. Remove the seat belt from the clips on both sides.
Cargo Tie-Downs
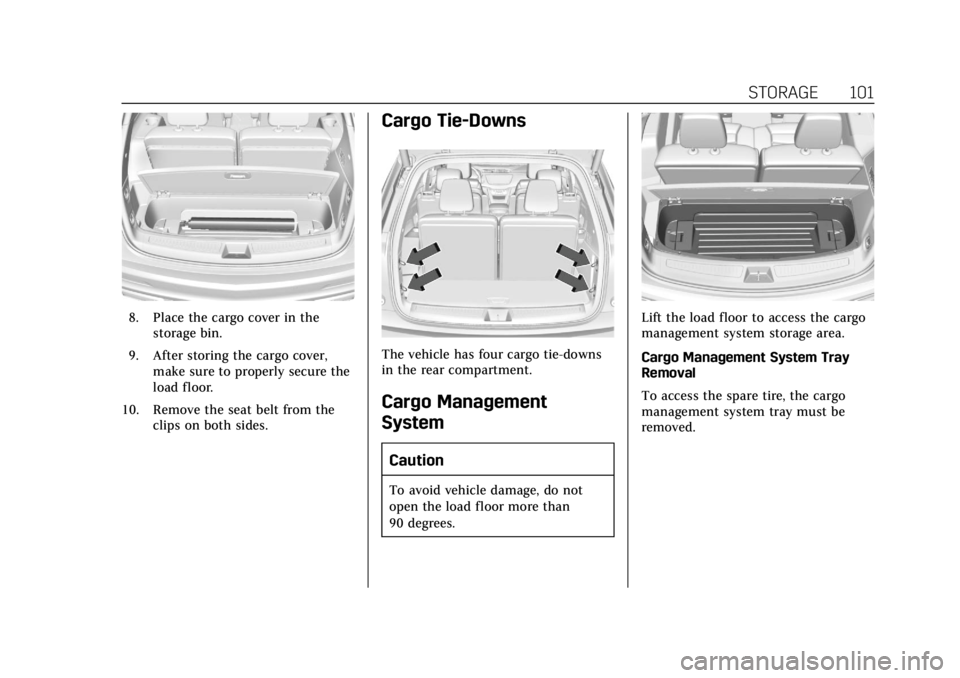
The vehicle has four cargo tie-downs
in the rear compartment.
Cargo Management
System
Caution
To avoid vehicle damage, do not
open the load floor more than
90 degrees.
Lift the load floor to access the cargo
management system storage area.
Cargo Management System Tray
Removal
To access the spare tire, the cargo
management system tray must be
removed.
Page 103 of 385

Cadillac XT6 Owner Manual (GMNA-Localizing-U.S./Canada-12984300) -
2020 - CRC - 3/19/19
102 STORAGE
Remove the cargo management
system tray (2) by pulling on the
handles (1).
Convenience Net
This vehicle may have a convenience
net in the rear of the vehicle. Attach it
to the cargo tie-downs for storing
small loads.
Do not use the net to store heavy
loads.
Roof Rack System
{Warning
If something is carried on top of the
vehicle that is longer or wider than
the roof rack—like paneling,
plywood, or a mattress —the wind
can catch it while the vehicle is
being driven. The item being carried
could be violently torn off, and this
could cause a collision and damage
the vehicle. Never carry something
longer or wider than the roof rack
on top of the vehicle unless using a
GM certified accessory carrier.
If equipped, the roof rack can be used
to load items. For roof racks that do
not have crossrails included, GM
certified crossrails can be purchased
as an accessory. See your dealer.
Caution
Loading cargo on the roof rack that
weighs more than 100 kg (220 lb) or
hangs over the rear or sides of the
vehicle may damage the vehicle. Do
not load cargo exceeding 100 kg
(220 lbs) and always load cargo so
that it rests evenly between the
crossrails and does not block the
vehicle lamps or windows. Fasten
the cargo securely.
Page 104 of 385

Cadillac XT6 Owner Manual (GMNA-Localizing-U.S./Canada-12984300) -
2020 - CRC - 3/19/19
STORAGE 103
To prevent damage or loss of cargo
when driving, check to make sure
crossrails and cargo are securely
fastened. Loading cargo on the roof
rack will make the vehicle’s center of
gravity higher. Avoid high speeds,
sudden starts, sharp turns, sudden
braking, or abrupt maneuvers;
otherwise it may result in loss of
control. If driving for a long distance,
on rough roads, or at high speeds,
occasionally stop the vehicle to make
sure the cargo remains in its place. Do
not exceed the maximum vehicle
capacity when loading the vehicle. For
more information on vehicle capacity
and loading, seeVehicle Load Limits
0 176.
Page 105 of 385
Cadillac XT6 Owner Manual (GMNA-Localizing-U.S./Canada-12984300) -
2020 - CRC - 3/19/19
104 INSTRUMENTS AND CONTROLS
Instruments and
Controls
Controls
Steering Wheel Adjustment . . . . . 105
Steering Wheel Controls . . . . . . . . . 105
Heated Steering Wheel . . . . . . . . . . 105
Horn . . . . . . . . . . . . . . . . . . . . . . . . . . . . . . . 105
Windshield Wiper/Washer . . . . . . . 106
Rear Window Wiper/Washer . . . . 107
Compass . . . . . . . . . . . . . . . . . . . . . . . . . . 108
Clock . . . . . . . . . . . . . . . . . . . . . . . . . . . . . . 109
Power Outlets . . . . . . . . . . . . . . . . . . . . . 109
Wireless Charging . . . . . . . . . . . . . . . . 110
Warning Lights, Gauges, and
Indicators
Warning Lights, Gauges, andIndicators . . . . . . . . . . . . . . . . . . . . . . . 112
Instrument Cluster . . . . . . . . . . . . . . . 113
Speedometer . . . . . . . . . . . . . . . . . . . . . . 116
Odometer . . . . . . . . . . . . . . . . . . . . . . . . . 116
Trip Odometer . . . . . . . . . . . . . . . . . . . . 116
Tachometer . . . . . . . . . . . . . . . . . . . . . . . 116
Fuel Gauge . . . . . . . . . . . . . . . . . . . . . . . . 117
Engine Coolant Temperature Gauge . . . . . . . . . . . . . . . . . . . . . . . . . . . . 117
Seat Belt Reminders . . . . . . . . . . . . . . 118 Airbag Readiness Light . . . . . . . . . . 119
Passenger Airbag Status
Indicator . . . . . . . . . . . . . . . . . . . . . . . . . 119
Charging System Light . . . . . . . . . . . 120
Malfunction Indicator Lamp (Check Engine Light) . . . . . . . . . . . 120
Brake System Warning Light . . . . 122
Electric Parking Brake Light . . . . . 122
Service Electric Parking Brake Light . . . . . . . . . . . . . . . . . . . . . . . . . . . . . 123
Antilock Brake System (ABS) Warning Light . . . . . . . . . . . . . . . . . . 123
All-Wheel-Drive Light . . . . . . . . . . . . 123
Lane Keep Assist (LKA) Light . . . 124
Vehicle Ahead Indicator . . . . . . . . . 124
Pedestrian Ahead Indicator . . . . . . 124
Traction Off Light . . . . . . . . . . . . . . . . 125
StabiliTrak OFF Light . . . . . . . . . . . . 125
Traction Control System (TCS)/ StabiliTrak Light . . . . . . . . . . . . . . . . 125
Driver Mode Control Light . . . . . . . 126
Tire Pressure Light . . . . . . . . . . . . . . . 126
Engine Oil Pressure Light . . . . . . . . 126
Low Fuel Warning Light . . . . . . . . . 127
Security Light . . . . . . . . . . . . . . . . . . . . . 127
High-Beam On Light . . . . . . . . . . . . . 127
Lamps On Reminder . . . . . . . . . . . . . 128
Cruise Control Light . . . . . . . . . . . . . . 128
Door Ajar Light . . . . . . . . . . . . . . . . . . . 128
Information Displays
Driver Information Center (DIC) . . . . . . . . . . . . . . . . . . . . . 128
Head-Up Display (HUD) . . . . . . . . . 131
Vehicle Messages
Vehicle Messages . . . . . . . . . . . . . . . . . 134
Engine Power Messages . . . . . . . . . . 135
Vehicle Speed Messages . . . . . . . . . 135
Vehicle Personalization
Vehicle Personalization . . . . . . . . . . 135
Universal Remote System
Universal Remote System . . . . . . . . 141
Universal Remote System Programming . . . . . . . . . . . . . . . . . . . 141
Universal Remote System Operation . . . . . . . . . . . . . . . . . . . . . . . . 143
Page 128 of 385
Cadillac XT6 Owner Manual (GMNA-Localizing-U.S./Canada-12984300) -
2020 - CRC - 3/19/19
INSTRUMENTS AND CONTROLS 127
This light should come on briefly as
the engine is started. If it does not
come on, have the vehicle serviced by
your dealer.
If the light comes on and stays on, it
means that oil is not flowing through
the engine properly. The vehicle could
be low on oil and might have some
other system problem. See your dealer.
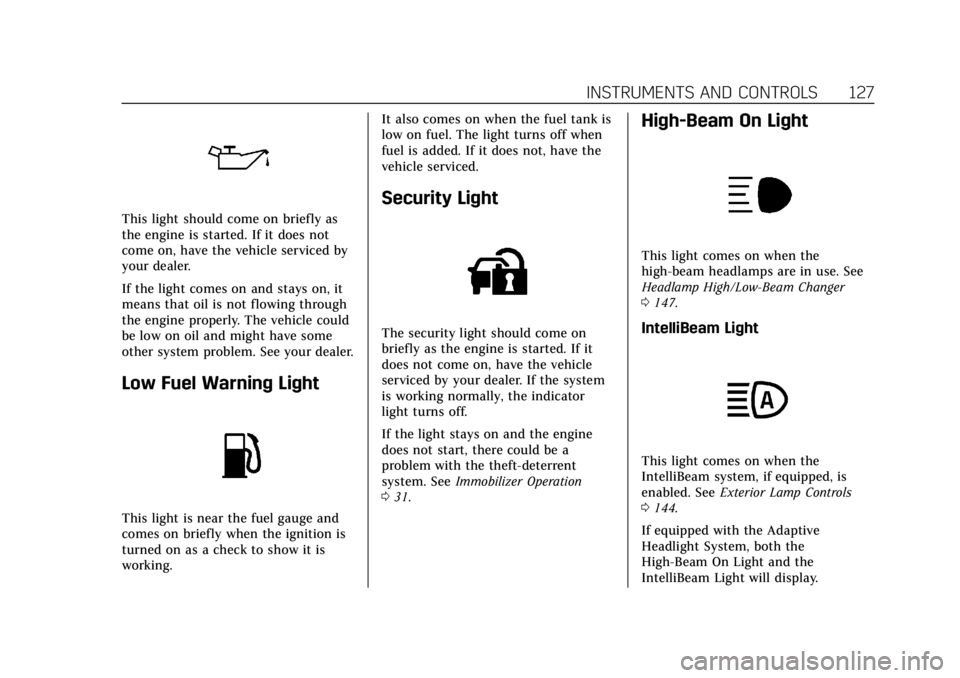
Low Fuel Warning Light
This light is near the fuel gauge and
comes on briefly when the ignition is
turned on as a check to show it is
working.It also comes on when the fuel tank is
low on fuel. The light turns off when
fuel is added. If it does not, have the
vehicle serviced.
Security Light
The security light should come on
briefly as the engine is started. If it
does not come on, have the vehicle
serviced by your dealer. If the system
is working normally, the indicator
light turns off.
If the light stays on and the engine
does not start, there could be a
problem with the theft-deterrent
system. See
Immobilizer Operation
0 31.
High-Beam On Light
This light comes on when the
high-beam headlamps are in use. See
Headlamp High/Low-Beam Changer
0147.
IntelliBeam Light
This light comes on when the
IntelliBeam system, if equipped, is
enabled. See Exterior Lamp Controls
0 144.
If equipped with the Adaptive
Headlight System, both the
High-Beam On Light and the
IntelliBeam Light will display.
Page 129 of 385
Cadillac XT6 Owner Manual (GMNA-Localizing-U.S./Canada-12984300) -
2020 - CRC - 3/19/19
128 INSTRUMENTS AND CONTROLS
Lamps On Reminder
This light comes on when the exterior
lamps are in use, except when only
the Daytime Running Lamps (DRL)
are active. SeeExterior Lamp Controls
0 144.
Cruise Control Light
The cruise control light is white when
the cruise control is on and ready, and
turns green when the cruise control is
set and active. See Cruise Control
0 203.
Adaptive Cruise Control Light
This light comes on when Adaptive
Cruise Control (if equipped) is active.
See Adaptive Cruise Control 0205.
Door Ajar Light
This light comes on when a door is
open or not securely latched. Before
driving, check that all doors are
properly closed.
Information Displays
Driver Information
Center (DIC)
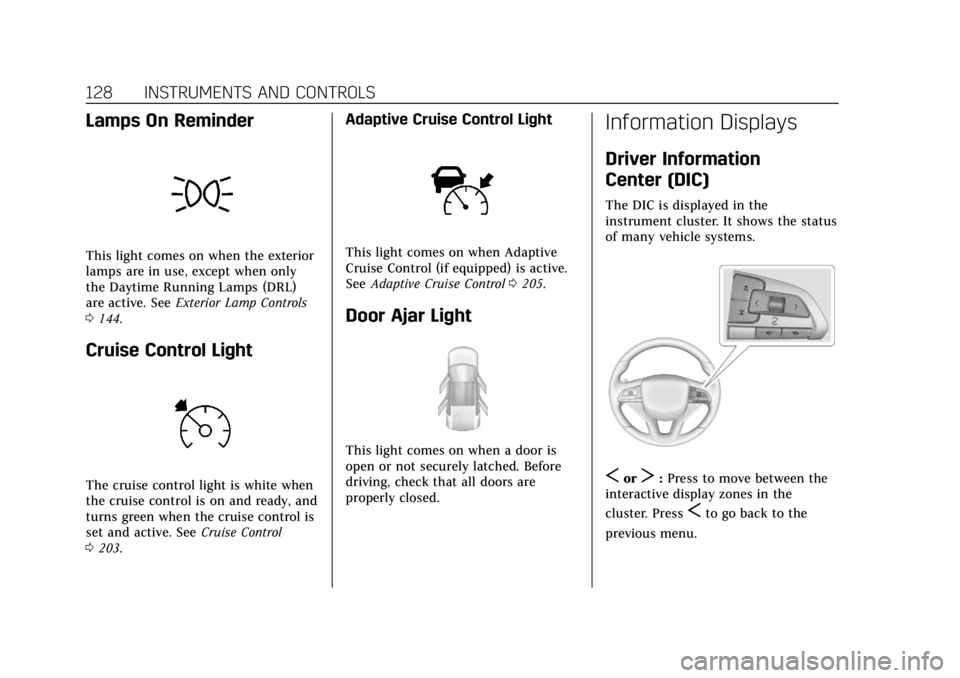
The DIC is displayed in the
instrument cluster. It shows the status
of many vehicle systems.
SorT:Press to move between the
interactive display zones in the
cluster. Press
Sto go back to the
previous menu.
Page 135 of 385
Cadillac XT6 Owner Manual (GMNA-Localizing-U.S./Canada-12984300) -
2020 - CRC - 3/19/19
134 INSTRUMENTS AND CONTROLS
vehicles. The compass heading is
displayed when navigation routing is
not active.
Navigation Turn-by-Turn Alerts
shown in the instrument cluster may
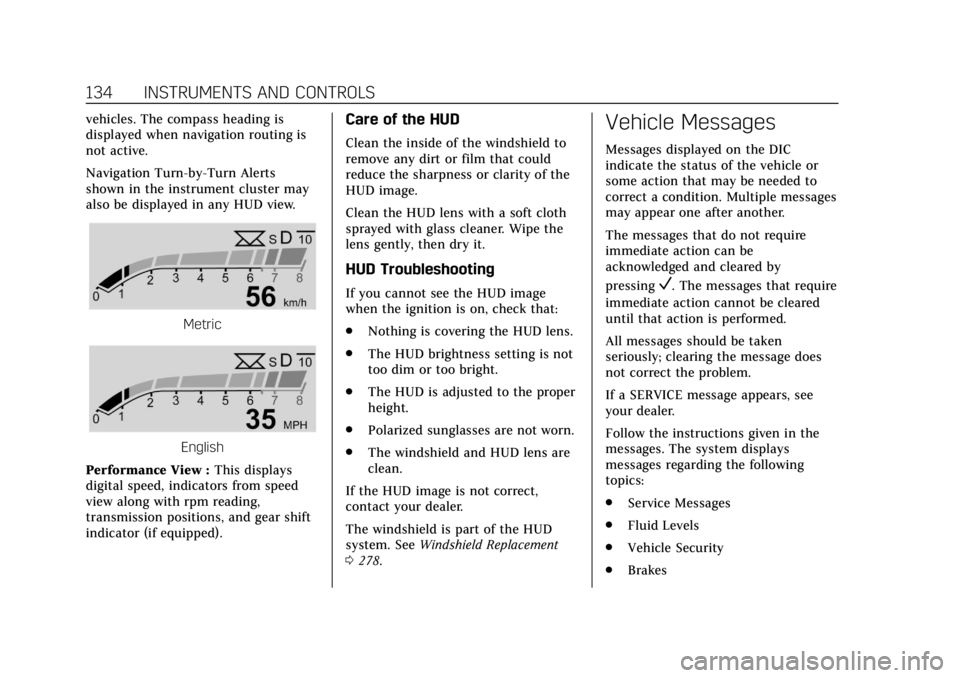
also be displayed in any HUD view.
Metric
English
Performance View : This displays
digital speed, indicators from speed
view along with rpm reading,
transmission positions, and gear shift
indicator (if equipped).
Care of the HUD
Clean the inside of the windshield to
remove any dirt or film that could
reduce the sharpness or clarity of the
HUD image.
Clean the HUD lens with a soft cloth
sprayed with glass cleaner. Wipe the
lens gently, then dry it.
HUD Troubleshooting
If you cannot see the HUD image
when the ignition is on, check that:
. Nothing is covering the HUD lens.
. The HUD brightness setting is not
too dim or too bright.
. The HUD is adjusted to the proper
height.
. Polarized sunglasses are not worn.
. The windshield and HUD lens are
clean.
If the HUD image is not correct,
contact your dealer.
The windshield is part of the HUD
system. See Windshield Replacement
0 278.
Vehicle Messages
Messages displayed on the DIC
indicate the status of the vehicle or
some action that may be needed to
correct a condition. Multiple messages
may appear one after another.
The messages that do not require
immediate action can be
acknowledged and cleared by
pressing
V. The messages that require
immediate action cannot be cleared
until that action is performed.
All messages should be taken
seriously; clearing the message does
not correct the problem.
If a SERVICE message appears, see
your dealer.
Follow the instructions given in the
messages. The system displays
messages regarding the following
topics:
. Service Messages
. Fluid Levels
. Vehicle Security
. Brakes
Page 142 of 385
Cadillac XT6 Owner Manual (GMNA-Localizing-U.S./Canada-12984300) -
2020 - CRC - 3/19/19
INSTRUMENTS AND CONTROLS 141
Universal Remote
System
SeeRadio Frequency Statement 0359.
Universal Remote System
Programming
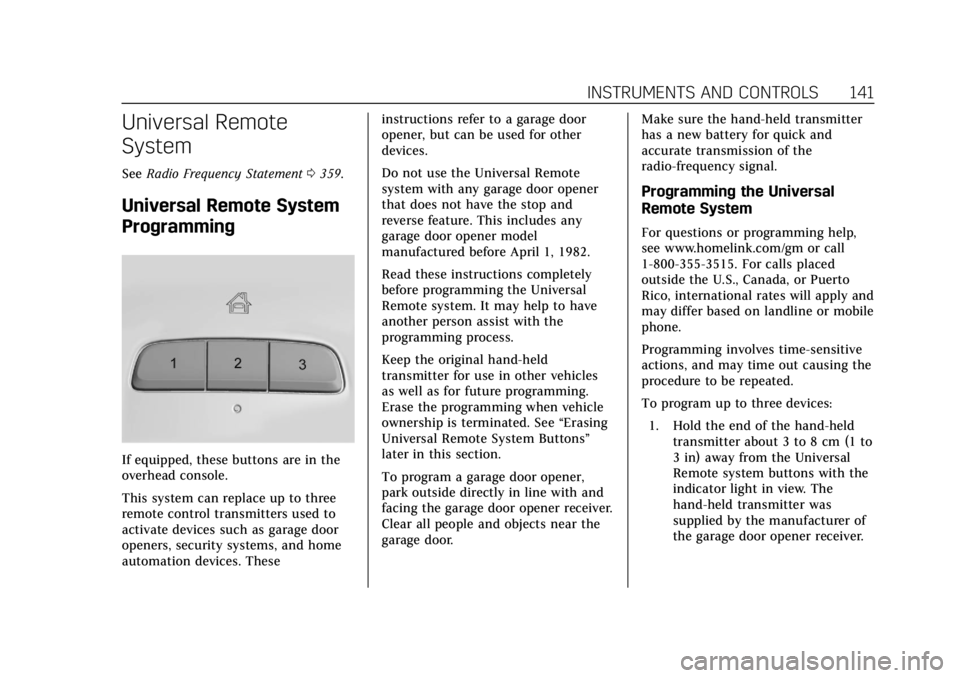
If equipped, these buttons are in the
overhead console.
This system can replace up to three
remote control transmitters used to
activate devices such as garage door
openers, security systems, and home
automation devices. These instructions refer to a garage door
opener, but can be used for other
devices.
Do not use the Universal Remote
system with any garage door opener
that does not have the stop and
reverse feature. This includes any
garage door opener model
manufactured before April 1, 1982.
Read these instructions completely
before programming the Universal
Remote system. It may help to have
another person assist with the
programming process.
Keep the original hand-held
transmitter for use in other vehicles
as well as for future programming.
Erase the programming when vehicle
ownership is terminated. See
“Erasing
Universal Remote System Buttons”
later in this section.
To program a garage door opener,
park outside directly in line with and
facing the garage door opener receiver.
Clear all people and objects near the
garage door. Make sure the hand-held transmitter
has a new battery for quick and
accurate transmission of the
radio-frequency signal.
Programming the Universal
Remote System
For questions or programming help,
see www.homelink.com/gm or call
1-800-355-3515. For calls placed
outside the U.S., Canada, or Puerto
Rico, international rates will apply and
may differ based on landline or mobile
phone.
Programming involves time-sensitive
actions, and may time out causing the
procedure to be repeated.
To program up to three devices:
1. Hold the end of the hand-held transmitter about 3 to 8 cm (1 to
3 in) away from the Universal
Remote system buttons with the
indicator light in view. The
hand-held transmitter was
supplied by the manufacturer of
the garage door opener receiver.
Page 171 of 385

Cadillac XT6 Owner Manual (GMNA-Localizing-U.S./Canada-12984300) -
2020 - CRC - 3/19/19
170 DRIVING AND OPERATING
To gain more ground clearance if
needed, it may be necessary to remove
the front fascia lower air dam.
However, driving without the air dam
reduces fuel economy.
Caution
Operating the vehicle for extended
periods without the front fascia
lower air dam installed can cause
improper airf low to the engine.
Reattach the front fascia air dam
after off-road driving.
Loading the Vehicle for Off-Road
Driving
{Warning
.Unsecured cargo on the load
floor can be tossed about
when driving over rough
terrain. You or your
passengers can be struck by
flying objects. Secure the
cargo properly.
(Continued)
Warning (Continued)
.Keep cargo in the cargo area
as far forward and as low as
possible. The heaviest things
should be on the floor,
forward of the rear axle.
. Heavy loads on the roof raise
the vehicle's center of gravity,
making it more likely to roll
over. You can be seriously or
fatally injured if the vehicle
rolls over. Put heavy loads
inside the cargo area, not on
the roof.
For more information about loading
the vehicle, see Vehicle Load Limits
0 176.
Environmental Concerns
.
Always use established trails,
roads, and areas that have been
set aside for public off-road
recreational driving and obey all
posted regulations.
. Do not damage shrubs, flowers,
trees, or grasses or disturb wildlife. .
Do not park over things that burn.
See Parking over Things That Burn
0 188.
Driving on Hills
Driving safely on hills requires good
judgment and an understanding of
what the vehicle can and cannot do.
{Warning
Many hills are simply too steep for
any vehicle. Driving up hills can
cause the vehicle to stall. Driving
down hills can cause loss of control.
Driving across hills can cause a
rollover. You could be injured or
killed. Do not drive on steep hills.
Before driving on a hill, assess the
steepness, traction, and obstructions.
If the terrain ahead cannot be seen,
get out of the vehicle and walk the hill
before driving further.
When driving on hills:
. Use a low gear and keep a firm
grip on the steering wheel.
. Maintain a slow speed.