parking brake CADILLAC XTS 2014 Owner's Guide
[x] Cancel search | Manufacturer: CADILLAC, Model Year: 2014, Model line: XTS, Model: CADILLAC XTS 2014Pages: 412, PDF Size: 4.65 MB
Page 284 of 412
Black plate (26,1)Cadillac XTS Owner Manual (GMNA-Localizing-U.S./Canada-6006999) -
2014 - CRC - 9/11/13
10-26 Vehicle Care
3. Try to start the engine in eachgear. The vehicle should start
only in P (Park) or N (Neutral).
If the vehicle starts in any other
position, contact your dealer for
service.
Automatic Transmission
Shift Lock Control
Function Check
{Warning
When you are doing this
inspection, the vehicle could
move suddenly. If the vehicle
moves, you or others could be
injured.
1. Before starting this check, be sure there is enough room
around the vehicle. It should be
parked on a level surface. 2. Firmly apply the parking brake.
See Electric Parking Brake on
page 9-27.
Be ready to apply the regular
brake immediately if the vehicle
begins to move.
3. With the engine off, turn the ignition on, but do not start the
engine. Without applying the
regular brake, try to move the
shift lever out of P (Park) with
normal effort. If the shift lever
moves out of P (Park), contact
your dealer for service.
Park Brake and P (Park)
Mechanism Check
{Warning
When you are doing this check,
the vehicle could begin to move.
You or others could be injured
and property could be damaged.
Make sure there is room in front
(Continued)
Warning (Continued)
of the vehicle in case it begins to
roll. Be ready to apply the regular
brake at once should the vehicle
begin to move.
Park on a fairly steep hill, with the
vehicle facing downhill. Keeping
your foot on the regular brake, set
the parking brake.
.To check the parking brake's
holding ability: With the engine
running and the transmission in
N (Neutral), slowly remove foot
pressure from the regular brake
pedal. Do this until the vehicle is
held by the parking brake only.
.To check the P (Park)
mechanism's holding ability:
With the engine running, shift to
P (Park). Then release the
parking brake followed by the
regular brake.
Contact your dealer if service is
required.
Page 290 of 412
Black plate (32,1)Cadillac XTS Owner Manual (GMNA-Localizing-U.S./Canada-6006999) -
2014 - CRC - 9/11/13
10-32 Vehicle Care
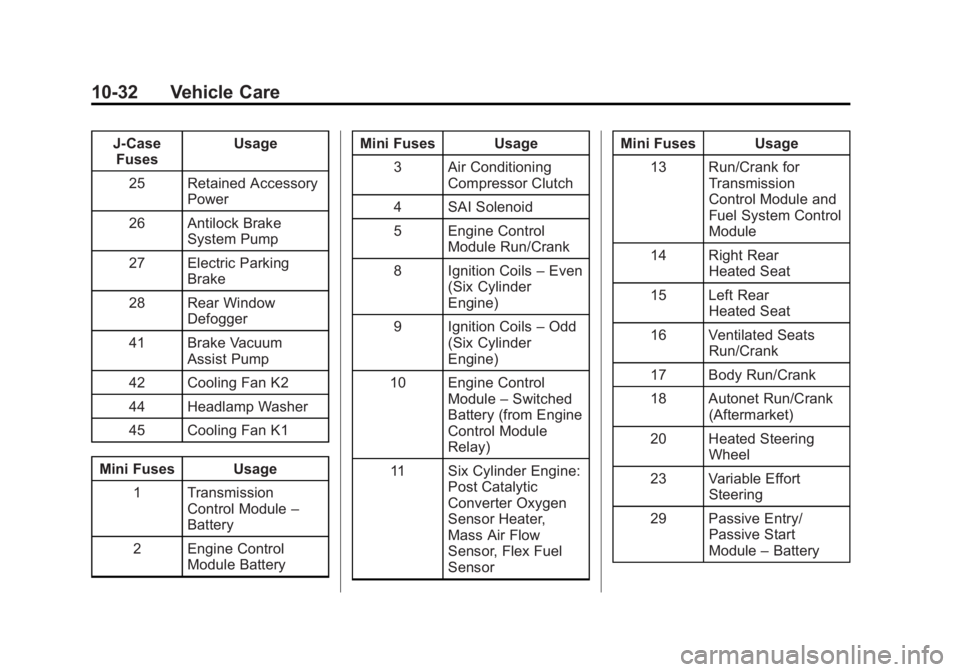
J-CaseFuses Usage
25 Retained Accessory Power
26 Antilock Brake System Pump
27 Electric Parking Brake
28 Rear Window Defogger
41 Brake Vacuum Assist Pump
42 Cooling Fan K2
44 Headlamp Washer
45 Cooling Fan K1
Mini Fuses Usage 1 Transmission Control Module –
Battery
2 Engine Control Module Battery Mini Fuses Usage
3 Air Conditioning Compressor Clutch
4 SAI Solenoid
5 Engine Control Module Run/Crank
8 Ignition Coils –Even
(Six Cylinder
Engine)
9 Ignition Coils –Odd
(Six Cylinder
Engine)
10 Engine Control Module–Switched
Battery (from Engine
Control Module
Relay)
11 Six Cylinder Engine: Post Catalytic
Converter Oxygen
Sensor Heater,
Mass Air Flow
Sensor, Flex Fuel
Sensor Mini Fuses Usage
13 Run/Crank for Transmission
Control Module and
Fuel System Control
Module
14 Right Rear Heated Seat
15 Left Rear Heated Seat
16 Ventilated Seats Run/Crank
17 Body Run/Crank
18 Autonet Run/Crank (Aftermarket)
20 Heated Steering Wheel
23 Variable Effort Steering
29 Passive Entry/ Passive Start
Module–Battery
Page 310 of 412
Black plate (52,1)Cadillac XTS Owner Manual (GMNA-Localizing-U.S./Canada-6006999) -
2014 - CRC - 9/11/13
10-52 Vehicle Care
The malfunction light and the DIC
message should go off at the next
ignition cycle. The sensors are
matched to the tire/wheel positions,
using a TPMS relearn tool, in the
following order: driver side front tire,
passenger side front tire, passenger
side rear tire, and driver side rear.
See your dealer for service or to
purchase a relearn tool.
There are two minutes to match the
first tire/wheel position, and
five minutes overall to match all four
tire/wheel positions. If it takes
longer, the matching process stops
and must be restarted.
The TPMS sensor matching
process is:
1. Set the parking brake.
2. Place the vehicle power mode inON/RUN/START. See Ignition
Positions on page 9-15. 3. Make sure the Tire Pressure info
display option is turned on. The
info displays on the DIC can be
turned on and off through the
Settings menu. See Driver
Information Center (DIC) on
page 5-30.
4. Use the five-way DIC control on the right side of the steering
wheel to scroll to the Tire
Pressure screen under the DIC
info page. See Driver
Information Center (DIC) on
page 5-30.
5. Press and hold the SEL button in the center of the five-way DIC
control.
The horn sounds twice to signal
the receiver is in relearn mode
and the TIRE LEARNING
ACTIVE message displays on
the DIC screen.
6. Start with the driver side front tire. 7. Place the relearn tool against
the tire sidewall, near the valve
stem. Then press the button to
activate the TPMS sensor.
A horn chirp confirms that the
sensor identification code has
been matched to this tire and
wheel position.
8. Proceed to the passenger side front tire, and repeat Step 7.
9. Proceed to the passenger side rear tire, and repeat Step 7.
10. Proceed to the driver side rear tire, and repeat Step 7. The
horn sounds two times to
indicate the sensor
identification code has been
matched to the driver side rear
tire, and the TPMS sensor
matching process is no longer
active. The TIRE LEARNING
ACTIVE message on the DIC
display screen goes off.
11. Shut the ignition off.
Page 313 of 412
Black plate (55,1)Cadillac XTS Owner Manual (GMNA-Localizing-U.S./Canada-6006999) -
2014 - CRC - 9/11/13
Vehicle Care 10-55
The rubber in tires ages over time.
This also applies to the spare tire,
if the vehicle has one, even if it is
never used. Multiple factors
including temperatures, loading
conditions, and inflation pressure
maintenance affect how fast aging
takes place. GM recommends that
tires, including the spare if
equipped, be replaced after six
years, regardless of tread wear. The
tire manufacturer date is the last
four digits of the DOT Tire
Identification Number (TIN) which is
molded into one side of the tire
sidewall. The first two digits
represent the week (01–52) and the
last two digits, the year. For
example, the third week of the year
2010 would have a four-digit DOT
date of 0310.
Vehicle Storage
Tires age when stored normally
mounted on a parked vehicle. Park
a vehicle that will be stored for at
least a month in a cool, dry, clean
area away from direct sunlight toslow aging. This area should be free
of grease, gasoline, or other
substances that can deteriorate
rubber.
Parking for an extended period can
cause flat spots on the tires that
may result in vibrations while
driving. When storing a vehicle for
at least a month, remove the tires or
raise the vehicle to reduce the
weight from the tires.
Buying New Tires
GM has developed and matched
specific tires for the vehicle. The
original equipment tires installed
were designed to meet General
Motors Tire Performance Criteria
Specification (TPC Spec)
system rating. When
replacement tires are needed,
GM strongly recommends
buying tires with the same TPC
Spec rating.
GM's exclusive TPC Spec
system considers over a dozen
critical specifications that impact
the overall performance of the
vehicle, including brake system
performance, ride and handling,
traction control, and tire
pressure monitoring
performance. GM's TPC Spec
number is molded onto the tire's
sidewall near the tire size. If the
tires have an all-season tread
design, the TPC Spec number
will be followed by MS for mud
and snow. See
Tire Sidewall
Labeling on page 10-40.
GM recommends replacing worn
tires in complete sets of four.
Uniform tread depth on all tires
will help to maintain the
performance of the vehicle.
Braking and handling
performance may be adversely
affected if all the tires are not
replaced at the same time.
Page 319 of 412
Black plate (61,1)Cadillac XTS Owner Manual (GMNA-Localizing-U.S./Canada-6006999) -
2014 - CRC - 9/11/13
Vehicle Care 10-61
{Warning
Driving on a flat tire will cause
permanent damage to the tire.
Re-inflating a tire after it has been
driven on while severely
underinflated or flat may cause a
blowout and a serious crash.
Never attempt to re-inflate a tire
that has been driven on while
severely underinflated or flat.
Have your dealer or an authorized
tire service center repair or
replace the flat tire as soon as
possible.
{Warning
Lifting a vehicle and getting under
it to do maintenance or repairs is
dangerous without the
appropriate safety equipment and
training. If a jack is provided with
the vehicle, it is designed only for
changing a flat tire. If it is used for
anything else, you or others could
be badly injured or killed if the
vehicle slips off the jack. If a jack
is provided with the vehicle, only
use it for changing a flat tire.
If a tire goes flat, avoid further tire
and wheel damage by driving slowly
to a level place, well off the road,
if possible. Turn on the hazard
warning flashers. See Hazard
Warning Flashers on page 6-5.
{Warning
Changing a tire can be
dangerous. The vehicle can slip
off the jack and roll over or fall
causing injury or death. Find a
level place to change the tire. To
help prevent the vehicle from
moving:
1. Set the parking brake firmly.
2. Put an automatic transmission in P (Park) or a
manual transmission in
1 (First) or R (Reverse).
3. Turn off the engine and do not restart while the vehicle
is raised.
4. Do not allow passengers to remain in the vehicle.
5. Place wheel blocks on both sides of the tire at the
opposite corner of the tire
being changed.
Page 336 of 412
Black plate (78,1)Cadillac XTS Owner Manual (GMNA-Localizing-U.S./Canada-6006999) -
2014 - CRC - 9/11/13
10-78 Vehicle Care
The vehicle has a remote negative
(−) ground location. It is located on
the driver side of the engine
compartment. SeeEngine
Compartment Overview on
page 10-5. You should always use
this remote ground location, instead
of the terminal on the battery.
These posts are used instead of a
direct connection to the battery.
1. Check the other vehicle. It must have a 12-volt battery with a
negative ground system.
{Caution
If the other vehicle does not have
a 12-volt system with a negative
ground, both vehicles can be
damaged. Only use a vehicle that
has a 12-volt system with a
negative ground for jump starting.
2. Position the two vehicles so that they are not touching.
3. Set the parking brake firmly. Vehicles with an automatic
transmission should be in
P (Park). See Shifting Into Park
on page 9-20.
{Caution
If any accessories are left on or
plugged in during the jump
starting procedure, they could be
damaged. The repairs would not
be covered by the vehicle
(Continued)
Caution (Continued)
warranty. Whenever possible, turn
off or unplug all accessories on
either vehicle when jump starting.
4. Turn the ignition to OFF and switch off all lights and
accessories in both vehicles,
except the hazard warning
flashers if needed.
{Warning
An electric fan can start up even
when the engine is not running
and can injure you. Keep hands,
clothing and tools away from any
underhood electric fan.
Page 339 of 412
Black plate (81,1)Cadillac XTS Owner Manual (GMNA-Localizing-U.S./Canada-6006999) -
2014 - CRC - 9/11/13
Vehicle Care 10-81
Dinghy Towing
{Caution
If the vehicle is towed with all four
wheels on the ground, the
drivetrain components could be
damaged. The repairs would not
be covered by the vehicle
warranty. Do not tow the vehicle
with all four wheels on the
ground.The vehicle was not designed to be
towed with all four wheels on the
ground. If the vehicle must be
towed, a dolly should be used. See
the following information on dolly
towing.
Dolly Towing from the Front
(Front-Wheel Drive)
Vehicles with front-wheel drive can
be dolly towed from the front.
Use the following procedure to dolly
tow the vehicle from the front:
1. Attach the dolly to the tow
vehicle following the dolly
manufacturer instructions.
2. Drive the front wheels onto the dolly.
3. Shift the transmission to P (Park).
4. Firmly set the parking brake.
5. Use an adequate clamping device designed for towing to
ensure that the front wheels are
locked into the straight-ahead
position.
6. Secure the vehicle to the dolly following the manufacturer
instructions.
7. Release the parking brake only after the vehicle being towed is
firmly attached to the towing
vehicle.
8. Turn the ignition to OFF.
Page 355 of 412
Black plate (5,1)Cadillac XTS Owner Manual (GMNA-Localizing-U.S./Canada-6006999) -
2014 - CRC - 9/11/13
Service and Maintenance 11-5
.Visually inspect windshield wiper
blades for wear, cracking,
or contamination. SeeExterior
Care on page 10-82. Replace
worn or damaged wiper blades.
See Wiper Blade Replacement
on page 10-27.
.Check tire inflation pressures.
See Tire Pressure on
page 10-46.
.Inspect tire wear. See Tire
Inspection on page 10-53.
.Visually check for fluid leaks.
.Inspect engine air cleaner filter.
See Engine Air Cleaner/Filter on
page 10-13.
.Inspect brake system.
.Visually inspect steering,
suspension, and chassis
components for damaged, loose,
or missing parts or signs of
wear. See Exterior Care on
page 10-82.
.Check restraint system
components. See Safety System
Check on page 3-20.
.Visually inspect fuel system for
damage or leaks.
.Visually inspect exhaust system
and nearby heat shields for
loose or damaged parts.
.Lubricate body components. See
Exterior Care on page 10-82.
.Check starter switch. See Starter
Switch Check on page 10-25.
.Check automatic transmission
shift lock control function. See
Automatic Transmission Shift
Lock Control Function Check on
page 10-26.
.Check parking brake and
automatic transmission park
mechanism. See Park Brake and
P (Park) Mechanism Check on
page 10-26.
.Check accelerator pedal for
damage, high effort, or binding.
Replace if needed.
.Visually inspect gas strut for
signs of wear, cracks, or other
damage. Check the hold open
ability of the strut. See your
dealer if service is required.
.Check tire sealant expiration
date, if equipped. See Tire
Sealant and Compressor Kit on
page 10-62.
.Inspect sunroof track and seal,
if equipped. See Sunroof on
page 2-25.
Page 399 of 412
Black plate (1,1)Cadillac XTS Owner Manual (GMNA-Localizing-U.S./Canada-6006999) -
2014 - CRC - 9/11/13
INDEX i-1
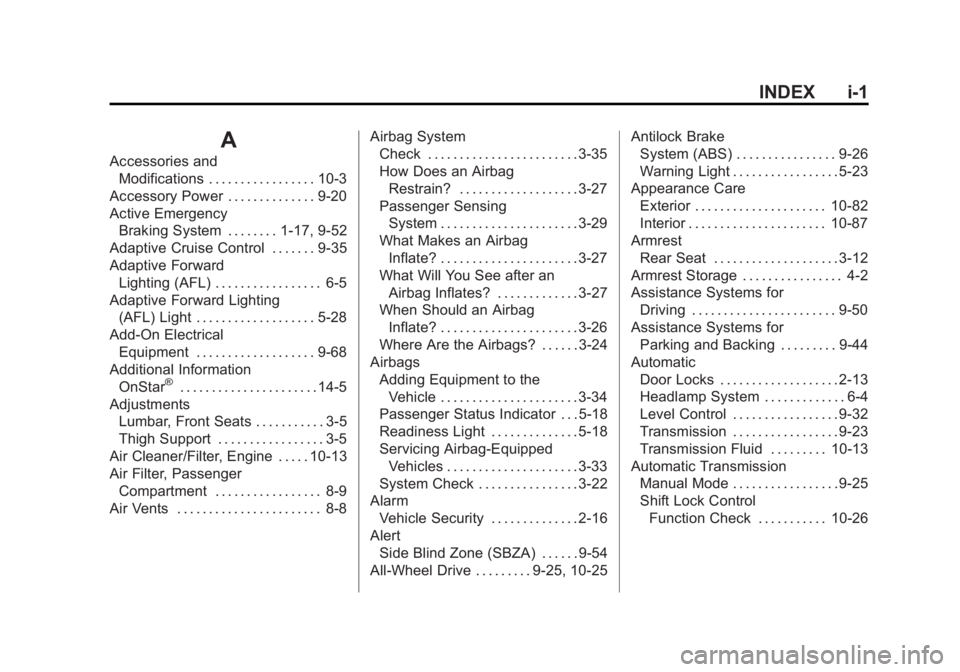
A
Accessories andModifications . . . . . . . . . . . . . . . . . 10-3
Accessory Power . . . . . . . . . . . . . . 9-20
Active Emergency Braking System . . . . . . . . 1-17, 9-52
Adaptive Cruise Control . . . . . . . 9-35
Adaptive Forward
Lighting (AFL) . . . . . . . . . . . . . . . . . 6-5
Adaptive Forward Lighting (AFL) Light . . . . . . . . . . . . . . . . . . . 5-28
Add-On Electrical Equipment . . . . . . . . . . . . . . . . . . . 9-68
Additional Information OnStar
®. . . . . . . . . . . . . . . . . . . . . . 14-5
Adjustments
Lumbar, Front Seats . . . . . . . . . . . 3-5
Thigh Support . . . . . . . . . . . . . . . . . 3-5
Air Cleaner/Filter, Engine . . . . . 10-13
Air Filter, Passenger Compartment . . . . . . . . . . . . . . . . . 8-9
Air Vents . . . . . . . . . . . . . . . . . . . . . . . 8-8 Airbag System
Check . . . . . . . . . . . . . . . . . . . . . . . . 3-35
How Does an Airbag
Restrain? . . . . . . . . . . . . . . . . . . . 3-27
Passenger Sensing System . . . . . . . . . . . . . . . . . . . . . . 3-29
What Makes an Airbag
Inflate? . . . . . . . . . . . . . . . . . . . . . . 3-27
What Will You See after an Airbag Inflates? . . . . . . . . . . . . . 3-27
When Should an Airbag
Inflate? . . . . . . . . . . . . . . . . . . . . . . 3-26
Where Are the Airbags? . . . . . . 3-24
Airbags Adding Equipment to theVehicle . . . . . . . . . . . . . . . . . . . . . . 3-34
Passenger Status Indicator . . . 5-18
Readiness Light . . . . . . . . . . . . . . 5-18
Servicing Airbag-Equipped Vehicles . . . . . . . . . . . . . . . . . . . . . 3-33
System Check . . . . . . . . . . . . . . . . 3-22
Alarm Vehicle Security . . . . . . . . . . . . . . 2-16
Alert Side Blind Zone (SBZA) . . . . . . 9-54
All-Wheel Drive . . . . . . . . . 9-25, 10-25 Antilock Brake
System (ABS) . . . . . . . . . . . . . . . . 9-26
Warning Light . . . . . . . . . . . . . . . . . 5-23
Appearance Care Exterior . . . . . . . . . . . . . . . . . . . . . 10-82
Interior . . . . . . . . . . . . . . . . . . . . . . 10-87
Armrest
Rear Seat . . . . . . . . . . . . . . . . . . . . 3-12
Armrest Storage . . . . . . . . . . . . . . . . 4-2
Assistance Systems for Driving . . . . . . . . . . . . . . . . . . . . . . . 9-50
Assistance Systems for Parking and Backing . . . . . . . . . 9-44
Automatic Door Locks . . . . . . . . . . . . . . . . . . . 2-13
Headlamp System . . . . . . . . . . . . . 6-4
Level Control . . . . . . . . . . . . . . . . . 9-32
Transmission . . . . . . . . . . . . . . . . . 9-23
Transmission Fluid . . . . . . . . . 10-13
Automatic Transmission Manual Mode . . . . . . . . . . . . . . . . . 9-25
Shift Lock Control
Function Check . . . . . . . . . . . 10-26
Page 400 of 412
Black plate (2,1)Cadillac XTS Owner Manual (GMNA-Localizing-U.S./Canada-6006999) -
2014 - CRC - 9/11/13
i-2 INDEX
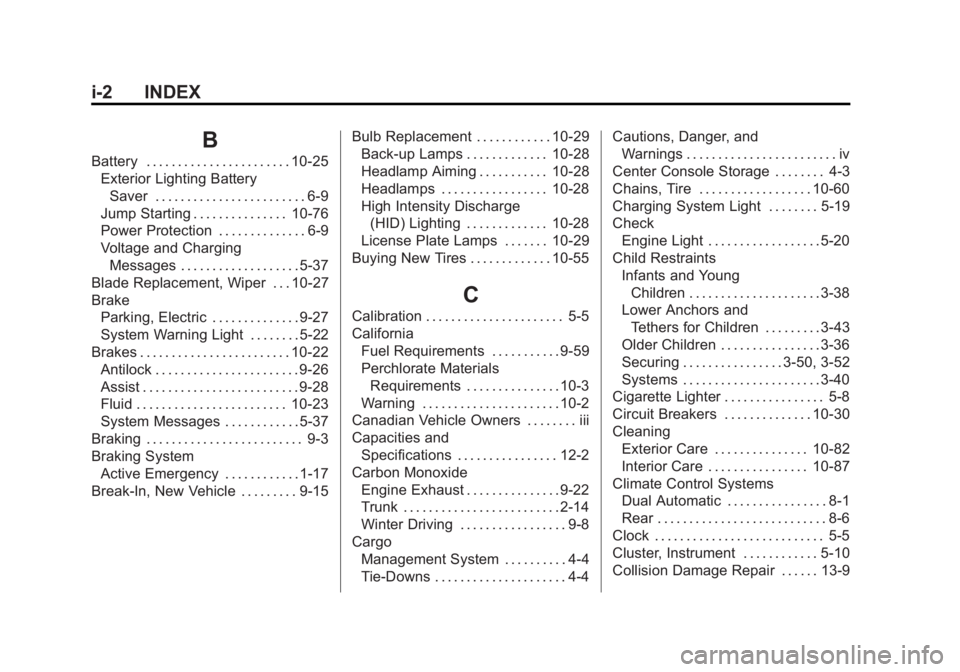
B
Battery . . . . . . . . . . . . . . . . . . . . . . . 10-25Exterior Lighting BatterySaver . . . . . . . . . . . . . . . . . . . . . . . . 6-9
Jump Starting . . . . . . . . . . . . . . . 10-76
Power Protection . . . . . . . . . . . . . . 6-9
Voltage and Charging Messages . . . . . . . . . . . . . . . . . . . 5-37
Blade Replacement, Wiper . . . 10-27
Brake Parking, Electric . . . . . . . . . . . . . . 9-27
System Warning Light . . . . . . . . 5-22
Brakes . . . . . . . . . . . . . . . . . . . . . . . . 10-22 Antilock . . . . . . . . . . . . . . . . . . . . . . . 9-26
Assist . . . . . . . . . . . . . . . . . . . . . . . . . 9-28
Fluid . . . . . . . . . . . . . . . . . . . . . . . . 10-23
System Messages . . . . . . . . . . . . 5-37
Braking . . . . . . . . . . . . . . . . . . . . . . . . . 9-3
Braking System Active Emergency . . . . . . . . . . . . 1-17
Break-In, New Vehicle . . . . . . . . . 9-15 Bulb Replacement . . . . . . . . . . . . 10-29
Back-up Lamps . . . . . . . . . . . . . 10-28
Headlamp Aiming . . . . . . . . . . . 10-28
Headlamps . . . . . . . . . . . . . . . . . 10-28
High Intensity Discharge
(HID) Lighting . . . . . . . . . . . . . 10-28
License Plate Lamps . . . . . . . 10-29
Buying New Tires . . . . . . . . . . . . . 10-55
C
Calibration . . . . . . . . . . . . . . . . . . . . . . 5-5
California Fuel Requirements . . . . . . . . . . . 9-59
Perchlorate Materials
Requirements . . . . . . . . . . . . . . . 10-3
Warning . . . . . . . . . . . . . . . . . . . . . . 10-2
Canadian Vehicle Owners . . . . . . . . iii
Capacities and Specifications . . . . . . . . . . . . . . . . 12-2
Carbon Monoxide Engine Exhaust . . . . . . . . . . . . . . . 9-22
Trunk . . . . . . . . . . . . . . . . . . . . . . . . . 2-14
Winter Driving . . . . . . . . . . . . . . . . . 9-8
Cargo Management System . . . . . . . . . . 4-4
Tie-Downs . . . . . . . . . . . . . . . . . . . . . 4-4 Cautions, Danger, and
Warnings . . . . . . . . . . . . . . . . . . . . . . . . iv
Center Console Storage . . . . . . . . 4-3
Chains, Tire . . . . . . . . . . . . . . . . . . 10-60
Charging System Light . . . . . . . . 5-19
Check Engine Light . . . . . . . . . . . . . . . . . . 5-20
Child Restraints Infants and YoungChildren . . . . . . . . . . . . . . . . . . . . . 3-38
Lower Anchors and
Tethers for Children . . . . . . . . . 3-43
Older Children . . . . . . . . . . . . . . . . 3-36
Securing . . . . . . . . . . . . . . . . 3-50, 3-52
Systems . . . . . . . . . . . . . . . . . . . . . . 3-40
Cigarette Lighter . . . . . . . . . . . . . . . . 5-8
Circuit Breakers . . . . . . . . . . . . . . 10-30
Cleaning
Exterior Care . . . . . . . . . . . . . . . 10-82
Interior Care . . . . . . . . . . . . . . . . 10-87
Climate Control Systems
Dual Automatic . . . . . . . . . . . . . . . . 8-1
Rear . . . . . . . . . . . . . . . . . . . . . . . . . . . 8-6
Clock . . . . . . . . . . . . . . . . . . . . . . . . . . . 5-5
Cluster, Instrument . . . . . . . . . . . . 5-10
Collision Damage Repair . . . . . . 13-9