radiator cap CHEVROLET ASTRO 1996 Owners Manual
[x] Cancel search | Manufacturer: CHEVROLET, Model Year: 1996, Model line: ASTRO, Model: CHEVROLET ASTRO 1996Pages: 372, PDF Size: 21.51 MB
Page 207 of 372
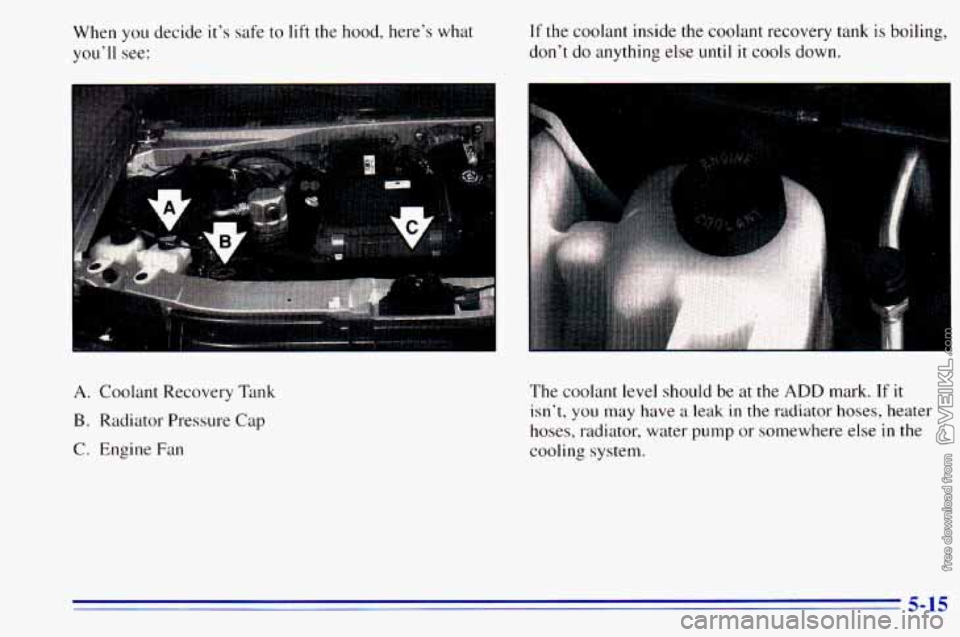
When you decide it’s safe to lift the hood, here’s what
you’ll see: If the coolant inside the coolant recovery tank is boiling,
don’t do anything else
until it cools down.
A. Coolant Recovery Tank
B. Radiator Pressure Cap
C. Engine Fan The
coolant level should be at
the ADD mark. If it
isn’t, you may have a leak in the radiator hoses, heater
hoses, radiator, water pump or somewhere else
in the
cooling system.
5-15
Page 210 of 372
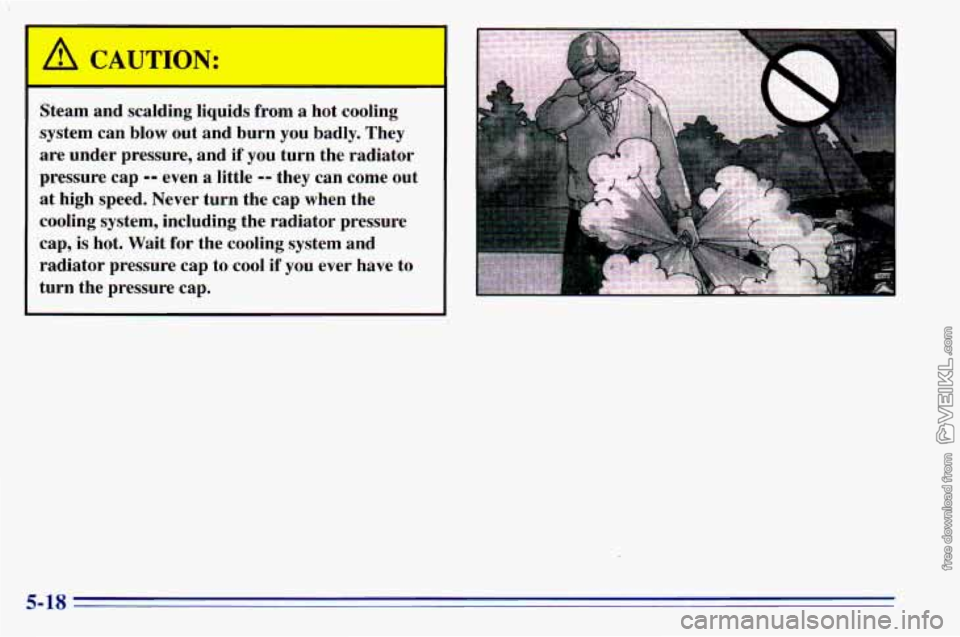
Steam and scalding liquids from a hot cooling
system can blow out and burn you badly. They
are under pressure, and if you turn the radiator
pressure cap
-- even a little -- they can come out
at high speed. Never turn the cap when the
cooling system, including the radiator pressure
cap,
is hot. Wait for the cooling system and
radiator pressure cap to cool if you ever have to
turn the pressure cap.
Page 211 of 372
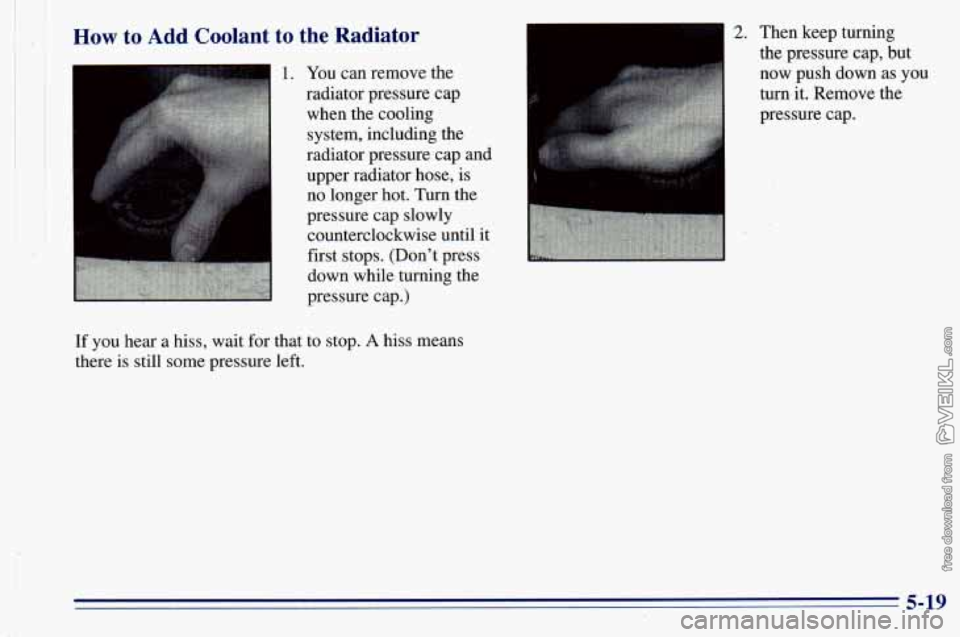
How to Add Coolant to the Radiator
1. You can remove the
radiator pressure cap
when the cooling
system, including the
radiator pressure cap and
upper radiator hose, is
no longer hot. Turn the
pressure cap slowly
counterclockwise until it
first stops. (Don't press
down while turning the
If
you hear a hiss, wait for that to stop. A hiss means
there is still some pressure left.
I 2. Then keep turning
I ,the pressure cap, but
now push down as you
5-19
Page 212 of 372
I
I
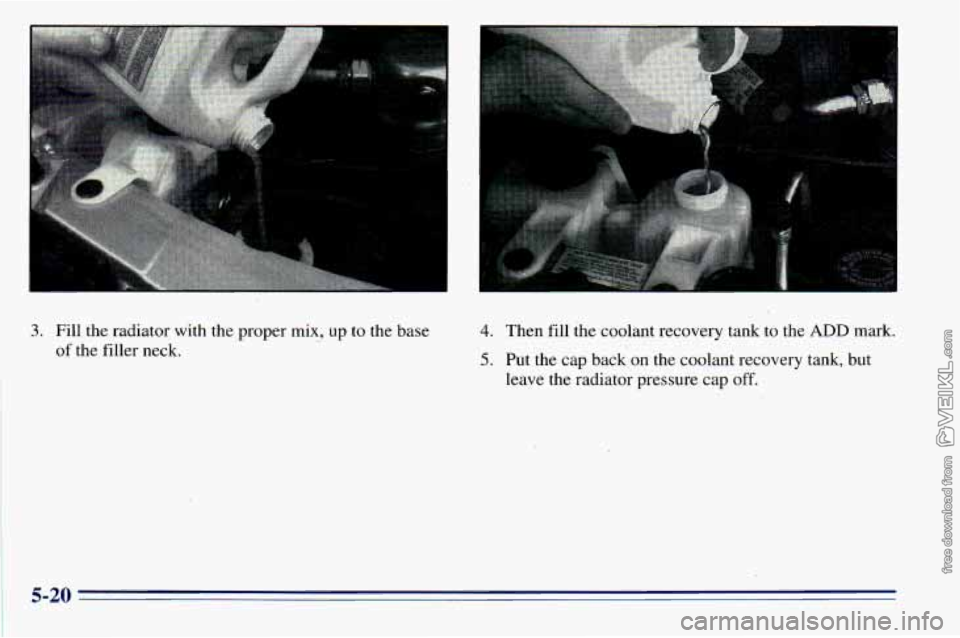
3. Fill the radiator with the proper mix, up to the base -
of the filler neck.
4. Then fill the coolant recovery tank to the ADD mark.
5. Put the cap back on the coolant recovery tank, but
leave the radiator pressure cap off.
Page 213 of 372
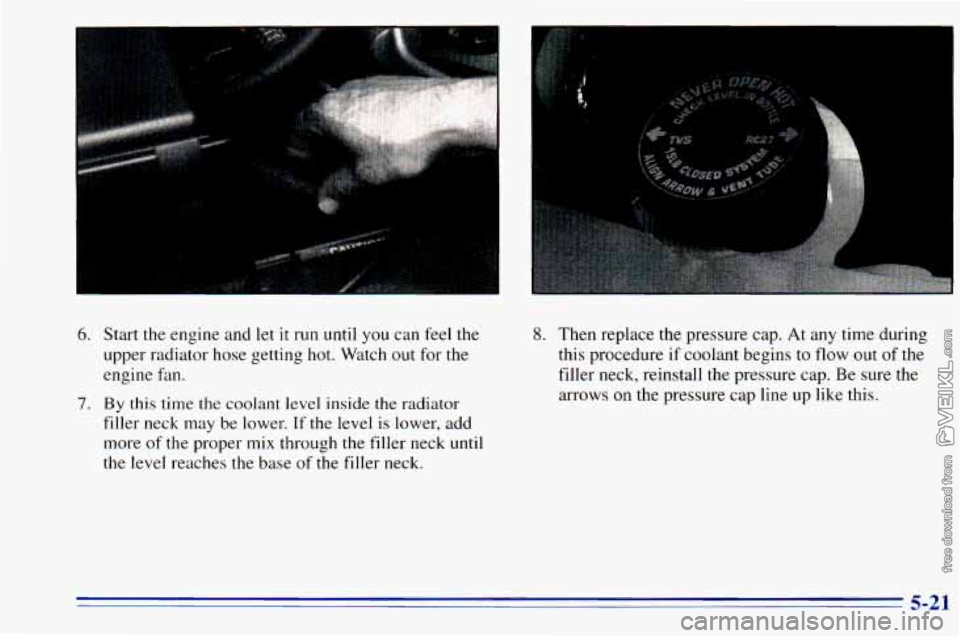
6. Start the engine and let it run until you can feel the
upper radiator hose getting hot. Watch out for the
engine fan.
filler neck may be lower.
If the level is lower, add
more of the proper
mix through the filler neck until
the level reaches the base of the filler neck.
7. By this time the coolant level inside the radiator
8. Then replace the pressure cap. At any time during
this procedure
if coolant begins to flow out of the
filler neck, reinstall the pressure cap. Be sure the
arrows on the pressure cap line up like this.
5-21
Page 258 of 372
Adding Coolant If ,you need more coolant, add the proper mix
at the
Add coolant mix at the recovery tank, but be,careful not
to spill it.
' A CAUTION:
Turnj J the radiator pressure cap when the
engine.and radiator are hot can allow steam and
scalding liquids to blow out and burn you badly.
With the'coolant recovery tank, you will almost
never have
to add coolant at the radiator.
Never turn the radiator pressure cap
-- even a
1. little -- when,the engine and radiator are hot. I
You can be burned if you spill coolant on hot
engine parts. Coolant contains ethylene glycol,
.
and it will burn if the engine parts are hot
enough. Don't spill coolant on
a hot engine.
6-28
Page 259 of 372
Radiator Pressure Cap
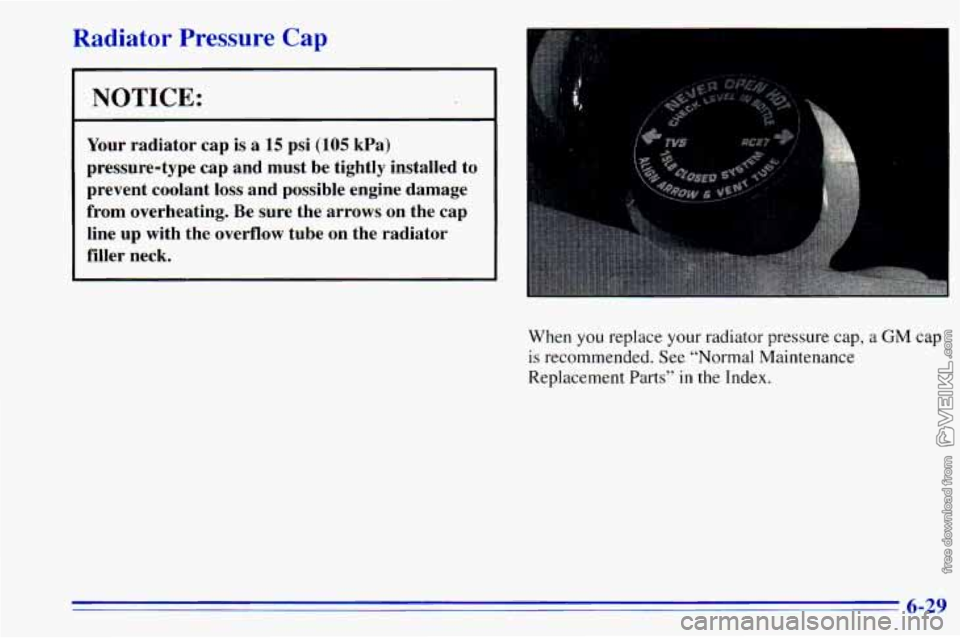
NOTICE:
Your radiator cap is a 15 psi (105 kPa)
pressure-type cap and must be tightly installed to
prevent coolant loss and possible engine damage
from overheating. Be sure the arrows on the cap
line
up with the overflow tube on the radiator
filler neck.
When you replace your radiator pressure cap, a GM cap
is recommended. See “Normal Maintenance
Replacement Parts” in the Index.
6-29
Page 260 of 372
Thermostat When to Check Power Steering Fluid
Engine coolant temperature is controlled by a thermostat It is not necessary to reg,ularlY check Power steering
in the engine coolant system. The thermostat stops the fluid unless you suspect there is a leak in the system or
flow
of coolant through the radiator until the coolant you
hear an unusual noise. A fluid loss in this system
reaches a preset temperature. could indicate
a problem. Have the system inspected
and remired.
Power Steering Fluid
I
How To Check Power Steering Fluid
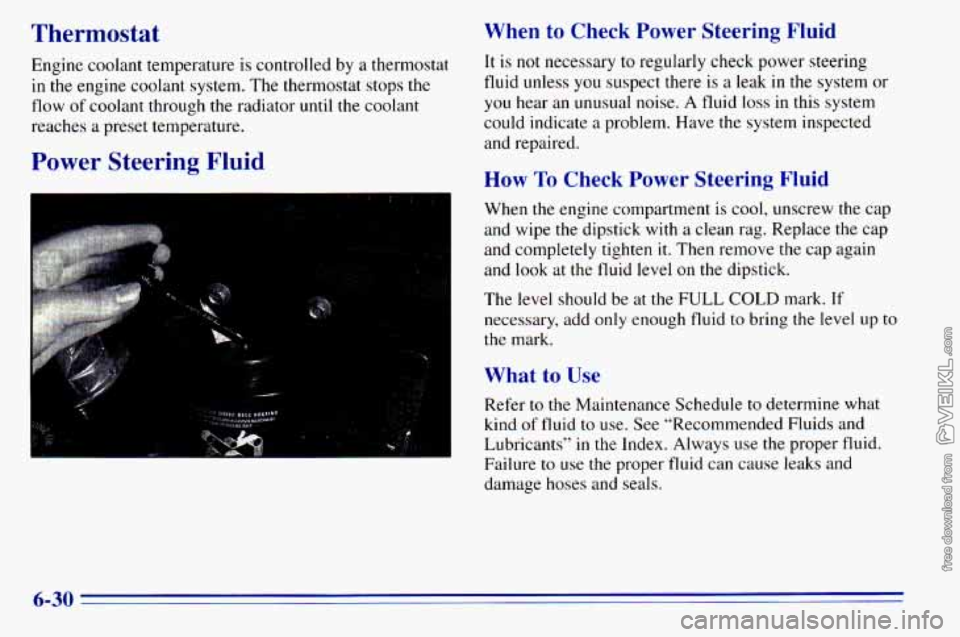
When the engine compartment is cool, unscrew the cap
and wipe
the dipstick with a clean rag. Replace the cap
and completely tighten
it. Then remove the cap again
and look at the fluid level
on the dipstick.
The level should be at the
FULL COLD mark. If
necessary, add only enough fluid to bring the level up to
the mark.
What to Use
Refer to the Maintenance Schedule to determine what
kind
of fluid to use. See “Recommended Fluids and
Lubricants’’
in the Index. Always use the proper fluid.
Failure to use the proper fluid can cause leaks and
damage hoses and seals.
6-30
Page 261 of 372
Windshield Washer Fluid
What to Use
When you need windshield washer fluid, be sure to read
the manufacturer’s instructions before use.
If you will be
operating your vehicle
in an area where the temperature
may fall below freezing, use
a fluid that has sufficient
protection against freezing.
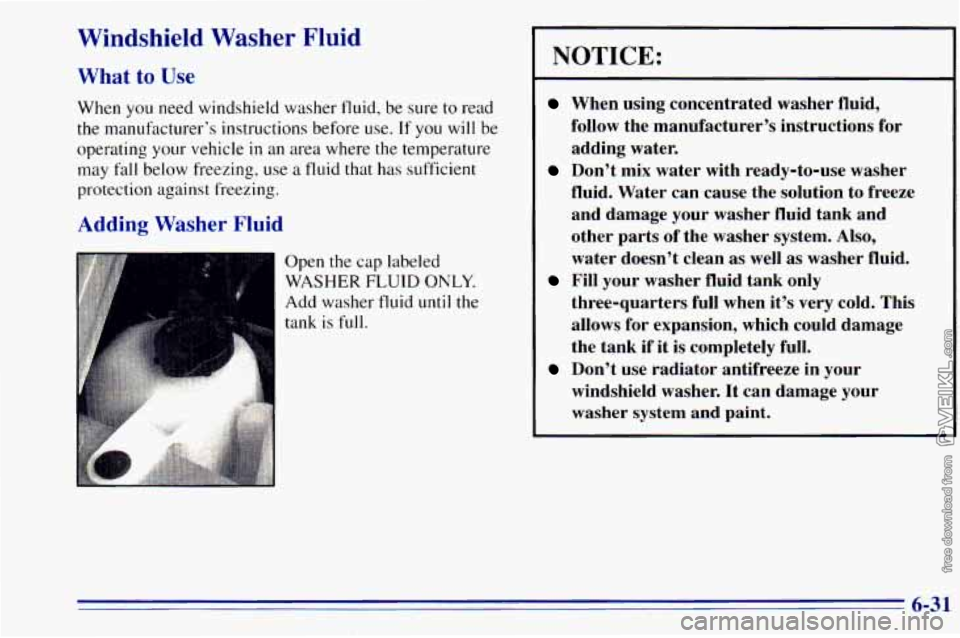
Adding Washer Fluid
Open the cap labeled
WASHER
FLUID ONLY.
Add washer fluid until the
tank is
full.
NOTICE:
When using concentrated washer fluid,
follow the manufacturer’s instructions for
adding water.
Don’t mix water with ready-to-use washer
fluid. Water can cause the solution to freeze and damage your washer fluid tank and other parts
of the washer system. Also,
water doesn’t clean
as well as washer fluid.
three-quarters full when it’s very cold. This
allows for expansion, which could damage
the tank if it is completely full.
windshield washer. It can damage your
washer system and paint.
Fill your washer fluid tank only
Don’t use radiator antifreeze in your
6-31
Page 299 of 372
Normal Maintenance Replacement
Parts
Replacement part numbers listed in this section are
based on the latest information available at the time of
printing, and are subject to change.
If a part listed in this
manual is
not the same as the part used in your vehicle
when it was built, or
if you have any questions, please
contact your
GM truck dealer.
Oil Filter..
......................... PF52
Air Cleaner Filter
.................. A 1 163C
Automatic Transmission
Filter Kit
............ ... 24200796
PCV Valve
...................... CV774C
Spark Plugs
....................... 41-932
Spark
Plug Gap ...... 0.060 inches (1.52 mm) Fuel
Filter
...
Radiator Cap .......
Wiper Blades (Front) .
Wiper Blade (Rear) . .
. . GF481
............ RC27
. . 22110158, Pin Type
. . 22154396, Pin Type
Vehicle Dimensions*
Wheelbase .............. 189.8 inches (482 cm)
Width
................... 77.5 inches (1 96.8 cm)
Height.
.................. 76.2 inches (193.5 cm)
Wheelbase
.............. 11 1.2 inches (282.4 cm)
Front Tread Width
......... 65.1 inches (165.4 cm)
Rear Tread Width
........ 65.1 inches (1 65.4 cm)
*Figures reflect base equipment only.
6-69