driver CHEVROLET ASTRO CARGO VAN 2004 2.G Owners Manual
[x] Cancel search | Manufacturer: CHEVROLET, Model Year: 2004, Model line: ASTRO CARGO VAN, Model: CHEVROLET ASTRO CARGO VAN 2004 2.GPages: 386, PDF Size: 2.55 MB
Page 7 of 386
Front Seats......................................................1-3
Manual Seats................................................1-3
Power Seat...................................................1-3
Manual Lumbar..............................................1-4
Reclining Seatbacks........................................1-4
Head Restraints.............................................1-6
Seatback Latches...........................................1-6
Rear Seats.......................................................1-7
Rear Seat Operation.......................................1-7
Bench Seat..................................................1-10
Bucket Seats...............................................1-12
Safety Belts...................................................1-13
Safety Belts: They Are for Everyone................1-13
Questions and Answers About Safety Belts......1-17
How to Wear Safety Belts Properly.................1-18
Driver Position..............................................1-18
Safety Belt Use During Pregnancy..................1-26
Right Front Passenger Position.......................1-27
Center Passenger Position.............................1-27
Rear Seat Passengers..................................1-29Rear Safety Belt Comfort Guides
for Children and Small Adults......................1-32
Safety Belt Extender.....................................1-34
Child Restraints.............................................1-35
Older Children..............................................1-35
Infants and Young Children............................1-38
Child Restraint Systems.................................1-43
Where to Put the Restraint.............................1-46
Top Strap....................................................1-47
Top Strap Anchor Location.............................1-49
Lower Anchorages and Top Tethers for
Children (LATCH System)...........................1-51
Securing a Child Restraint Designed for
the LATCH System....................................1-54
Securing a Child Restraint in a
Rear Outside Seat Position.........................1-54
Securing a Child Restraint in a Center
Seat Position............................................1-56
Securing a Child Restraint in the Right
Front Seat Position....................................1-58
Section 1 Seats and Restraint Systems
1-1
Page 9 of 386
Front Seats
Manual Seats
{CAUTION:
You can lose control of the vehicle if you try to
adjust a manual driver’s seat while the vehicle
is moving. The sudden movement could startle
and confuse you, or make you push a pedal
when you do not want to. Adjust the driver’s
seat only when the vehicle is not moving.
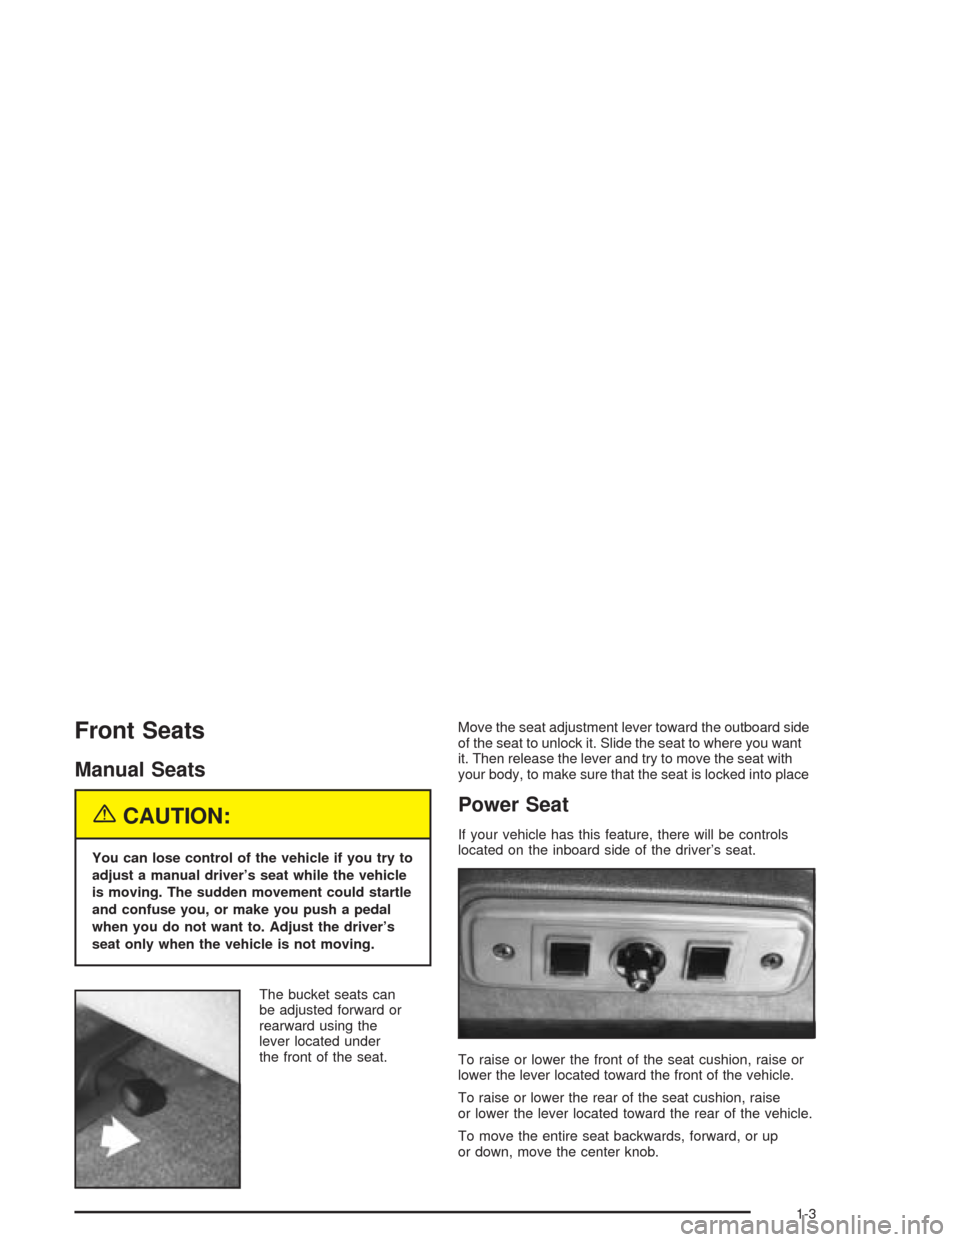
The bucket seats can
be adjusted forward or
rearward using the
lever located under
the front of the seat.Move the seat adjustment lever toward the outboard side
of the seat to unlock it. Slide the seat to where you want
it. Then release the lever and try to move the seat with
your body, to make sure that the seat is locked into place
Power Seat
If your vehicle has this feature, there will be controls
located on the inboard side of the driver’s seat.
To raise or lower the front of the seat cushion, raise or
lower the lever located toward the front of the vehicle.
To raise or lower the rear of the seat cushion, raise
or lower the lever located toward the rear of the vehicle.
To move the entire seat backwards, forward, or up
or down, move the center knob.
1-3
Page 10 of 386
Manual Lumbar
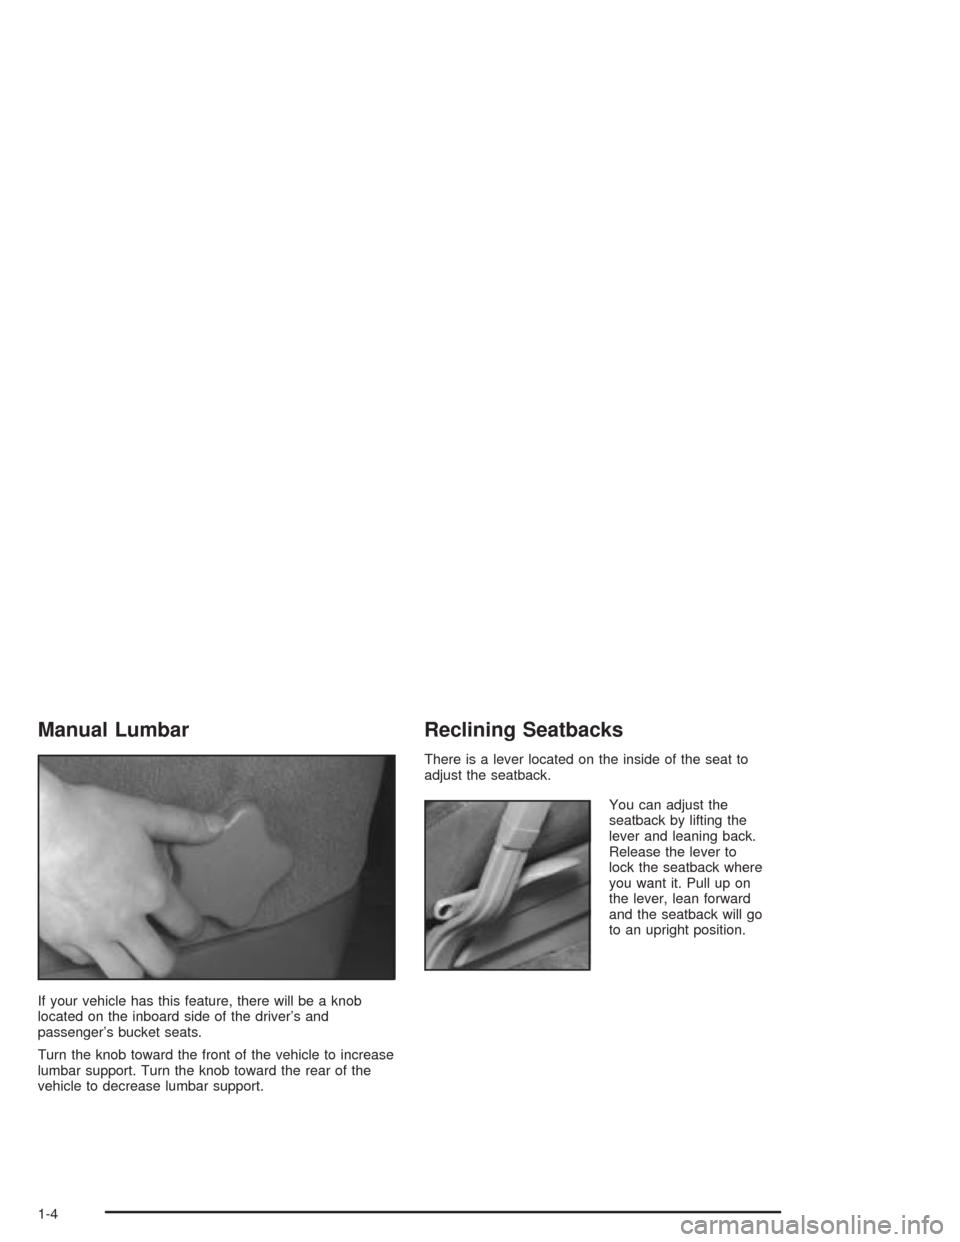
If your vehicle has this feature, there will be a knob
located on the inboard side of the driver’s and
passenger’s bucket seats.
Turn the knob toward the front of the vehicle to increase
lumbar support. Turn the knob toward the rear of the
vehicle to decrease lumbar support.
Reclining Seatbacks
There is a lever located on the inside of the seat to
adjust the seatback.
You can adjust the
seatback by lifting the
lever and leaning back.
Release the lever to
lock the seatback where
you want it. Pull up on
the lever, lean forward
and the seatback will go
to an upright position.
1-4
Page 24 of 386
Q:If I’m a good driver, and I never drive far from
home, why should I wear safety belts?
A:You may be an excellent driver, but if you’re in an
accident — even one that isn’t your fault — you
and your passengers can be hurt. Being a
good driver doesn’t protect you from things
beyond your control, such as bad drivers.
Most accidents occur within 25 miles (40 km)
of home. And the greatest number of serious
injuries and deaths occur at speeds of less
than 40 mph (65 km/h).
Safety belts are for everyone.
How to Wear Safety Belts Properly
This part is only for people of adult size.
Be aware that there are special things to know about
safety belts and children. And there are different
rules for smaller children and babies. If a child will be
riding in your vehicle, seeOlder Children on page 1-35
orInfants and Young Children on page 1-38. Follow
those rules for everyone’s protection.First, you’ll want to know which restraint systems your
vehicle has.
We’ll start with the driver position.
Driver Position
This part describes the driver’s restraint system.
Lap-Shoulder Belt
The driver has a lap-shoulder belt. Here is how to
wear it properly.
1. Close and lock the door.
2. Adjust the seat so you can sit up straight.
To see how, see “Seats” in the Index.
1-18
Page 33 of 386
The best way to protect the fetus is to protect the
mother. When a safety belt is worn properly, it’s
more likely that the fetus won’t be hurt in a crash.
For pregnant women, as for anyone, the key to making
safety belts effective is wearing them properly.
Right Front Passenger Position
To learn how to wear the right front passenger’s safety
belt properly, seeDriver Position on page 1-18.
The right front passenger’s safety belt works the
same way as the driver’s safety belt — except for one
thing. If you ever pull the lap portion of the belt out
all the way, you will engage the child restraint locking
feature. If this happens, just let the belt go back all
the way and start again.
Center Passenger Position
Lap Belt
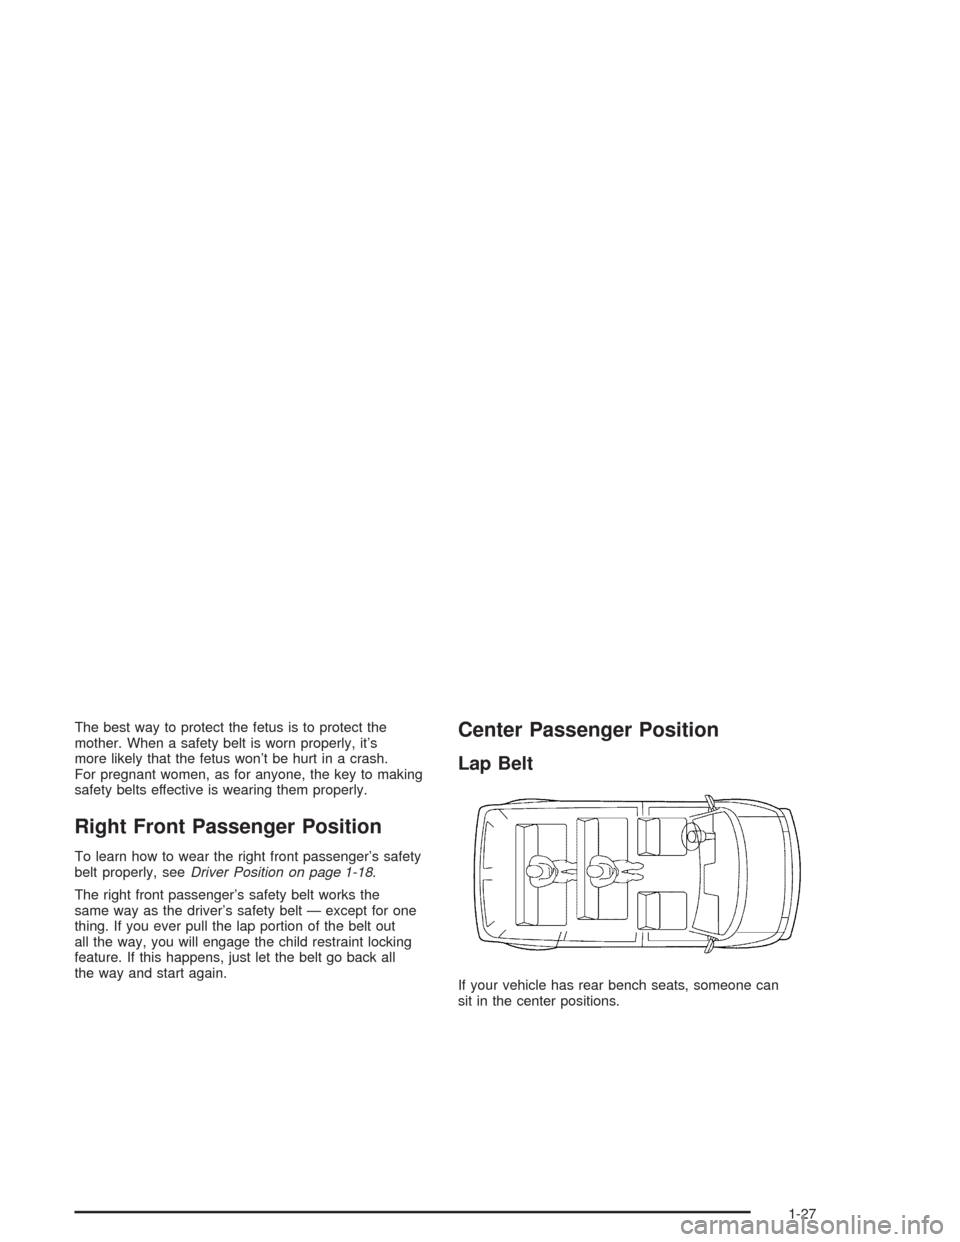
If your vehicle has rear bench seats, someone can
sit in the center positions.
1-27
Page 57 of 386
If you have adjustable head restraints, raise the head
restraint and route the top strap under it.
The third row has one anchor for the passenger side
outboard position only.
Do not secure a child restraint with a top strap in the
right front passenger’s position, the second or third row
center positions, or the third row driver side position
if a national or local law requires that the top strap
be anchored, or if the instructions that come with
the child restraint say that the top strap must be
anchored. There is no place to anchor the top strap
in these positions.Lower Anchorages and Top Tethers
for Children (LATCH System)
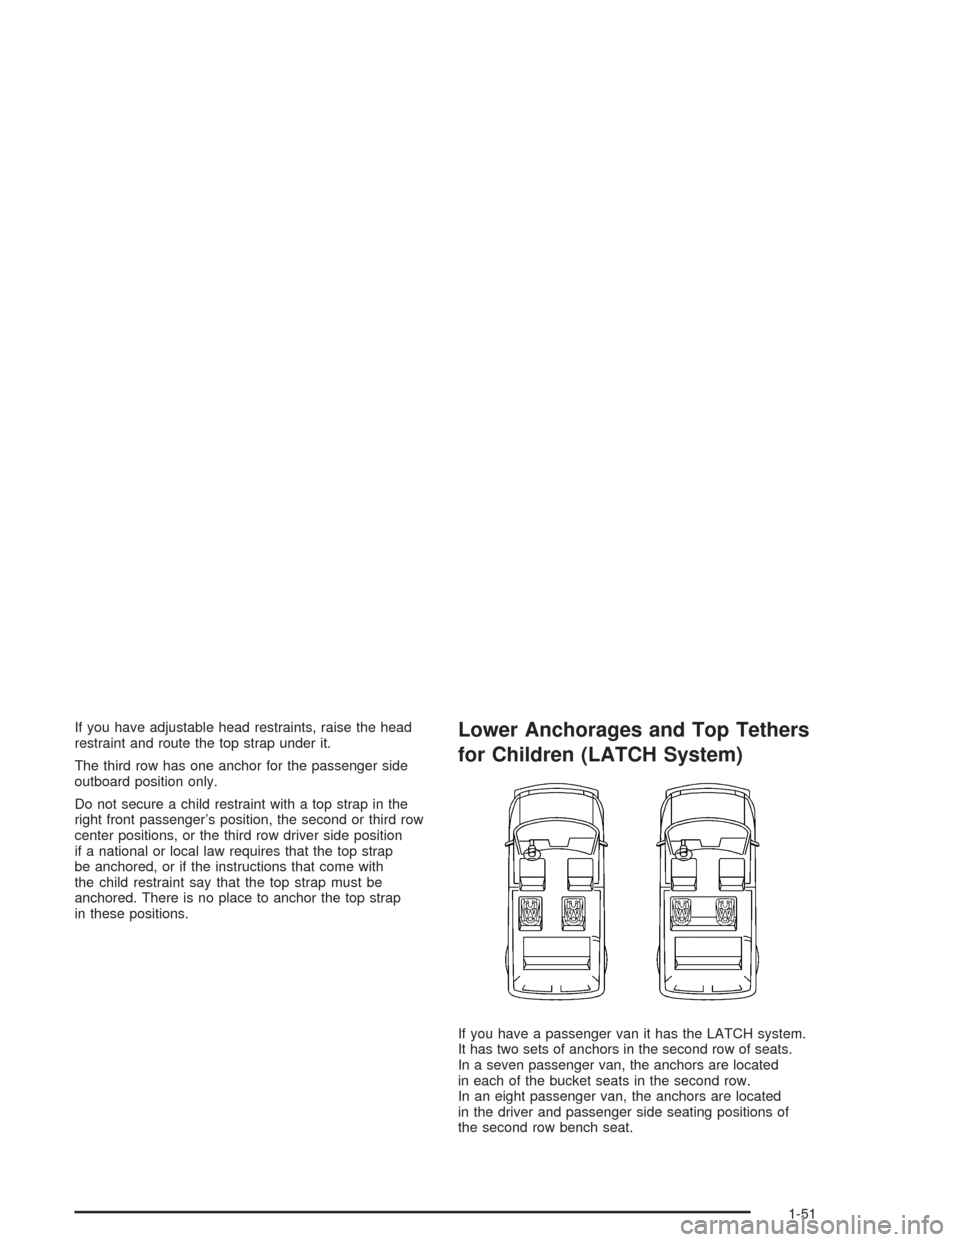
If you have a passenger van it has the LATCH system.
It has two sets of anchors in the second row of seats.
In a seven passenger van, the anchors are located
in each of the bucket seats in the second row.
In an eight passenger van, the anchors are located
in the driver and passenger side seating positions of
the second row bench seat.
1-51
Page 60 of 386
Securing a Child Restraint Designed
for the LATCH System
1. Find the LATCH anchorages for the seating
position you want to use, where the bottom of
the seatback meets the back of the seat cushion.
SeeLower Anchorages and Top Tethers for
Children (LATCH System) on page 1-51.
2. Put the child restraint on the seat.
3. Attach and tighten the LATCH attachments on
the child restraint to the LATCH anchorages in
the vehicle. The child restraint instructions will
show you how.
4. If the child restraint is forward-facing, attach and
tighten the top tether to the top tether anchorage.
The child restraint instructions will show you
how. Also seeTop Strap on page 1-47.
5. Push and pull the child restraint in different
directions to be sure it is secure.
To remove the child restraint, simply unhook the
top tether from the top tether anchorage and then
disconnect the LATCH attachments from the
LATCH anchorages.
Securing a Child Restraint in a
Rear Outside Seat Position
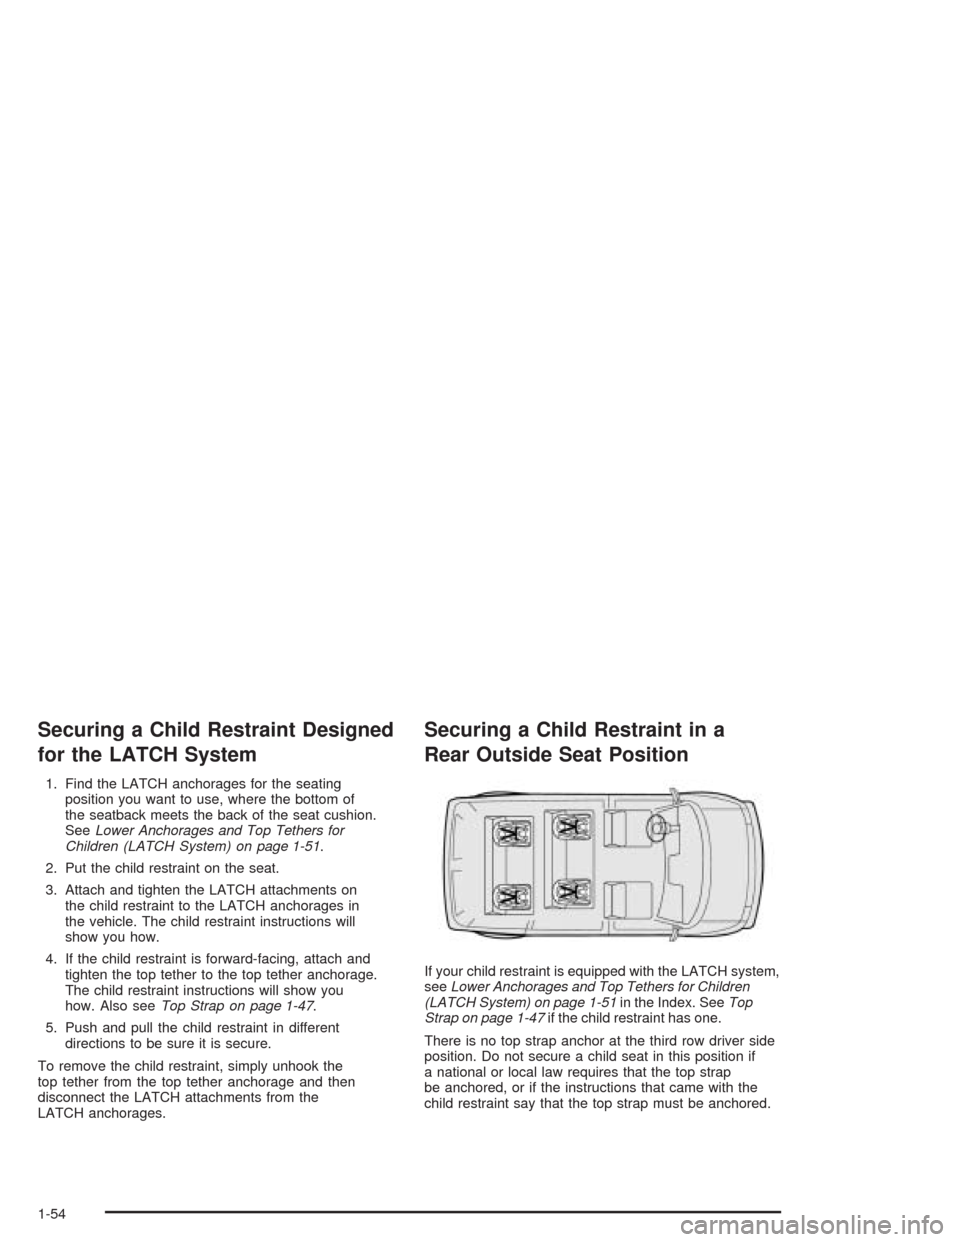
If your child restraint is equipped with the LATCH system,
seeLower Anchorages and Top Tethers for Children
(LATCH System) on page 1-51in the Index. SeeTop
Strap on page 1-47if the child restraint has one.
There is no top strap anchor at the third row driver side
position. Do not secure a child seat in this position if
a national or local law requires that the top strap
be anchored, or if the instructions that came with the
child restraint say that the top strap must be anchored.
1-54
Page 68 of 386
Air Bag System
This part explains the air bag system.
Your vehicle has air bags – one air bag for the driver
and another air bag for the right front passenger.
Frontal air bags are designed to help reduce the risk of
injury from the force of an inating air bag. But these
air bags must inate very quickly to do their job
and comply with federal regulations.
Here are the most important things to know about the
air bag system:
{CAUTION:
You can be severely injured or killed in a crash
if you are not wearing your safety belt — even
if you have air bags. Wearing your safety
belt during a crash helps reduce your chance
of hitting things inside the vehicle or being
ejected from it. Air bags are designed to work
with safety belts, but do not replace them.
Air bags are designed to deploy only in
moderate to severe frontal and near frontal
CAUTION: (Continued)
CAUTION: (Continued)
crashes. They are not designed to inate in
rollover, rear or low-speed frontal crashes,
or in many side crashes. And, for some
unrestrained occupants, air bags may provide
less protection in frontal crashes than more
forceful air bags have provided in the past.
Everyone in your vehicle should wear a safety
belt properly — whether or not there is an
air bag for that person.
{CAUTION:
Air bags inate with great force, faster than
the blink of an eye. If you’re too close to an
inating air bag, as you would be if you were
leaning forward, it could seriously injure you.
Safety belts help keep you in position before
and during a crash. Always wear your safety
belt, even with air bags. The driver should sit
as far back as possible while still maintaining
control of the vehicle.
1-62
Page 70 of 386
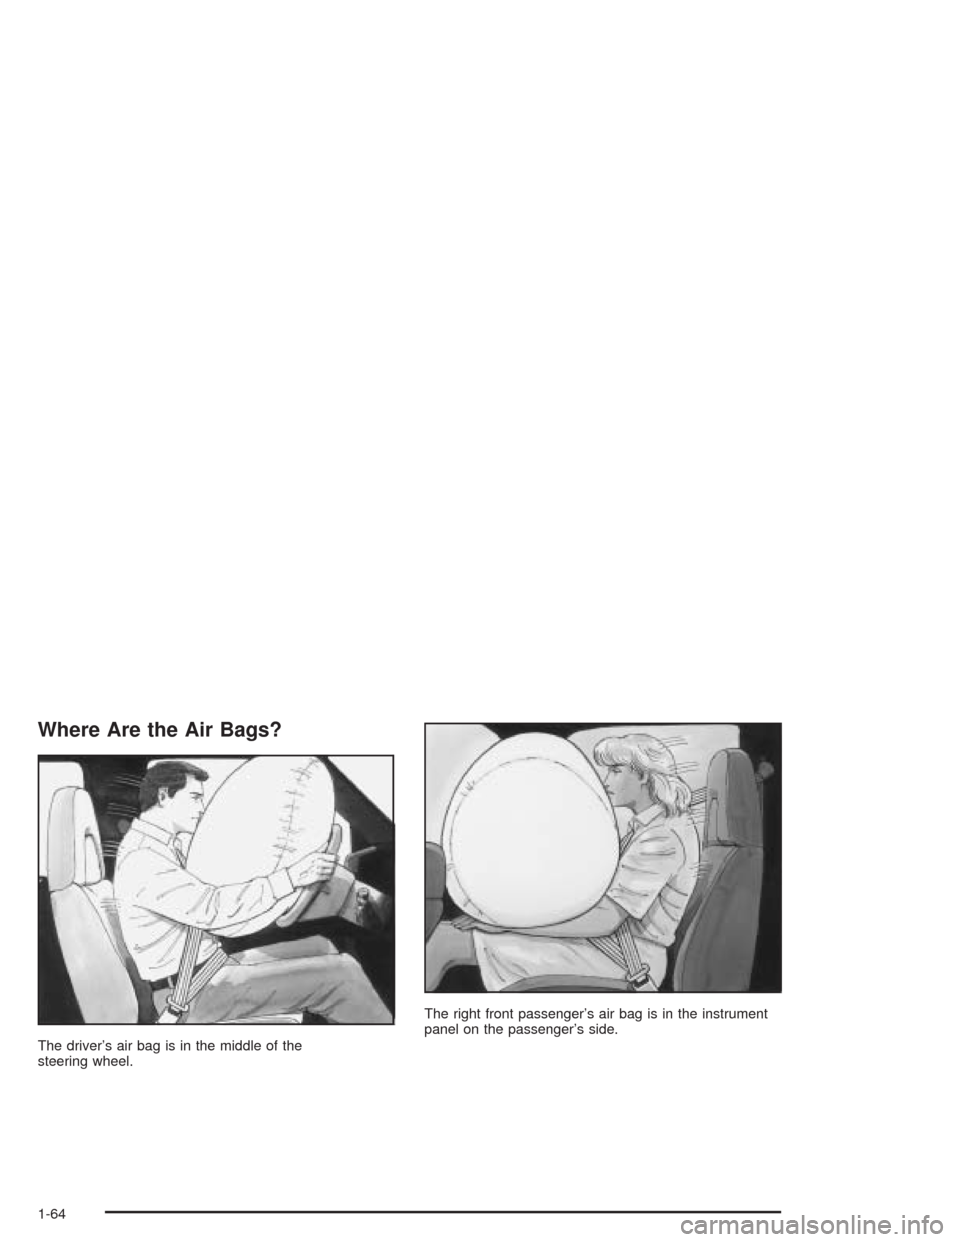
Where Are the Air Bags?
The driver’s air bag is in the middle of the
steering wheel.The right front passenger’s air bag is in the instrument
panel on the passenger’s side.
1-64
Page 72 of 386
How Does an Air Bag Restrain?
In moderate to severe frontal or near-frontal collisions,
even belted occupants can contact the steering wheel
or the instrument panel. Air bags supplement the
protection provided by safety belts. Air bags distribute
the force of the impact more evenly over the occupant’s
upper body, stopping the occupant more gradually.
But air bags would not help you in many types of
collisions, including rollovers, rear impacts and many
side impacts, primarily because an occupant’s motion is
not toward those air bags. Air bags should never be
regarded as anything more than a supplement to safety
belts, and then only in moderate to severe frontal or
near-frontal collisions.
What Will You See After an Air Bag
Inates?
After an air bag inates, it quickly deates, so quickly that
some people may not even realize the air bag inated.
Some components of the air bag module — the steering
wheel hub for the driver’s air bag, or the instrument
panel for the right front passenger’s bag — will be hot
for a short time. The parts of the bag that come into
contact with you may be warm, but not too hot to touch.There will be some smoke and dust coming from the
vents in the deated air bags. Air bag ination doesn’t
prevent the driver from seeing or being able to steer the
vehicle, nor does it stop people from leaving the vehicle.
{CAUTION:
When an air bag inates, there is dust in the
air. This dust could cause breathing problems
for people with a history of asthma or other
breathing trouble. To avoid this, everyone in
the vehicle should get out as soon as it is safe
to do so. If you have breathing problems but
can not get out of the vehicle after an air bag
inates, then get fresh air by opening a
window or a door. If you experience breathing
problems following an air bag deployment,
you should seek medical attention.
1-66