radio antenna CHEVROLET ASTRO CARGO VAN 2004 2.G Owners Manual
[x] Cancel search | Manufacturer: CHEVROLET, Model Year: 2004, Model line: ASTRO CARGO VAN, Model: CHEVROLET ASTRO CARGO VAN 2004 2.GPages: 386, PDF Size: 2.55 MB
Page 110 of 386
Be sure that people and objects are clear of the garage
door or gate operator you are programming. When
programming a garage door, it is advised to park outside
of the garage.
It is recommended that a new battery be installed in
your hand-held transmitter for quicker and more
accurate transmission of the radio frequency.
Your vehicle’s engine should be turned off while
programming the transmitter. Follow these steps to
program up to three channels:
1. Press and hold down the two outside buttons,
releasing only when the indicator light begins to
�ash, after 20 seconds. Do not hold down the
buttons for longer than 30 seconds and do not
repeat this step to program a second and/or third
transmitter to the remaining two HomeLink
®buttons.
2. Position the end of your hand-held transmitter about
1 to 3 inches (3 to 8 cm) away from the HomeLink
®
buttons while keeping the indicator light in view.
3. Simultaneously press and hold both the desired
button on HomeLink
®and the hand-held transmitter
button. Do not release the buttons until Step 4
has been completed.
Some entry gates and garage door openers may
require you to substitute Step 3 with the procedure
noted in “Gate Operator and Canadian
Programming” later in this section.4. The indicator light will �ash slowly at �rst and then
rapidly after HomeLink
®successfully receives the
frequency signal from the hand-held transmitter.
Release both buttons.
5. Press and hold the newly-trained HomeLink
®button
and observe the indicator light.
If the indicator light stays on constantly,
programming is complete and your device should
activate when the HomeLink
®button is pressed
and released.
To program the remaining two HomeLink
®buttons,
begin with Step 2 under “Programming HomeLink®.”
Do not repeat Step 1 as this will erase all of the
programmed channels.
If the indicator light blinks rapidly for two seconds
and then turns to a constant light, continue with
Steps 6 through 8 following to complete the
programming of a rolling-code equipped device
(most commonly, a garage door opener).
6. Locate in the garage, the garage door opener
receiver (motor-head unit). Locate the “Learn”
or “Smart” button. This can usually be found
where the hanging antenna wire is attached to the
motor-head unit.
7. Firmly press and release the “Learn” or “Smart”
button. The name and color of the button may
vary by manufacturer.
You will have 30 seconds to start Step 8.
2-34
Page 121 of 386
Instrument Panel Overview...............................3-2
Hazard Warning Flashers................................3-4
Other Warning Devices...................................3-5
Horn.............................................................3-5
Tilt Wheel.....................................................3-5
Turn Signal/Multifunction Lever.........................3-6
Exterior Lamps.............................................3-12
Interior Lamps..............................................3-14
Accessory Power Outlets...............................3-15
Ashtrays and Cigarette Lighter........................3-16
Climate Controls............................................3-17
Climate Control System.................................3-17
Outlet Adjustment.........................................3-19
Rear Heating System....................................3-20
Rear Air Conditioning System.........................3-20
Warning Lights, Gages, and Indicators............3-22
Instrument Panel Cluster................................3-23
Speedometer and Odometer...........................3-24
Safety Belt Reminder Light.............................3-24
Air Bag Readiness Light................................3-25
Charging System Light..................................3-26
Voltmeter Gage............................................3-26
Brake System Warning Light..........................3-27Anti-Lock Brake System Warning Light.............3-28
Engine Coolant Temperature Gage..................3-28
Malfunction Indicator Lamp.............................3-29
Oil Pressure Gage........................................3-32
Security Light...............................................3-33
Service All-Wheel Drive Light.........................3-33
Tow/Haul Mode Light....................................3-34
Check Gages Warning Light...........................3-34
Fuel Gage...................................................3-34
Low Fuel Warning Light.................................3-35
Audio System(s).............................................3-35
Setting the Time for Radios with
the Set Button..........................................3-36
Setting the Time for Radios with
HR and MN Buttons..................................3-36
AM-FM Radio...............................................3-36
Radio with CD..............................................3-38
Rear Seat Audio (RSA).................................3-43
Theft-Deterrent Feature..................................3-44
Radio Reception...........................................3-47
Care of Your CDs.........................................3-47
Care of Your CD Player................................3-47
Fixed Mast Antenna......................................3-47
Section 3 Instrument Panel
3-1
Page 167 of 386
Radio Reception
AM
The range for most AM stations is greater than for FM,
especially at night. The longer range, however, can
cause stations to interfere with each other. AM can
pick up noise from things like storms and power lines.
Try reducing the treble to reduce this noise.
FM
FM stereo will give you the best sound, but FM signals
will reach only about 10 to 40 miles (16 to 65 km).
Tall buildings or hills can interfere with FM signals,
causing the sound to come and go.
Care of Your CDs
Handle CDs carefully. Store them in their original
cases or other protective cases and away from direct
sunlight and dust. If the surface of a CD is soiled,
dampen a clean, soft cloth in a mild, neutral detergent
solution and clean it, wiping from the center to the edge.
Be sure never to touch the side without writing when
handling CDs. Pick up CDs by grasping the outer
edges or the edge of the hole and the outer edge.
Care of Your CD Player
The use of CD lens cleaners for CD players is not
advised, due to the risk of contaminating the lens
of the CD optics with lubricants internal to the
CD mechanism.
Fixed Mast Antenna
The �xed mast antenna can withstand most car
washes without being damaged. If the mast should
ever become slightly bent, straighten it out by hand.
If the mast is badly bent, replace it.
Check occasionally to make sure the mast is still
tightened to the fender. If tightening is required,
tighten by hand, then with a wrench one quarter turn.
3-47
Page 308 of 386
Cleaning Interior Plastic Components
Use only a mild soap and water solution on a soft cloth
or sponge. Commercial cleaners may affect the
surface �nish.
Cleaning Glass Surfaces
Glass should be cleaned often. GM Glass Cleaner or a
liquid household glass cleaner will remove normal
tobacco smoke and dust �lms on interior glass. See
Vehicle Care/Appearance Materials on page 5-98.
Notice:If you use abrasive cleaners when cleaning
glass surfaces on your vehicle, you could scratch
the glass and/or cause damage to the rear window
defogger and the integrated radio antenna. When
cleaning the glass on your vehicle, use only a soft
cloth and glass cleaner.
Care of Safety Belts
Keep belts clean and dry.
{CAUTION:
Do not bleach or dye safety belts. If you do,
it may severely weaken them. In a crash,
they might not be able to provide adequate
protection. Clean safety belts only with mild
soap and lukewarm water.
Weatherstrips
Silicone grease on weatherstrips will make them last
longer, seal better, and not stick or squeak. Apply
silicone grease with a clean cloth. During very cold,
damp weather frequent application may be required.
SeePart D: Recommended Fluids and Lubricants
on page 6-28.
5-94
Page 371 of 386
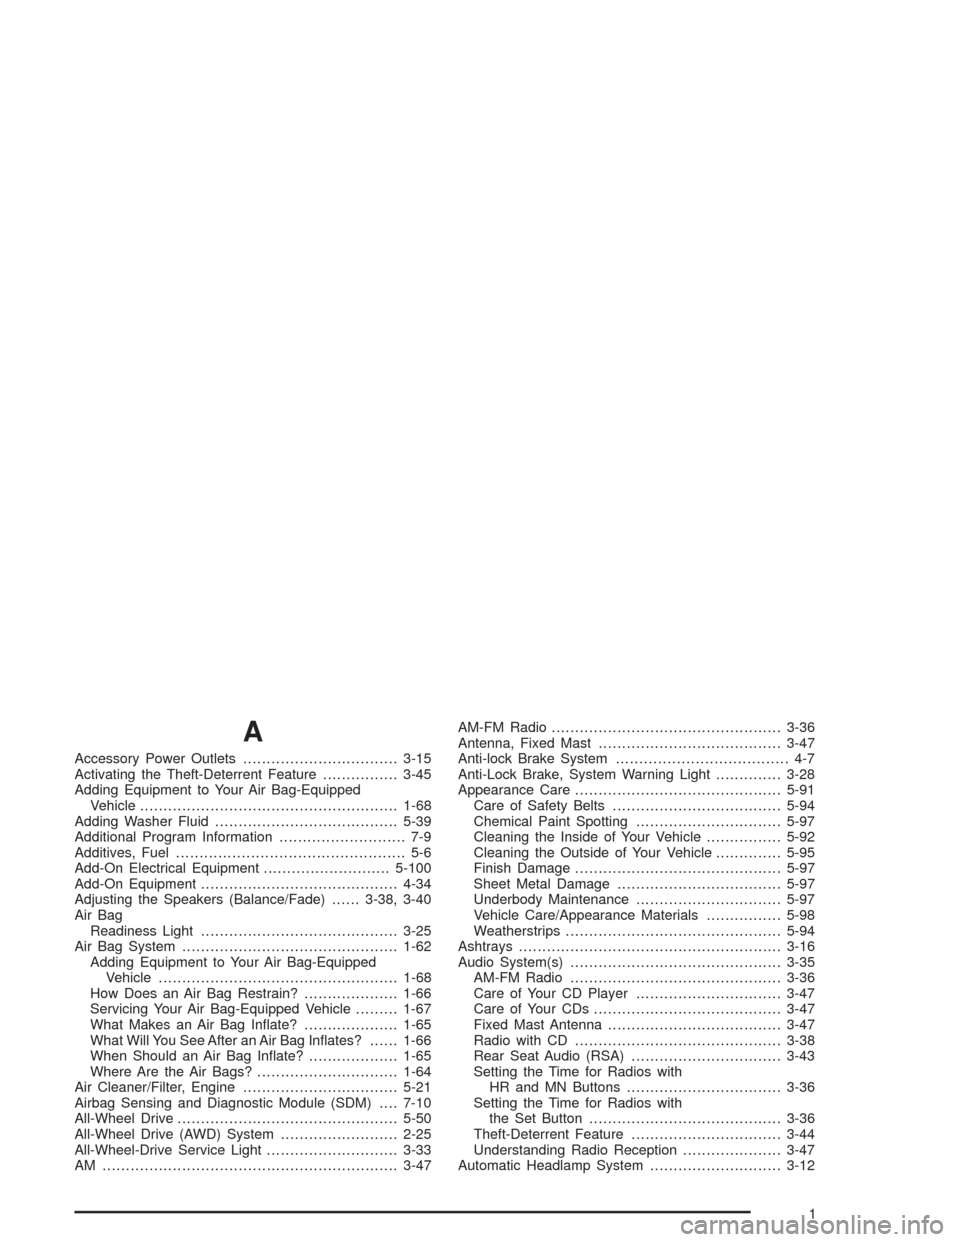
A
Accessory Power Outlets.................................3-15
Activating the Theft-Deterrent Feature................3-45
Adding Equipment to Your Air Bag-Equipped
Vehicle.......................................................1-68
Adding Washer Fluid.......................................5-39
Additional Program Information........................... 7-9
Additives, Fuel................................................. 5-6
Add-On Electrical Equipment...........................5-100
Add-On Equipment..........................................4-34
Adjusting the Speakers (Balance/Fade)......3-38, 3-40
Air Bag
Readiness Light..........................................3-25
Air Bag System..............................................1-62
Adding Equipment to Your Air Bag-Equipped
Vehicle...................................................1-68
How Does an Air Bag Restrain?....................1-66
Servicing Your Air Bag-Equipped Vehicle.........1-67
What Makes an Air Bag In�ate?....................1-65
What Will You See After an Air Bag In�ates?......1-66
When Should an Air Bag In�ate?...................1-65
Where Are the Air Bags?..............................1-64
Air Cleaner/Filter, Engine.................................5-21
Airbag Sensing and Diagnostic Module (SDM)....7-10
All-Wheel Drive...............................................5-50
All-Wheel Drive (AWD) System.........................2-25
All-Wheel-Drive Service Light............................3-33
AM ...............................................................3-47AM-FM Radio.................................................3-36
Antenna, Fixed Mast.......................................3-47
Anti-lock Brake System..................................... 4-7
Anti-Lock Brake, System Warning Light..............3-28
Appearance Care............................................5-91
Care of Safety Belts....................................5-94
Chemical Paint Spotting...............................5-97
Cleaning the Inside of Your Vehicle................5-92
Cleaning the Outside of Your Vehicle..............5-95
Finish Damage............................................5-97
Sheet Metal Damage...................................5-97
Underbody Maintenance...............................5-97
Vehicle Care/Appearance Materials................5-98
Weatherstrips..............................................5-94
Ashtrays........................................................3-16
Audio System(s).............................................3-35
AM-FM Radio.............................................3-36
Care of Your CD Player...............................3-47
Care of Your CDs........................................3-47
Fixed Mast Antenna.....................................3-47
Radio with CD............................................3-38
Rear Seat Audio (RSA)................................3-43
Setting the Time for Radios with
HR and MN Buttons.................................3-36
Setting the Time for Radios with
the Set Button.........................................3-36
Theft-Deterrent Feature................................3-44
Understanding Radio Reception.....................3-47
Automatic Headlamp System............................3-12
1