lock CHEVROLET ASTRO PASSENGER 1993 1.G Owners Manual
[x] Cancel search | Manufacturer: CHEVROLET, Model Year: 1993, Model line: ASTRO PASSENGER, Model: CHEVROLET ASTRO PASSENGER 1993 1.GPages: 345, PDF Size: 19 MB
Page 10 of 345
Downloaded from www.Manualslib.com manuals search engine How To Use This Manual
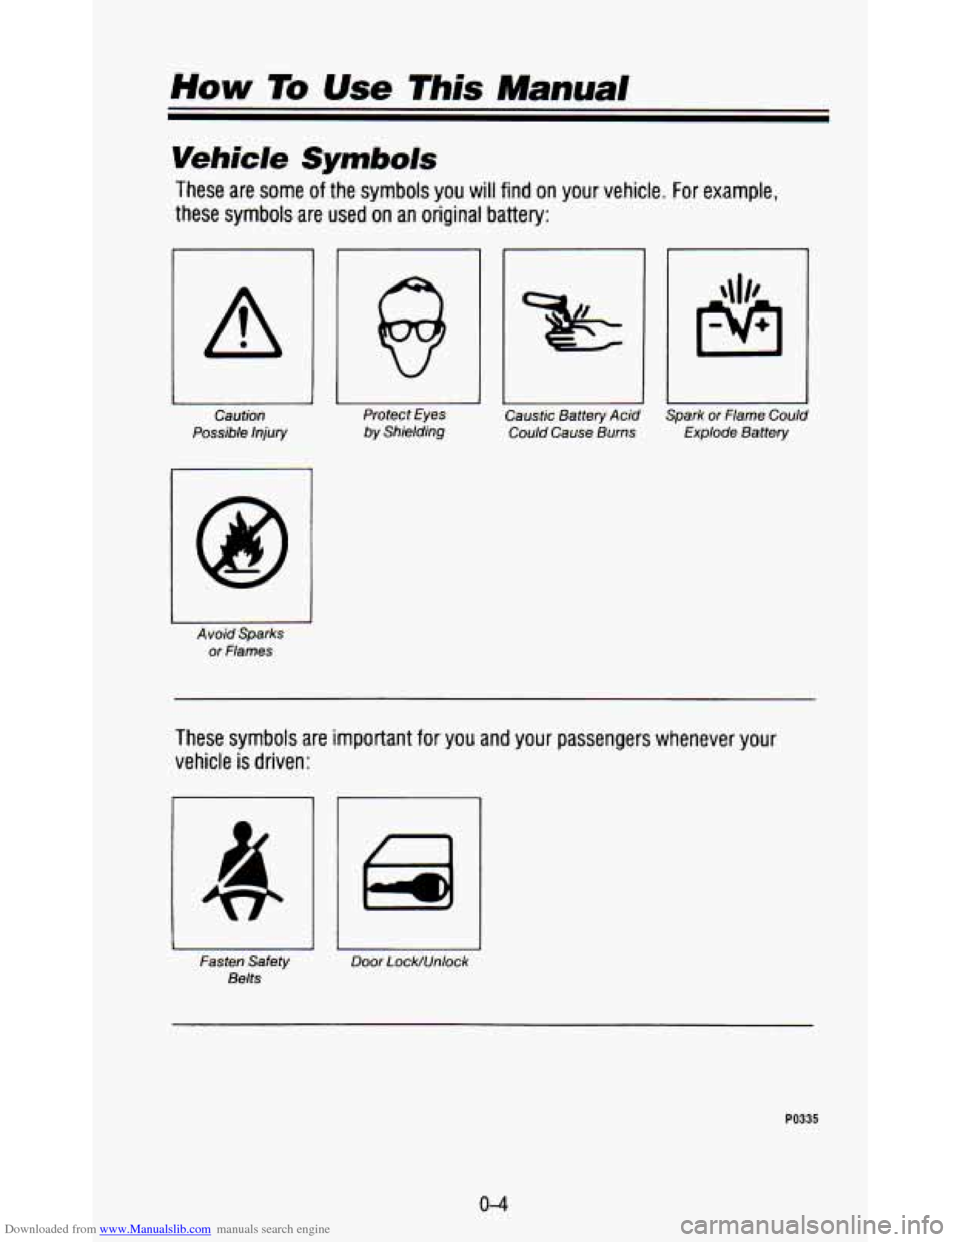
Vehicle Symbo/s
These are some of the symbols you will find on your vehicle. For example,
these symbols are used on an original battery:
A
Caution
Possible Injury
A void Sparks
or Flames Protect Eyes
by Shielding Caustic Battery Acid
Could Cause Burns Spark
or Flame Could
Explode Battery
These symbols are Important foryou and your passengers whenever your
vehicle
is driven:
Fasten Safety
Belts Door Lock/Unlock
PO335
Page 12 of 345
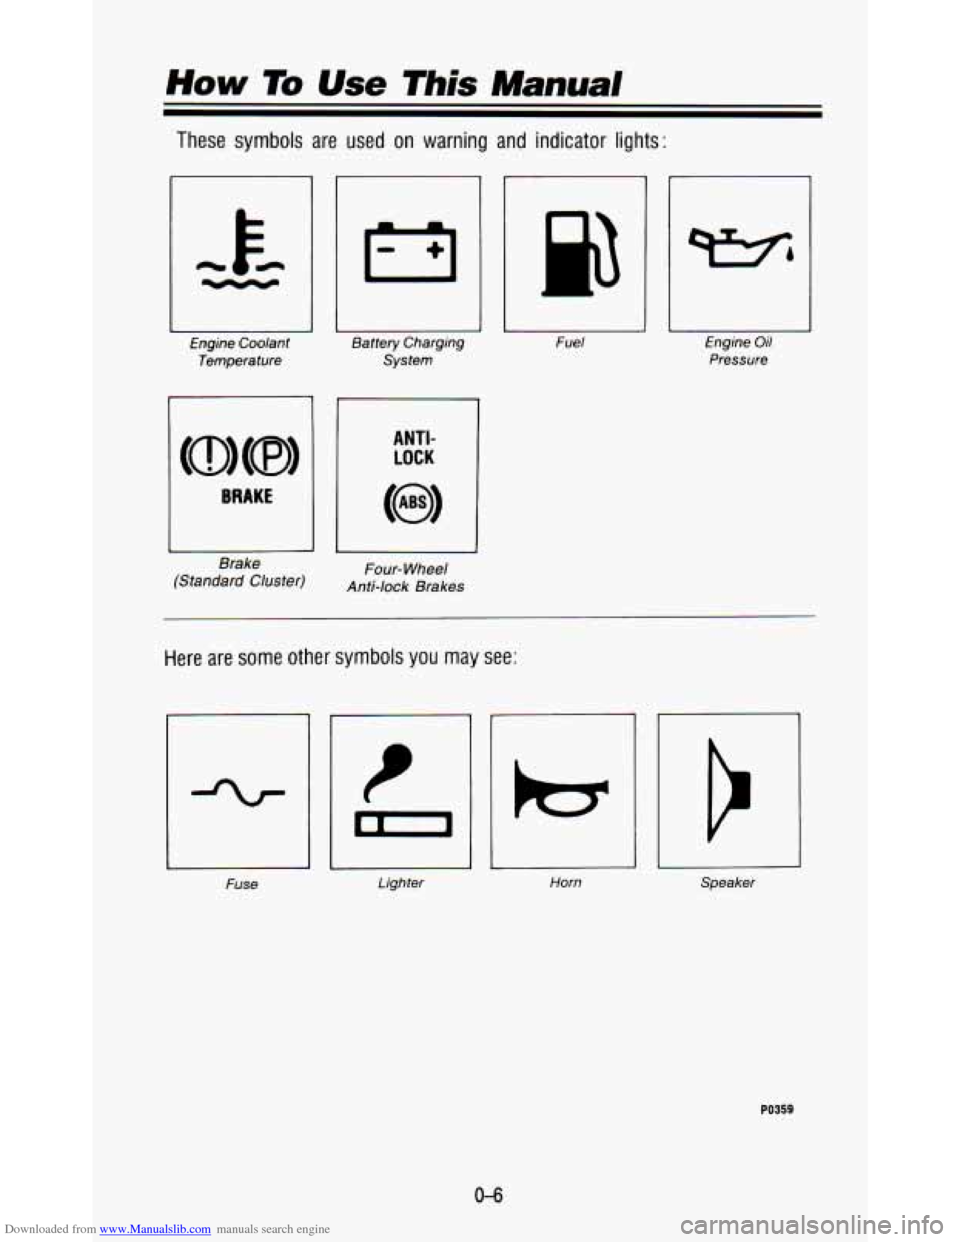
Downloaded from www.Manualslib.com manuals search engine These symbols are used on warning and indicator lights:
Engine Coolant
Temperature
BRAKE
Brake
(Standard Cluster) mrtery
Charging
System
I
ANTI-
LOCK
Four- Wheel
Anti-lock Brakes
Fuse Fuel
1
Engine Oil
Pressure
Here are some
other symbols you may see:
Lighter Horn Speaker
PO359
Page 14 of 345
Downloaded from www.Manualslib.com manuals search engine Seats and Safety Belts
Seats and Seat Controls
This section tells you about the seats-how to adjust them, tak\
e them out
and put them back in. It also tells you about bucket and ben\
ch seats, power
seats, and head restraints.
Front Seats
Manual Seats
bnu I IWI
A You can lose control of the vehicle if you try to adjust a manual
2 driver’s seat while the vehicle is moving. The sudden moveme\
nt
could startle and confuse
you, or make you push a pedal when you
don’t want to. Adjust the driver’s seat only when the ve\
hicle is not
moving.
I
d
I I PO414
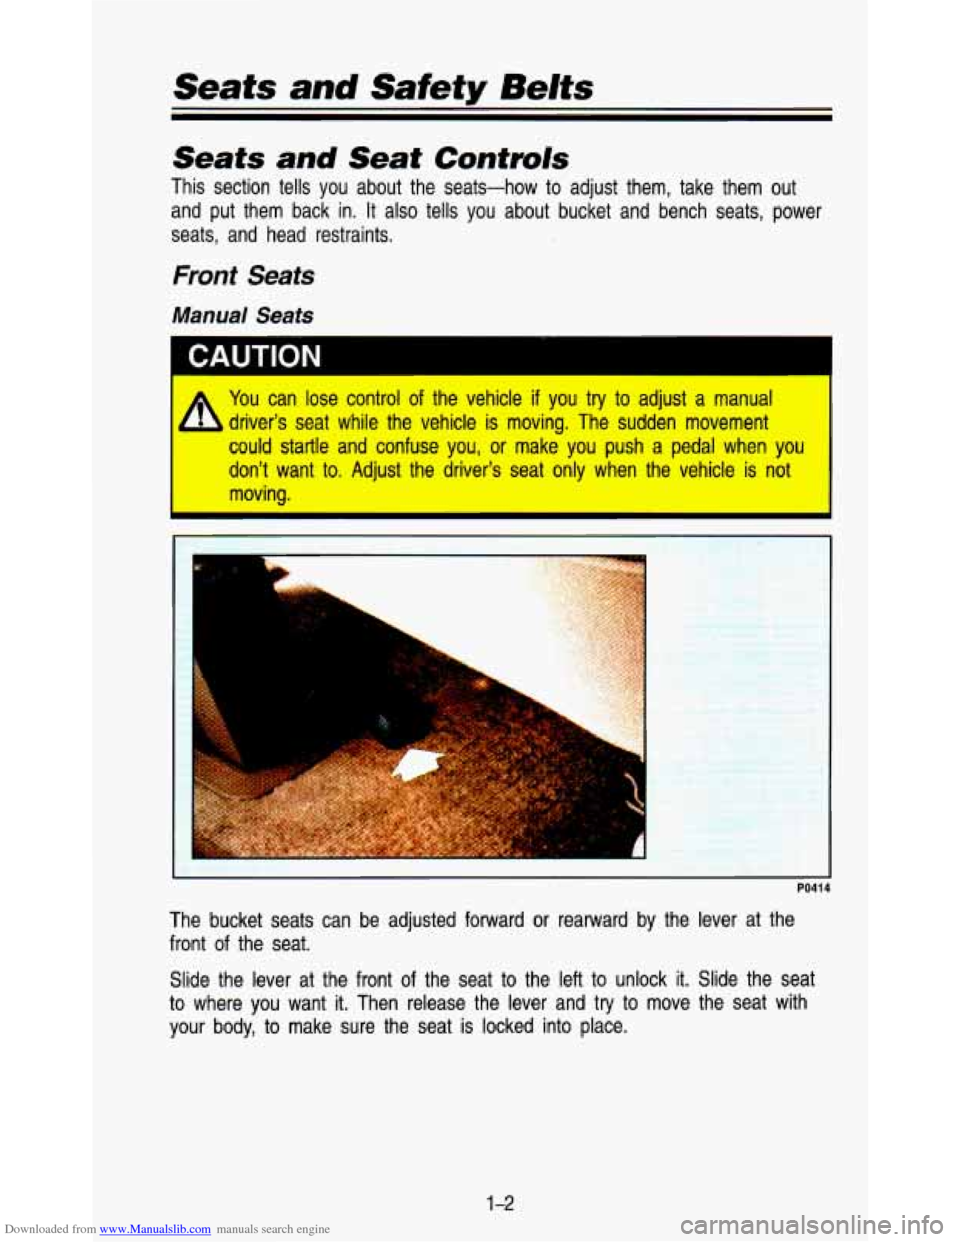
The bucket seats can be adjusted forward or rearward by the l\
ever at the
front
of the seat.
Slide the lever at the front
of the seat to the left to unlock it. Slide the seat
to where you want it. Then release the lever and try to move the seat with
your body, to make sure the seat is locked into place.
1 -2
Page 17 of 345
Downloaded from www.Manualslib.com manuals search engine Rear Seats
Bucket Seats
If you have rear bucket seats in your vehicle, they will recline and adjust the
same way
as the front manual bucket seats. See "Front Seats" earlier in this
section or
in the Index.
Bench Seats
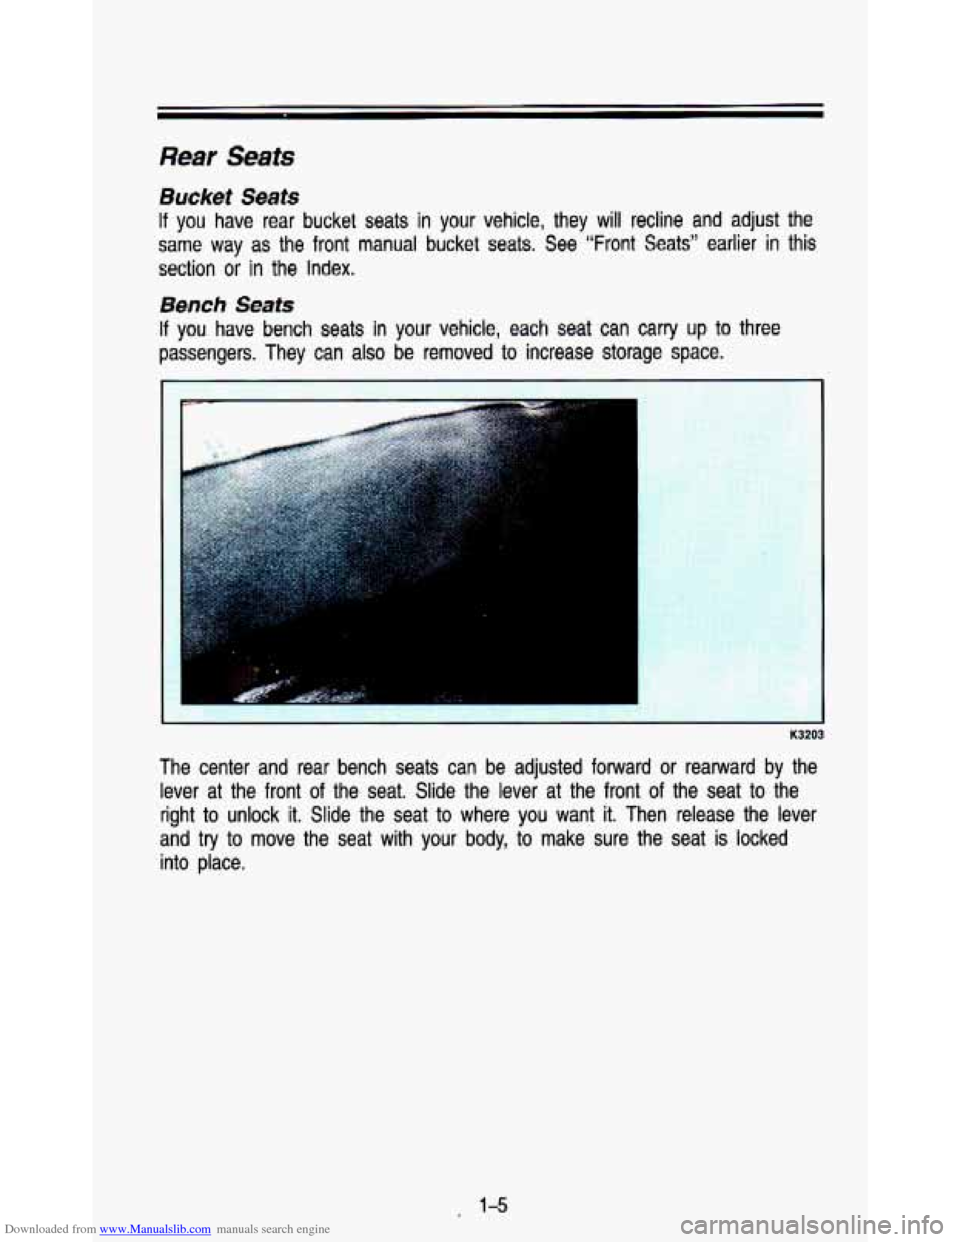
If you have bench seats in your vehicle, each seat can carry up to three
passengers. They can also be removed to increase storage space.
:..,:.;..*i -.
K3203
The center and rear bench seats can be adjusted forward or rearward by the
lever at the front
of the seat. Slide the lever at the front of the seat to the
right to unlock it. Slide the seat
to where you want it. Then release the lever
and try to move the seat with your body, to make sure the seat is locked
into place.
. 1-5
Page 19 of 345
Downloaded from www.Manualslib.com manuals search engine K3106
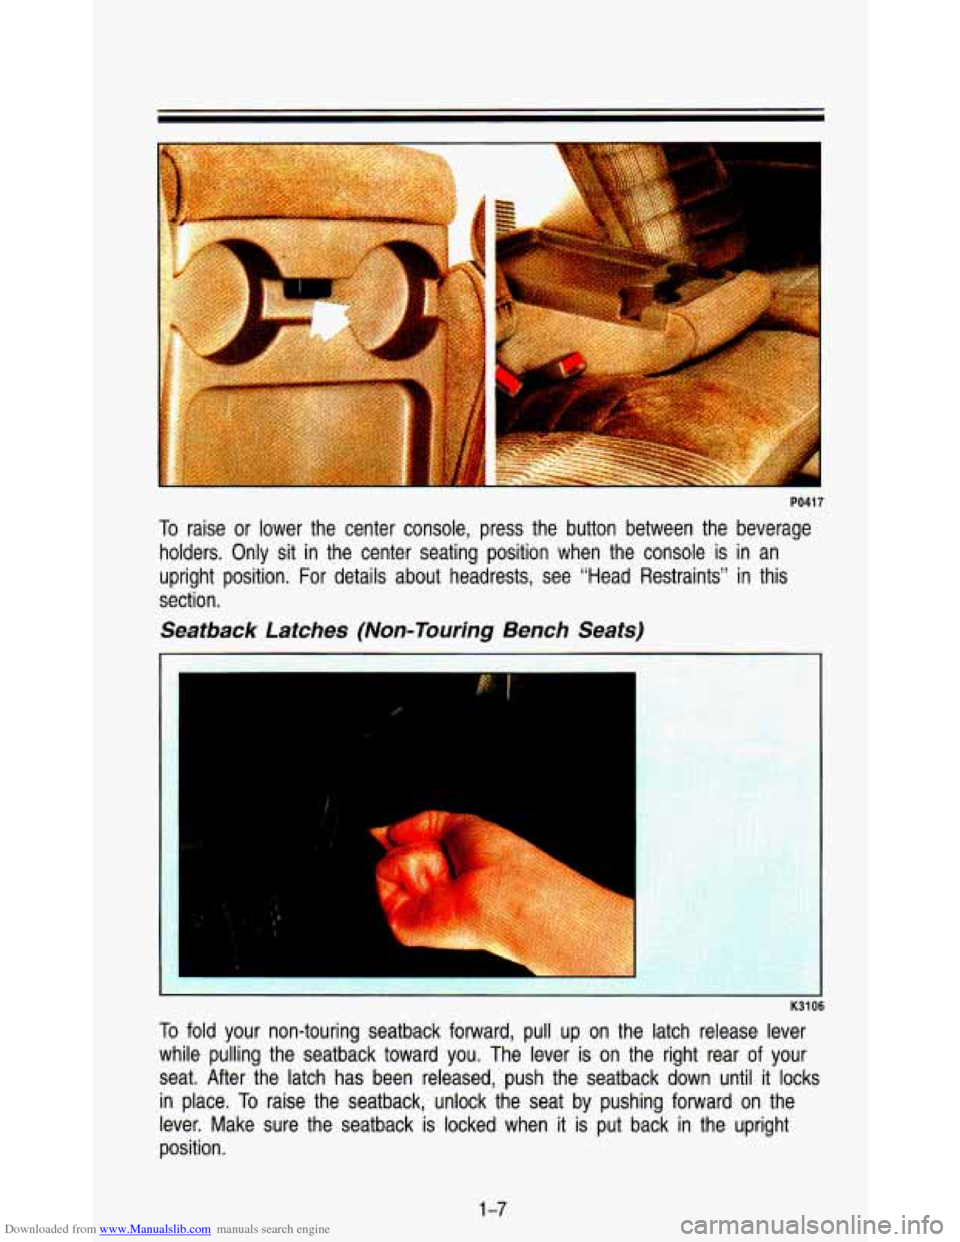
To fold your non-touring seatback forward, pull up on the latch release lever
while pulling the seatback toward you. The lever is
on the right rear of your
seat. After the latch has been released, push the seatback dow\
n until it locks
in place.
To raise the seatback, unlock the seat by pushing forward on the \
lever. Make sure the seatback is locked when it is put back in the upright
position.
1 -7
Page 21 of 345
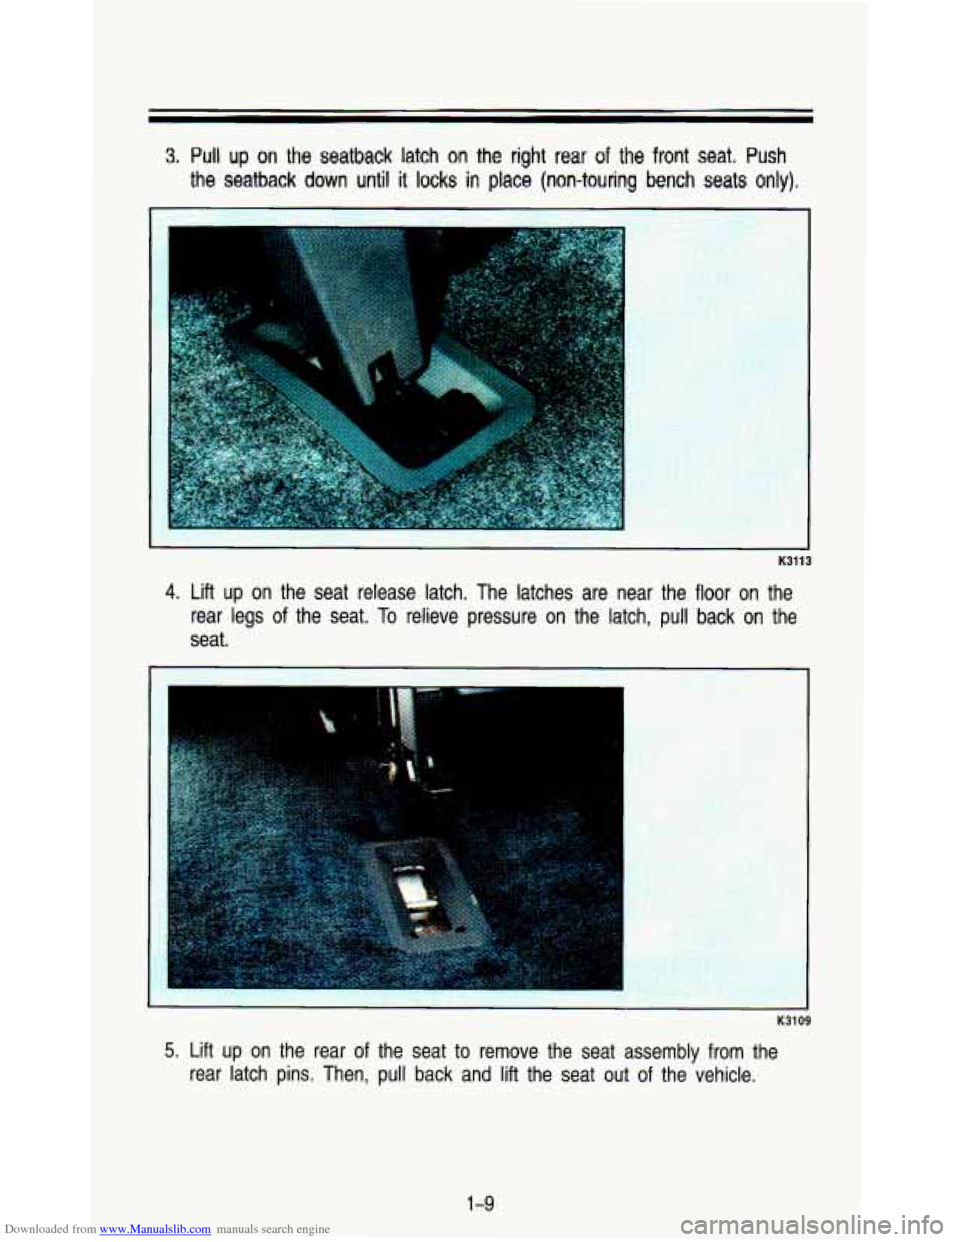
Downloaded from www.Manualslib.com manuals search engine 3. Pull up on the seatback latch on the right rear of the front seat. Push
the seatback down until it locks in place (non-touring bench seats only).
4. Lift up on the seat release latch. The latches are near the floor on the
rear legs
of the seat. To relieve pressure on the latch, pull back on the
seat.
1
K3109
5. Lift up on the rear of the seat to remove the seat assembly from the
rear latch pins. Then, pull back and
lift the seat out of the vehicle.
1-9
Page 22 of 345
Downloaded from www.Manualslib.com manuals search engine Seats and Safety Belts
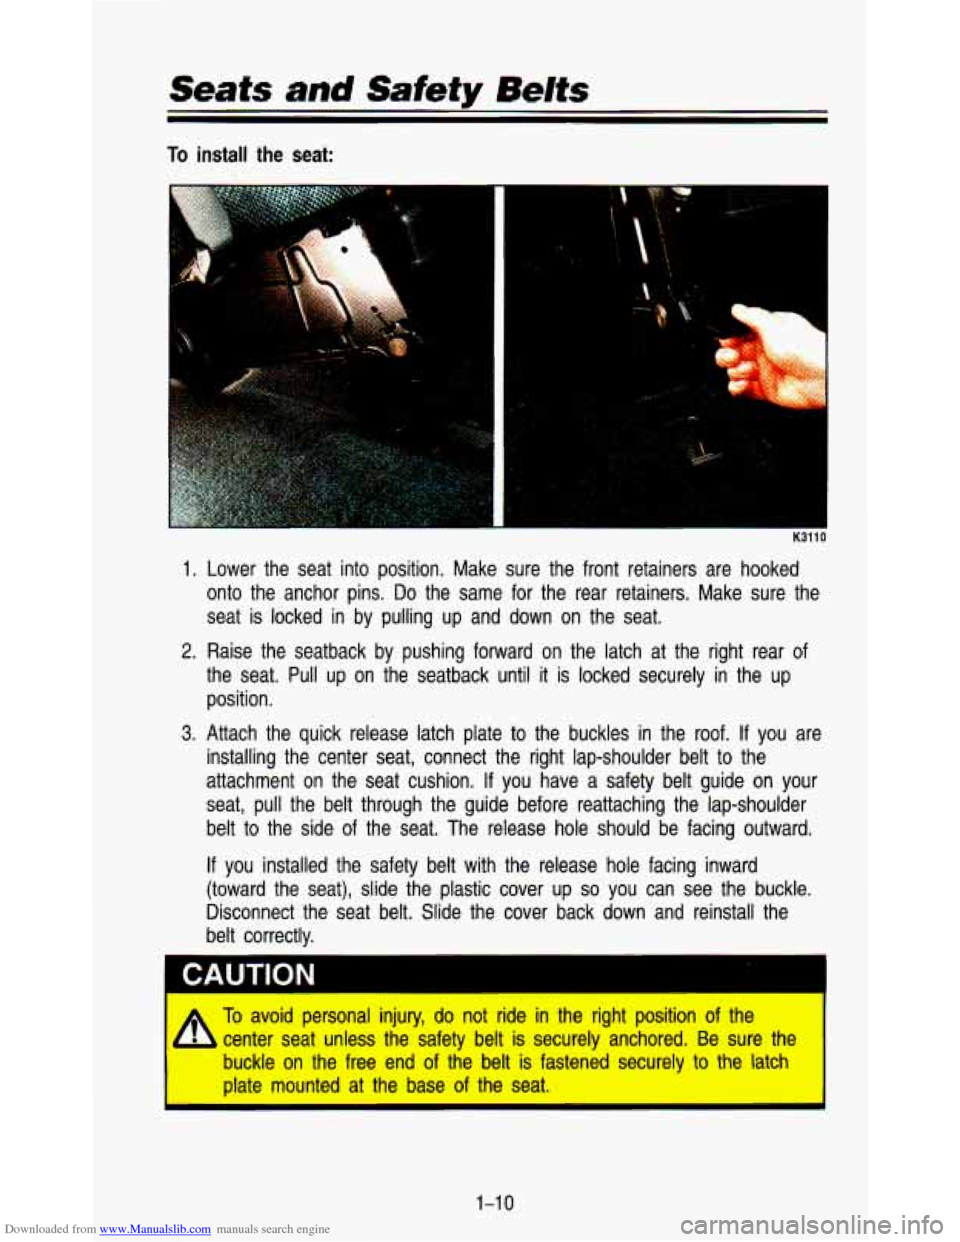
To install the seat:
a
1.
2.
3.
Lower the seat into position. Make sure the front retainers ar\
e hooked
onto the anchor pins.
Do the same for the rear retainers. Make sure the
seat is locked in by pulling up and down on the seat.
Raise the seatback by pushing forward on the latch at the rig\
ht rear of
the seat. Pull up on the seatback until it is locked securely in the up
position.
Attach the quick release latch plate
to the buckles in the roof. If you are
installing the center seat, connect the right lap-shoulder belt \
to the
attachment on the seat cushion. If you have a safety belt gui\
de on your
seat, pull the belt through the guide before reattaching the l\
ap-shoulder
belt
to the side of the seat. The release hole should be facing outward.
If you installed the safety belt with the release hole facing inw\
ard
(toward the seat), slide the plastic cover
up so you can see the buckle.
Disconnect the seat belt. Slide the cover back down and reinst\
all the
belt correctly.
A
To avoid personal injury, do not ride in the right position of the
center seat unless the safety belt is securely anchored. Be sure the
buckle on the free end of the belt is fastened securely to the latch
plate mounted at the base of the seat.
1-1 0
Page 25 of 345
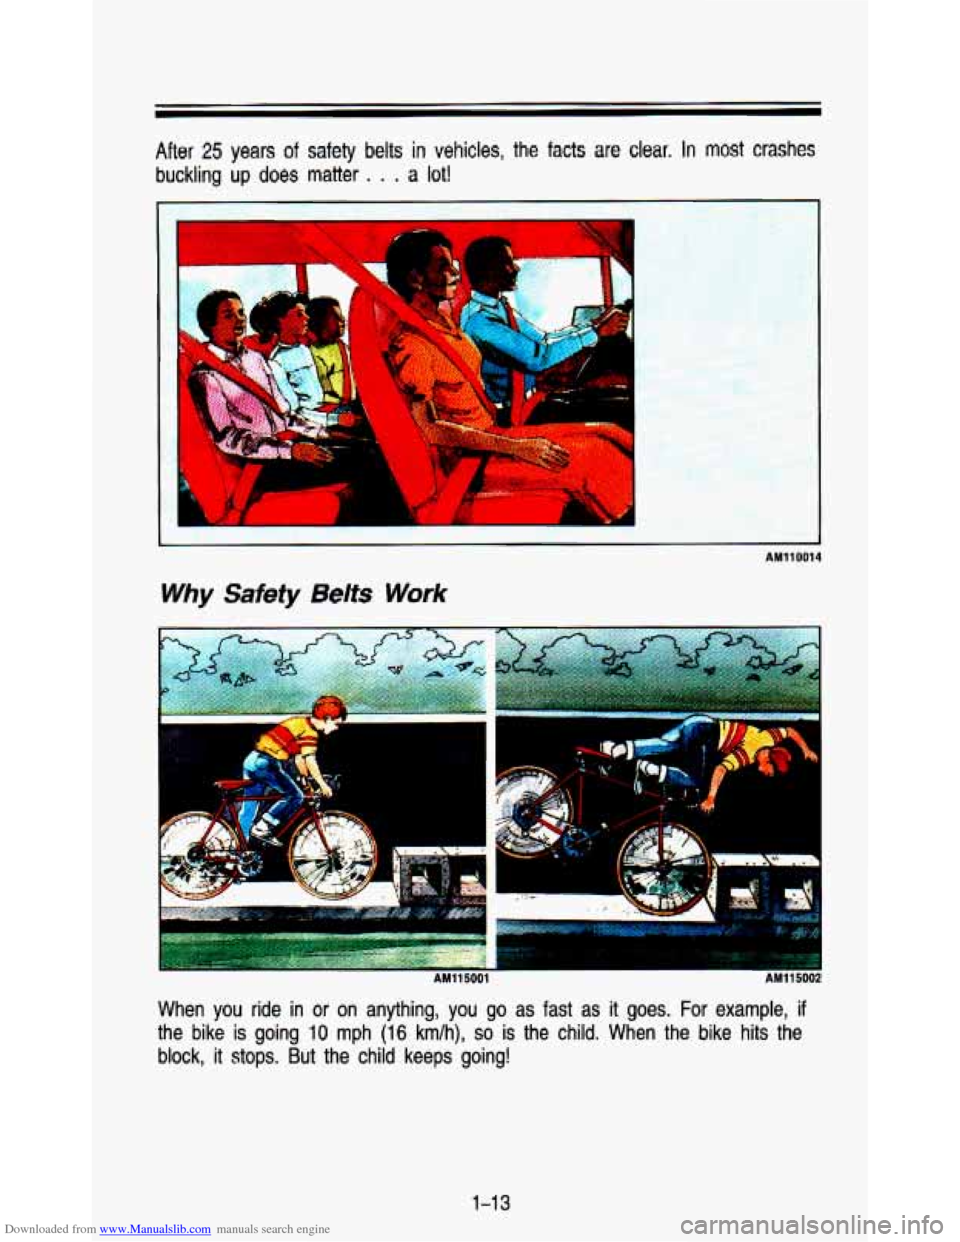
Downloaded from www.Manualslib.com manuals search engine After 25 years of safety belts in vehicles, the facts are clear. In most crashes
buckling up
does matter . . . a lot!
AM110014
Why Safety Belts Work
’-’?
I .
AM115001
When you ride in or on anything, you go as fast as it goes. For example, if
the bike is going 10 mph (16 km/h), so is the child. When the bike hits the
block, it stops. But the child keeps going!
1-1 3
Page 31 of 345
Downloaded from www.Manualslib.com manuals search engine Lap-Shoulder Belt I
AN1 20049
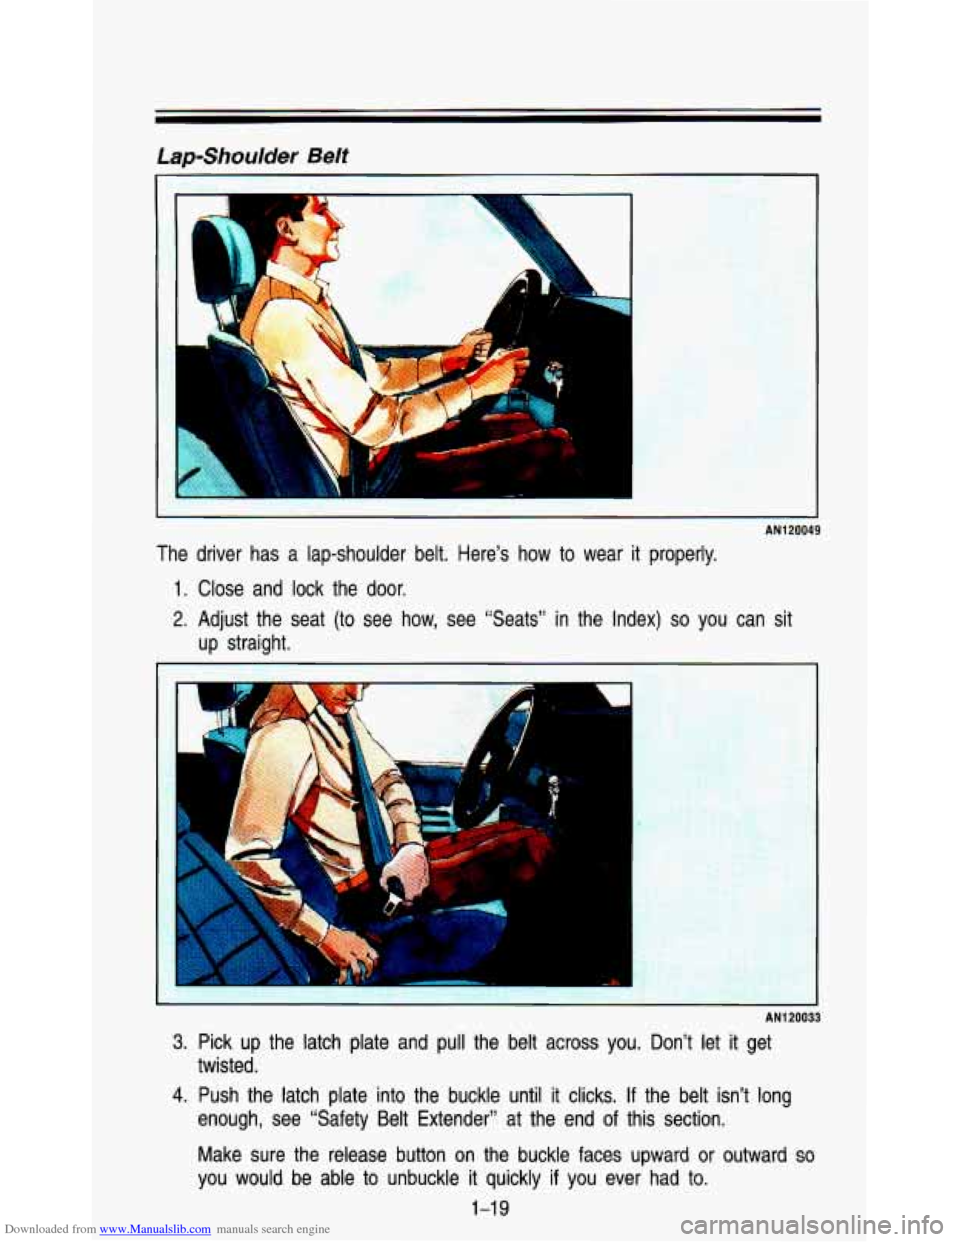
The driver has a lap-shoulder belt. Here’s how to wear it properly.
1. Close and lock the door.
2. Adjust the seat (to see how, see “Seats” in the Index) so you can sit
up straight.
. .. .
AN120033
3. Pick up the latch plate and pull the belt across you. Don’t let it get
4. Push the latch plate into the buckle until it clicks. If the belt isn’t long
twisted.
enough, see “Safety Belt Extender” at the end
of this section.
Make sure the release button on the buckle faces upward
or outward so
you would be able to unbuckle it quickly if you ever had to.
1-1 9
Page 32 of 345
Downloaded from www.Manualslib.com manuals search engine Seats and Safety Belts
L
AM120167
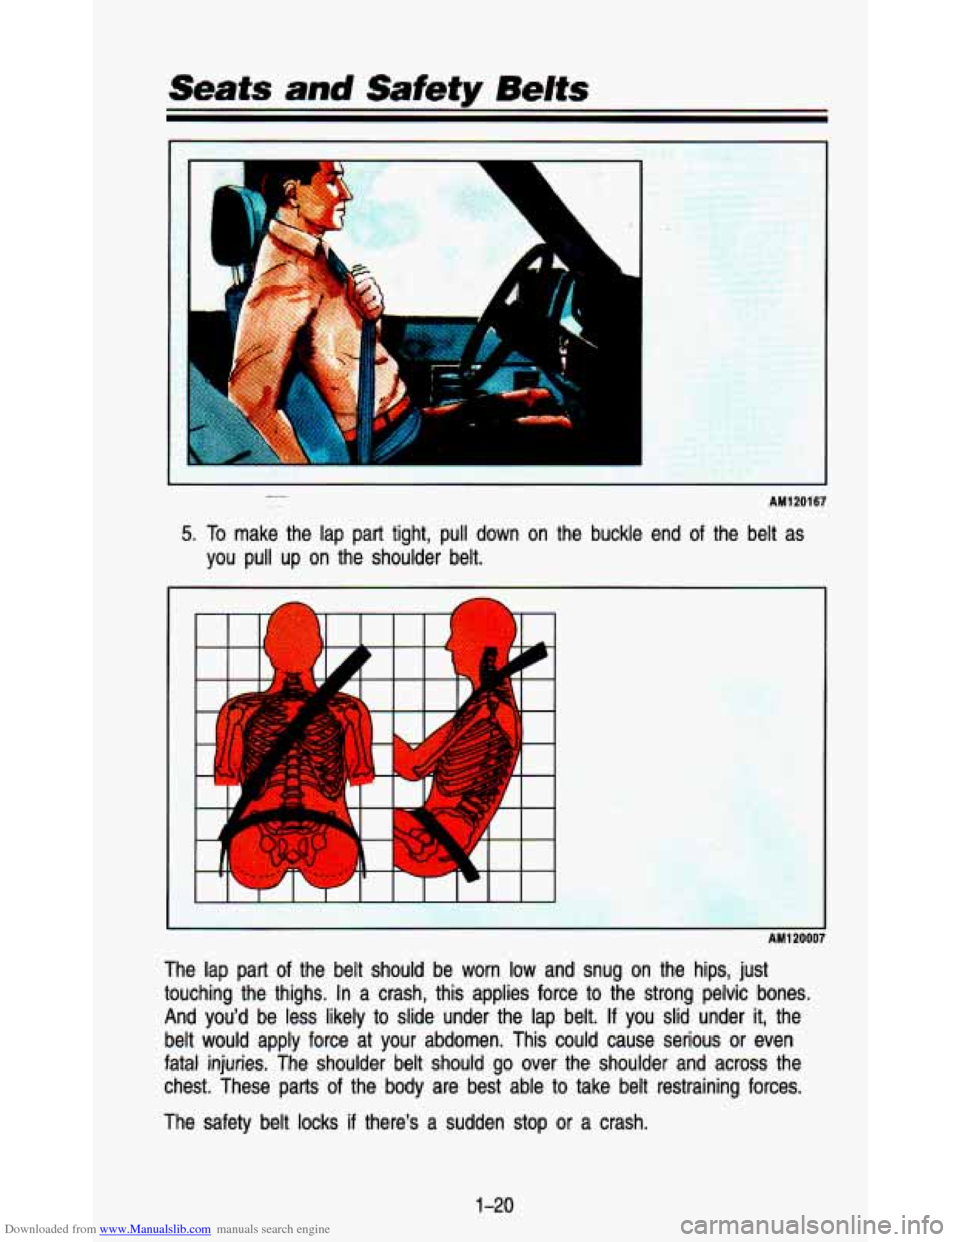
5. To make the lap part tight, pull down on the buckle end of the \
belt as
you pull up on the shoulder belt.
d
The lap part of the belt should be worn low and snug on the hips, just
touching the thighs. In a crash, this applies force to the strong pelvic bones.
And you'd be less likely to slide under the lap belt.
If you slid under it, the
belt would apply force at your abdomen. This could cause serio\
us or even
fatal injuries. The shoulder belt should go over the shoulder and ac\
ross the
chest. These parts of the body are best able
to take belt restraining forces.
The safety belt locks
if there's a sudden stop or a crash.
1-20