maintenance schedule CHEVROLET ASTRO PASSENGER 1993 1.G Owners Manual
[x] Cancel search | Manufacturer: CHEVROLET, Model Year: 1993, Model line: ASTRO PASSENGER, Model: CHEVROLET ASTRO PASSENGER 1993 1.GPages: 345, PDF Size: 19 MB
Page 203 of 345
Downloaded from www.Manualslib.com manuals search engine Parking on Hills
You really should not park your vehicle, with a trailer attached, \
on a hill. If
something goes wrong, your rig could start to move. People can be injured,
and both your vehicle and the trailer can be damaged.
But
if you ever have to park your rig on a hill, here’s how to do it:
1. Apply your regular brakes, but don’t shift into P (Park) yet.
2. Have someone place chocks under the trailer wheels.
3. When the wheel chocks are in place, release the regular brakes until the
chocks absorb
the load.
4. Reapply the regular brakes. Then apply your parking brake, and \
shift to
P (Park).
5. Release the regular brakes.
When You Are Ready to Leave After Parking on a Hill
1. Apply your regular brakes and hold the pedal down while you:
Start your engine.
Shift into a gear; and
Release the parking brake.
2. Let up on the brake pedal.
3. Drive slowly until the trailer is clear of the chocks.
4. Stop and have someone pick up and store the chocks.
Maintenance When Trailer Towing
Your vehicle will need service more often when you’re pulling a trailer. See
the Maintenance Schedule for more
on this. Things that are especially
important in trailer operation are automatic transmission fluid (don’t ove\
rfill),
engine oil, axle lubricant, belt, cooling system, and brake adj\
ustment. Each of
these is covered in this manual, and the Index will help you find them
quickly. If you’re trailering, it’s a good idea
to review these sections before
you start your trip.
Check periodically
to see that all hitch nuts and bolts are tight.
mailer Light Wiring
See “Trailer Wiring Harness” in the Index.
4-49
Page 255 of 345
Downloaded from www.Manualslib.com manuals search engine 8. Grasp the bottom of the instrument panel extension and install the top
9. Install the two nuts and two screws on the extension.
into the groove first. Then, push the bottom
of the extension into place.
Air Cleaner
To Remove the Air CIeaner Filter:
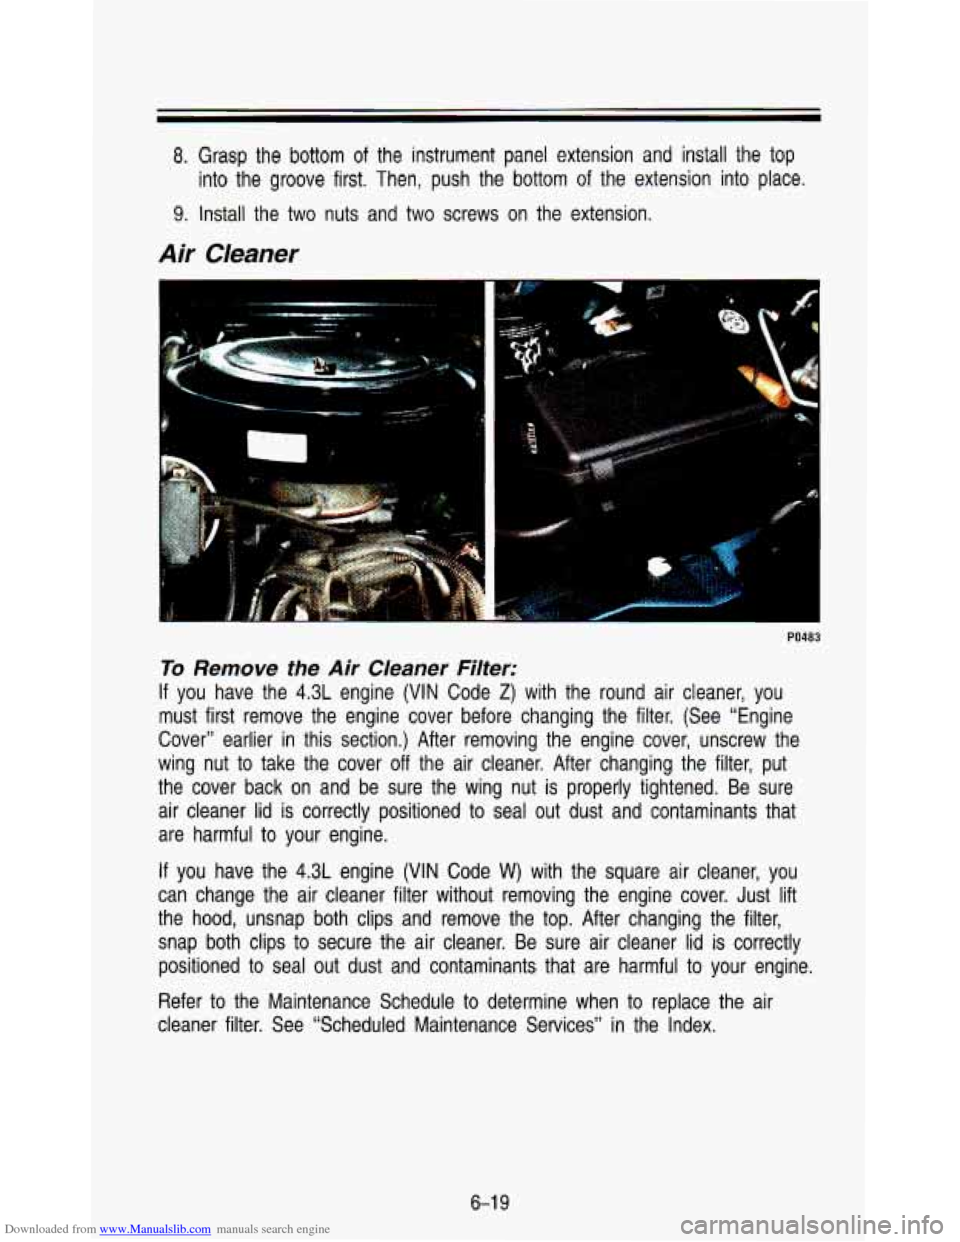
If you have the 4.3L engine (VIN Code Z) with the round air cleaner, you
must first remove the engine cover before changing the filter. \
(See “Engine
Cover” earlier in this section.) After removing the engine cover, unscrew the
wing nut to take the cover off the air cleaner. After changing the filter,\
put
the cover back on and be sure the wing nut is properly tight\
ened. Be sure air cleaner lid is correctly positioned to seal out dust and contaminants that
are harmful to your engine.
If you have the
4.3L engine (VIN Code W) with the square air cleaner, you
can change the air cleaner filter without removing the engine cover. Just lift
the hood, unsnap both clips and remove the top. After changing the filter,
snap both clips to secure the air cleaner. Be sure air cleaner lid
is correctly
positioned to seal out dust and contaminants that are harmful to your engine.
Refer to the Maintenance Schedule to determine when to replace the air
cleaner filter. See “Scheduled Maintenance Services” in the Index.
6-1 9
Page 256 of 345
Downloaded from www.Manualslib.com manuals search engine Service & Appearance Care
h
Operating the engine with the air cleaner off can cause you or other!
to be burned. The air cleaner not only cleans the air, it stops flame
if the engine backfires. If it isn’t there, and the engine backfires, you
could be burned. Don’t drive with it off, and be careful working on
the engine with the air cleaner off.
If the air cleaner is off, a backfir
dirt can easily get into your engine,
air cleaner in place when you’re drivin $use a damaging engir
hicl
vill damage it. Na)
Automatic Transmission Nuid
When to Check and Change:
A good time to check your automatic transmission fluid level is when the
engine oil is changed. Refer to the Maintenance Schedule
to determine when
to change your fluid. See “Scheduled Maintenance Services” in the Index.
How to Check:
Because this operation can be a little difficult, you may choo\
se to have this
done at a
GM dealership Service Department.
If you do it yourself, be sure to follow all the instructions here, or you could
get a false reading on the dipstick.
Too much or too little fluid can damage your transmission. Too much can
mean that some of the fluid could come out and fall on hot engine part-
starting a fire. Be sure to get an accurate reading
if you check your
transmission fluid.
I
I
Wait at least 30 minutes before checking the transmission fluid level if you
have been driving:
When outside temperatures are above 90°F (32°C).
At high speed for quite a while.
In heavy traffic-especially in hot weather.
While pulling a trailer.
6-20
Page 258 of 345
Downloaded from www.Manualslib.com manuals search engine Service & Appearance Care
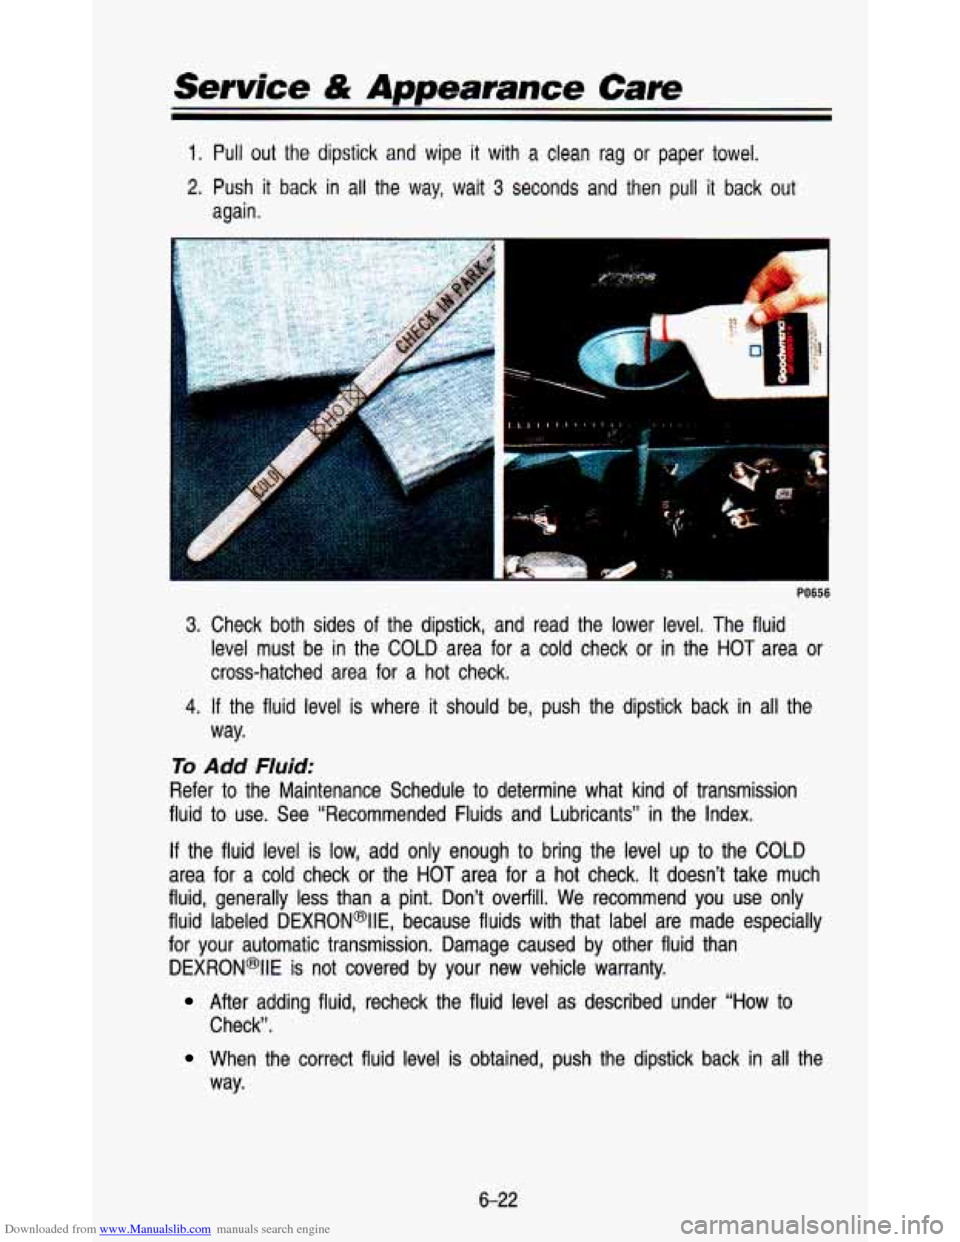
1. Pull out the dipstick and wipe it with a clean rag or paper towel.
2. Push it back in all the way, wait 3 seconds and then pull it back out
again.
3. Check both sides of the dipstick, and read the lower level. The fluid
level must be in the COLD area for a cold check or in the
HOT area or
cross-hatched area for a hot check.
way.
4. If the fluid level is where it should be, push the dipstick back in all the
To Add Fluid:
Refer to the Maintenance Schedule to determine what kind of transmission
fluid
to use. See “Recommended Fluids and Lubricants” in the Index.
If the fluid level is low, add only enough to bring the level up to the COLD
area
for a cold check or the HOT area for a hot check. It doesn’t take much
fluid, generally less than a pint. Don’t overfill. We recommend you use only
fluid labeled DEXRON@IIE, because fluids with that label are ma\
de especially
for your automatic transmission. Damage caused by other fluid t\
han DEXRON*IIE
is not covered by your new vehicle warranty.
After adding fluid, recheck the fluid level as described under “How to
Check”.
When the correct fiuid level is obtained, push the dipstick back in all the
way.
6-22
Page 259 of 345
Downloaded from www.Manualslib.com manuals search engine Rear Axle
When to Check and Change Lubricant:
Refer to the Maintenance Schedule to determine how often to check the
lubricant and when to change it. See “Scheduled Maintenance Services” in
the Index.
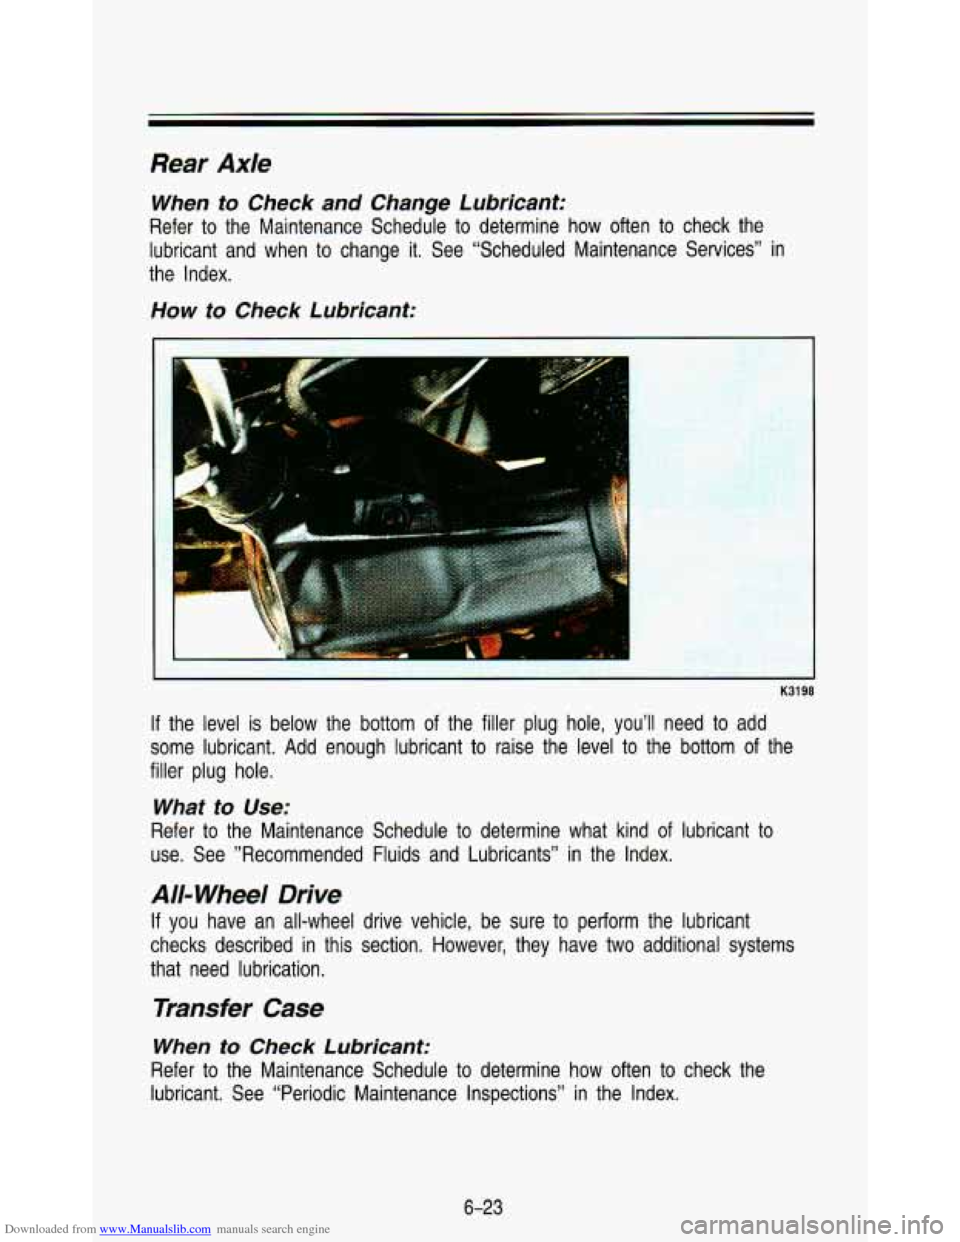
How to Check Lubricant:
1
,. . ..
1
If the level is below the bottom of the filler plug hole, you’ll need to add
some lubricant.
Add enough lubricant to raise the level to the bottom of the
filler plug hole.
What to Use:
Refer to the Maintenance Schedule to determine what kind of lubricant to
use. See ”Recommended Fluids and Lubricants” in the Index.
All= Wheel Drive
If you have an all-wheel drive vehicle, be sure to perform the lubricant
checks described in this section. However, they have two additional systems
that need lubrication.
Transfer Case
When to Check Lubricant:
Refer to the Maintenance Schedule to determine how often to check the
lubricant. See “Periodic Maintenance Inspections” in the Index.
6-23
Page 260 of 345
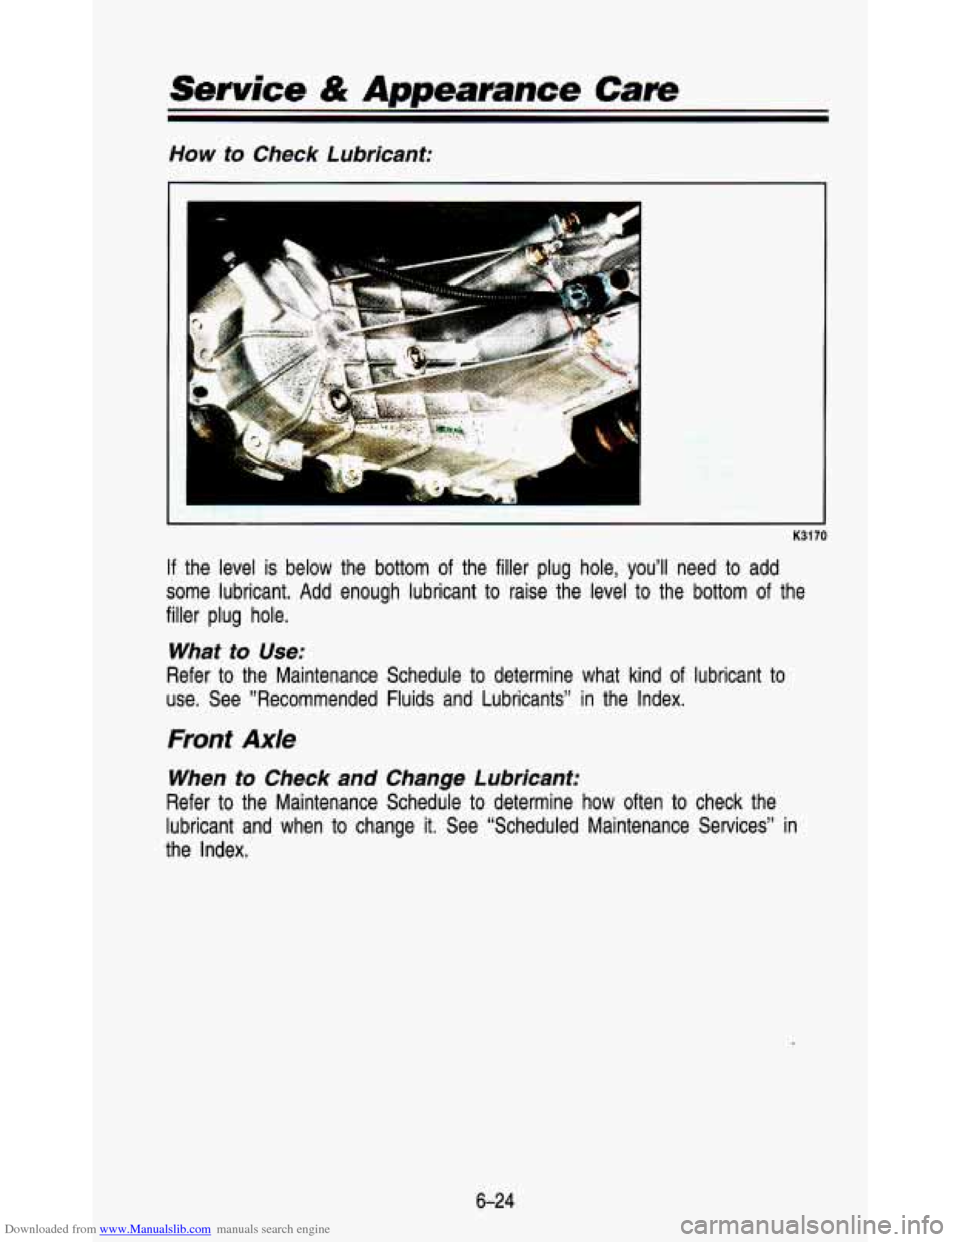
Downloaded from www.Manualslib.com manuals search engine How to Check Lubricant:
J
K3170
If the level is below the bottom of the filler plug hole, you’ll need to add
some lubricant. Add enough lubricant to raise the level to the bottom of the
filler plug hole.
What to Use:
Refer to the Maintenance Schedule to determine what kind of lubricant to
use. See ”Recommended Fluids and Lubricants” in the Index.\
Front Axle
When to Check and Change Lubricant:
Refer to the Maintenance Schedule to determine how often to check the
lubricant and when to change it. See “Scheduled Maintenance Services” in
the Index.
6-24
Page 261 of 345
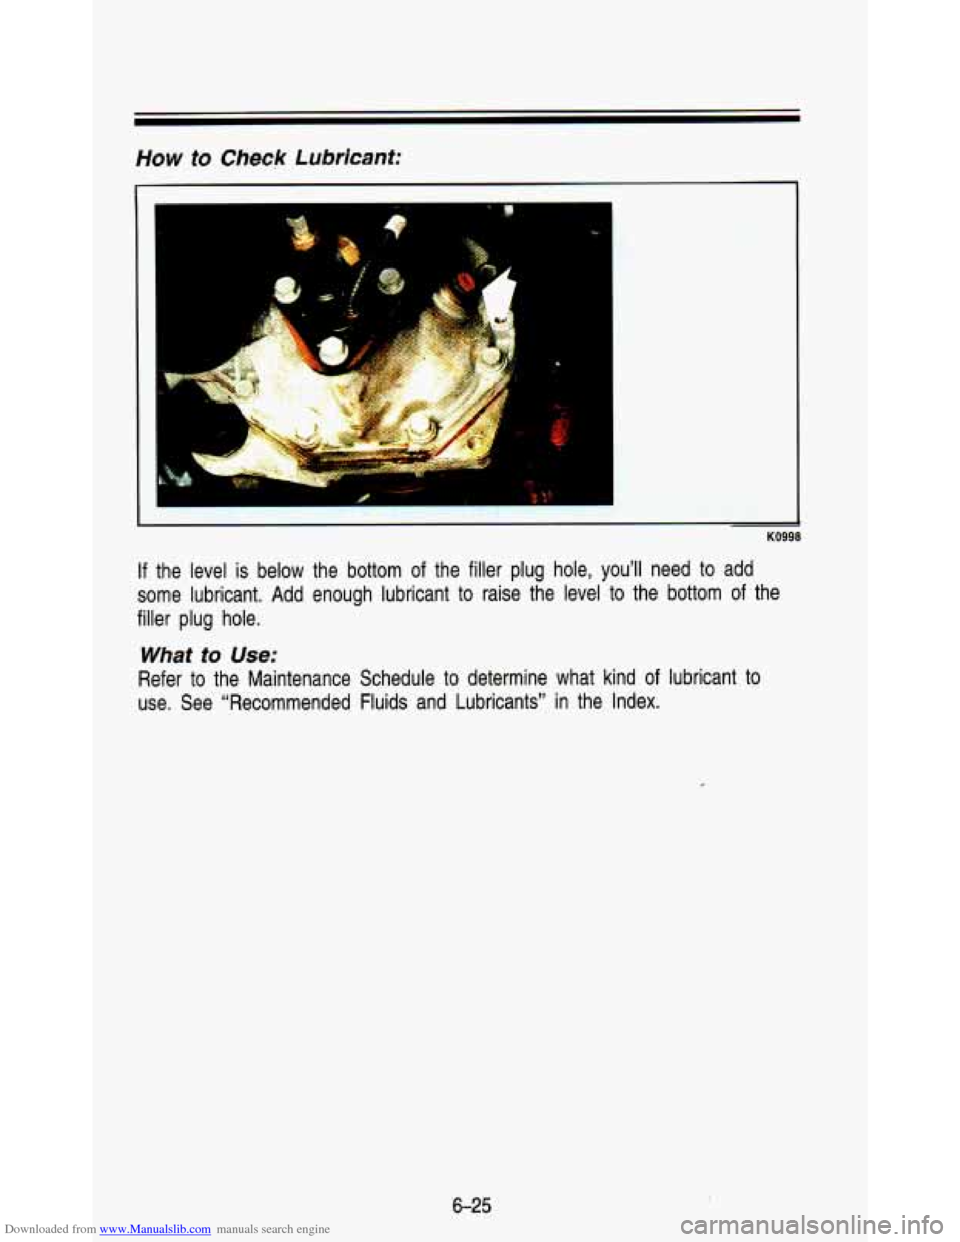
Downloaded from www.Manualslib.com manuals search engine How to Check Lubricant:
r
KO998
If the level is below the bottom of the filler plug hole, you’ll need to add
some lubricant.
Add enough lubricant to raise the level to the bottom of the
filler plug hole.
What to Use:
Refer to the Maintenance Schedule to determine what kind of lubricant to
use. See “Recommended Fluids and Lubricants” in the Index.
6-25
Page 266 of 345
Downloaded from www.Manualslib.com manuals search engine Power Steering Fluid
I
I .
.. ., ...
L
PO665
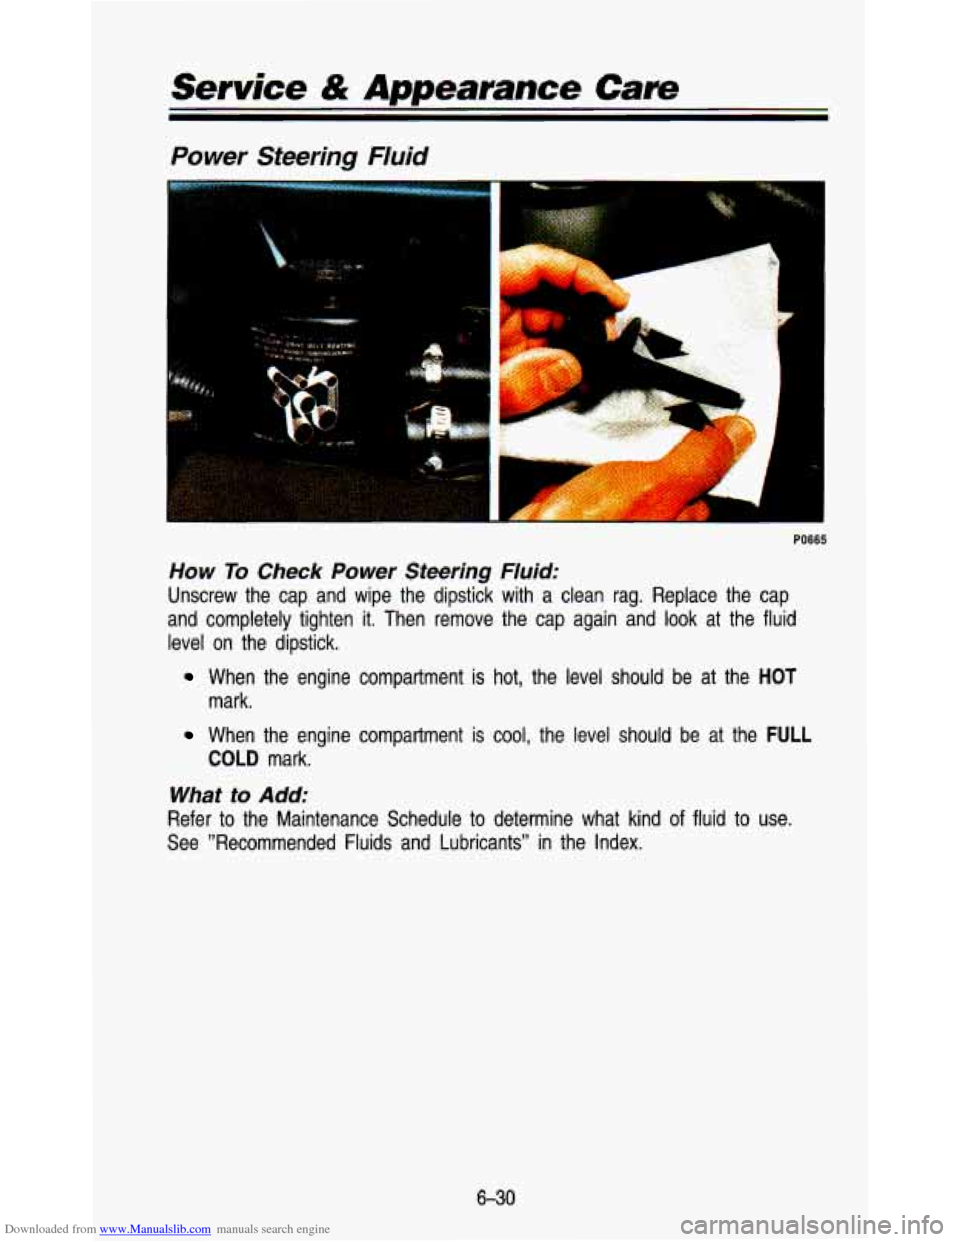
How To Check Power Steering Fluid:
Unscrew the cap and wipe the dipstick with a clean rag. Repla\
ce the cap
and completely tighten
it. Then remove the cap again and look at the fluid
level on the dipstick.
When the engine compartment is hot, the level should be at th\
e HOT
mark.
When the engine compartment is cool, the level should be at the FULL
COLD mark.
What to Add:
Refer to the Maintenance Schedule to determine what kind of fluid to use.
See ”Recommended Fluids and Lubricants” in the Index.
6-30
Page 269 of 345
Downloaded from www.Manualslib.com manuals search engine So, it isn’t a good idea to “top off’ your brake fluid. Adding brake fluid won’t
correct a leak.
If you add fluid when your linings are worn, then you’ll have \
too much fluid when you get new brake linings. You should add (or remove)
brake fluid, as necessary, only when work is done on the brake hydraulic
system.
If you have too much brake fluid, it can spill on the engine. The fluid I
will burn if the engine is hot enough. You or others could be burned,
and your vehicle could be damaged. Add brake fluid only when work
is done on the brake hydraulic system.
I
Refer to the Maintenance Schedule to determine when to check your brake
fluid. See “Periodic Maintenance Inspections” in the Index.
To Check Brake Fluid:
You can check the brake fluid without taking off the cap. Just look at the
windows on the brake fluid reservoir. The fluid levels should be above
MIN. If
they aren’t, have your brake system checked to see if there is a leak.
After work is done on the brake hydraulic system
, make sure the levels are
above
MIN and below the top of each window.
What To Add:
When you do need brake fluid, use only DOT-3 brake fluid-such \
as Delco
Supreme
ll@ (GM Part No. 1052535), Use new brake fluid from a sealed
container only.
brake
fLlu lamagn lehicle
Replacing
Brake System Parts
The braking system on a modern vehicle is complex. Its many parts have to
be
of top quality and work well together if the vehicle is to have really good
braking. Vehicles we design and test have top-quality
GM brake parts in
them, as your vehicle does when
it is new. When you replace parts of your
6-33
Page 274 of 345
Downloaded from www.Manualslib.com manuals search engine Service & Appearance Care
PO400
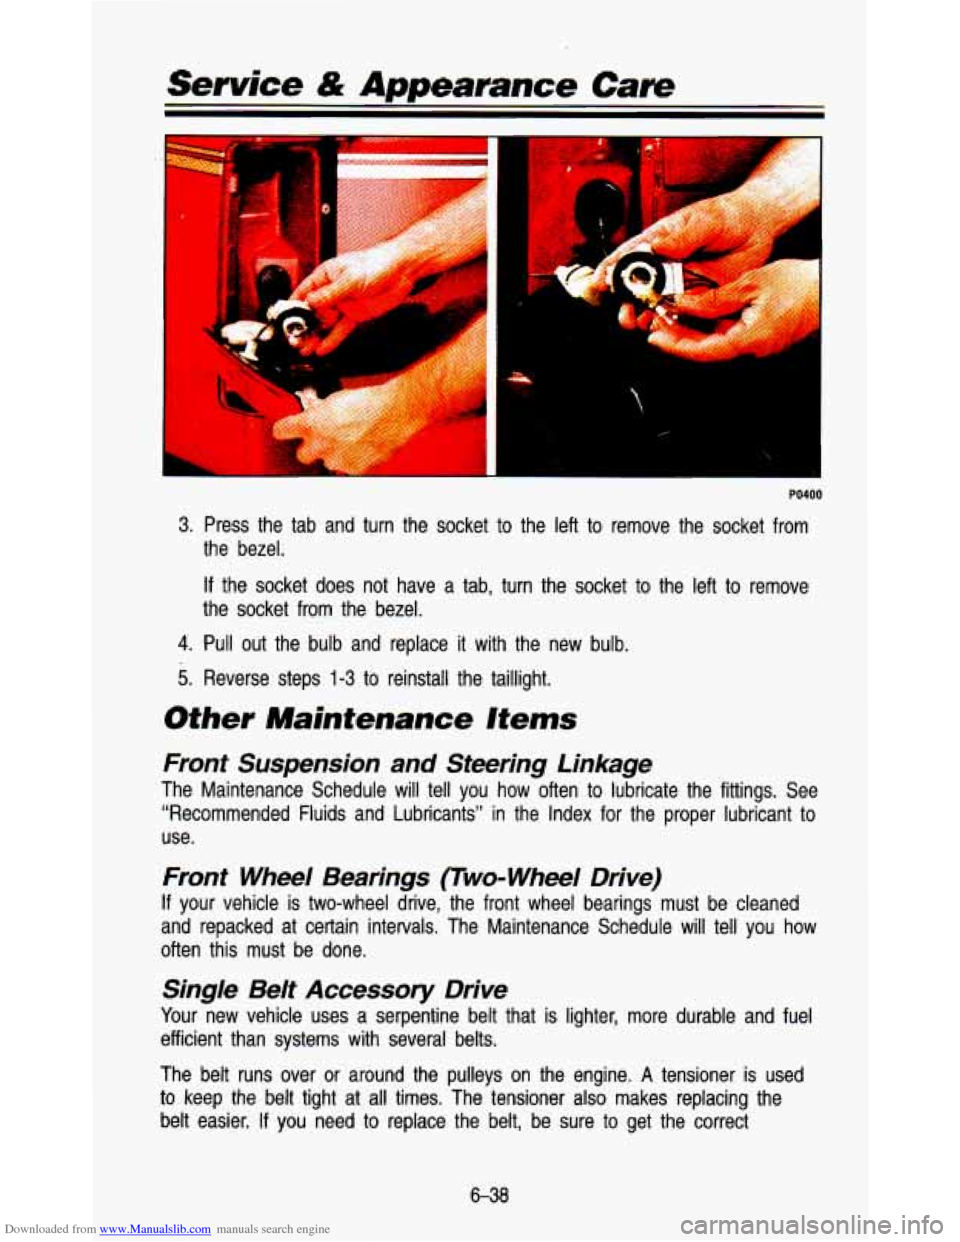
3. Press the tab and turn the socket to the left to remove the socket from
the bezel.
If the socket does not have a tab, turn the socket to the left to remove
the socket from the bezel.
4. Pull out the bulb and replace it with the new bulb.
5. Reverse steps 1-3 to reinstall the taillight.
Other Maintenance Items
Front Suspension and Steering Linkage
The Maintenance Schedule will tell you how often to lubricate the fittings. See
“Recommended Fluids and Lubricants” in the Index for the proper lubricant to
use.
Front Wheel Bearings (Two-Wheel Drive)
If your vehicle is two-wheel drive, the front wheel bearings must \
be cleaned
and repacked at certain intervals. The Maintenance Schedule will tel\
l you how
often this must be done.
Single Belt Accessory Drive
Your new vehicle uses a serpentine belt that is lighter, more durable and fuel
efficient than systems with several belts.
The belt runs over
or around the pulleys on the engine. A tensioner is used
to keep the belt tight at all times. The tensioner also makes replacing the
belt easier.
If you need to replace the belt, be sure to get the correct
6-38