length CHEVROLET AVALANCHE 2005 1.G Owners Manual
[x] Cancel search | Manufacturer: CHEVROLET, Model Year: 2005, Model line: AVALANCHE, Model: CHEVROLET AVALANCHE 2005 1.GPages: 496, PDF Size: 3.25 MB
Page 83 of 496
Lockout Protection
This feature protects you from locking your key in the
vehicle when the key is in the ignition and a door
is open.
If the power lock switch is pressed when a door is open
and the key is in the ignition, all of the doors will lock
and then the driver’s door will unlock.
Midgate
{CAUTION:
It can be dangerous to drive with the cargo
area covered and the tailgate and the midgate
open because carbon monoxide (CO) gas can
come into your vehicle. You can not see or
smell CO. It can cause unconsciousness and
even death. If you must drive with the cargo
covers on and the tailgate and midgate open
CAUTION: (Continued)
CAUTION: (Continued)
or if electrical wiring or other cable
connections must pass through the seal
between the body and the midgate:
Make sure all windows are shut.
Turn the fan on your heating or cooling
system to its highest speed on the setting
that brings in outside air. This will force
outside air into your vehicle. SeeDual
Automatic Climate Control System on
page 3-23.
If you have air outlets on or under the
instrument panel, open them all the way.
SeeEngine Exhaust on page 2-42.
Midgate Operation
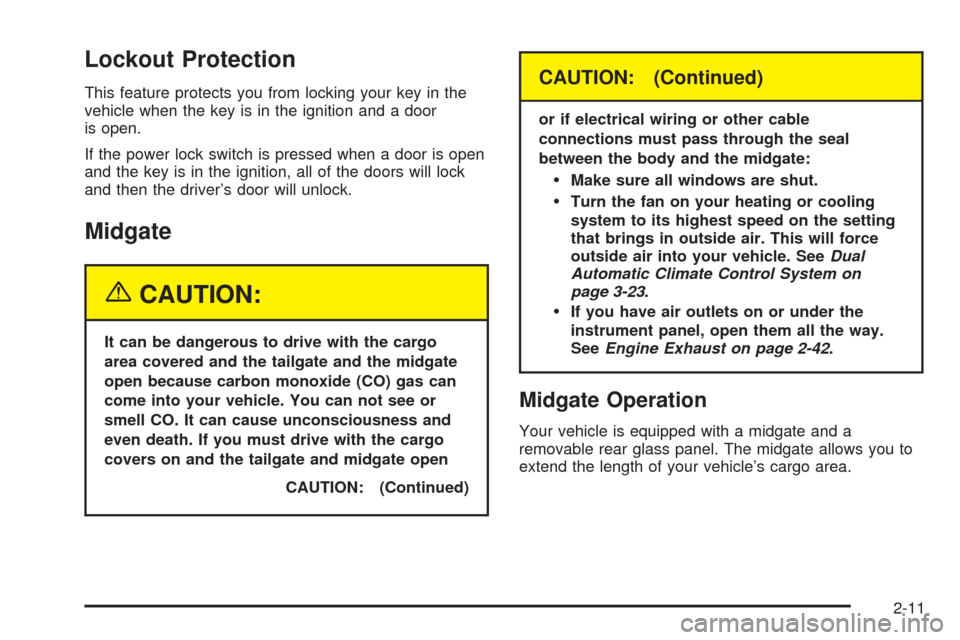
Your vehicle is equipped with a midgate and a
removable rear glass panel. The midgate allows you to
extend the length of your vehicle’s cargo area.
2-11
Page 99 of 496
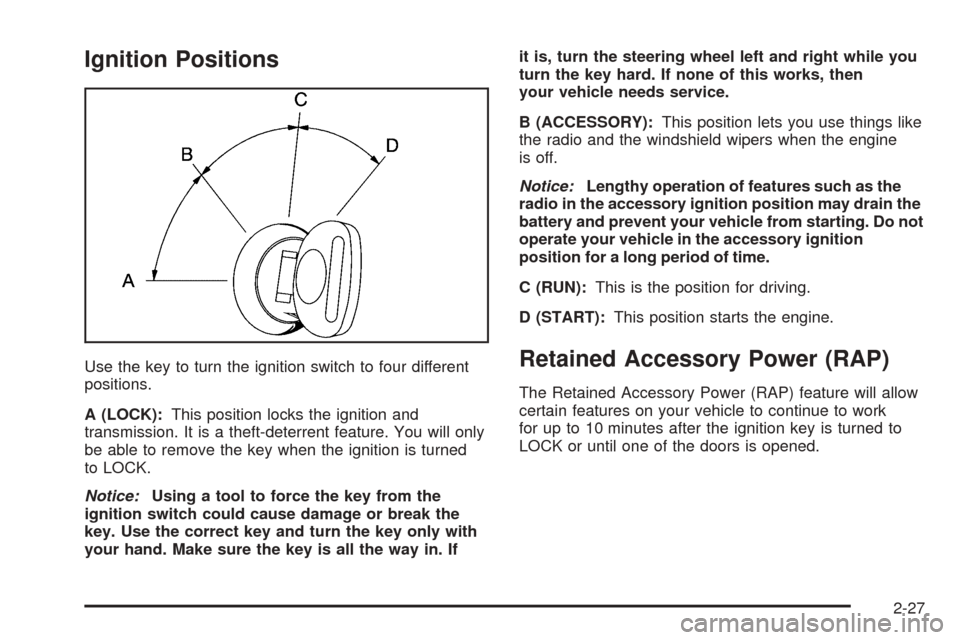
Ignition Positions
Use the key to turn the ignition switch to four different
positions.
A (LOCK):This position locks the ignition and
transmission. It is a theft-deterrent feature. You will only
be able to remove the key when the ignition is turned
to LOCK.
Notice:Using a tool to force the key from the
ignition switch could cause damage or break the
key. Use the correct key and turn the key only with
your hand. Make sure the key is all the way in. Ifit is, turn the steering wheel left and right while you
turn the key hard. If none of this works, then
your vehicle needs service.
B (ACCESSORY):This position lets you use things like
the radio and the windshield wipers when the engine
is off.
Notice:Lengthy operation of features such as the
radio in the accessory ignition position may drain the
battery and prevent your vehicle from starting. Do not
operate your vehicle in the accessory ignition
position for a long period of time.
C (RUN):This is the position for driving.
D (START):This position starts the engine.Retained Accessory Power (RAP)
The Retained Accessory Power (RAP) feature will allow
certain features on your vehicle to continue to work
for up to 10 minutes after the ignition key is turned to
LOCK or until one of the doors is opened.
2-27
Page 181 of 496
To avoid blowing cold air in cold weather, the
system will delay turning on the fan until warm air is
available. The length of delay depends on the
engine coolant temperature. Pressing the fan switch
will override this delay and change the fan to a
selected speed.
9(Off):Press this button to turn off the entire climate
control system. Outside air will still enter the vehicle, and
will be directed to the �oor. This direction can be changed
by pressing the mode button. The temperature can also
be adjusted using either temperature knob. Press the up
or down arrows on the fan switch, the defrost button, the
AUTO button, or the air conditioning button to turn the
system on when it is off.
Manual Operation
You may manually adjust the air delivery mode or fan
speed.
w9x(Fan):The switch with the fan symbol allows
you to manually adjust the fan speed. Press the up
arrow to increase fan speed and the down arrow
to decrease fan speed.
Pressing this button when the system is off will turn the
system on.
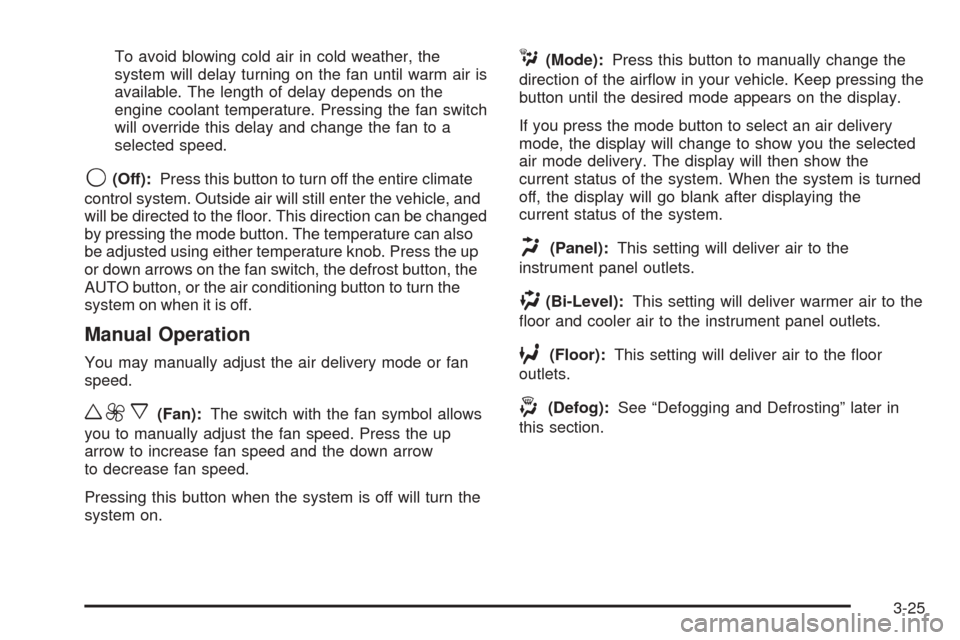
C(Mode):Press this button to manually change the
direction of the air�ow in your vehicle. Keep pressing the
button until the desired mode appears on the display.
If you press the mode button to select an air delivery
mode, the display will change to show you the selected
air mode delivery. The display will then show the
current status of the system. When the system is turned
off, the display will go blank after displaying the
current status of the system.
H(Panel):This setting will deliver air to the
instrument panel outlets.
)(Bi-Level):This setting will deliver warmer air to the
�oor and cooler air to the instrument panel outlets.
6(Floor):This setting will deliver air to the �oor
outlets.
-(Defog):See “Defogging and Defrosting” later in
this section.
3-25
Page 263 of 496
Many adults — by some estimates, nearly half the adult
population — choose never to drink alcohol, so they
never drive after drinking. For persons under 21,
it is against the law in every U.S. state to drink alcohol.
There are good medical, psychological and
developmental reasons for these laws.
The obvious way to eliminate the leading highway safety
problem is for people never to drink alcohol and then
drive. But what if people do? How much is “too much” if
someone plans to drive? It is a lot less than many might
think. Although it depends on each person and situation,
here is some general information on the problem.
The Blood Alcohol Concentration (BAC) of someone
who is drinking depends upon four things:
The amount of alcohol consumed
The drinker’s body weight
The amount of food that is consumed before and
during drinking
The length of time it has taken the drinker to
consume the alcohol
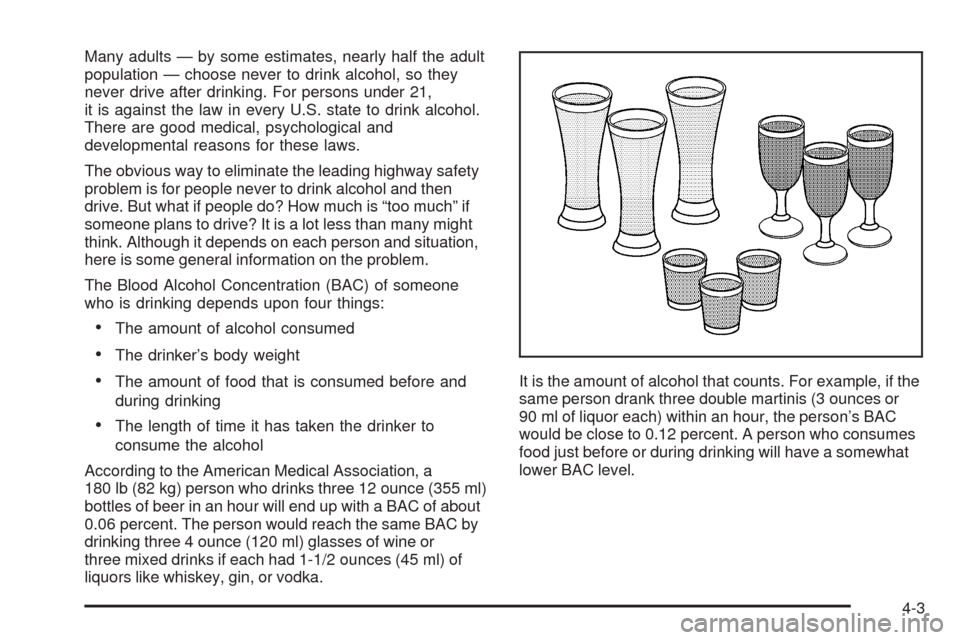
According to the American Medical Association, a
180 lb (82 kg) person who drinks three 12 ounce (355 ml)
bottles of beer in an hour will end up with a BAC of about
0.06 percent. The person would reach the same BAC by
drinking three 4 ounce (120 ml) glasses of wine or
three mixed drinks if each had 1-1/2 ounces (45 ml) of
liquors like whiskey, gin, or vodka.It is the amount of alcohol that counts. For example, if the
same person drank three double martinis (3 ounces or
90 ml of liquor each) within an hour, the person’s BAC
would be close to 0.12 percent. A person who consumes
food just before or during drinking will have a somewhat
lower BAC level.
4-3
Page 287 of 496
Driving Across an Incline
Sooner or later, an off-road trail will probably go across
the incline of a hill. If this happens, you have to
decide whether to try to drive across the incline. Here
are some things to consider:
A hill that can be driven straight up or down may be
too steep to drive across. When you go straight up or
down a hill, the length of the wheel base — the
distance from the front wheels to the rear
wheels — reduces the likelihood the vehicle will
tumble end over end. But when you drive across an
incline, the much more narrow track width — the
distance between the left and right wheels — may
not prevent the vehicle from tilting and rolling over.
Also, driving across an incline puts more weight on
the downhill wheels. This could cause a downhill
slide or a rollover.
Surface conditions can be a problem when you drive
across a hill. Loose gravel, muddy spots, or even wet
grass can cause your tires to slip sideways, downhill.
If the vehicle slips sideways, it can hit something that
will trip it — a rock, a rut, etc. — and roll over.
Hidden obstacles can make the steepness of the
incline even worse. If you drive across a rock with the
uphill wheels, or if the downhill wheels drop into a rut
or depression, your vehicle can tilt even more.
For reasons like these, you need to decide carefully
whether to try to drive across an incline. Just because the
trail goes across the incline does not mean you have to
drive it. The last vehicle to try it might have rolled over.
{CAUTION:
Driving across an incline that is too steep will
make your vehicle roll over. You could be
seriously injured or killed. If you have any
doubt about the steepness of the incline, do
not drive across it. Find another route instead.
4-27
Page 396 of 496
6. Press a new bulb into the socket and turn the
socket clockwise into the taillamp assembly
until it clicks.
7. Reinstall the taillamp assembly and tighten the
screws.
Replacement Bulbs
Exterior Lamp Bulb Number
Back-up Lamp 3157
Daytime Running Lamps (DRL) 4114K
Front Parking and Turn Signal
Lamp3157A or 3457NA
Headlamps
High-Beam *9011 or 9005
Low-Beam 9006
Stoplamp, Taillamp and Turn
Signal Lamp3157
Sidemarker Lamp 194
*Vehicles with Body-Side Cladding
For replacement bulbs not listed here, contact your
dealer.
Windshield Wiper Blade
Replacement
Windshield wiper blades should be inspected for wear
and cracking. SeeScheduled Maintenance on page 6-4
for more information.
Replacement blades come in different types and are
removed in different ways. For proper type and length,
seeNormal Maintenance Replacement Parts on
page 6-15.
To replace the windshield wiper blade assembly do the
following:
1. Lift the wiper arm and turn the blade until it is
facing away from the windshield.
5-58