display CHEVROLET AVALANCHE 2006 1.G User Guide
[x] Cancel search | Manufacturer: CHEVROLET, Model Year: 2006, Model line: AVALANCHE, Model: CHEVROLET AVALANCHE 2006 1.GPages: 532, PDF Size: 3.3 MB
Page 133 of 532
Outside Automatic Dimming Mirror
with Curb View Assist
Your vehicle may have this feature.
The driver’s outside mirror will adjust for the glare of the
headlamps behind you. SeeAutomatic Dimming
Rearview Mirror with OnStar
®, Compass and
Temperature Display on page 2-47.
Your vehicle’s mirrors will also be capable of performing
the curb view assist mirror function. This feature will
cause the passenger’s and/or driver’s mirror to tilt to a
preselected position when the vehicle is in
REVERSE (R). This feature may be useful in allowing
you to view the curb when you are parallel parking.
When the vehicle is shifted out of REVERSE (R) and a
short delay has occurred, the passenger’s and/or
driver’s mirror will return to its original position.
To change the preselected tilt position, adjust the
mirrors to the desired position while the vehicle is in
REVERSE (R). When the vehicle is shifted out of
REVERSE (R), this new position is saved in memory as
the tilt position.This feature can be enabled/disabled through the Driver
Information Center. SeeDIC Vehicle Customization
on page 3-64for more information.
OnStar®System
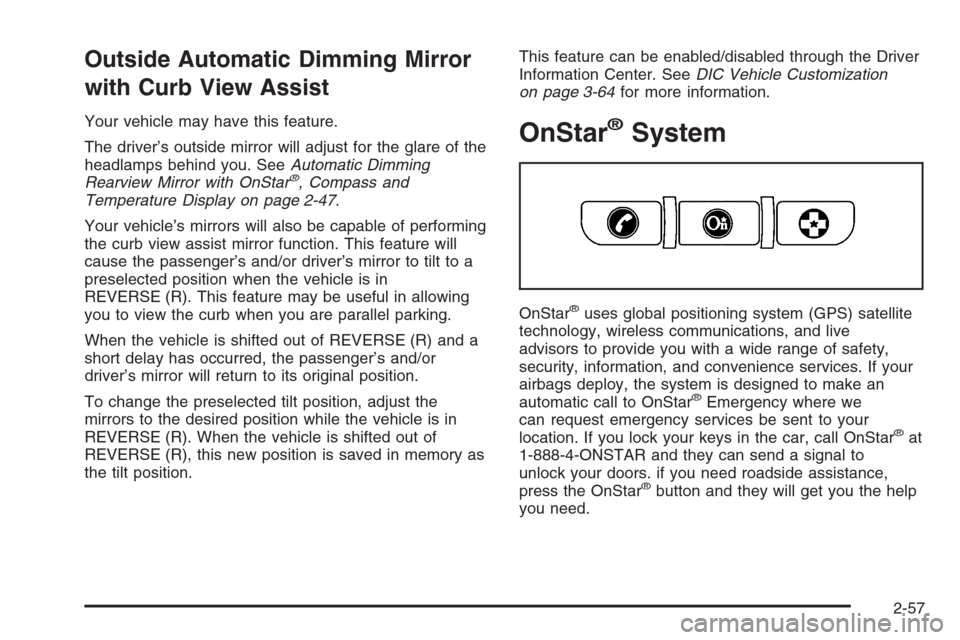
OnStar®uses global positioning system (GPS) satellite
technology, wireless communications, and live
advisors to provide you with a wide range of safety,
security, information, and convenience services. If your
airbags deploy, the system is designed to make an
automatic call to OnStar
®Emergency where we
can request emergency services be sent to your
location. If you lock your keys in the car, call OnStar
®at
1-888-4-ONSTAR and they can send a signal to
unlock your doors. if you need roadside assistance,
press the OnStar
®button and they will get you the help
you need.
2-57
Page 170 of 532
Brake System Warning Light..........................3-38
Anti-Lock Brake System Warning Light.............3-39
Low Tire Pressure Warning Light....................3-40
Traction Off Light..........................................3-40
Engine Coolant Temperature Gage..................3-41
Transmission Temperature Gage.....................3-41
Malfunction Indicator Lamp.............................3-43
Oil Pressure Gage........................................3-45
Security Light...............................................3-46
Cruise Control Light......................................3-47
Highbeam On Light.......................................3-47
Tow/Haul Mode Light....................................3-47
Cargo Lamp Light.........................................3-47
Fuel Gage...................................................3-48
Low Fuel Warning Light.................................3-48
Driver Information Center (DIC).......................3-49
DIC Operation and Displays...........................3-50
DIC Warnings and Messages.........................3-53
DIC Vehicle Customization.............................3-64Audio System(s).............................................3-70
Setting the Time...........................................3-71
Radio with CD..............................................3-72
Radio with Six-Disc CD.................................3-83
Navigation/Radio System...............................3-98
Rear Seat Entertainment System....................3-98
Rear Seat Audio (RSA)................................3-110
Theft-Deterrent Feature................................3-112
Audio Steering Wheel Controls......................3-112
Radio Reception.........................................3-113
Care of Your CDs and DVDs........................3-114
Care of the CD and DVD Player...................3-114
Fixed Mast Antenna....................................3-114
XM™ Satellite Radio Antenna System............3-115
Chime Level Adjustment...............................3-115
Section 3 Instrument Panel
3-2
Page 187 of 532
Exterior Cargo Lamps
You can use the cargo lamp if you need more light in
the cargo area of your vehicle or in the top-box storage
units. Some vehicles will only have a cargo lamp in
the passenger side top box.
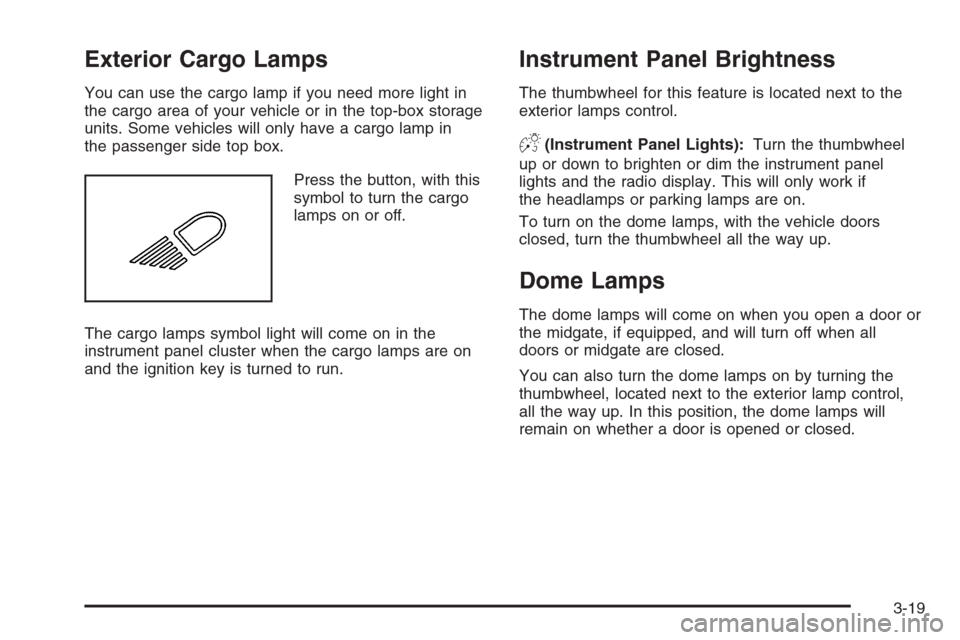
Press the button, with this
symbol to turn the cargo
lamps on or off.
The cargo lamps symbol light will come on in the
instrument panel cluster when the cargo lamps are on
and the ignition key is turned to run.
Instrument Panel Brightness
The thumbwheel for this feature is located next to the
exterior lamps control.
D(Instrument Panel Lights):Turn the thumbwheel
up or down to brighten or dim the instrument panel
lights and the radio display. This will only work if
the headlamps or parking lamps are on.
To turn on the dome lamps, with the vehicle doors
closed, turn the thumbwheel all the way up.
Dome Lamps
The dome lamps will come on when you open a door or
the midgate, if equipped, and will turn off when all
doors or midgate are closed.
You can also turn the dome lamps on by turning the
thumbwheel, located next to the exterior lamp control,
all the way up. In this position, the dome lamps will
remain on whether a door is opened or closed.
3-19
Page 193 of 532
Driver’s Side Temperature Knob
The driver’s side knob is used to adjust the temperature
of the air coming through the system on the driver’s
side. The temperature can be adjusted even if the
system is turned off. This is possible since outside air
will always �ow through the system as the vehicle
is moving forward unless it is set to recirculation mode.
See “Recirculation” later in this section.
Turn the knob counterclockwise or clockwise to lower or
increase the cabin temperature. The display will show
the temperature setting decreasing or increasing and an
arrow pointing to the driver will be displayed under
and to the left of the temperature setting.
Passenger’s Side Temperature Knob
The passenger’s side knob can be used to change the
temperature of the air coming through the system
on the passenger’s side of the vehicle. The temperature
can be adjusted even if the system is turned off. This
is possible since outside air will always �ow through the
system as the vehicle is moving forward unless it is
set to recirculation mode. See “Recirculation” later in this
section.
Turn the knob counterclockwise or clockwise to lower or
increase the cabin temperature. The display will show
the temperature setting decreasing or increasing and an
arrow pointing to the passenger will be displayed
under and to the right of the temperature setting.The passenger’s temperature setting can be set to
match the driver’s temperature setting by pressing and
holding the AUTO button for four seconds. Both the
driver and passenger arrows will be displayed.
Automatic Operation
AUTO (Automatic):When automatic operation is
active the system will control the inside temperature, the
air delivery, and the fan speed.
Use the steps below to place the entire system in
automatic mode:
1. Press the AUTO button.
When AUTO is selected, the display will change to
show the current driver’s set temperature, delivery
mode and fan speed. Press the AUTO button again
within �ve seconds to display the passenger’s set
temperature.
If the driver’s and passenger’s temperature settings
are the same when AUTO is pressed, the
temperature setting and both arrows will be
displayed for �ve seconds along with the automatic
air delivery mode and fan speed. After the
�ve-second update, the display will change to show
the temperature setting, both arrows and AUTO.
3-25
Page 194 of 532
If the driver’s and passenger’s temperature
settings are not the same, the opposite side
temperature setting will be displayed for an
additional �ve seconds. To make the passenger’s
temperature the same as the driver’s press and hold
the AUTO button for about four seconds.
When auto is selected, the air conditioning operation
and air inlet will be automatically controlled. The
air conditioning compressor will run when the
outside temperature is over about 40°F (4°C). The
air inlet will normally be set to outside air. If it’s
hot outside, the air inlet may automatically switch to
recirculate inside air to help quickly cool down
your vehicle. The light on the button will illuminate
in recirculation.
2. Set the driver’s and passenger’s temperature.
To �nd your comfort setting, start with a 74°F (23°C)
temperature setting and allow about 20 minutes
for the system to regulate. Turn the driver’s or
passenger’s side temperature knob to adjust the
temperature setting as necessary. If you choose the
temperature setting of 60°F (15°C) the system
will remain at the maximum cooling setting. If you
choose the temperature setting of 90°F (32°C)
the system will remain at the maximum heat setting.
Choosing either maximum setting will not cause
the vehicle to heat or cool any faster.Be careful not to cover the sensor located on the
top of the instrument panel near the windshield. This
sensor regulates air temperature based on sun
load, and also turns on your headlamps.
To avoid blowing cold air in cold weather, the
system will delay turning on the fan until warm air is
available. The length of delay depends on the
engine coolant temperature. Pressing the fan switch
will override this delay and change the fan to a
selected speed.
9(Off):Press this button to turn off the entire climate
control system. Outside air will still enter the vehicle,
and will be directed to the �oor. This direction can
be changed by pressing the mode button. The
temperature can also be adjusted using either
temperature knob. Press the up or down arrows on the
fan switch, the defrost button, the AUTO button, or
the air conditioning button to turn the system on when it
is off.
3-26
Page 195 of 532
Manual Operation
You may manually adjust the air delivery mode or
fan speed.
w9x(Fan):The switch with the fan symbol allows
you to manually adjust the fan speed. Press the up
arrow to increase fan speed and the down arrow
to decrease fan speed.
Pressing this button when the system is off will turn the
system on.
C(Mode):Press this button to manually change the
direction of the air�ow in your vehicle. Repeatedly press
the button until the desired mode appears on the
display.
If you press the mode button to select an air delivery
mode, the display will change to show you the selected
air mode delivery. The display will then show the
current status of the system. When the system is turned
off, the display will go blank after displaying the
current status of the system.
H(Panel):This setting will deliver air to the instrument
panel outlets.
)(Bi-Level):This setting will deliver warmer air to
the �oor and cooler air to the instrument panel outlets.
6(Floor):This setting will deliver air to the �oor
outlets.
-(Defog):See “Defogging and Defrosting” later in
this section.
@(Recirculation):Press this button to limit the
amount of outside air entering your vehicle. The light on
the recirculation button will glow. This is helpful when
you are trying to limit odors entering your vehicle and for
maximum air conditioning performance in hot weather.
Press this button again to allow outside air to enter
the vehicle. The light on the recirculation button will
go off.
Pressing this button also cancels the auto recirculation
feature. To resume the auto recirculation function,
press the AUTO button. Each time the vehicle is started,
the system will revert to the auto recirculation function.
If you select recirculation while in defrost, defog or
�oor, the light in the button will �ash and then go out to
let you know that this is not allowed. This is normal
and helps to prevent fogging.
When the weather is cool or damp, operating the
system in recirculation for extended periods of time may
cause fogging of the vehicle’s windows. To clear the
fog, select either defog or front defrost.
3-27
Page 196 of 532
You may also notice that the A/C compressor will run
while in recirculation mode. This is normal and helps to
prevent fogging.
#(Air Conditioning):Press this button to turn the air
conditioning (A/C) compressor on and off. The
snow�ake symbol will appear on the display when the
A/C is on and will turn off when the air conditioning is off.
Pressing this button when the outside temperature is
too cool for air conditioning to be effective will make the
snow�ake symbol �ash three times and then turn off
to let you know that the air conditioning mode is
not available. If the air conditioning is on and the outside
temperature drops below a temperature which is too
cool for air conditioning to be effective, the snow�ake
symbol will turn off to let you know that the air
conditioning mode has been canceled.
When air conditioning is selected or in AUTO mode, the
system will run the air conditioning automatically to
cool and dehumidify the air entering the vehicle. If you
select A/C off while in front defrost, defog or
recirculation, the A/C snow�ake symbol will turn off, but
the A/C compressor will still run to help prevent
fogging.On hot days, open the windows long enough to let hot
inside air escape. This reduces the time it takes for
your vehicle to cool down. Then keep your windows
closed for the air conditioner to work its best.
On cool, but sunny days while using manual operation
of the automatic system, use bi-level to deliver warm
air to the �oor and cooler air to the instrument
panel outlets. To warm or cool the air delivered, turn the
temperature knob to the desired setting.
In AUTO mode the system will cool and dehumidify the
air inside the vehicle. Also while in AUTO mode, the
system will maximize its performance by using
recirculation as necessary.
9(Off):Press this button to turn off the entire climate
control system. Outside air will still enter the vehicle,
and will be directed to the �oor. This direction can
be changed by pressing the mode button. The
temperature can also be adjusted using either
temperature knob. Press the up or down arrows on the
fan switch, the defrost button, the AUTO button, or
the air conditioning button to turn the system on when
it is off.
3-28
Page 201 of 532
Speedometer and Odometer
Your speedometer lets you see your speed in both
miles per hour (mph) and kilometers per hour (km/h).
Your vehicle’s odometer works together with the
driver information center. You can set a Trip A and
Trip B odometer. See “Trip Information” underDIC
Operation and Displays on page 3-50.
The odometer mileage can be checked without the
vehicle running. Simply press the trip stem on the
instrument panel cluster.
If your vehicle ever needs a new odometer installed, the
new one will be set to the correct mileage total of the
old odometer.
Trip Odometer
The trip odometer can tell you how far your vehicle has
been driven since you last set the trip odometer to zero.
Press the reset button, located on the instrument panel
cluster next to the trip odometer display, to toggle
between the trip odometer and the regular odometer.
Holding the reset button for approximately one second
while the trip odometer is displayed will reset it.
To display the odometer reading with the ignition off,
press the reset button.
Tachometer
Your tachometer displays the engine speed in
revolutions per minute (rpm).
Safety Belt Reminder Light
When the key is turned to RUN or START, a chime will be
provided for several seconds to remind people to buckle
their safety belts. The driver safety belt light will also be
provided and stay on for several seconds, then it will �ash
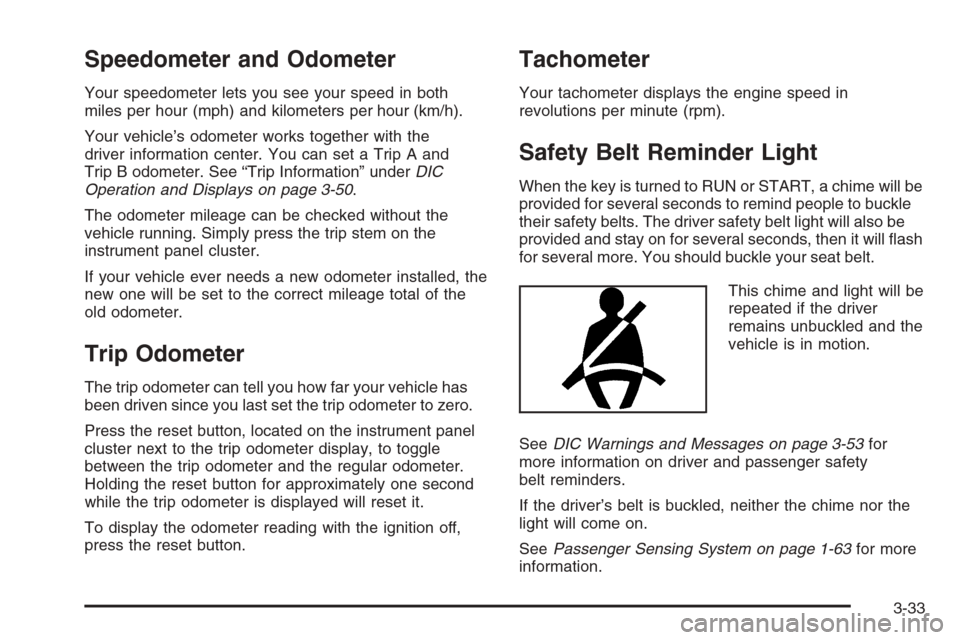
for several more. You should buckle your seat belt.
This chime and light will be
repeated if the driver
remains unbuckled and the
vehicle is in motion.
SeeDIC Warnings and Messages on page 3-53for
more information on driver and passenger safety
belt reminders.
If the driver’s belt is buckled, neither the chime nor the
light will come on.
SeePassenger Sensing System on page 1-63for more
information.
3-33
Page 205 of 532
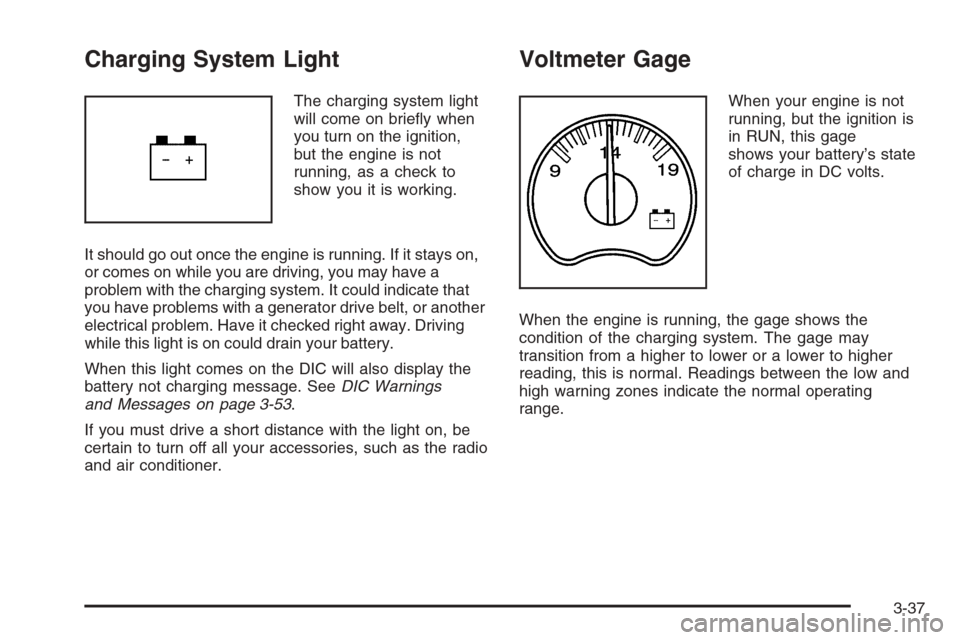
Charging System Light
The charging system light
will come on brie�y when
you turn on the ignition,
but the engine is not
running, as a check to
show you it is working.
It should go out once the engine is running. If it stays on,
or comes on while you are driving, you may have a
problem with the charging system. It could indicate that
you have problems with a generator drive belt, or another
electrical problem. Have it checked right away. Driving
while this light is on could drain your battery.
When this light comes on the DIC will also display the
battery not charging message. SeeDIC Warnings
and Messages on page 3-53.
If you must drive a short distance with the light on, be
certain to turn off all your accessories, such as the radio
and air conditioner.
Voltmeter Gage
When your engine is not
running, but the ignition is
in RUN, this gage
shows your battery’s state
of charge in DC volts.
When the engine is running, the gage shows the
condition of the charging system. The gage may
transition from a higher to lower or a lower to higher
reading, this is normal. Readings between the low and
high warning zones indicate the normal operating
range.
3-37
Page 209 of 532
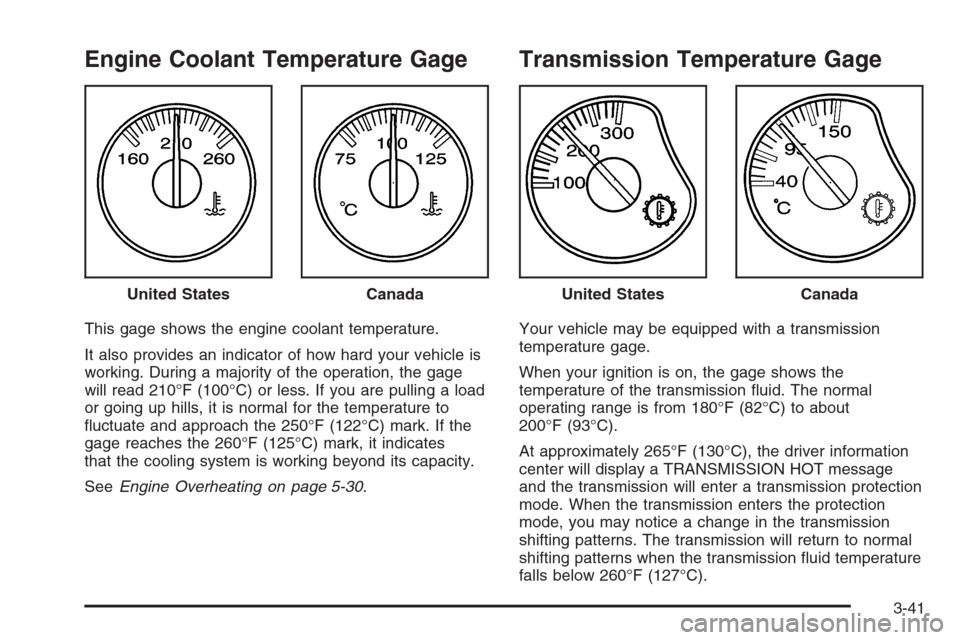
Engine Coolant Temperature Gage
This gage shows the engine coolant temperature.
It also provides an indicator of how hard your vehicle is
working. During a majority of the operation, the gage
will read 210°F (100°C) or less. If you are pulling a load
or going up hills, it is normal for the temperature to
�uctuate and approach the 250°F (122°C) mark. If the
gage reaches the 260°F (125°C) mark, it indicates
that the cooling system is working beyond its capacity.
SeeEngine Overheating on page 5-30.
Transmission Temperature Gage
Your vehicle may be equipped with a transmission
temperature gage.
When your ignition is on, the gage shows the
temperature of the transmission �uid. The normal
operating range is from 180°F (82°C) to about
200°F (93°C).
At approximately 265°F (130°C), the driver information
center will display a TRANSMISSION HOT message
and the transmission will enter a transmission protection
mode. When the transmission enters the protection
mode, you may notice a change in the transmission
shifting patterns. The transmission will return to normal
shifting patterns when the transmission �uid temperature
falls below 260°F (127°C). United States
CanadaUnited StatesCanada
3-41