charging CHEVROLET AVALANCHE 2009 2.G Owners Manual
[x] Cancel search | Manufacturer: CHEVROLET, Model Year: 2009, Model line: AVALANCHE, Model: CHEVROLET AVALANCHE 2009 2.GPages: 550, PDF Size: 3.06 MB
Page 5 of 550
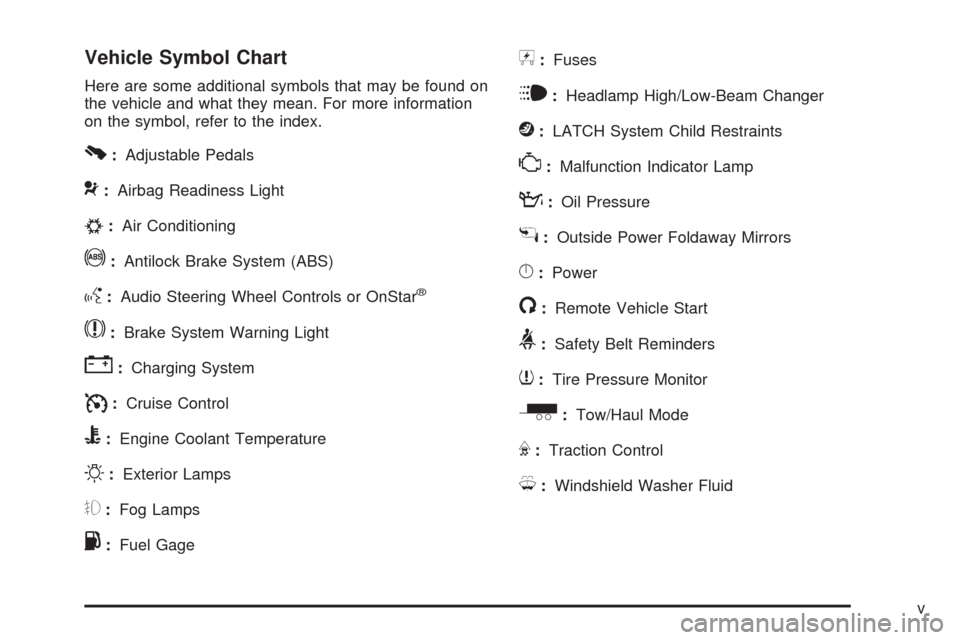
Vehicle Symbol Chart
Here are some additional symbols that may be found on
the vehicle and what they mean. For more information
on the symbol, refer to the index.
0:Adjustable Pedals
9:Airbag Readiness Light
#:Air Conditioning
!:Antilock Brake System (ABS)
g:Audio Steering Wheel Controls or OnStar®
$:Brake System Warning Light
":Charging System
I:Cruise Control
B:Engine Coolant Temperature
O:Exterior Lamps
#:Fog Lamps
.:Fuel Gage
+:Fuses
i:Headlamp High/Low-Beam Changer
j:LATCH System Child Restraints
*:Malfunction Indicator Lamp
::Oil Pressure
g:Outside Power Foldaway Mirrors
}:Power
/:Remote Vehicle Start
>:Safety Belt Reminders
7:Tire Pressure Monitor
_:Tow/Haul Mode
F:Traction Control
M:Windshield Washer Fluid
v
Page 138 of 550
Shifting Out of Park
This vehicle is equipped with an electronic shift lock
release system. The shift lock release is designed to:
Prevent ignition key removal unless the shift
lever is in P (Park) with the shift lever button fully
released, and
Prevent movement of the shift lever out of P (Park),
unless the ignition is in ON/RUN or
ACC/ACCESSORY and the regular brake pedal is
applied.
The shift lock release is always functional except
in the case of an uncharged or low voltage (less than
9 volt) battery.
If the vehicle has an uncharged battery or a battery with
low voltage, try charging or jump starting the battery.
SeeJump Starting on page 5-40for more information.
To shift out of P (Park) use the following:
1. Apply the brake pedal.
2. Move the shift lever to the desired position.If you still are unable to shift out of P (Park):
1. Ease the pressure on the shift lever.
2. While holding down the brake pedal, press the shift
lever all the way into P (Park).
3. Move the shift lever to the desired position.
If you are still having a problem shifting, then have the
vehicle serviced soon.
Parking Over Things That Burn
{CAUTION:
Things that can burn could touch hot exhaust
parts under the vehicle and ignite. Do not park
over papers, leaves, dry grass, or other things that
can burn.
2-52
Page 181 of 550
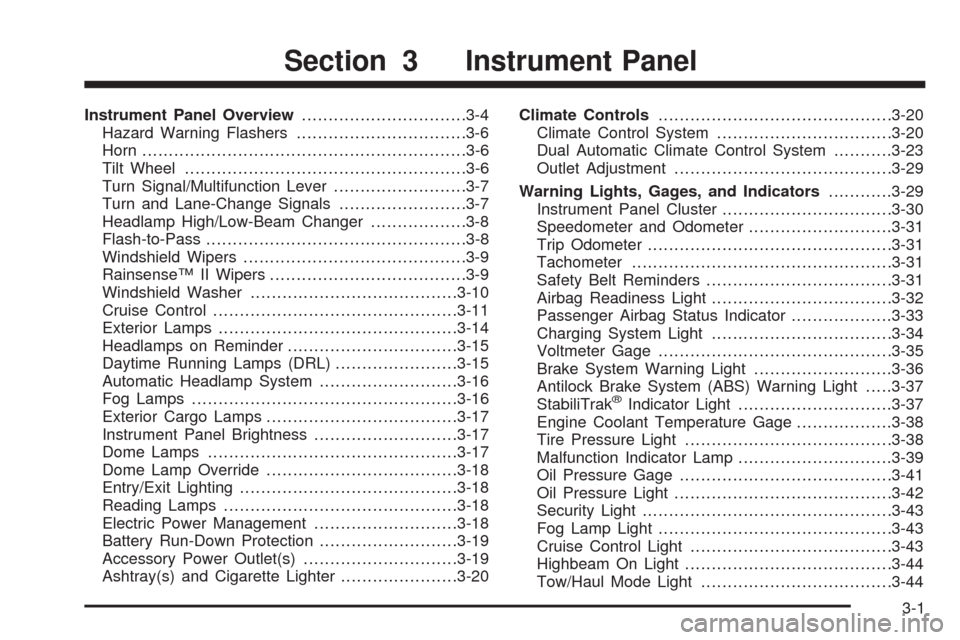
Instrument Panel Overview...............................3-4
Hazard Warning Flashers................................3-6
Horn .............................................................3-6
Tilt Wheel.....................................................3-6
Turn Signal/Multifunction Lever.........................3-7
Turn and Lane-Change Signals........................3-7
Headlamp High/Low-Beam Changer..................3-8
Flash-to-Pass.................................................3-8
Windshield Wipers..........................................3-9
Rainsense™ II Wipers.....................................3-9
Windshield Washer.......................................3-10
Cruise Control..............................................3-11
Exterior Lamps.............................................3-14
Headlamps on Reminder................................3-15
Daytime Running Lamps (DRL).......................3-15
Automatic Headlamp System..........................3-16
Fog Lamps ..................................................3-16
Exterior Cargo Lamps....................................3-17
Instrument Panel Brightness...........................3-17
Dome Lamps ...............................................3-17
Dome Lamp Override....................................3-18
Entry/Exit Lighting.........................................3-18
Reading Lamps............................................3-18
Electric Power Management...........................3-18
Battery Run-Down Protection..........................3-19
Accessory Power Outlet(s).............................3-19
Ashtray(s) and Cigarette Lighter......................3-20Climate Controls............................................3-20
Climate Control System.................................3-20
Dual Automatic Climate Control System...........3-23
Outlet Adjustment.........................................3-29
Warning Lights, Gages, and Indicators............3-29
Instrument Panel Cluster................................3-30
Speedometer and Odometer...........................3-31
Trip Odometer.............................................
.3-31
Tachometer.................................................3-31
Safety Belt Reminders...................................3-31
Airbag Readiness Light..................................3-32
Passenger Airbag Status Indicator...................3-33
Charging System Light..................................3-34
Voltmeter Gage............................................3-35
Brake System Warning Light..........................3-36
Antilock Brake System (ABS) Warning Light.....3-37
StabiliTrak
®Indicator Light.............................3-37
Engine Coolant Temperature Gage..................3-38
Tire Pressure Light.......................................3-38
Malfunction Indicator Lamp.............................3-39
Oil Pressure Gage........................................3-41
Oil Pressure Light.........................................3-42
Security Light...............................................3-43
Fog Lamp Light............................................3-43
Cruise Control Light......................................3-43
Highbeam On Light.......................................3-44
Tow/Haul Mode Light....................................3-44
Section 3 Instrument Panel
3-1
Page 198 of 550
Dome Lamp Override
The dome lamp override button is located next to the
exterior lamps control.
k(Dome Off):Press the button in and the dome
lamps remain off when a door is opened. Press the
button again to return it to the extended position so that
the dome lamps come on when a door is opened.
Entry/Exit Lighting
The vehicle has an illuminated entry/exit feature.
The dome lamps come on if the dome override button is
in the out position, when a door is opened or the key
is removed from the ignition.
Reading Lamps
If the vehicle has reading lamps, press the button
located next to the lamp to turn it on or off.
The vehicle may also have reading lamps in other
locations. The lamps cannot be adjusted.
Electric Power Management
The vehicle has Electric Power Management (EPM)
that estimates the battery’s temperature and state
of charge. It then adjusts the voltage for best
performance and extended life of the battery.
When the battery’s state of charge is low, the voltage is
raised slightly to quickly bring the charge back up.
When the state of charge is high, the voltage is lowered
slightly to prevent overcharging. If the vehicle has a
voltmeter gage or a voltage display on the Driver
Information Center (DIC), you may see the voltage move
up or down. This is normal. If there is a problem, an
alert will be displayed.
The battery can be discharged at idle if the electrical
loads are very high. This is true for all vehicles. This is
because the generator (alternator) may not be spinning
fast enough at idle to produce all the power that is
needed for very high electrical loads.
A high electrical load occurs when several of the
following are on, such as: headlamps, high beams, fog
lamps, rear window defogger, climate control fan at
high speed, heated seats, engine cooling fans, trailer
loads, and loads plugged into accessory power outlets.
3-18
Page 214 of 550
If the word OFF or the off symbol is lit on the airbag
status indicator, it means that the passenger sensing
system has turned off the right front passenger
frontal airbag.
If, after several seconds, both status indicator lights
remain on, or if there are no lights at all, there may be a
problem with the lights or the passenger sensing
system. See your dealer/retailer for service.
{CAUTION:
If the airbag readiness light ever comes on and
stays on, it means that something may be wrong
with the airbag system. To help avoid injury to
yourself or others, have the vehicle serviced right
away. SeeAirbag Readiness Light on page 3-32
for more information, including important safety
information.
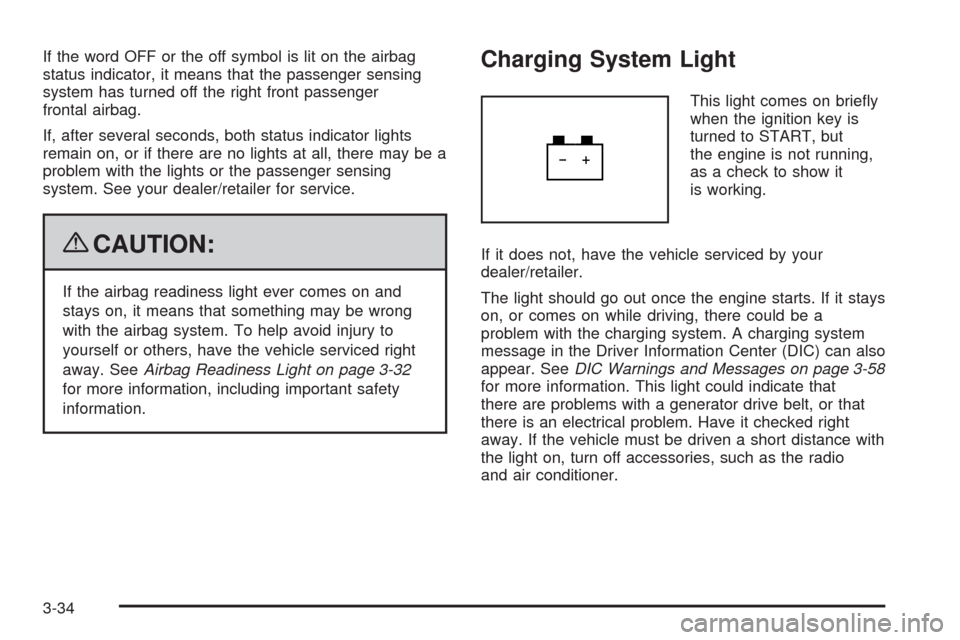
Charging System Light
This light comes on brie�y
when the ignition key is
turned to START, but
the engine is not running,
as a check to show it
is working.
If it does not, have the vehicle serviced by your
dealer/retailer.
The light should go out once the engine starts. If it stays
on, or comes on while driving, there could be a
problem with the charging system. A charging system
message in the Driver Information Center (DIC) can also
appear. SeeDIC Warnings and Messages on page 3-58
for more information. This light could indicate that
there are problems with a generator drive belt, or that
there is an electrical problem. Have it checked right
away. If the vehicle must be driven a short distance with
the light on, turn off accessories, such as the radio
and air conditioner.
3-34
Page 215 of 550
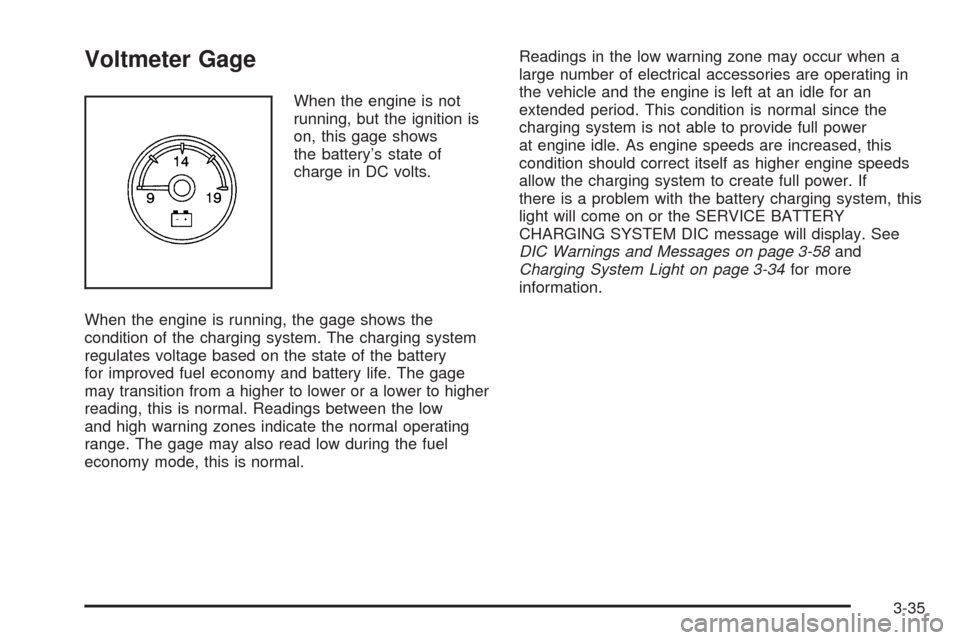
Voltmeter Gage
When the engine is not
running, but the ignition is
on, this gage shows
the battery’s state of
charge in DC volts.
When the engine is running, the gage shows the
condition of the charging system. The charging system
regulates voltage based on the state of the battery
for improved fuel economy and battery life. The gage
may transition from a higher to lower or a lower to higher
reading, this is normal. Readings between the low
and high warning zones indicate the normal operating
range. The gage may also read low during the fuel
economy mode, this is normal.Readings in the low warning zone may occur when a
large number of electrical accessories are operating in
the vehicle and the engine is left at an idle for an
extended period. This condition is normal since the
charging system is not able to provide full power
at engine idle. As engine speeds are increased, this
condition should correct itself as higher engine speeds
allow the charging system to create full power. If
there is a problem with the battery charging system, this
light will come on or the SERVICE BATTERY
CHARGING SYSTEM DIC message will display. See
DIC Warnings and Messages on page 3-58and
Charging System Light on page 3-34for more
information.
3-35
Page 243 of 550
SERVICE AIR BAG
This message displays if there is a problem with the
airbag system. Have your dealer/retailer inspect
the system for problems. SeeAirbag Readiness Light
on page 3-32andAirbag System on page 1-62for more
information.
SERVICE BATTERY CHARGING
SYSTEM
On some vehicles, this message displays if there is a
problem with the battery charging system. Under certain
conditions, the charging system light may also turn
on in the instrument panel cluster. SeeCharging System
Light on page 3-34. Driving with this problem could
drain the battery. Turn off all unnecessary accessories.
Have the electrical system checked as soon as
possible. See your dealer/retailer.
SERVICE BRAKE SYSTEM
This message displays along with the brake system
warning light if there is a problem with the brake system.
SeeBrake System Warning Light on page 3-36. If this
message appears, stop as soon as possible and turn off
the vehicle. Restart the vehicle and check for the
message on the DIC display. If the message is still
displayed or appears again when you begin driving, the
brake system needs service as soon as possible.
See your dealer/retailer.
SERVICE BRAKES SOON
This message displays if there is a problem with the
brake system. If this message appears, stop as soon as
possible and turn off the vehicle. Restart the vehicle
and check for the message on the DIC display. If
the message is still displayed or appears again when
you begin driving, the brake system needs service. See
your dealer/retailer.
SERVICE PARK ASSIST
If your vehicle has the Ultrasonic Rear Parking Assist
(URPA) system, this message displays if there is a
problem with the URPA system. Do not use this system
to help you park. SeeUltrasonic Rear Parking Assist
(URPA) on page 2-58for more information. See
your dealer/retailer for service.
SERVICE STABILITRAK
If your vehicle has StabiliTrak®and this message
displays, it means there may be a problem with the
StabiliTrak system. If you see this message, try to reset
the system. Stop; turn off the engine for at least
15 seconds; then start the engine again. If this message
still comes on, it means there is a problem. You
should see your dealer/retailer for service. The vehicle
is safe to drive, however, you do not have the bene�t
of StabiliTrak, so reduce your speed and drive
accordingly.
3-63
Page 312 of 550

Cellular Phone Usage
Cellular phone usage may cause interference with the
vehicle’s radio. This interference may occur when
making or receiving phone calls, charging the phone’s
battery, or simply having the phone on. This interference
causes an increased level of static while listening to
the radio. If static is received while listening to the radio,
unplug the cellular phone and turn it off.
Fixed Mast Antenna
The �xed mast antenna can withstand most car washes
without being damaged as long as it is securely
attached to the base. If the mast becomes slightly bent,
straighten it out by hand. If the mast is badly bent,
replace it.
Occasionally check to make sure the antenna is
tightened to its base. If tightening is required, tighten by
hand. until fully seated plus one quarter turn.
XM™ Satellite Radio Antenna
System
The XM Satellite Radio antenna is located on the roof of
the vehicle. Keep the antenna clear of obstructions for
clear radio reception.
If the vehicle has a sunroof, the performance of the
XM system may be affected if the sunroof is open.
3-132
Page 378 of 550
Trailer Wiring Harness
Heavy-Duty Trailer Wiring Harness
Package
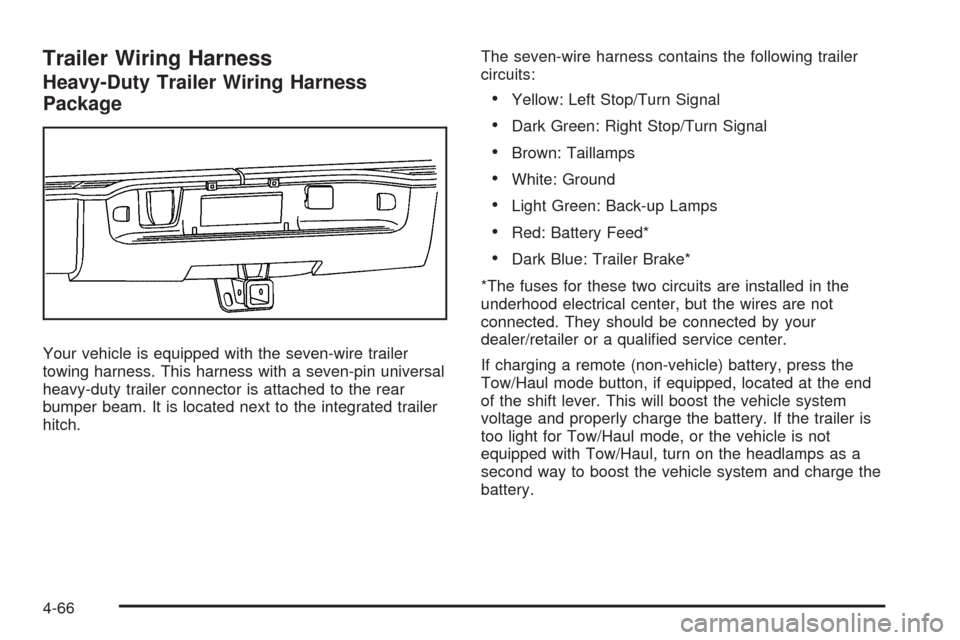
Your vehicle is equipped with the seven-wire trailer
towing harness. This harness with a seven-pin universal
heavy-duty trailer connector is attached to the rear
bumper beam. It is located next to the integrated trailer
hitch.The seven-wire harness contains the following trailer
circuits:
Yellow: Left Stop/Turn Signal
Dark Green: Right Stop/Turn Signal
Brown: Taillamps
White: Ground
Light Green: Back-up Lamps
Red: Battery Feed*
Dark Blue: Trailer Brake*
*The fuses for these two circuits are installed in the
underhood electrical center, but the wires are not
connected. They should be connected by your
dealer/retailer or a quali�ed service center.
If charging a remote (non-vehicle) battery, press the
Tow/Haul mode button, if equipped, located at the end
of the shift lever. This will boost the vehicle system
voltage and properly charge the battery. If the trailer is
too light for Tow/Haul mode, or the vehicle is not
equipped with Tow/Haul, turn on the headlamps as a
second way to boost the vehicle system and charge the
battery.
4-66
Page 539 of 550
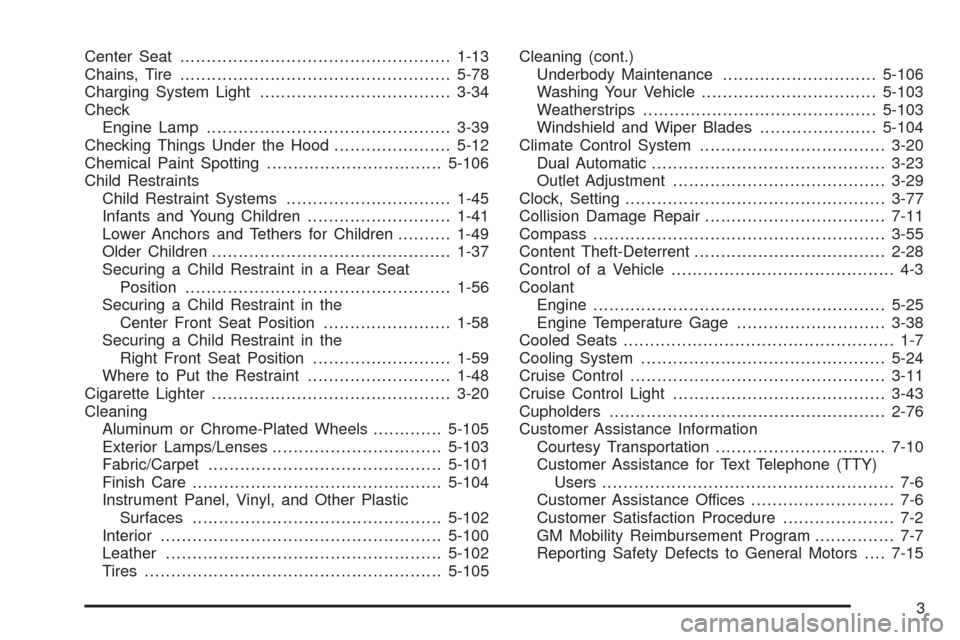
Center Seat...................................................1-13
Chains, Tire...................................................5-78
Charging System Light....................................3-34
Check
Engine Lamp..............................................3-39
Checking Things Under the Hood......................5-12
Chemical Paint Spotting.................................5-106
Child Restraints
Child Restraint Systems...............................1-45
Infants and Young Children...........................1-41
Lower Anchors and Tethers for Children..........1-49
Older Children.............................................1-37
Securing a Child Restraint in a Rear Seat
Position..................................................1-56
Securing a Child Restraint in the
Center Front Seat Position........................1-58
Securing a Child Restraint in the
Right Front Seat Position..........................1-59
Where to Put the Restraint...........................1-48
Cigarette Lighter.............................................3-20
Cleaning
Aluminum or Chrome-Plated Wheels.............5-105
Exterior Lamps/Lenses................................5-103
Fabric/Carpet............................................5-101
Finish Care...............................................5-104
Instrument Panel, Vinyl, and Other Plastic
Surfaces...............................................5-102
Interior.....................................................5-100
Leather....................................................5-102
Tires........................................................5-105Cleaning (cont.)
Underbody Maintenance.............................5-106
Washing Your Vehicle.................................5-103
Weatherstrips............................................5-103
Windshield and Wiper Blades......................5-104
Climate Control System...................................3-20
Dual Automatic............................................3-23
Outlet Adjustment........................................3-29
Clock, Setting.................................................3-77
Collision Damage Repair..................................7-11
Compass.......................................................3-55
Content Theft-Deterrent....................................2-28
Control of a Vehicle.......................................... 4-3
Coolant
Engine.......................................................5-25
Engine Temperature Gage............................3-38
Cooled Seats................................................... 1-7
Cooling System..............................................5-24
Cruise Control................................................3-11
Cruise Control Light........................................3-43
Cupholders....................................................2-76
Customer Assistance Information
Courtesy Transportation................................7-10
Customer Assistance for Text Telephone (TTY)
Users....................................................... 7-6
Customer Assistance Offices........................... 7-6
Customer Satisfaction Procedure..................... 7-2
GM Mobility Reimbursement Program............... 7-7
Reporting Safety Defects to General Motors....7-15
3