AUX CHEVROLET AVEO 2002 Service Repair Manual
[x] Cancel search | Manufacturer: CHEVROLET, Model Year: 2002, Model line: AVEO, Model: CHEVROLET AVEO 2002Pages: 5127, PDF Size: 41.82 MB
Page 1558 of 5127
The switches have three positions.
ON:The light comes on and stays on regardless of
whether a door is open or closed.
O(Door):The light comes on when a door is opened.
The light turns off when all the doors are shut.
OFF:The light remains off even when a door is opened.
Accessory Power Outlets
With the accessory power outlet, you can plug in
auxiliary electrical equipment such as a cellular
telephone or CB radio.
The accessory power outlet is located next to the
parking brake on the center console.
To use the outlet, remove the protective cap. When not
in use, always cover the outlet with the protective
cap. The accessory power outlet is operational when
the ignition is turned to ACC or ON.
Notice:Leaving electrical equipment on for
extended periods will drain the battery. Always turn
off electrical equipment when not in use and do
not plug in equipment that exceeds the maximum
amperage rating.Certain electrical accessories may not be compatible
with the accessory power outlet and could result
in blown vehicle or adapter fuses. If you experience a
problem, see your dealer for additional information
on accessory power outlets.
Notice:Adding any electrical equipment to your
vehicle may damage it or keep other components
from working as they should. The repairs would not
be covered by your warranty. Check with your
dealer before adding electrical equipment.
When adding electrical equipment, be sure to follow
the proper installation instructions included with
the equipment.
Notice:Improper use of the power outlet can cause
damage not covered by your warranty. Do not
hang any type of accessory or accessory bracket
from the plug because the power outlets are
designed for accessory power plugs only.
3-11
Page 1907 of 5127
Dome Lamp
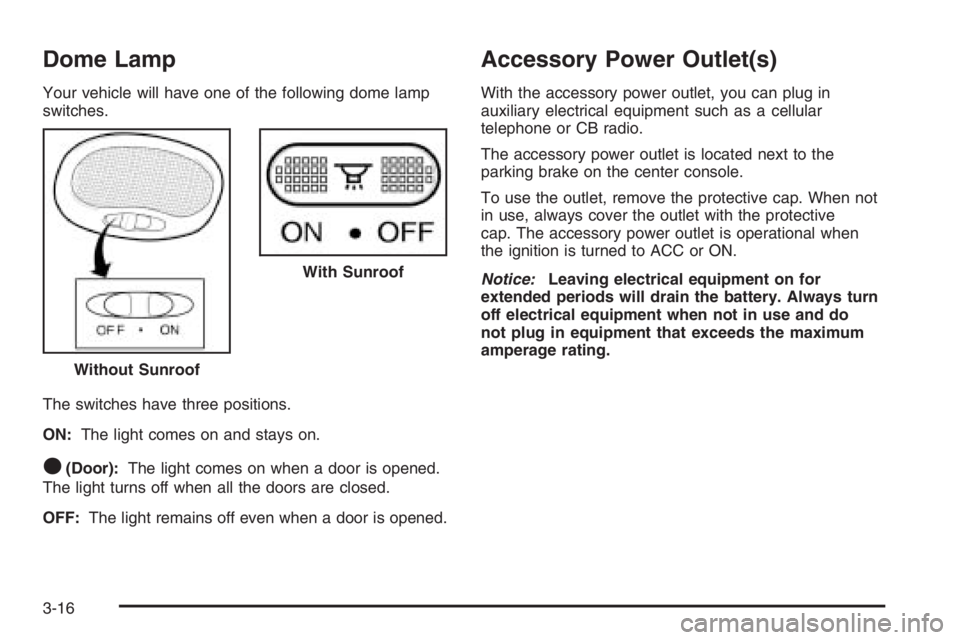
Your vehicle will have one of the following dome lamp
switches.
The switches have three positions.
ON:The light comes on and stays on.
O(Door):The light comes on when a door is opened.
The light turns off when all the doors are closed.
OFF:The light remains off even when a door is opened.
Accessory Power Outlet(s)
With the accessory power outlet, you can plug in
auxiliary electrical equipment such as a cellular
telephone or CB radio.
The accessory power outlet is located next to the
parking brake on the center console.
To use the outlet, remove the protective cap. When not
in use, always cover the outlet with the protective
cap. The accessory power outlet is operational when
the ignition is turned to ACC or ON.
Notice:Leaving electrical equipment on for
extended periods will drain the battery. Always turn
off electrical equipment when not in use and do
not plug in equipment that exceeds the maximum
amperage rating.
Without Sunroof
With Sunroof
3-16
Page 1947 of 5127
Do not add any label to a CD, it could get caught in the
CD player. If a CD is recorded on a personal computer
and a description label is needed, try labeling the top of
the recorded CD with a marking pen instead.
Notice:If you add any label to a CD, insert more
than one CD into the slot at a time, or attempt
to play scratched or damaged CDs, you could
damage the CD player. When using the CD player,
use only CDs in good condition without any
label, load one CD at a time, and keep the CD player
and the loading slot free of foreign materials,
liquids, and debris.
If an error appears on the display, see “CD Messages”
later in this section.
2 RPT (Repeat):Press this button to repeat the current
track. RPT will appear on the display. Press this
button again to turn off repeat play.
3 RDM (Random):Press this button to hear the tracks
in random, rather than sequential, order. RDM will
appear on the display. Press this button again to turn off
random play.
4 INT (Scan):Press this button to listen to the first few
seconds of each track on each loaded CD. INTRO
will appear on the display. To stop scanning press this
button again. The current track will begin to play.()TUNE (Previous/Next Track):Press the down
arrows to go to the start of the current track or press
the up arrows to go to the next track. The track number
will appear on the display. The player will continue
moving backward or forward through the CD with each
press of the up or down arrows.
AM:Press this button to listen to the radio when a CD
is playing. The inactive CD will remain safely inside
the radio for future listening.
FM:Press this button to listen to the radio when a CD
is playing. The inactive CD will remain safely inside
the radio for future listening.
CD/AUX:Press this button to play a CD when listening
to the radio. CDP will appear on the display when
the CD player has been selected. The CD symbol will
appear on the display when a CD is loaded.
Press this button while a CD is playing to pause the
CD. PAUSE will flash on the display. Press this button
again to start playing the CD.
EJECT:Press this button to eject a CD. The only way
a CD can be ejected from the player is by pressing
the eject button. The CD can eject when the ignition or
the radio is turned off.
3-56
Page 1951 of 5127
()TUNE (Previous/Next Track):Press the down
arrows to go to the start of the current track or press
the up arrows to go to the next track. The track number
will appear on the display. The player will continue
moving backward or forward through the CD with each
press of the up or down arrows.
INFO/DISP (Information/Display):Press this button to
display additional text information related to the
current MP3/WMA song. A choice of additional
information such as: Song Title, Album Title, and Artist.
Bit rate may also appear on display.
When information is not available, No Info will appear
on the display.
Press this button for longer than two seconds to change
display mode.
CD Messages
CHECK CD:If this message appears on the display
and/or the CD comes out, it could be for one of the
following reasons:
•It is very hot. When the temperature returns to
normal, the CD should play.
•You are driving on a very rough road. When the
road becomes smoother, the CD should play.
•The CD is dirty, scratched, wet, or upside down.
•The air is very humid. If so, wait about an hour and
try again.
•The format of the CD may not be compatible. See
“MP3 Format” earlier in this section.
•There may have been a problem while burning
the CD.
•The label may be caught in the CD player.
If the CD is not playing correctly, for any other reason,
try a known good CD.
If any error occurs repeatedly or if an error cannot be
corrected, contact your dealer. If the radio displays
an error message, write it down and provide it to your
dealer when reporting the problem.
Using the Auxiliary Input Jack
Your radio system has an auxiliary input jack located on
the lower right side of the faceplate. This is not an
audio output; do not plug the headphone set into the
front auxiliary input jack. You can however, connect an
external audio device such as an iPod, laptop
computer, MP3 player, CD changer, or cassette tape
player, etc. to the auxiliary input jack for use as another
source for audio listening.
3-60
Page 1952 of 5127
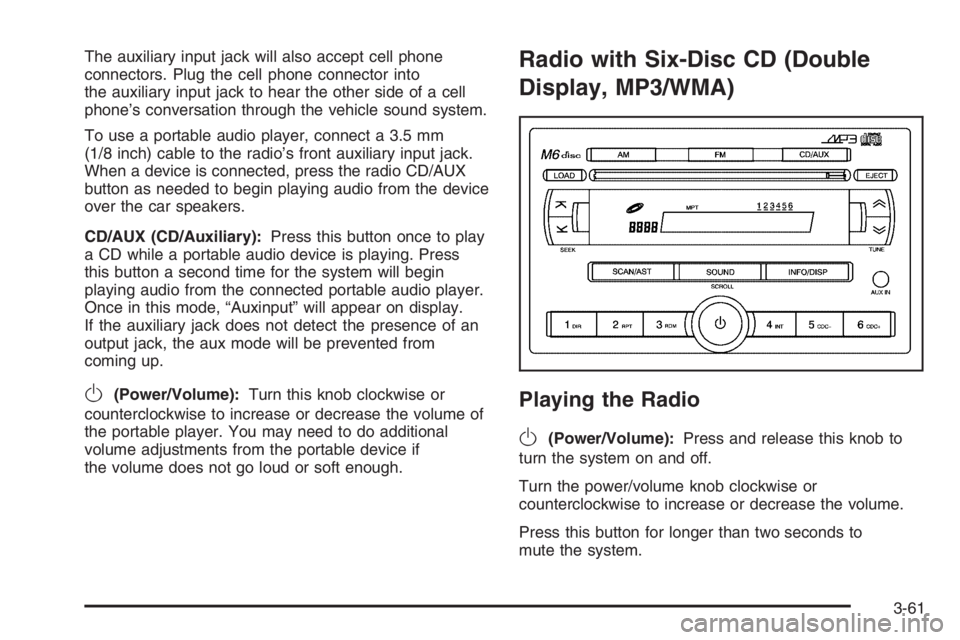
The auxiliary input jack will also accept cell phone
connectors. Plug the cell phone connector into
the auxiliary input jack to hear the other side of a cell
phone’s conversation through the vehicle sound system.
To use a portable audio player, connect a 3.5 mm
(1/8 inch) cable to the radio’s front auxiliary input jack.
When a device is connected, press the radio CD/AUX
button as needed to begin playing audio from the device
over the car speakers.
CD/AUX (CD/Auxiliary):Press this button once to play
a CD while a portable audio device is playing. Press
this button a second time for the system will begin
playing audio from the connected portable audio player.
Once in this mode, “Auxinput” will appear on display.
If the auxiliary jack does not detect the presence of an
output jack, the aux mode will be prevented from
coming up.
O(Power/Volume):Turn this knob clockwise or
counterclockwise to increase or decrease the volume of
the portable player. You may need to do additional
volume adjustments from the portable device if
the volume does not go loud or soft enough.
Radio with Six-Disc CD (Double
Display, MP3/WMA)
Playing the Radio
O
(Power/Volume):Press and release this knob to
turn the system on and off.
Turn the power/volume knob clockwise or
counterclockwise to increase or decrease the volume.
Press this button for longer than two seconds to
mute the system.
3-61
Page 1957 of 5127
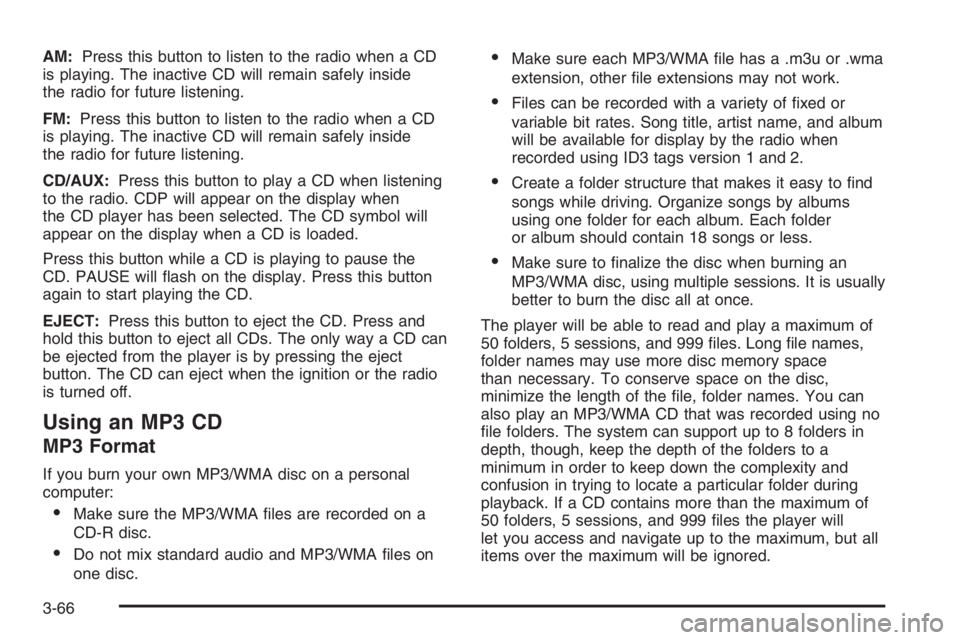
AM:Press this button to listen to the radio when a CD
is playing. The inactive CD will remain safely inside
the radio for future listening.
FM:Press this button to listen to the radio when a CD
is playing. The inactive CD will remain safely inside
the radio for future listening.
CD/AUX:Press this button to play a CD when listening
to the radio. CDP will appear on the display when
the CD player has been selected. The CD symbol will
appear on the display when a CD is loaded.
Press this button while a CD is playing to pause the
CD. PAUSE will flash on the display. Press this button
again to start playing the CD.
EJECT:Press this button to eject the CD. Press and
hold this button to eject all CDs. The only way a CD can
be ejected from the player is by pressing the eject
button. The CD can eject when the ignition or the radio
is turned off.
Using an MP3 CD
MP3 Format
If you burn your own MP3/WMA disc on a personal
computer:
•Make sure the MP3/WMA files are recorded on a
CD-R disc.
•Do not mix standard audio and MP3/WMA files on
one disc.
•Make sure each MP3/WMA file has a .m3u or .wma
extension, other file extensions may not work.
•Files can be recorded with a variety of fixed or
variable bit rates. Song title, artist name, and album
will be available for display by the radio when
recorded using ID3 tags version 1 and 2.
•Create a folder structure that makes it easy to find
songs while driving. Organize songs by albums
using one folder for each album. Each folder
or album should contain 18 songs or less.
•Make sure to finalize the disc when burning an
MP3/WMA disc, using multiple sessions. It is usually
better to burn the disc all at once.
The player will be able to read and play a maximum of
50 folders, 5 sessions, and 999 files. Long file names,
folder names may use more disc memory space
than necessary. To conserve space on the disc,
minimize the length of the file, folder names. You can
also play an MP3/WMA CD that was recorded using no
file folders. The system can support up to 8 folders in
depth, though, keep the depth of the folders to a
minimum in order to keep down the complexity and
confusion in trying to locate a particular folder during
playback. If a CD contains more than the maximum of
50 folders, 5 sessions, and 999 files the player will
let you access and navigate up to the maximum, but all
items over the maximum will be ignored.
3-66
Page 1961 of 5127
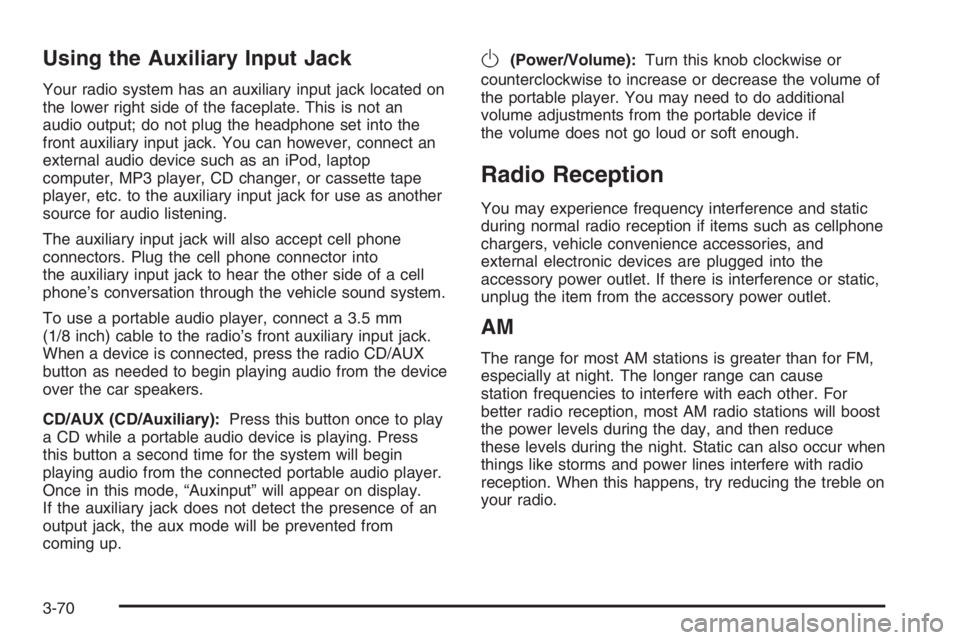
Using the Auxiliary Input Jack
Your radio system has an auxiliary input jack located on
the lower right side of the faceplate. This is not an
audio output; do not plug the headphone set into the
front auxiliary input jack. You can however, connect an
external audio device such as an iPod, laptop
computer, MP3 player, CD changer, or cassette tape
player, etc. to the auxiliary input jack for use as another
source for audio listening.
The auxiliary input jack will also accept cell phone
connectors. Plug the cell phone connector into
the auxiliary input jack to hear the other side of a cell
phone’s conversation through the vehicle sound system.
To use a portable audio player, connect a 3.5 mm
(1/8 inch) cable to the radio’s front auxiliary input jack.
When a device is connected, press the radio CD/AUX
button as needed to begin playing audio from the device
over the car speakers.
CD/AUX (CD/Auxiliary):Press this button once to play
a CD while a portable audio device is playing. Press
this button a second time for the system will begin
playing audio from the connected portable audio player.
Once in this mode, “Auxinput” will appear on display.
If the auxiliary jack does not detect the presence of an
output jack, the aux mode will be prevented from
coming up.
O(Power/Volume):Turn this knob clockwise or
counterclockwise to increase or decrease the volume of
the portable player. You may need to do additional
volume adjustments from the portable device if
the volume does not go loud or soft enough.
Radio Reception
You may experience frequency interference and static
during normal radio reception if items such as cellphone
chargers, vehicle convenience accessories, and
external electronic devices are plugged into the
accessory power outlet. If there is interference or static,
unplug the item from the accessory power outlet.
AM
The range for most AM stations is greater than for FM,
especially at night. The longer range can cause
station frequencies to interfere with each other. For
better radio reception, most AM radio stations will boost
the power levels during the day, and then reduce
these levels during the night. Static can also occur when
things like storms and power lines interfere with radio
reception. When this happens, try reducing the treble on
your radio.
3-70