ABS CHEVROLET BLAZER 1994 2.G Owners Manual
[x] Cancel search | Manufacturer: CHEVROLET, Model Year: 1994, Model line: BLAZER, Model: CHEVROLET BLAZER 1994 2.GPages: 348, PDF Size: 17.88 MB
Page 111 of 348
Downloaded from www.Manualslib.com manuals search engine NOTICE:
When using the accessory power outlet, maximum electrical load
should not exceed
8 amps. Always turn off any electrical
equipment when not in use. Leaving electrical equipment on for \
extended periods can drain your battery.
Cigarette Lighter/Ashtrays
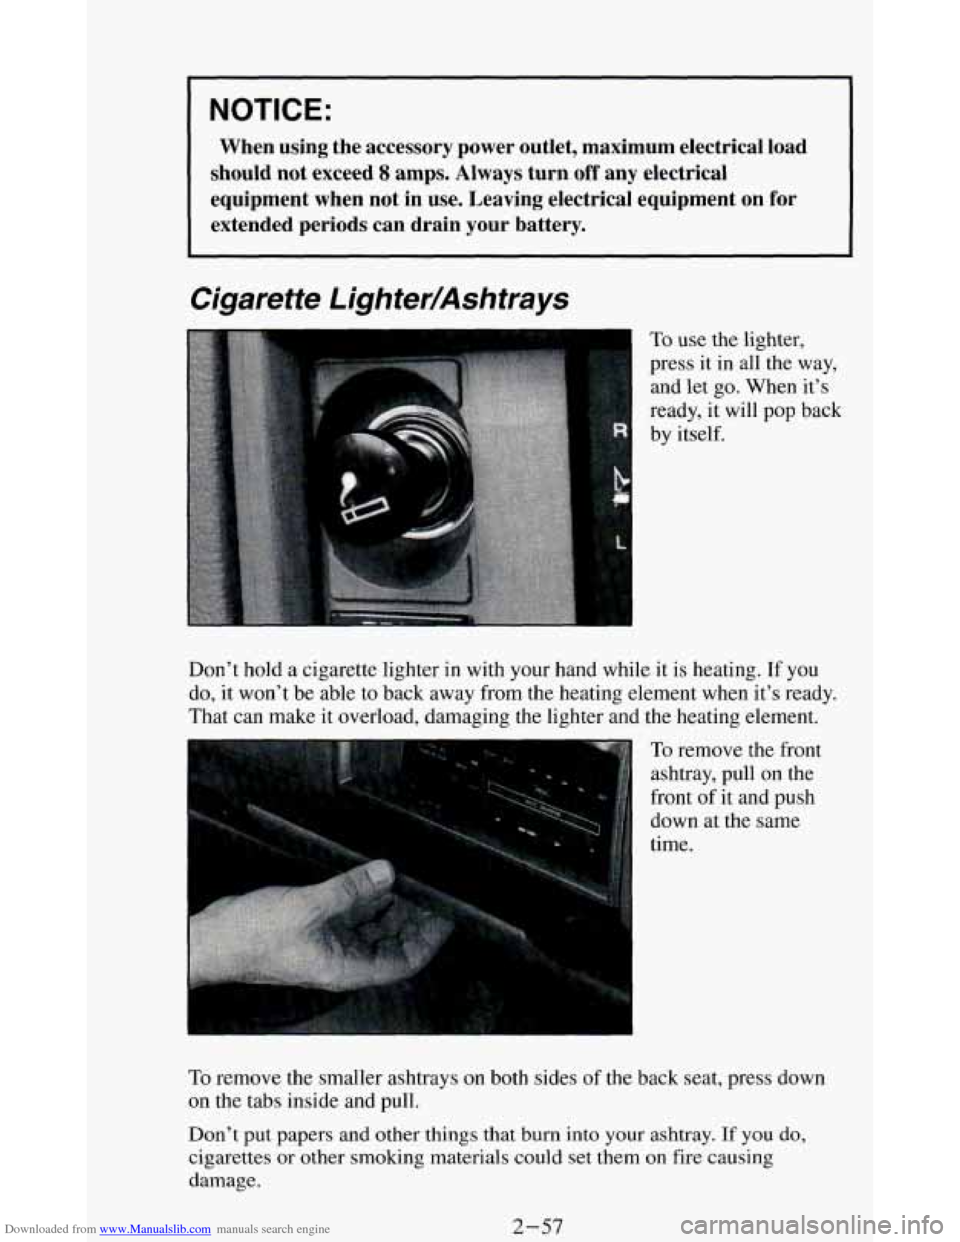
To use the lighter,
press it in all the way,
and let go. When it’s
ready, it will
pop back
by itself.
Don’t hold
a cigarette lighter in with your hand while it is heating. If you
do, it won’t be able to back away from the heating element when it’s ready.
That can make it overload, damaging the lighter and the heating element.
r
To remove the front
ashtray, pull on the
front of it and push
down at the same
time.
To remove the smaller ashtrays on both sides of the back seat, press down
on the tabs inside and pull.
Don’t put papers and other things that
burn into your ashtray. If you do,
cigarettes or other smoking materials could set them on fire causing
damage.
2-57
Page 164 of 348
Downloaded from www.Manualslib.com manuals search engine Avoid needless heavy braking. Some people drive in spurts - heavy
acceleration followed by heavy braking
- rather than keeping pace with
traffic. This is a mistake. Your brakes may not have time to cool between
hard
stops. Your brakes will wear out much faster if you do a lot of heavy
braking. If
you keep pace with the traffic and allow realistic following
distances, you will eliminate a
lot of unnecessary braking. That means better
braking and longer brake life.
If your engine ever stops while you’re driving, brake normally but don’t
pump your brakes. If
you do, the pedal may get harder to push down. If
your engine stops, you will still have some power brake assist. But you will
use it when you brake. Once the power assist is used up, it may take longer
to stop and the brake pedal will be harder to push.
Anti-Lock Brakes (ABS)
Your vehicle has an advanced electronic braking system that can help you
keep it under control. When you start your vehicle and begin to drive away,
you may hear
a momentary motor or clicking noise. This is the ABS system
testing
itself.
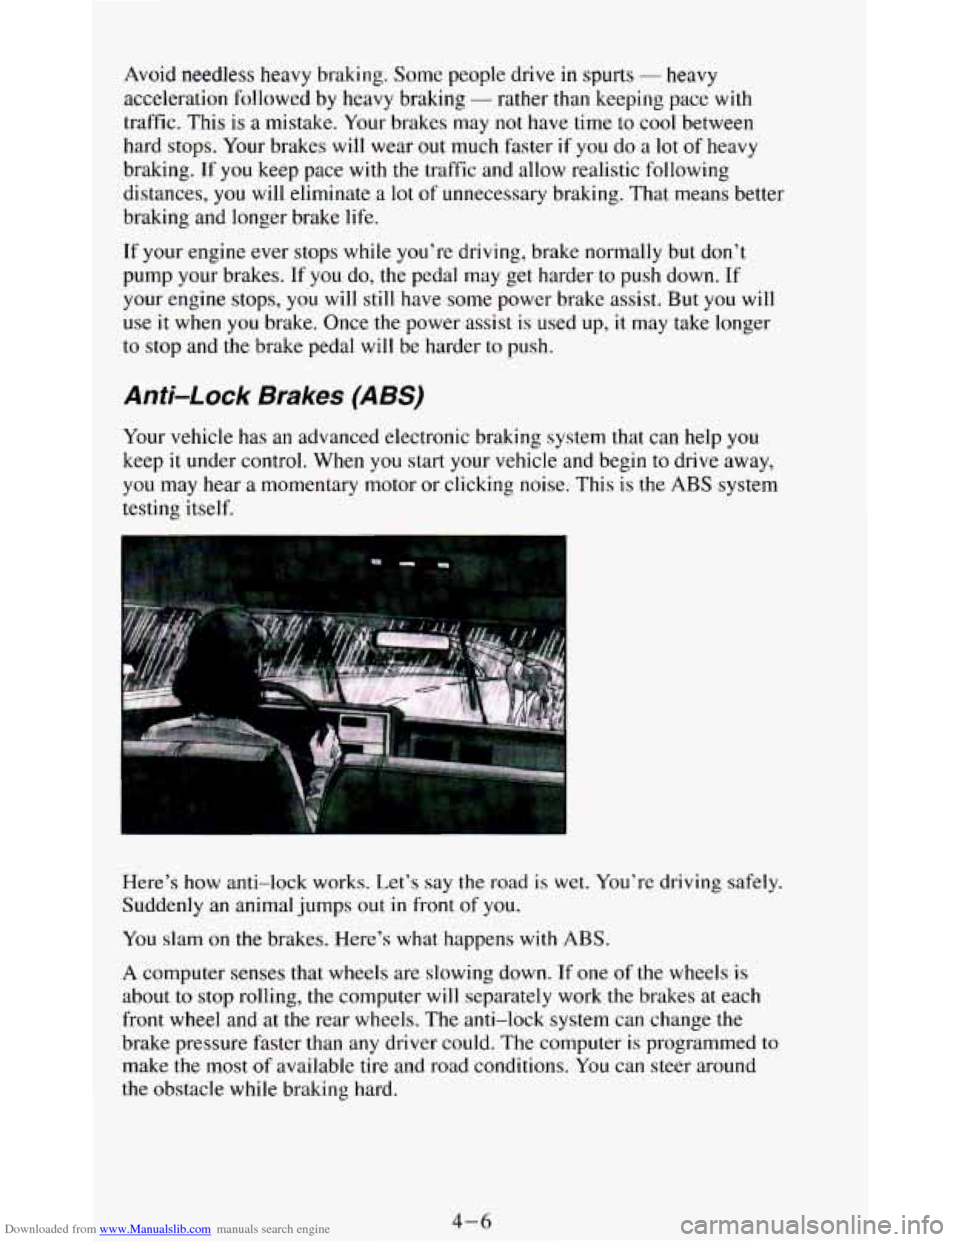
Here’s how anti-lock works. Let’s say the road is wet. You’re driving safely.
Suddenly
an animal jumps out in front of you.
You slam
on the brakes. Here’s what happens with ABS.
A computer senses that wheels are slowing down. If one of the wheels is
about to stop rolling, the computer will separately work the brakes at each
front wheel and at the rear wheels. The anti-lock system can change the
brake pressure faster than any driver could. The computer
is programmed to
make the most of available tire and road conditions. You can steer around
the obstacle while braking hard.
4-6
Page 170 of 348
Downloaded from www.Manualslib.com manuals search engine Skidding
In a skid, a driver can lose control of the vehicle. Defensive drivers avoid
most skids by taking reasonable care suited to existing conditions, and
by
not “overdriving” those conditions. But skids are always possible.
The three types of skids correspond
to your Vehicle’s three control systems.
In the braking skid your wheels aren’t rolling.
In the steering or cornering
skid, too much speed or steering
in a curve causes tires to slip and lose
cornering force. And in the acceleration skid too much throttle causes the
driving wheels
to spin.
A cornering skid and an acceleration skid are best handled by easing your
foot off the accelerator pedal.
If your vehicle starts to slide, ease your foot off the accelerator pedal and
quickly steer the way you want
the vehicle to go. If you start steering
quickly enough, your vehicle may straighten out. Always be ready for a
second skid
if it occurs.
Of course, traction is reduced when water, snow, ice, gravel, or other material
is on the road. For safety, you’ll want to slow down and adjust your driving to
these conditions. It is important to slow down on slippery surfaces because
stopping distance will be longer and vehicle control more limited.
While driving on a surface
with reduced traction, try your best to avoid
sudden steering, acceleration, or braking (including engine braking by
shifting to a lower gear). Any sudden changes could cause the tires to slide.
You may not realize the surface is slippery until your vehicle is skidding.
Learn to recognize warning clues
- such as enough water, ice or packed
snow on the road to make a “mirrored surface” - and slow down when you
have any doubt.
Remember: Any anti-lock braking system (ABS) helps avoid only the
braking skid.
Driving Guidelines
This multipurpose passenger vehicle is defined as a utility vehicle in
Consumer Information Regulations issued by the National Highway Traffic
Safety Administration (NHTSA) of the United States Department of
Transportation. Utility vehicles have higher ground clearance and a narrower
track to make them capable of performing
in a wide variety of off-road
applications. Specific design characteristics give them a higher center of
gravity than ordinary cars.
An advantage of the higher ground clearance is a
better view of the road allowing you to anticipate problems. They are not
designed for cornering at the same speeds as conventional 2-wheel drive
vehicles any more than low-slung sports cars are designed to perform
satisfactorily under off-road conditions. If at
all possible, avoid sharp turns or
abrupt maneuvers.
As with other vehicles of this type, failure to operate this
vehicle correctly may result
in loss of control or vehicle rollover.
4-12
Page 200 of 348
Downloaded from www.Manualslib.com manuals search engine Making Turns
When you’re turning with a trailer, make wider turns than normal. Do this
so your trailer won’t strike soft shoulders, curbs, road signs, trees, or other
objects. Avoid jerky or sudden maneuvers. Signal well
in advance.
Turn Signals When Towing a Trailer
When you tow a trailer, your vehicle has to have a different turn signal
flasher and extra wiring. The green arrows
on your instrument panel will
flash whenever you signal a turn or lane change. Properly hooked up, the
trailer lights will also flash, telling other drivers you’re about to turn,
change lanes or stop.
When towing a trailer, the green arrows
on your instrument panel will flash
for turns
even if the bulbs on the trailer are burned out. Thus, you may think
drivers behind you are seeing your signal when
they are not. It’s important
to check occasionally to be sure the trailer bulbs are still working.
Driving On Grades
Reduce speed and shift to a lower gear before you start down a long or
steep downgrade. If you don’t
shift down, you might have to use your
brakes
so much that they would get hot and no longer work well.
On a long uphill grade, shift down and reduce your speed
to around 45 mph
(70 kdh) to reduce the possibility of engine and transmission overheating.
If you have an automatic transmission,
you should use “D” when towing a
trailer. Operating your vehicle in “D” when towing a trailer will minimize
heat buildup and extend the
life of your transmission. Or, if you have a
manual transmission with
fifth gear, it’s better not to use fifth gear, just
drive in fourth gear (or, as
you need to, a lower gear).
Parking on Hills
You really should not park your vehicle, with a trailer attached, on a hill. If
something goes wrong, your rig could start to move. People can be injured,
and both your vehicle and the trailer can be damaged.
But if you ever have
to park your rig on a hill, here’s how to do it:
1. Apply your regular brakes, but don’t shift into “P” (Park) yet, or into
gear for a manual transmission.
2. Have someone place chocks under the trailer wheels.
3. When the wheel chocks are in place, release the regular brakes until the
chocks absorb
the load.
4-42
Page 250 of 348
Downloaded from www.Manualslib.com manuals search engine Air Cleaner
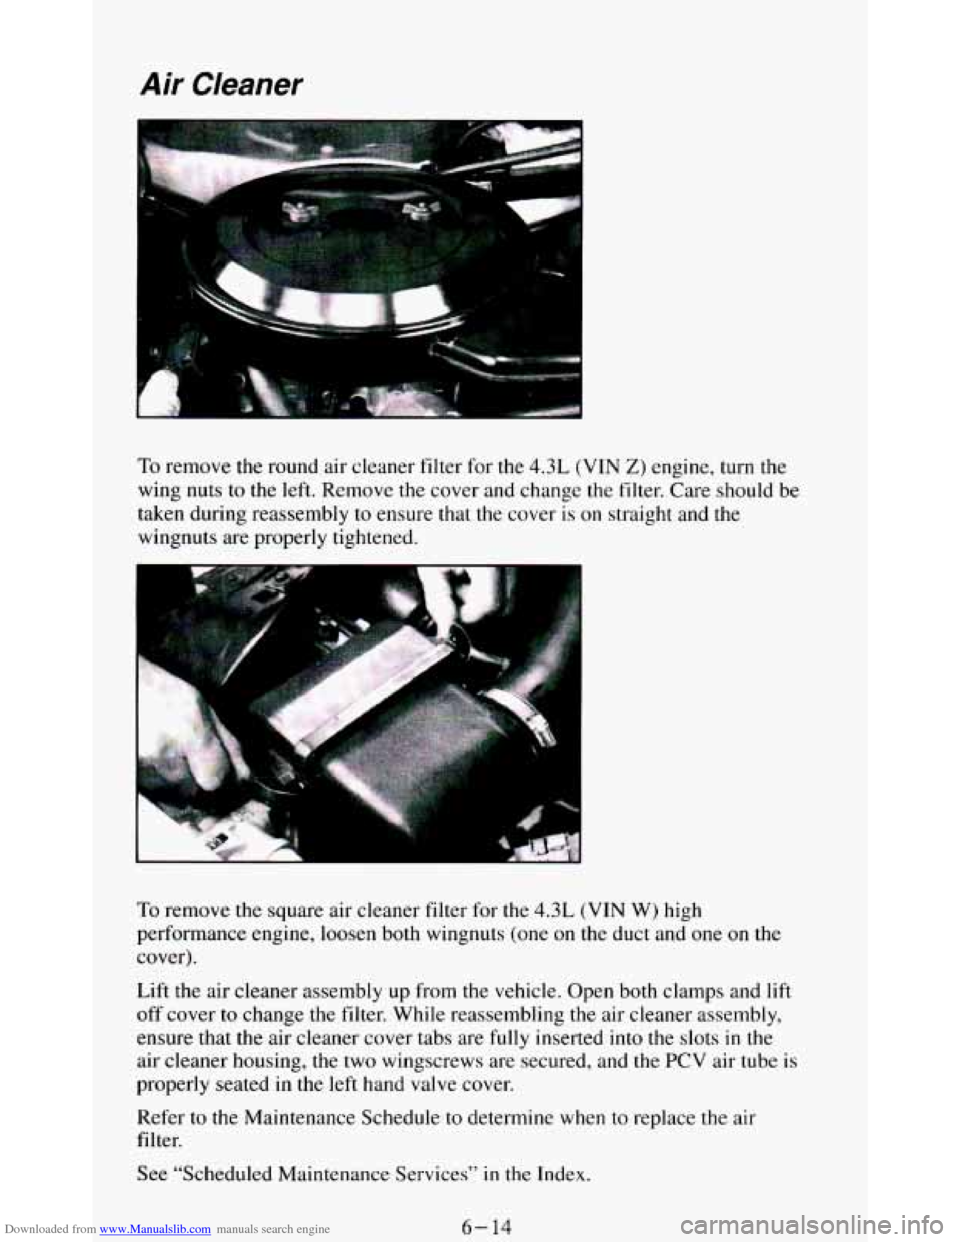
To remove the round air cleaner filter for the 4.3L (VIN Z) engine, turn the
wing nuts to the left. Remove the cover and change the filter. Care should be
taken during reassembly
to ensure that the cover is on straight and the
wingnuts are properly tightened.
I“
a
To remove the square air cleaner filter for the 4.3L (VIN W) high
performance engine, loosen both wingnuts (one
on the duct and one on the
cover).
Lift the air cleaner assembly up from the vehicle. Open both clamps and
lift
off cover to change the filter. While reassembling the air cleaner assembly,
ensure that the air cleaner cover tabs are
fully inserted into the slots in the
air cleaner housing, the two wingscrews are secured, and the PCV air tube is
properly seated
in the left hand valve cover.
Refer to the Maintenance Schedule to determine when
to replace the air
filter.
See “Scheduled Maintenance Services’’
in the Index.
6- 14
Page 272 of 348
Downloaded from www.Manualslib.com manuals search engine Windshield Wiper Blade Inserts
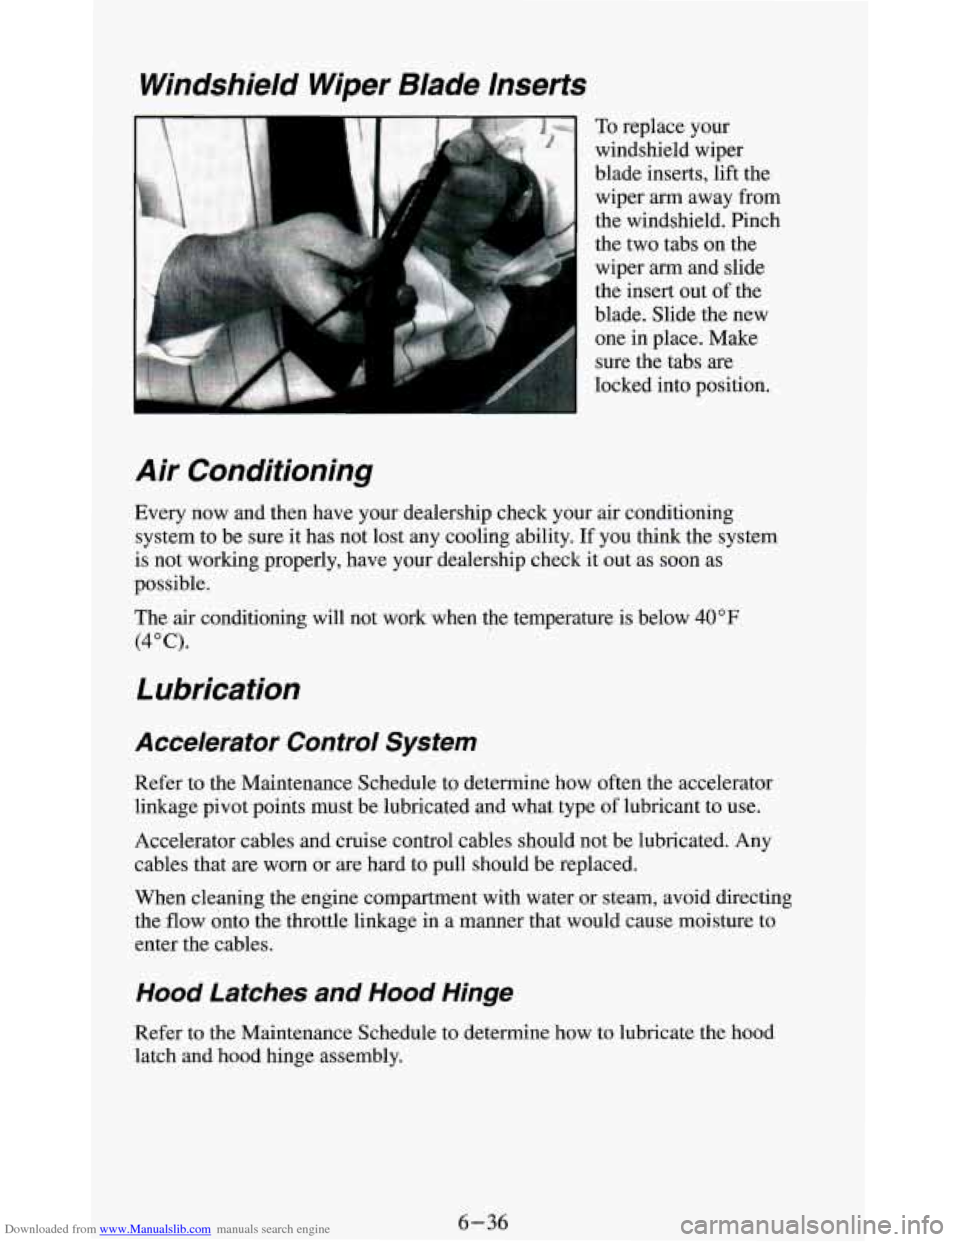
To replace your
windshield wiper
blade inserts, lift the
wiper
arm away from
the windshield. Pinch
the two tabs on the
wiper arm and slide
the insert out of the
blade. Slide the new
one in place. Make
sure the tabs
are
locked into position.
Air Conditioning
Every now and then have your dealership check your air conditioning
system to be sure it has not lost any cooling ability.
If you think the system
is not working properly, have your dealership check it out as soon as
possible.
The air conditioning will not work when the temperature is below
40°F
(4°C).
Lubrication
Accelerator Control System
Refer to the Maintenance Schedule to determine how often the accelerator
linkage pivot points must be lubricated and what type of lubricant to use.
Accelerator cables and cruise control cables should not be lubricated. Any
cables that
are worn or are hard to pull should be replaced.
When cleaning the engine compartment with water or steam, avoid directing
the flow onto the throttle linkage in a manner that would cause moisture to
enter the cables.
Hood Latches and Hood Hinge
Refer to the Maintenance Schedule to determine how to lubricate the hood
latch and hood hinge assembly.
6-36