radio CHEVROLET BLAZER 1994 2.G Owners Manual
[x] Cancel search | Manufacturer: CHEVROLET, Model Year: 1994, Model line: BLAZER, Model: CHEVROLET BLAZER 1994 2.GPages: 348, PDF Size: 17.88 MB
Page 63 of 348
Downloaded from www.Manualslib.com manuals search engine Electric Endgafe Glass Release
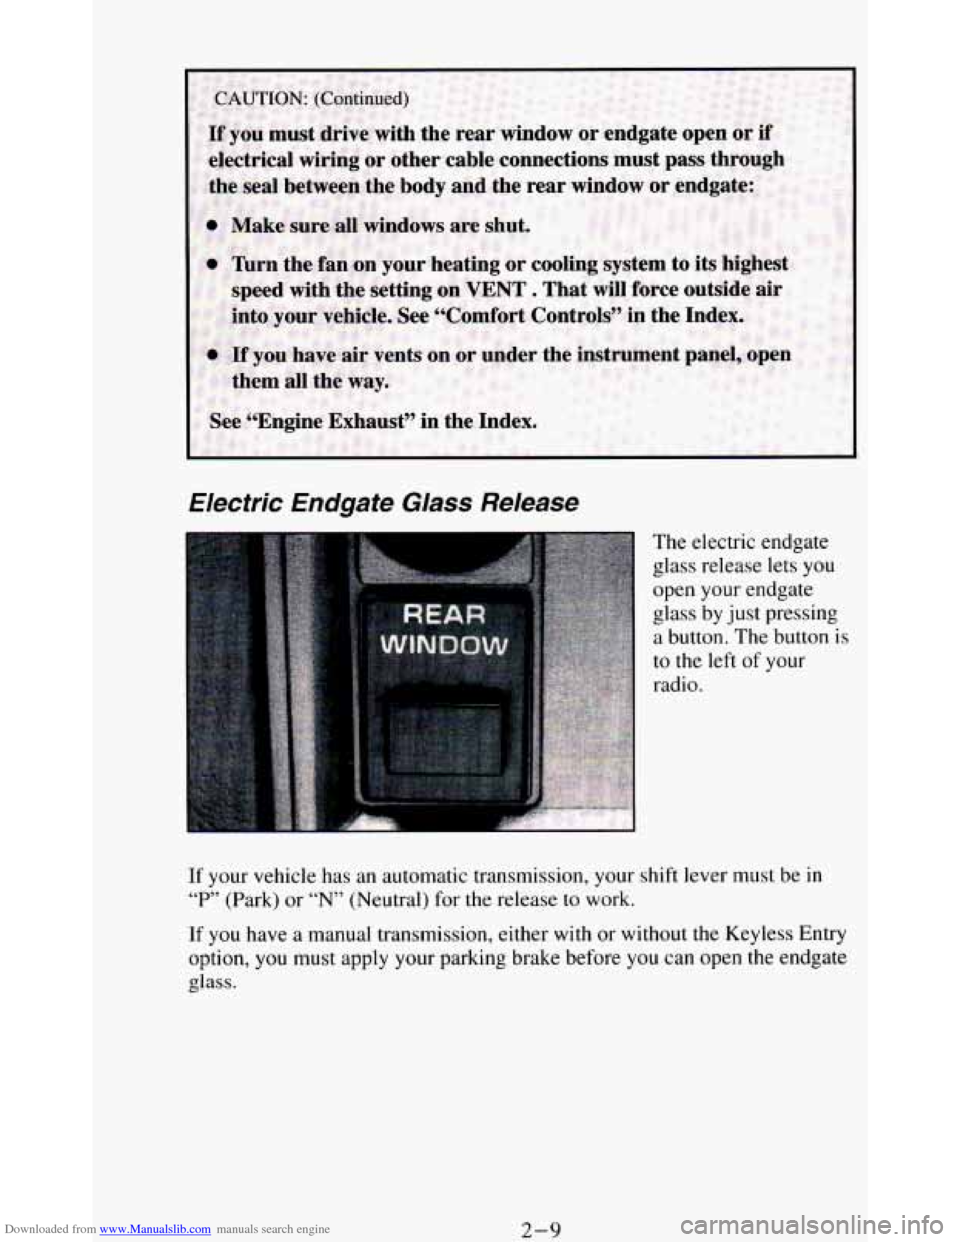
The electric endgate
glass release lets you
open your endgate
glass by just pressing
a button. The button is
to the left
of your
radio.
If your vehicle has an automatic transmission, your shift lever must be in
“P” (Park) or “N” (Neutral) for the release to work.
If you have a manual transmission, either
with or without the Keyless Entry
option, you must apply your parking brake before you can open the endgate
glass.
2-9
Page 65 of 348
Downloaded from www.Manualslib.com manuals search engine Keyless Entry System
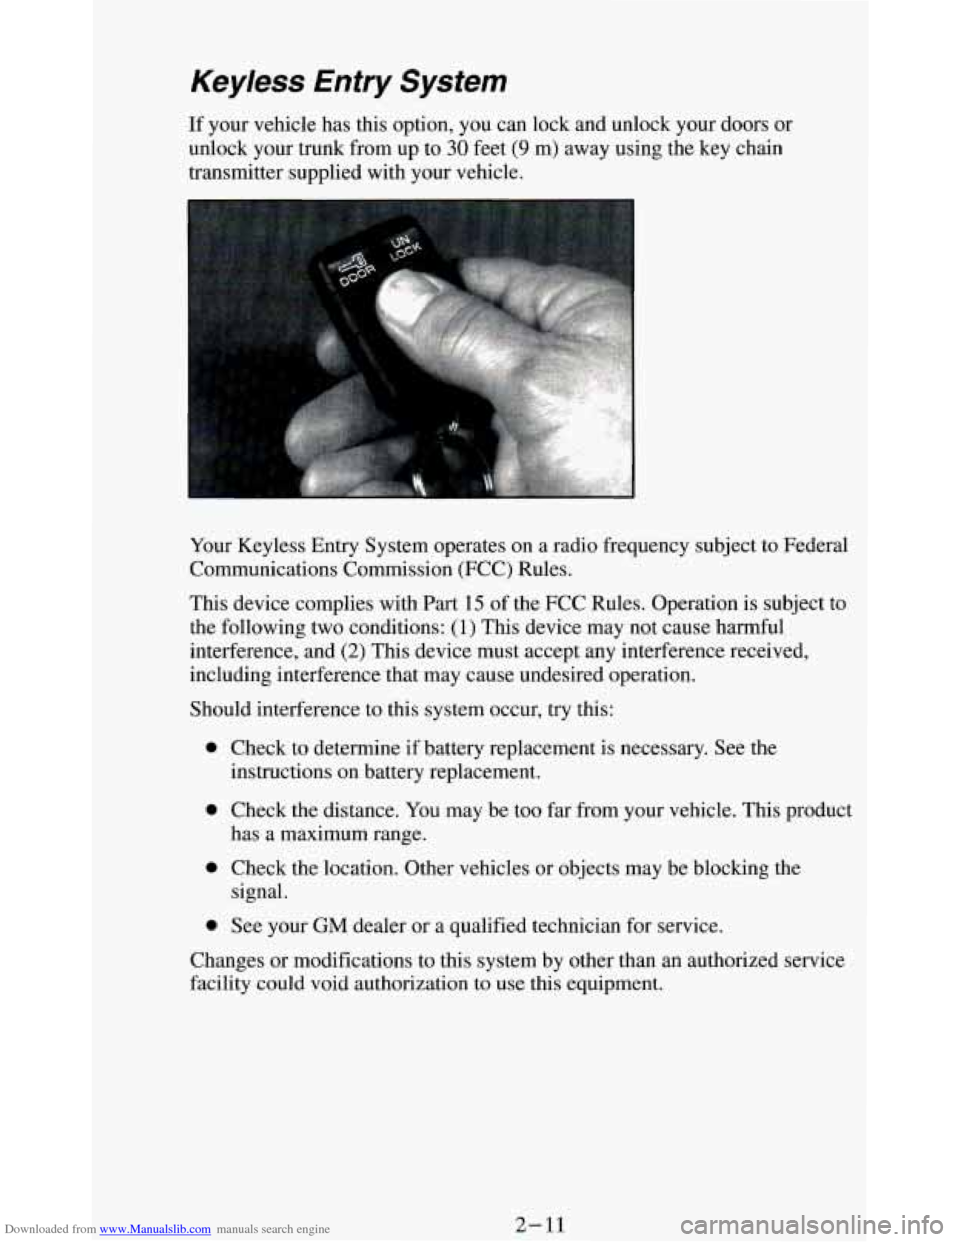
If your vehicle has this option, you can lock and unlock your doors or
unlock your trunk from up to
30 feet (9 m) away using the key chain
transmitter supplied with your vehicle.
Your Keyless Entry System operates on a radio frequency subject to Federal
Communications Commission (FCC) Rules.
This device complies with Part
15 of the FCC Rules. Operation is subject to
the following two conditions:
(1) This device may not cause harmful
interference, and
(2) This device must accept any interference received,
including interference that may cause undesired operation.
Should interference to this system occur,
try this:
a
a
a
a
Check to determine if battery replacement is necessary. See the
instructions
on battery replacement.
Check the distance. You may be too
far from your vehicle. This product
has
a maximum range.
Check the location. Other vehicles or objects may be blocking the
signal.
See your
GM dealer or a qualified technician for service.
Changes or modifications to this system by other than
an authorized service
facility could void authorization to use
this equipment.
2-11
Page 69 of 348
Downloaded from www.Manualslib.com manuals search engine New Vehicle “Break-In ’’
L
NOTICE:
Your modern vehicle doesn’t need an elaborate “break-in.” But
it will perform better in the long run if you follow these
guidelines:
0 Keep your speed at 55 mph (88 km/h) or less for the first 500
miles (SO4 km).
0 Don’t drive at any one speed - fast or slow - for the first
500 miles (804 km). Don’t make full-throttle starts.
Avoid making hard stops for the first 200 miles (322 km) or
so. During this time your new brake linings aren’t yet broken
in. Hard stops with new linings can mean premature wear and
earlier replacement. Follow this “breaking-in” guideline
every time you get new brake linings.
Ignition Switch
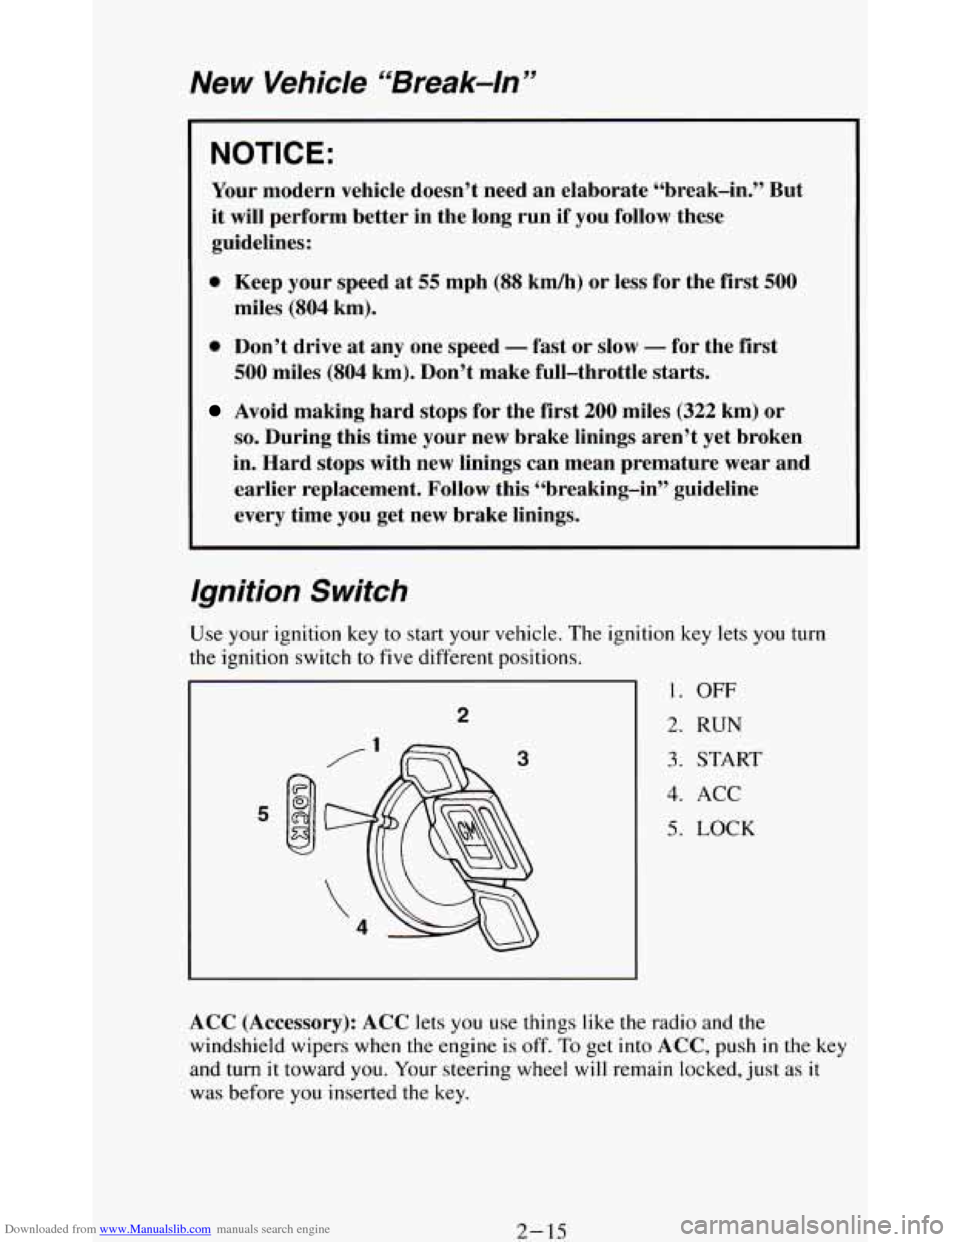
tion key lets you turn
1. OFF
2. RUN
3. START
4. ACC
5. LOCK
ACC (Accessory): ACC lets you use things like the radio and the
windshield wipers when the engine is off.
To get into ACC, push in the key
and turn
it toward you. Your steering wheel will remain locked, just as it
was before you inserted the key.
2- 15
Page 127 of 348
Downloaded from www.Manualslib.com manuals search engine Indicator Lights
Indicator lights go on when you use your turn signals, change from low
beam headlights to high beams, or when you use
your hazard flashers. The
next few pages will also
tell you about the indicator lights on your vehicle
and help you locate them.
Charging System Light
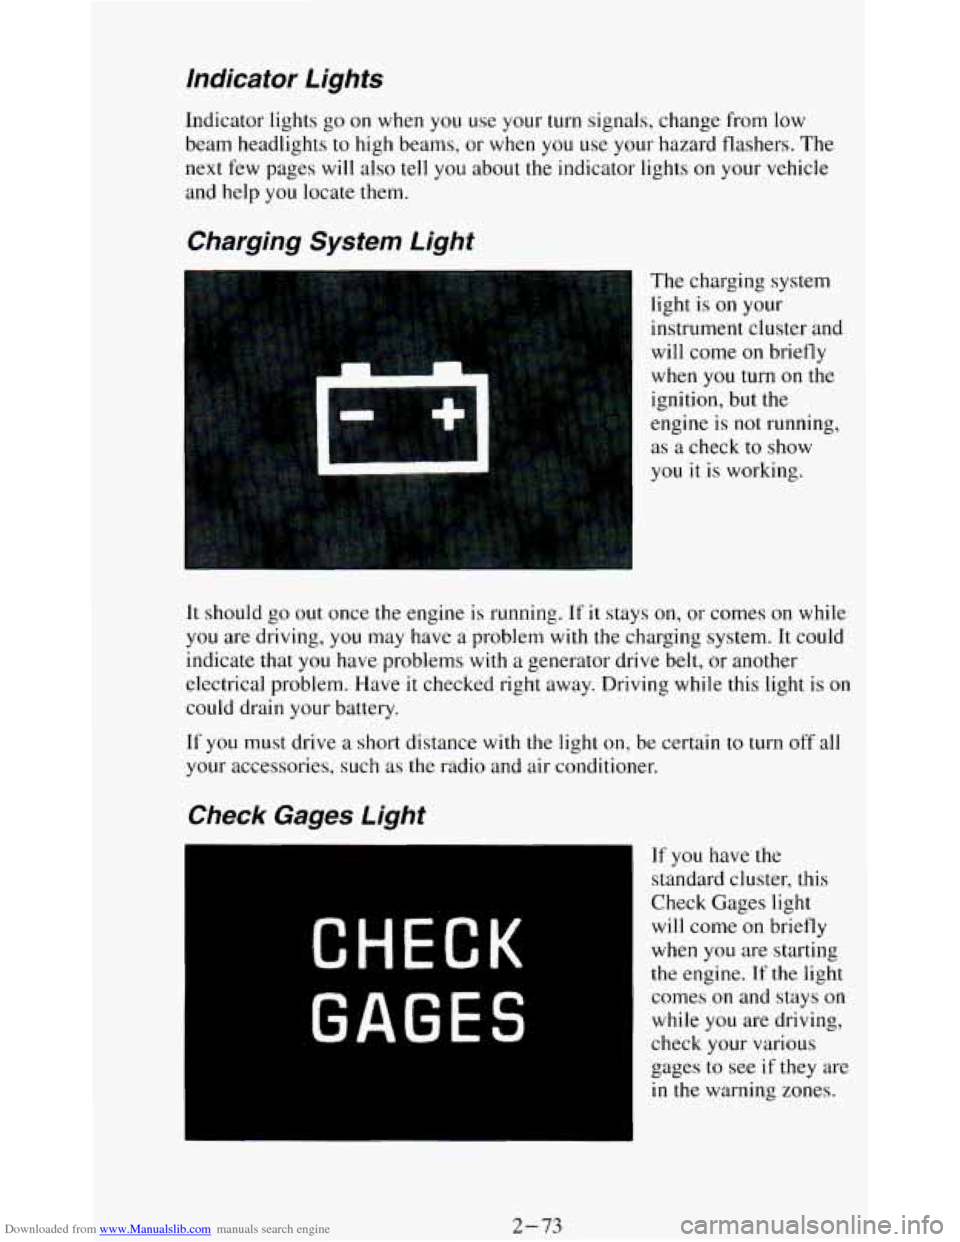
The charging system
light is
on your
instrument cluster and
will come
on briefly
when
you turn on the
ignition, but the
engine is
not running,
as a check to show
you it
is working.
It should go out once the engine is running. If it stays on, or comes on while
you are driving, you may have a problem with the charging system. It could
indicate that you have problems with
a generator drive belt, or another
electrical problem. Have
it checked right away. Driving while this light is on
could drain your battery.
If
you must drive a short distance with the light on, be certain to turn off all
your accessories, such as the radio and air conditioner.
If you have the
standard cluster, this
Check Gages light
will come on briefly
when you are starting
the engine. If the light
comes
on and stays on
while you are driving,
check your various
gages to see
if they are
in the warning zones.
2-73
Page 135 of 348
Downloaded from www.Manualslib.com manuals search engine Comrort Controls & Audio Systems
Section
In this part you’ll find out how to operate the comfort control systems and
audio systems offered with your vehicle
. Be sure to read about the particular
system supplied with your vehicle
.
For explanation of vehicle symbols, refer to “Vehicle Symbols” in the
Introduction
.
Comfort Controls
Flow-Through Ventilation System
........................... 3-2
Heater Controls
.......................................... 3-3
Heater/Air Conditioning Controls ........................... 3-4
Engine Coolant Heater (Engine Block Heater) .................... 3-5
Rear Window Defogger
...................................... 3-5
Audiosystems ............................................. 3-6
FMStereo
.............................................. 3-7
AM
................................................... 3-7
AMStereo
.............................................. 3-7
How to Operate Your ETR@ AM Radio
....................... 3-8
How to Operate Your ETR@ AM-FM Stereo Audio System ..... 3-10
How to Operate Your ETR@ AM-FM Stereo Audio Cassette
System
............................................. 3-12
How to Operate Your ETR’ AM-FM Stereo Audio Cassette System
With Equalizer
....................................... 3-15
Care
of Your Cassette Tape Player .......................... 3-18
How to Operate Your ETR’ AM-FM Stereo Audio Compact Disc
(CD)System
........................................ 3-19
Care of Your Compact Discs ...................... **t!%*BB 3-24
Fixed Mast Antenna ..................................... 3-24
3-1
Page 140 of 348
Downloaded from www.Manualslib.com manuals search engine To turn on the rear
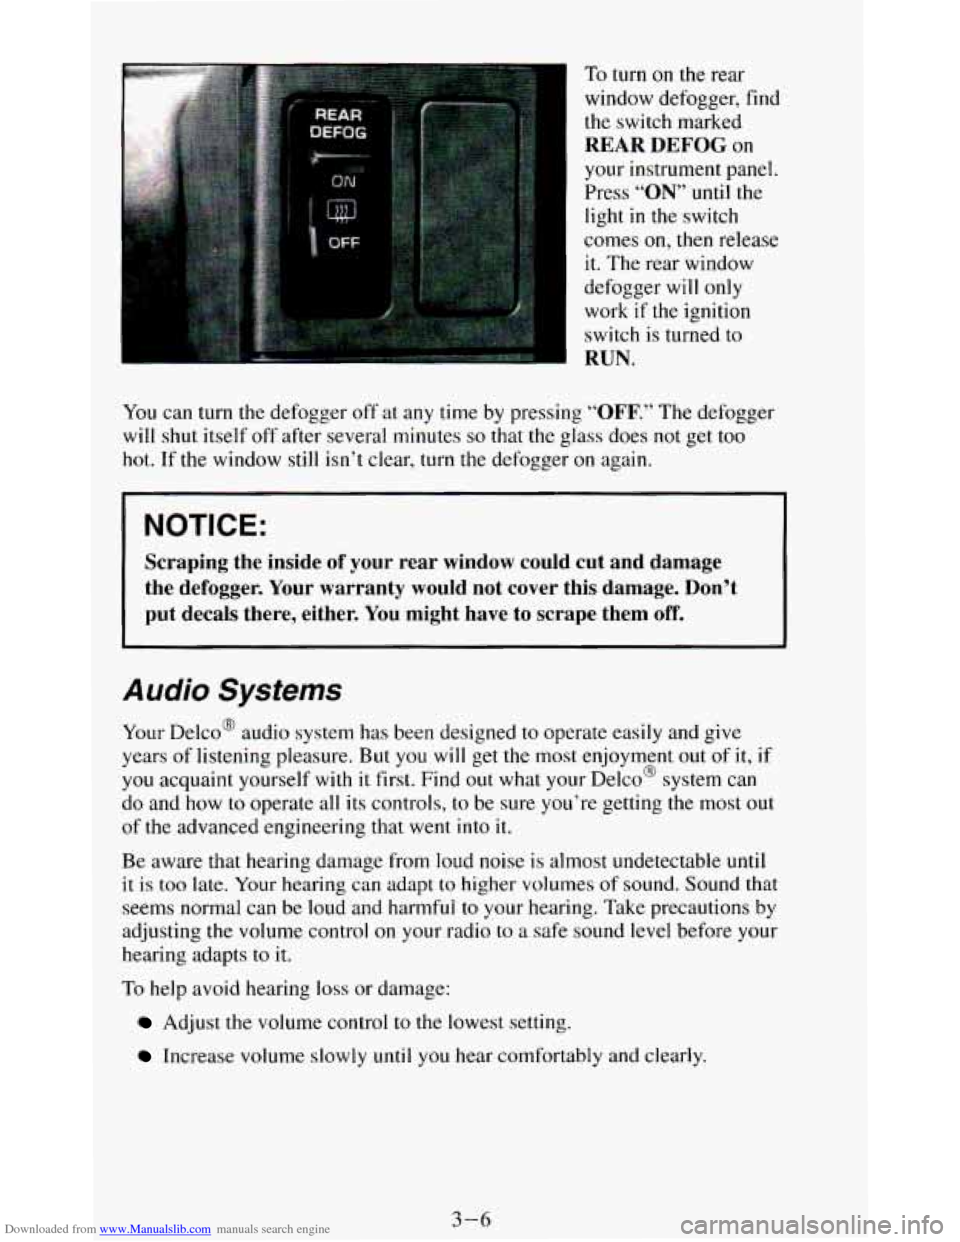
window defogger, find the switch marked
REAR DEFOG on
your instrument panel.
Press
“ON” until the
light
in the switch
comes
on, then release
it. The rear window
defogger will only
work
if the ignition
switch is turned to
RUN.
You can turn the defogger off at any time by pressing “OFF.” The defogger
will shut itself off after several minutes
so that the glass does not get too
hot. If the window
still isn’t clear, turn the defogger on again.
NOTICE:
Scraping the inside of your rear window could cut and damage
the defogger. Your warranty would not cover this damage. Don’t
put decals there, either. You might have to scrape them
off.
Audio Systems
Your Delco@ audio system has been designed to operate easily and give
years of listening pleasure. But
you will get the most enjoyment out of it,
you acquaint yourself with it first. Find out what your Delco@ system can
do and how
to operate all its controls, to be sure you’re getting the most o
of the advanced engineering that went into it.
if
I
IU t
Be aware that hearing damage from loud noise is almost undetectable until
it is too late. Your hearing can adapt to higher volumes of sound. Sound that
seems normal can be loud and harmful to your hearing. Take precautions by
adjusting the volume control
on your radio to a safe sound level before your
hearing adapts to it.
To help avoid hearing loss or damage:
Adjust the volume control to the lowest setting.
Increase volume slowly until you hear comfortably and clearly.
3-6
Page 141 of 348
Downloaded from www.Manualslib.com manuals search engine FM Stereo
FM stereo will give you the best sound. But FM signals will reach only
about
10 to 40 miles (16 to 65 km). Tall buildings or hills can interfere with
FM signals, causing the sound to come and go.
AM
The range for most AM stations is greater than for FM, especially at night.
The longer range, however, can cause stations to interfere
with each other.
AM can pick up noise from things like storms and power lines. Try reducing
the treble to reduce this noise if you ever get it.
AM Stereo
This means the Delco@ system can receive C-QUAM@ stereo broadcasts.
Many AM stations around the country use C-QUAM@ to produce stereo,
though some do not. (C-QUAM’ is a registered trademark
of Motorola,
Inc.)
If your Delco@ system can get C-QUAM@, your “STEREO” light will
come on when you’re receiving
it.
NOTICE:
Before you add any sound equipment to your vehicle - like a
1 tape player, CB radio, mobile telephone or two-way radio - be
sure you can add what you want.
If you can, it’s very important
to do it properly. Added sound equipment may interfere with the
operation
of your vehicle’s engine, Delco@ radio or other
systems, and even damage them. And, your vehicle’s systems
may interfere with the operation of sound equipment that has
been added improperly.
So, before adding sound equipment, check with your dealer and
be sure to check Federal rules covering mobile radio and
telephone units.
3-7
Page 142 of 348
Downloaded from www.Manualslib.com manuals search engine How to Operate Your ETW AM Radio
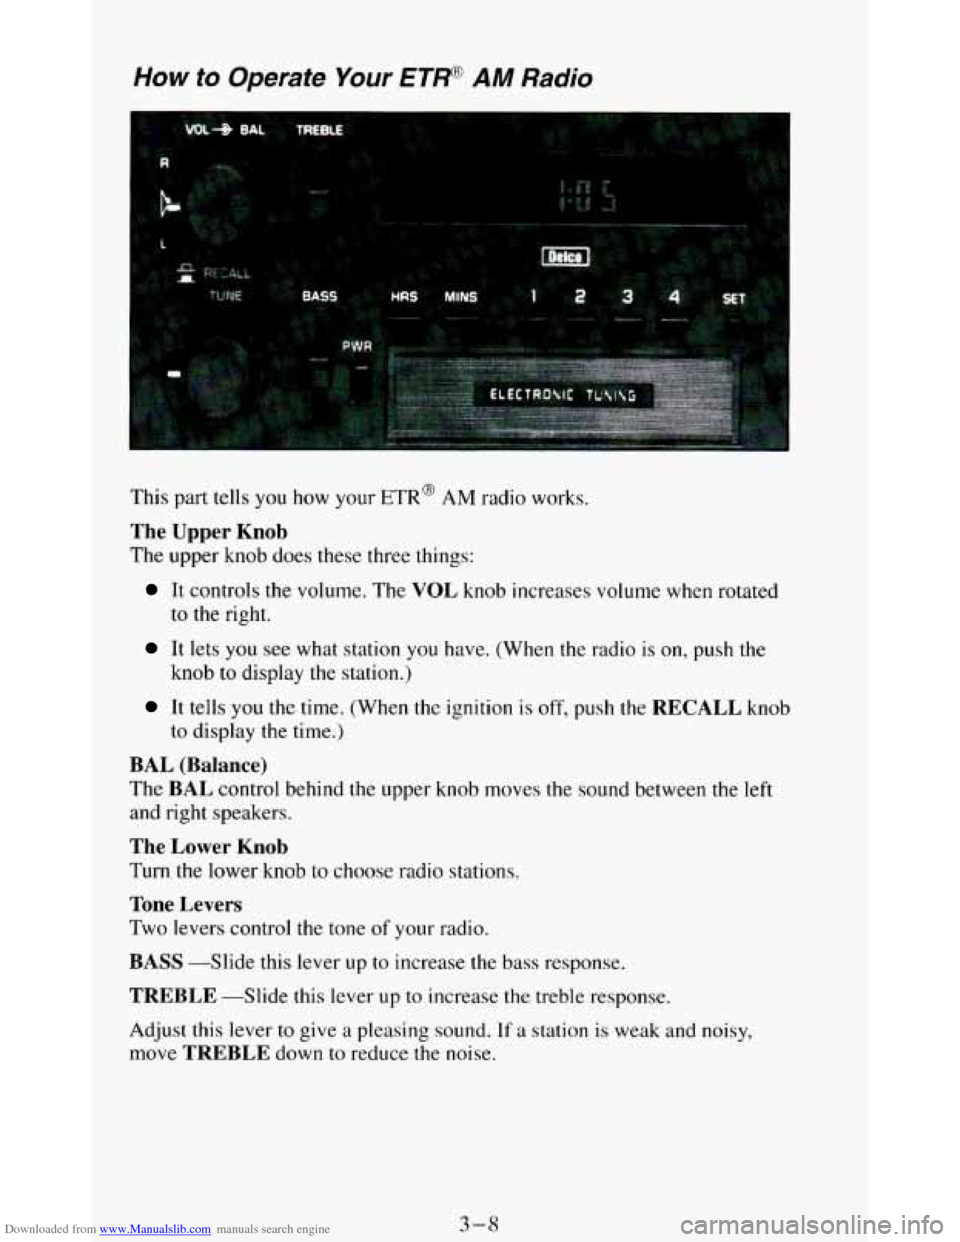
This part tells you how your ETR@ AM radio works.
The Upper Knob
The upper knob does these three things:
It controls the volume. The VOL knob increases volume when rotated
to the right.
It lets you see what station you have. (When the radio is on, push the
knob to display the station.)
It tells you the time. (When the ignition is off, push the RECALL knob
to display the time.)
BAL (Balance)
The BAL control behind the upper knob moves the sound between the left
and right speakers.
The Lower Knob
Turn the lower knob to choose radio stations.
Tone Levers
Two levers control the tone of your radio.
BASS --Slide this lever up to increase the bass response.
TREBLE -Slide this lever up to increase the treble response.
Adjust this lever to give a pleasing sound.
If a station is weak and noisy,
move
TREBLE down to reduce the noise.
3-8
Page 144 of 348
Downloaded from www.Manualslib.com manuals search engine How to Operate Your
ETW AM-FM Siereo Audio Sysiem
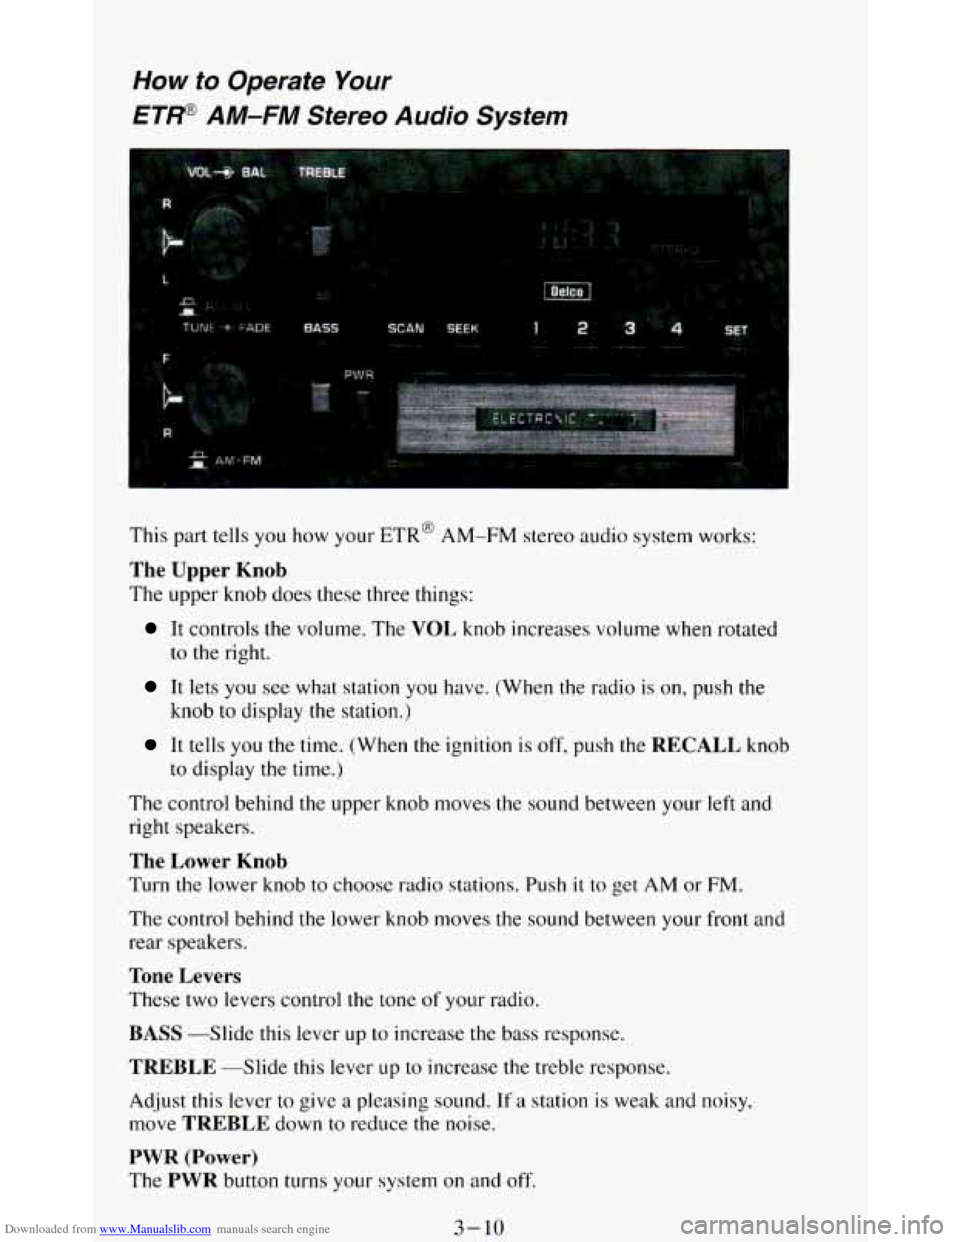
This part tells you how your ETR@ AM-FM stereo audio system works:
The Upper Knob
The upper knob does these three things:
It controls the volume. The VOL knob increases volume when rotated
to
the right.
It lets you see what station you have. (When the radio is on, push the
knob
to display the station.)
It tells you the time. (When the ignition is off, push the RECALL knob
to display
the time.)
The control behind the upper knob moves the sound between your left and
right speakers.
The Lower Knob
Turn the lower knob to choose radio stations. Push it to get AM or FM.
The control behind the lower knob moves the sound between your front and
rear speakers.
Tone Levers
These two levers control the tone of your radio.
BASS -Slide this lever up to increase the bass response.
TREBLE --Slide this lever LIP to increase the treble response.
Adjust this lever to give
a pleasing sound. If a station is weak and noisy,
move
TREBLE down to reduce the noise.
PWR (Power)
The PWR button turns your system on and off.
3-10
Page 145 of 348
Downloaded from www.Manualslib.com manuals search engine Pushbuttons
The four pushbuttons let you return to favorite stations.
You
can set the pushbuttons for up to eight favorite stations (4 AM and 4
FM). Just:
Tune in the station.
0 Push SET. (SET appears in the VF display for a few seconds.)
Within 5 seconds, push one of the four pushbuttons to store the station.
Whenever you push
that button, the preset station will return.
Repeat these steps for each pushbutton.
NOTE:
You can preset 3 more stations on each band by pushing a pair of buttons
next to each other at the same time. Just:
Tune in the station.
0 Push SET. (SET appears in the VF display for a few seconds.)
0 Within 5 seconds, push two buttons next to each other at the same time.
Whenever you push that pair of buttons, the preset station
will return.
Repeat these steps for each pair of buttons.
Scan Button
When you push this, the radio will go to the next station and stay there a
few seconds. Then it
will go to the next station and pause, and keep doing
that. Press
SCAN again to stop scanning.
Seek Button
This chooses station also, but it doesn’t keep moving as SCAN does. When
you push
SEEK the radio goes to the next station and stays there.
Clock
To set the clock, just:
Push SET.
Within 5 seconds, push and hold SCAN until the correct hour appears.
Press and hold SEEK until the correct minute appears.
To display the clock
with the ignition off, push the upper knob. The time
will be displayed for a few seconds.
3-1 1