ESP CHEVROLET BLAZER 1995 2.G Owners Manual
[x] Cancel search | Manufacturer: CHEVROLET, Model Year: 1995, Model line: BLAZER, Model: CHEVROLET BLAZER 1995 2.GPages: 380, PDF Size: 20.04 MB
Page 21 of 380
Downloaded from www.Manualslib.com manuals search engine 0: Why don’t they just put in air bags so people won’t have to wear
safety belts?
A: Air bags are in many vehicles today and will be in more of them in the
future. But
they are supplemental systems only; so they work with
safety belts - not instead of them. Every air bag system ever offered
for sale has required the use of safety belts. Even
if you’re in a vehicle
that has air bags, you still have to buckle up to get the most protection.
That’s true not only in frontal collisions,’but especially
in side and
other collisions.
0: If I’m a good driver, and I never drive far from home, why should I
wear safety belts?
A: You may be an excellent driver, but if you’re in an accident - even
one that isn’t your fault
- you and your passengers can be hurt. Being
a good driver doesn’t protect you from things beyond your control,
such
as bad drivers.
Most accidents occur within
25 miles (40 km) of home. And the
greatest number
of serious injuries and deaths occur at speeds of less
than
40 mph (65 kndh).
Safety belts are for everyone.
How to Wear Safety Belts Properly
Adults
This part is only for people of adult size.
Be aware that there are special things
to know about safety belts and
children. And there are different rules for smaller children and babies. If a
child will be riding in your vehicle,
see the part of this manual called
“Children.” Follow those rules
for everyone’s protection.
First, you’ll want to know which restraint systems your vehicle has.
We’ll start with the driver position.
Driver Position
This part describes the driver’s restraint system.
1-11
Page 29 of 380
Downloaded from www.Manualslib.com manuals search engine When should an air bag inflate?
The air bag is designed to inflate in moderate to severe frontal or
near-frontal crashes. The air bag will inflate only if the impact speed
is
above the system’s designed “threshold level.” If your vehicle goes straight
into
a wall that doesn’t move or deform, the threshold level is about 14 to 18
mph (23 to 29 kdh). The threshold level can vary, however, with specific
vehicle design,
so that it can be somewhat above or below this range. If your
vehicle strikes something that will move or deform, such
as a parked car, the
threshold level will be higher. The air bag is
not designed to inflate in
rollovers, side impacts, or rear impacts, because inflation woul\
d not help the
occupant.
In any particular crash, no one can say whether an air bag should have
inflated simply because of the damage to
a vehicle or because of what the
repair costs were. Inflation is determined by
the angle of the impact and the
vehicle’s deceleration. Vehicle damage is
only one indication of this.
The air bag system is designed to work properly under a wide range
of
conditions, including off-road usage. Observe safe driving speeds,
especially
on rough terrain. As always, wear your safety belt. See
“Off-Road Driving” in the Index for more tips on off-road\
driving.
What makes an air bag inflate?
In a frontal or near-frontal impact of sufficient severity, the air bag sensing \
system detects that
the vehicle is suddenly stopping as a result of a crash.
The sensing system triggers a chemical reaction
of the sodium azide sealed
in the inflator. The reaction produces nitrogen gas, which inflates the air
bag. The inflator, air bag, and related hardware are all part
of the air bag
module packed inside the steering wheel.
How does an air bag restrain?
In moderate to severe frontal or near-frontal collisions, even belted
occupants can contact
the steering wheel. The air bag supplements the
protection provided by safety belts. Air bags distribute the fo\
rce of
the
impact more evenly over the occupant’s upper body, stopping \
the occupant
more gradually. But air bags would not help you
in many types of collisions,
including rollovers and rear and side impacts, primarily because\
an
occupant’s motion is not toward the air bag. Air bags should never be
1-19
Page 65 of 380
Downloaded from www.Manualslib.com manuals search engine Theft
Vehicle theft is big business, especially in some cities. Although your
vehicle has a number of theft deterrent features,
we know that nothing we
put on it can make it impossible to steal. However, there are ways you can
help.
Key in the lgnition
If you walk away from your vehicle with the keys inside, it’s an easy target
for joy riders or professional thieves
- so don’t do it.
When you park your vehicle and open the driver’s door, you’ll hear a tone
reminding you to remove your key from the ignition and take it with you.
Always do this. Your steering wheel will be locked, and
so will your
ignition.
If you have an automatic transmission, taking your key out also
locks your transmission. And remember to lock the doors.
Parking at Night
Park in a lighted spot, close all windows and lock your vehicle. Remember
to keep your valuables out of sight. Put them in a storage
area, or take them
with you.
Parking Lots
If you park in a lot where someone will be watching your vehicle, it’s best
to lock it up and take your keys. But what if you have to leave your ignition
key? What if you have to leave something valuable in your vehicle?
0 Put your valuables in a storage area, like your glove box.
0 Lock all the doors except the driver’s.
2-13
Page 90 of 380
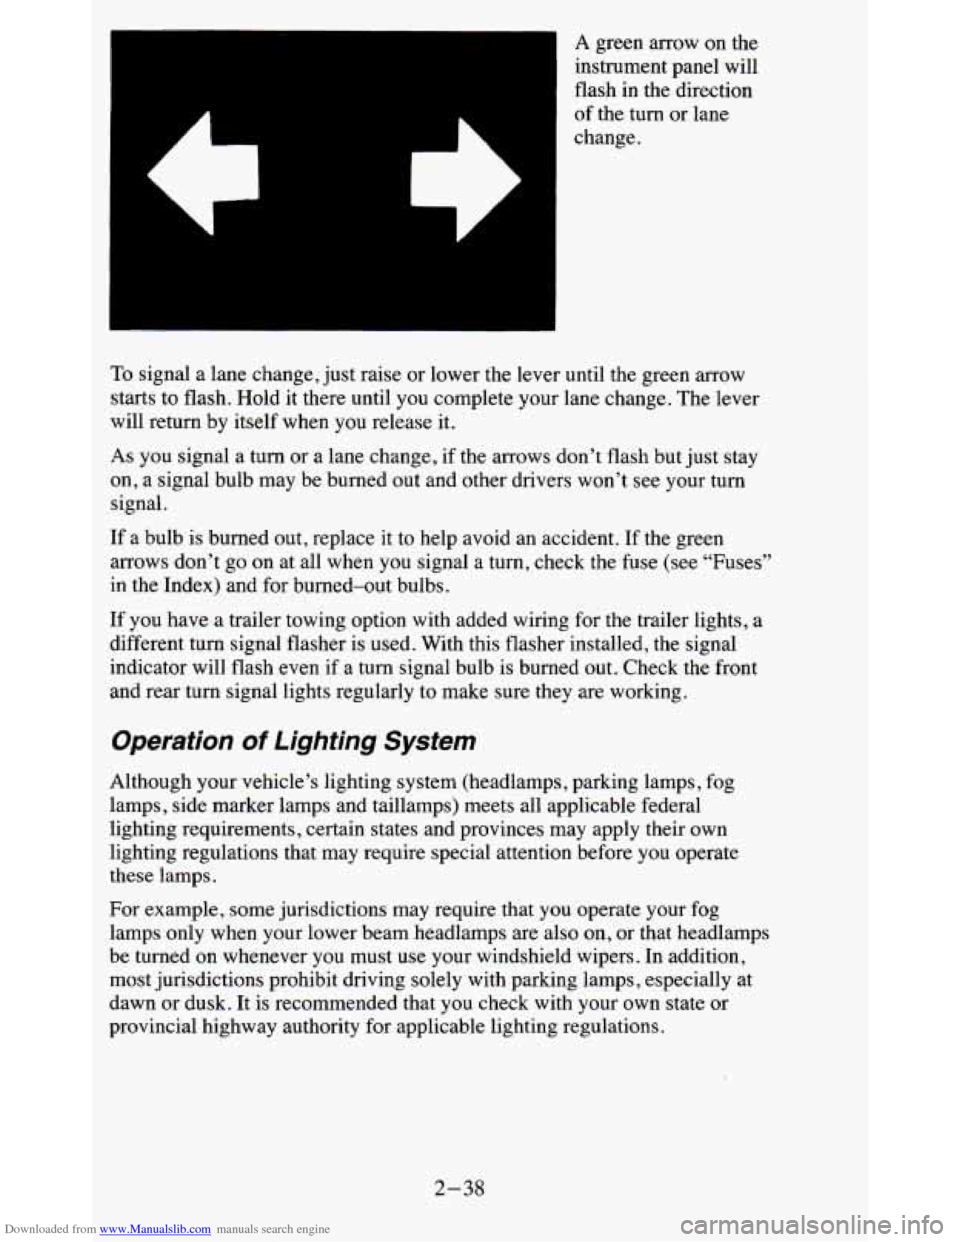
Downloaded from www.Manualslib.com manuals search engine A green arrow on the
instrument panel will
flash
in the direction
of the turn or lane
change.
To signal a lane change, just raise or lower the lever until the green arrow
starts to flash. Hold it there until you complete your lane change. The lever
will return by itself when you release it.
As you signal a turn or a lane change, if the arrows don’t flash but just stay
on, a signal bulb may be burned out and other drivers won’t see your turn
signal.
If a bulb is burned out, replace it to help avoid an accident. If the green
arrows don’t go on at all when
you signal a turn, check the fuse (see “Fuses”
in the Index) and for burned-out bulbs.
If you have a trailer towing option with added wiring for the trailer lights, a
different turn signal flasher is used. With this flasher instal\
led, the signal
indicator will flash even if
a turn signal bulb is burned out. Check the front
and rear turn signal lights regularly to make sure they are w\
orking.
Operation of Lighting System
Although your vehicle’s lighting system (headlamps, parking lamps, fog
lamps, side marker lamps and taillamps) meets all applicable federal
lighting requirements, certain states and provinces may apply their own
lighting regulations that may require special attention before you operate
these lamps.
For example, some jurisdictions may require that you operate your fog
lamps only when your lower beam headlamps are also on,
or that headlamps
be turned on whenever you must use your windshield wipers. In \
addition,
most jurisdictions prohibit driving solely with parking lamps, especially at
dawn or dusk. It is recommended that you check with your own state or
provincial highway authority for applicable lighting regulations.
2-38
Page 141 of 380
Downloaded from www.Manualslib.com manuals search engine FADE - i ne control ring behind the lower knob adjusts the fronthear
speaker balance.
SEEK - Press the SEEK button to cause the receiver to SEEK the next
higher station and stop.
SCAN - Press the SCAN button to hear each station for a few seconds.
Push it again when
you reach the station you want to listen to and the radio
will stop scanning.
“SCAN’ appears in the display.
Pushbuttons
- The four pushbuttons let you return to favorite stations. To
set the pushbuttons for up to fourteen favorite stations
(7 AM and 7 FM):
1. Tune in the desired station.
2. Press the SET button. “SET” appears in the display.
3. Within 5 seconds, press one of the four pushbuttons to store the station.
Whenever you press that button, the preset station will return.
Repeat these steps for each pushbutton.
NOTE:
In addition to the four stations set as above, up to three additional stations
may be preset on each band by pressing two adjoining buttons at the same
time. Then do the following:
1. Tune in the desired station.
2. Press the SET button. “SET” appears in the display momentarily.
3. Within 5 seconds, press any two adjoining pushbuttons at the same
time. (The station will return when the same two buttons are pressed
again
.)
TREBLE - Slide the TREBLE lever up to increase the treble response. If a
station is weak or noisy, slide the TREBLE lever down
to reduce the noise.
BASS - Slide the BASS lever up to increase the bass response. Adjust the
BASS lever to give a pleasing sound to your ear.
3-7
Page 143 of 380
Downloaded from www.Manualslib.com manuals search engine Pushbuttons - The four pushbuttons let you return to favorite stations. 10
set the pushbuttons for up to fourteen favorite stations (7 AM and 7 FM):
1. Tune in the desired station.
2. Press the SET button. “SET” appears in the display momentarily.
3. Within 5 seconds, press one of the four pushbuttons to store the station.
Whenever
you press that button, the preset station will return.
NOTE:
In addition to the four stations set as above, up to three additional stations
may be preset on each band by pressing two adjoining pushbuttons at the
same time. Then
do the following:
1. Tune in the desired station.
2. Push the SET button. “SET” appears in the display momentarily.
3. Within 5 seconds, press any two adjoining pushbuttons at the same
time. (The station will return when the same two buttons are presse\
d
again
.>
Repeat these steps for each pair of buttons.
TREBLE
- Slide the TREBLE lever up to increase the treble response. If
the station is weak or noisy, slide the TREBLE lever down to reduce the
noise.
BASS
- Slide the BASS lever up to increase the bass response. Adjust the
BASS lever to give a pleasing sound to your ear.
AUTO DNR
@ - This unit is equipped with an automatic Dynamic Noise
Reduction system. DNR@reduces background hiss on
AM and FM radio
broadcasts, as well as on cassette tapes. DNR@is a registered trademark
of
National Semiconductor Corporation.
To PIay A Cassette
Your tape player is built to work best with tapes that are 30 to 45 minutes
long on each side. Tapes longer than that are
so thin they may not work well
in this player.
Once the tape is playing, use the upper and lower knobs for volume, balance
and fade just as you do for the radio.
A lighted arrow shows which direction
the tape is being played.
FWD - To rapidly advance the tape, press 4 or b in the direction that the
amber arrow points and the tape will rapidly go forward until you press the
STOP-EJECT button lightly.
REV - To rapidly reverse the tape, press 4 or b in the opposite direction
that the amber arrow points and the tape will rapidly reverse
until you press
the STOP-EJECT button lightly.
3-9
Page 151 of 380
Downloaded from www.Manualslib.com manuals search engine 4. Press the BAND knob and the time appears - indicating that the
disabling sequence was successful.
If the display indicates “SEC”, the
numbers did not match and the unit is still secured.
Disabling The Theft System
1. Press presets 1 and 4 for 5 seconds with ignition on and radio off. The
display will
show “SEC”, indicating the unit is in the secure mode.
2. Press the SET button. The display will show “000”.
3. Enter the first three digits of the code following steps 6 and 7 of the
preceding paragraphs (To Lock the System). The display will show the
numbers as entered.
4. Press the BAND knob. The radio will display “000”.
5. Enter the second three digits of the code. The display will show the
numbers as entered.
6. Press the BAND knob. If the display shows “- - - ”, the disabling
sequence was successful. The numbers matched the user-selected code
or the factory back-up code, and the unit is in the UNSECURED
mode. If the display shows “SEC”, the disabling sequence was
unsuccessful and the numbers did not match either of the codes and the
unit will remain in the SECURED mode.
Understanding Radio Reception
FM stereo will give you the best sound. But FM signals will reach only
about
10 to 40 miles (16 to 65 km). And, tall buildings or hills can interfere
with
FM signals, causing the sound to come and go.
The range for most AM stations is greater than for
FM, especially at night.
The longer range, however, can cause stations to interfere with each other.
AM can pick up noise from things like storms and power lines.
Try reducing
the treble
to reduce this noise if you ever get it.
AM Stereo means the Delco@ system can receive C-QUAM@stereo
broadcasts. Many AM stations around the count use C-QUAM@ to
produce stereo, though some do not. (C-QUAM
2 is a registered trademark
of Motorola, Inc.)
If your DelcoB system can get C-QUAM@, your
“STEREO” light will come on when you’re receiving it.
Be aware that hearing damage from loud noise is almost undetectable until
it is too late. Your hearing can adapt to higher volumes of sound. Sound that
seems normal can be loud and harmful to your hearing. Take precautions by
adjusting the volume control on your radio to a safe sound level before your
hearing adapts to it.
3-17
Page 158 of 380
Downloaded from www.Manualslib.com manuals search engine The body takes about an hour to rid itself of the alcohol in one drink. No
amount of coffee or number of cold showers will speed that up. “I’ll be
careful” isn’t
the right answer. What if there’s an emergency, a need to take
sudden action,
as when a child darts into the street? A person with even a
moderate
BAC might not be able to react quickly enough to avoid the
collision.
There’s something else about drinking and driving that many people don’t
know. Medical research
shows that alcohol in a person’s system can make
crash injuries worse, especially injuries to the brain, spinal cord or heart.
This means that when anyone who has been drinking
- driver or passenger
- is in a crash, that person’s chance of being killed or permanently disabled
is higher than
if the person had not been drinking.
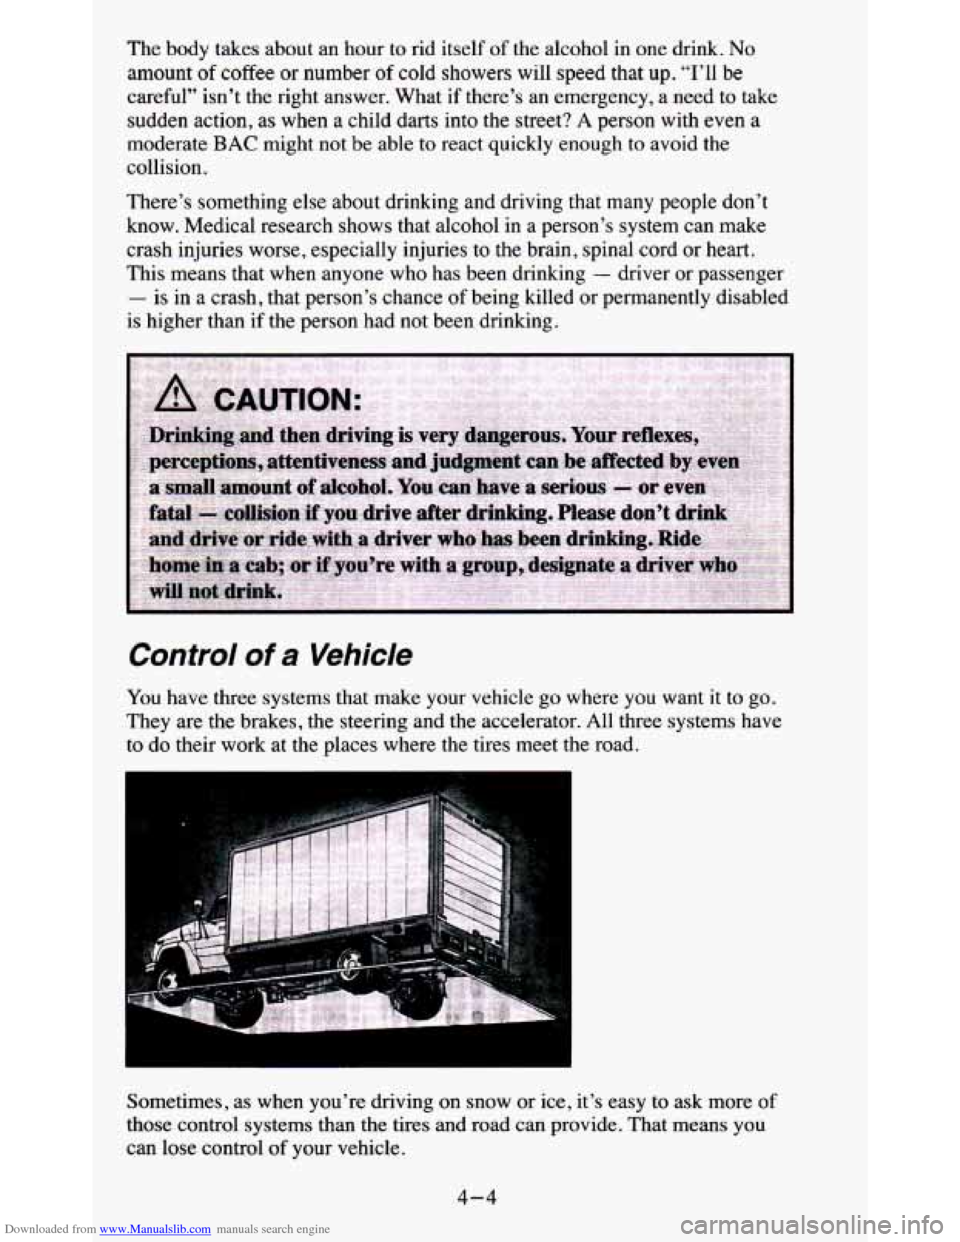
Control of a Vehicle
You have three systems that make your vehicle go where you want it to go.
They are the brakes, the steering and the accelerator. All three systems hav\
e
to do their work at the places where the tires meet the road.
Sometimes, as when you’re driving on snow or ice, it’s easy to
ask more of
those control systems than the tires and road can provide. That means you
can lose control
of your vehicle.
4-4
Page 164 of 380
Downloaded from www.Manualslib.com manuals search engine So here are some tips for passing:
e
e
e
e
a
a
a
0
0
“Drive ahead.” Look down the road, to the sides, and to crossroads for
situations that might affect your passing patterns.
If you have any doubt
whatsoever about making a successful pass, wait for
a better time.
Watch for traffic signs, pavement markings, and lines. If you can see a
sign up ahead that might indicate a
turn or an intersection, delay your
pass.
A broken center line usually indicates it’s all right to pass \
(providing the road ahead is clear). Never cross a solid line
on your
side of the lane or a double solid line, even if the road seems empty of
approaching traffic.
Do not get too close to
the vehicle you want to pass while you’re
awaiting
an opportunity. For one thing, following too closely reduces
your area of vision, especially if you’re following a larger vehicle.
Also, you won’t have adequate space if the vehicle ahead suddenly
slows or stops. Keep back a reasonable distance.
When it looks like a chance to pass is coming up,
start to accelerate but
stay in the right lane and don’t get too close. Time your \
move
so you,
will be increasing speed as the time comes to move into the \
other lane.
If the way
is clear to pass, you will have a “running start” that more\
than makes up for the distance you would lose by dropping back. And
if something happens to cause you to cancel your pass, you need only
slow down and drop back again and wait for another opportunity.
If other cars are lined up to pass a slow vehicle, wait your tu\
rn. But
take care that someone isn’t trying to pass you as you pull out to pass
the slow vehicle. Remember to glance over your shoulder and check
the blind spot.
Check your mirrors, glance over your shoulder, and start your left lane
change signal before moving out
of the right lane to pass. When you
are far enough ahead
of the passed vehicle to see its front in your inside
mirror, activate your right lane change signal and move back i\
nto the
right lane. (Remember that your right outside mirror is convex. The
vehicle you just passed may seem
to be farther away from you than it
really is.)
Try not to pass more than one vehicle at a time on two-lane roads.
Reconsider before passing the next vehicle.
Don’t overtake a slowly moving vehicle too rapidly. Even tho\
ugh the
brake lamps are not flashing, it may be slowing down or start\
ing to
turn.
If you’re being passed, make it easy for the following driver to get
ahead of you. Perhaps you can ease a little to the right.
4-10
Page 165 of 380
Downloaded from www.Manualslib.com manuals search engine Loss of Control
Let’s review what driving experts say about what happens whe\
n the three
control systems (brakes, steering and acceleration) don’t have enough
friction where the tires meet the road to do what the driver has asked.
In any emergency, don’t give up. Keep trying to steer and constantly seek an
escape route or area
of less danger.
Skidding
In a skid, a driver can lose control of the vehicle. Defensive drivers avoid
most skids by taking reasonable care suited to existing conditions, and by
not “overdriving” those conditions.
But skids are always possible.
The three types of skids correspond to your vehicle’s three control systems.
In the braking skid your wheels aren’t rolling. In the steering or cornering
skid, too much speed or steering in a curve causes tires to slip and lose
cornering force. And in the acceleration skid too much throttle causes the
driving wheels to spin.
A cornering skid and an acceleration skid are best handled by easing your
foot
off the accelerator pedal.
If your vehicle starts to slide, ease your foot off the accelerator pedal and
quickly steer the way you
want the vehicle to go. If you start steering
quickly enough, your vehicle may straighten out. Always be ready for a
second skid if it occurs.
Of course, traction is reduced when water, snow, ice, gravel, or other
material is on the road. For safety, you’ll want to slow down and adjust your
driving to these conditions. It
is important to slow down on slippery
surfaces because stopping distance will be longer and vehicle control more
limited.
While driving on a surface with reduced traction, try your best to avoid
sudden steering, acceleration, or braking (including engine braking by
shifting to a lower gear). Any sudden changes could cause the tires to slide.
You may not realize the surface is slippery until your vehicle is skidding.
Learn to recognize warning clues
- such as enough water, ice or packed
snow on the road to make a “mirrored surface”
- and slow down when you
have any doubt.
Remember: Any anti-lock brake system (ABS) helps avoid only the braking
skid.
4-11