fuse CHEVROLET BLAZER 1995 2.G Owners Manual
[x] Cancel search | Manufacturer: CHEVROLET, Model Year: 1995, Model line: BLAZER, Model: CHEVROLET BLAZER 1995 2.GPages: 380, PDF Size: 20.04 MB
Page 10 of 380
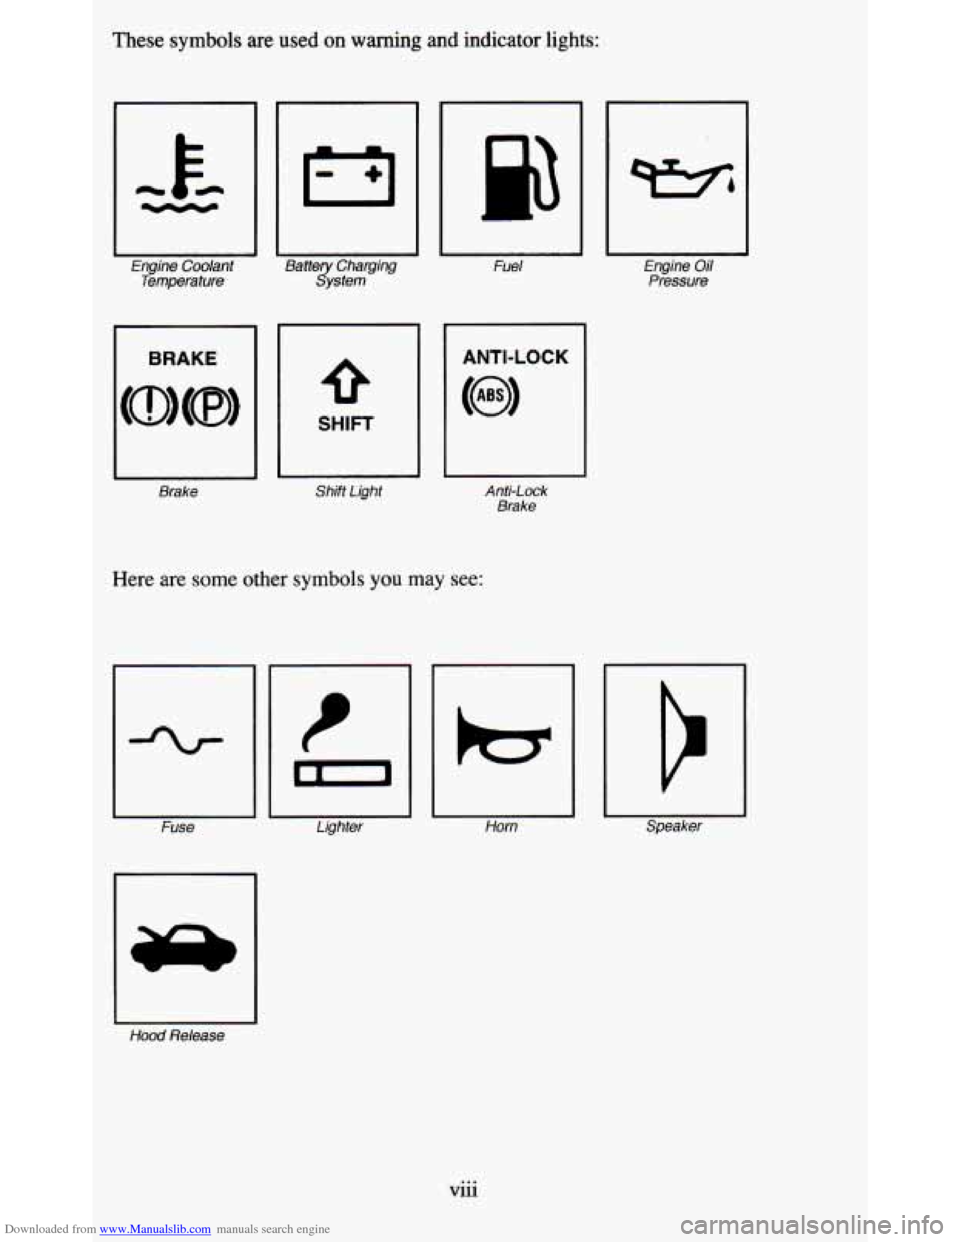
Downloaded from www.Manualslib.com manuals search engine These symbols are used on warning and indicator lights:
Engine Coolant
Temperature
I BRAKE
Brake
Battery Charging
System
1
Fuel
SHIFT
Shift Light
1 ANTI-LOCK
I
Anti-Lock Brake
Here are some other symbols you may see:
Fuse Lighter
I-
I-
Horn
L
Engine Oil Pressure
Hood
Release
Vlll ...
Page 90 of 380
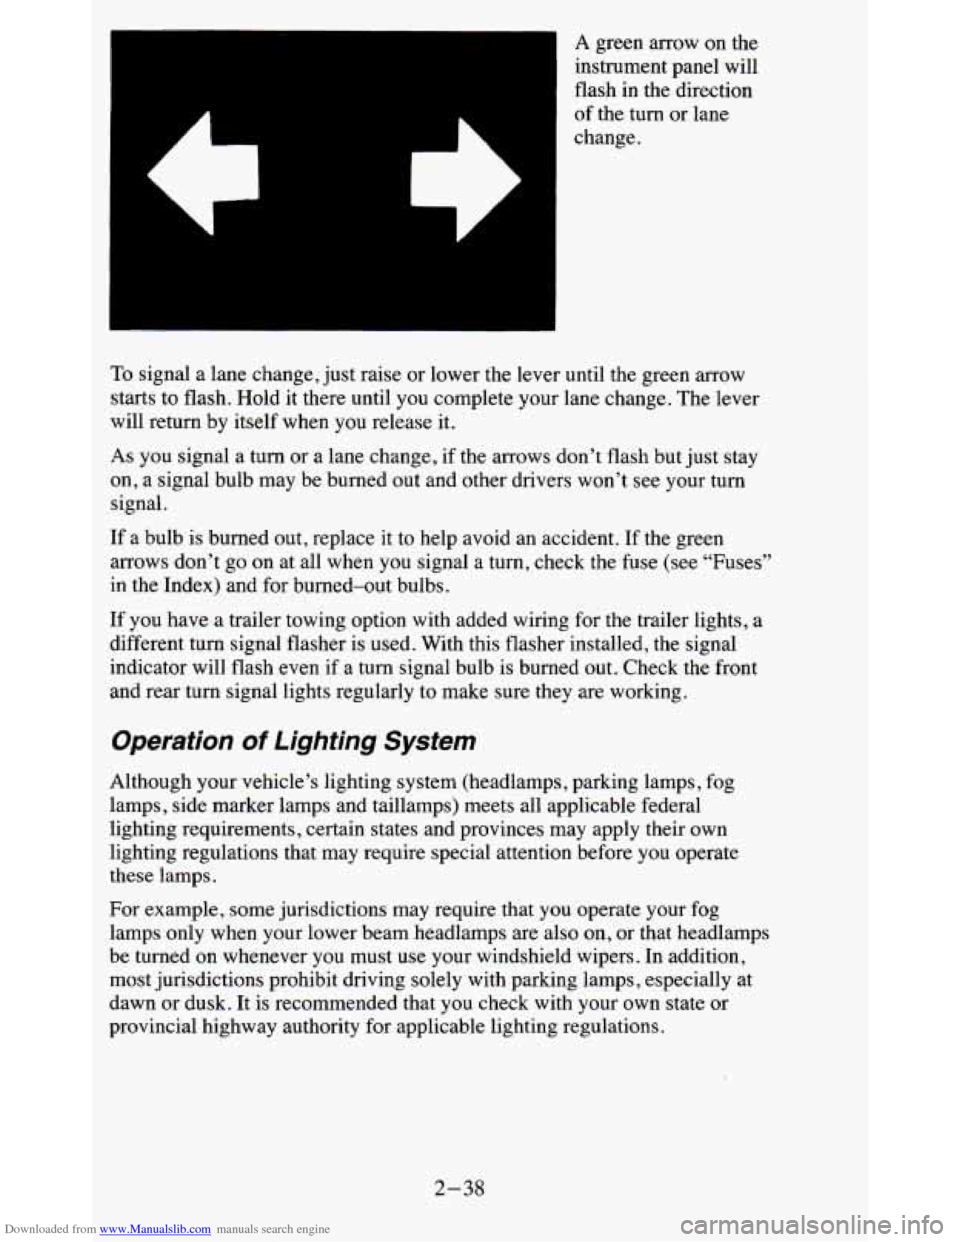
Downloaded from www.Manualslib.com manuals search engine A green arrow on the
instrument panel will
flash
in the direction
of the turn or lane
change.
To signal a lane change, just raise or lower the lever until the green arrow
starts to flash. Hold it there until you complete your lane change. The lever
will return by itself when you release it.
As you signal a turn or a lane change, if the arrows don’t flash but just stay
on, a signal bulb may be burned out and other drivers won’t see your turn
signal.
If a bulb is burned out, replace it to help avoid an accident. If the green
arrows don’t go on at all when
you signal a turn, check the fuse (see “Fuses”
in the Index) and for burned-out bulbs.
If you have a trailer towing option with added wiring for the trailer lights, a
different turn signal flasher is used. With this flasher instal\
led, the signal
indicator will flash even if
a turn signal bulb is burned out. Check the front
and rear turn signal lights regularly to make sure they are w\
orking.
Operation of Lighting System
Although your vehicle’s lighting system (headlamps, parking lamps, fog
lamps, side marker lamps and taillamps) meets all applicable federal
lighting requirements, certain states and provinces may apply their own
lighting regulations that may require special attention before you operate
these lamps.
For example, some jurisdictions may require that you operate your fog
lamps only when your lower beam headlamps are also on,
or that headlamps
be turned on whenever you must use your windshield wipers. In \
addition,
most jurisdictions prohibit driving solely with parking lamps, especially at
dawn or dusk. It is recommended that you check with your own state or
provincial highway authority for applicable lighting regulations.
2-38
Page 92 of 380
Downloaded from www.Manualslib.com manuals search engine For a single wiping cycle, turn the band to MIST. Hold it there until the
wipers start, then let
go. The wipers will stop after one wipe. If you want
more wipes, hold the band on MIST longer.
You can set the wiper speed for a long or short delay between wipes.
This
can be very useful in light rain or snow. Turn the band to choose the delay
time. The closer to
LO, the shorter the delay.
For steady wiping at low speed, turn the band away from you to the
LO
position. For high speed wiping, turn the band further, to HI. To stop the
wipers
, move the band to the off symbol.
Remember that worn or damaged wiper blades may prevent you from
seeing well enough to drive safely. To avoid damage, be sure to clear ice
and snow from the wiper blades before using them. If they’re frozen to the
windshield, carefully loosen or thaw them.
If your blades do become worn
or damaged, get new blades or blade inserts.
Heavy snow or ice can overload your wipers. The windshield wiper motor is
protected
from overload by a circuit breaker and a fuse. If the motor
overheats due to heavy snow, etc., the wiper
will stop until the motor cools.
Although the circuit is protected from electrical overload, overload due to
heavy snow, etc. may cause wiper linkage damage. Always clear ice and
heavy snow from the windshield before using your windshield wipers.
Windshield Washer
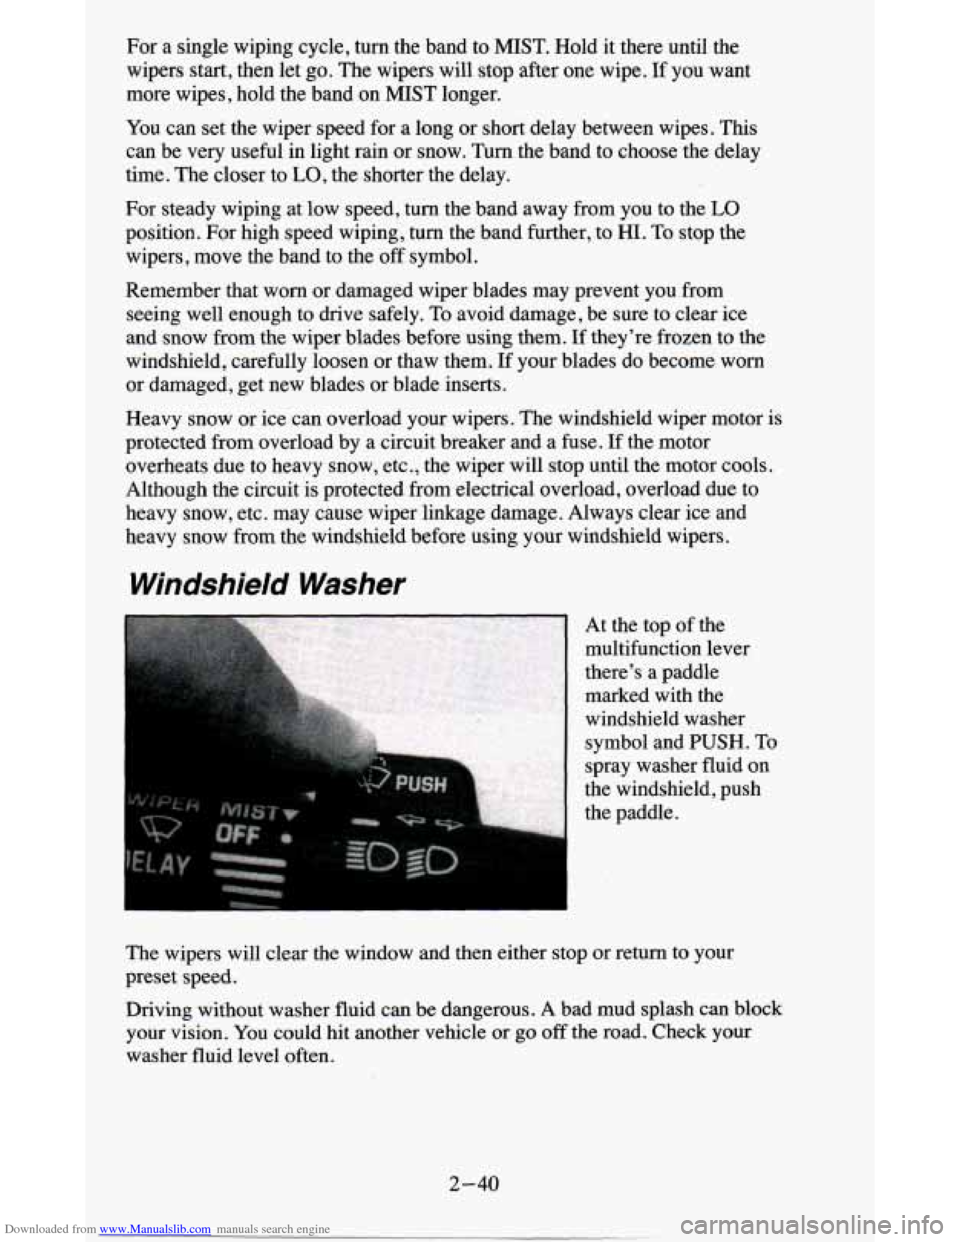
At the top of the
multifunction lever
there’s a paddle
marked with the
windshield washer
symbol and PUSH. To
spray washer fluid on
the windshield, push
the paddle.
The wipers will clear the window and then either stop or return to your
preset speed.
Driving without washer fluid can be dangerous. A bad mud splash can block
your vision. You could hit another vehicle or go
off the road. Check your
washer fluid level often.
2-40
Page 106 of 380
Downloaded from www.Manualslib.com manuals search engine Accessory Power Outlets (Option)
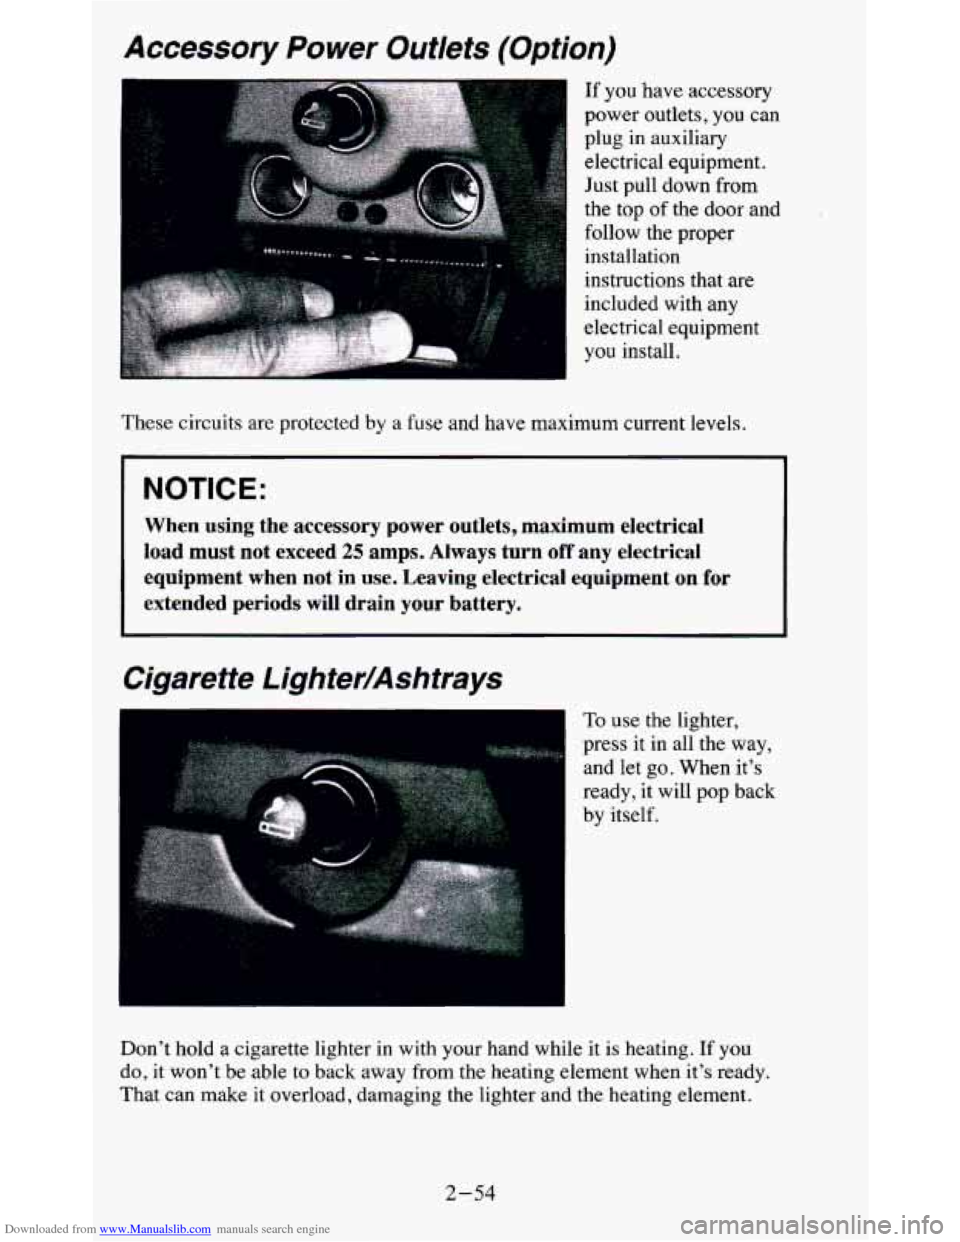
If you have accessory
power outlets, you can
plug in auxiliary
electrical equipment.
Just pull down from
the top of the door and
follow the proper installation
instructions that are
included with any
electrical equipment
you install.
These circuits are protected by a fuse and
have maximum current levels.
NOTICE:
When using the accessory power outlets, maximum electrical
load must not exceed 25 amps. Always turn off any electrical
equipment when not
in use. Leaving electrical equipment on for
extended periods will drain your battery.
Cigarette Lighter/Ashtrays
..
To use the lighter,
press it in all the way,
and let
go. When it's
ready,
it will pop back
by itself,
Don't hold a cigarette lighter in with
your hand while it is heating. If you
do, it won't be able to back away from the heating element when it's ready.
That can make it overload, damaging the lighter and the heating element.
2-54
Page 133 of 380
Downloaded from www.Manualslib.com manuals search engine Don’t exceed the maximum vehicle capacity when loading your vehicle. For
more information on vehicle capacity and loading,
see “Loading Your
Vehicle’’ in the Index.
To prevent damage or loss of cargo as you’re driving, check
now and then to
make sure the luggage carrier and cargo are still securely fastened.
Trailer Wiring Harness
Your vehicle will have a 5-wire and may have a 7-wire harness.
The light duty trailer wiring is a 5-wire harness assembly taped and bundled
at the left corner
of the vehicle. The harness has no connector, and you
should have
a qualified service person wire your harness for you.
The heavy duty trailer wiring is
a 7-wire harness assembly. It is stored
under the vehicle, along the passenger-side frame crossmember on
two-door vehicles and on the driver-side corner frame crossmember on
four-door vehicles. It has a 30-amp feed wire with an inline fuse located by
the junction block. See “Fuses and Circuit Breakers” in
the Index.
Both the 5-wire harness and the 7-wire harness have no connector and
should be wired by a qualified service person. Attach the harness to the
trailer, then tape or strap
it to your vehicle’s frame rail. Be sure you leave it
loose enough
so the wiring doesn’t bend or break, but not so loose that it
drags on the ground.
Store the harness
in its original place. Wrap the harness together and tie it
neatly
so it won’t be damaged.
2-81
Page 300 of 380
Downloaded from www.Manualslib.com manuals search engine Service Parts Identification Label
You’ll find this label on the inside of the glove box.
It’s very helpful
if you ever need to order parts. On this label is:
your VIN,
the model designation,
0 paint information, and
a list of all production options and special equipment.
Be sure that this label is not removed from the vehicle.
Add-on Electrical Equipment
I NOTICE:
Don’t add anything electrical to your vehicle unless you che\
ck
with your dealer first. Some electrical equipment can damage
your vehicle and the damage wouldn’t be covered by your
warranty.
Some add-on electrical equipment can keep other
components from working as they should.
Your vehicle has an air bag system. Before attempting to add anything
electrical to your vehicle, see “Servicing Your Air Bag-Equipped Vehicle”
in the Index.
Fuses and Circuit Breakers
The wiring circuits in your vehicle are protected from short circuits by a
combination of fuses, circuit breakers, and fusible thermal links in the
wiring itself. This greatly reduces the chance
of fires caused by electrical
problems.
6-60
Page 301 of 380
Downloaded from www.Manualslib.com manuals search engine Headlamps
The headlamp wiring is protected by a circuit breaker in the light switch. An
electrical overload will cause the lights to go on and off, or in some cases to
remain
off. If this happens, have your headlamp wiring checked right away.
Windshield Wipers
The windshield wiper motor is protected by a circuit breaker and a fuse. If
the motor overheats due to heavy snow, etc., the wiper will stop until the
motor cools. If the overload is caused by some electrical problem and not
snow, etc., be sure to get it fixed.
Power Windows and Other Power Options
Circuit breakers in the fuse panel protect the power windows and other
power accessories. When the current load is too heavy, the cir\
cuit breaker
opens and closes, protecting the circuit until the problem is fixed.
Trailer Wiring Harness
The optional seven-wire trailer wiring harness is protected by an in-line
fuse in the battery feed wire. This fuse is near the junction block in the
front, driver’s side fender. See “Trailer Wiring Harness” in the
Features &
Controls section.
Fuse B/ock
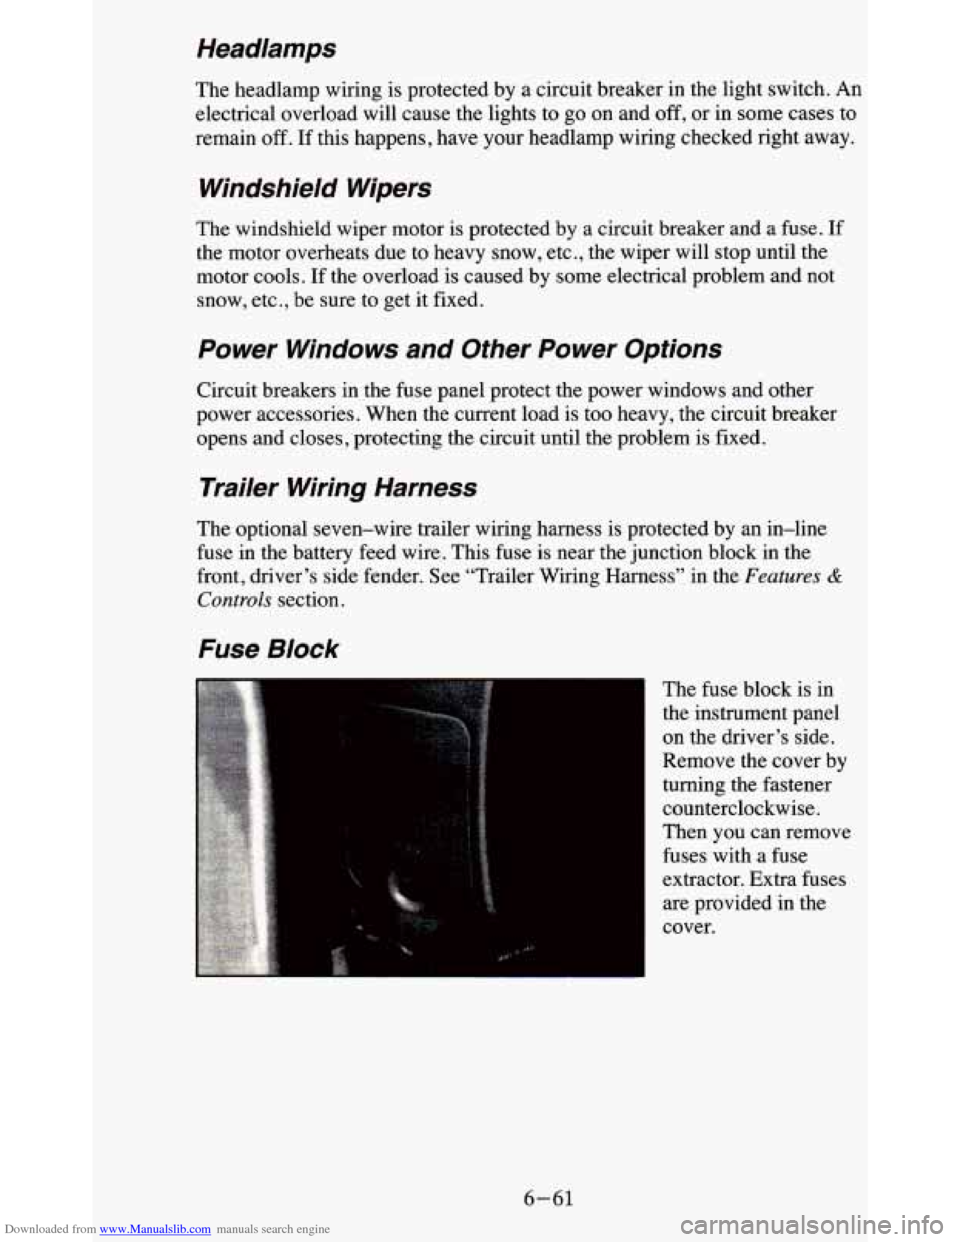
The fuse block is in
the instrument panel
on the driver’s side.
Remove the cover by
turning the fastener
counterclockwise.
Then you can remove
fuses with a fuse
extractor. Extra fuses
are provided in the
cover.
6-61
Page 302 of 380
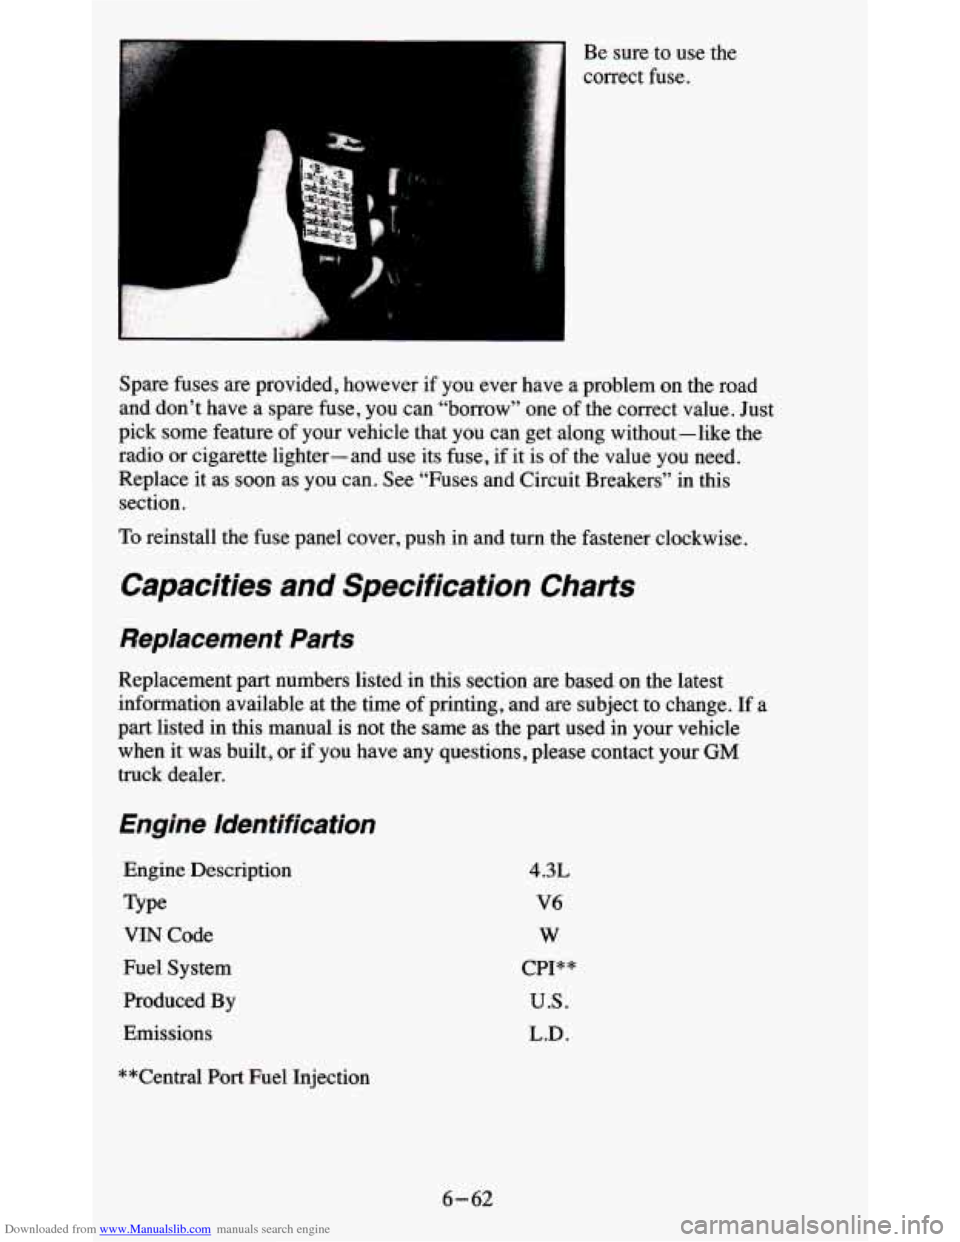
Downloaded from www.Manualslib.com manuals search engine Be sure to use the
correct fuse.
Spare fuses are provided, however if you ever have a problem on the road
and don’t have a spare fuse, you can “borrow” one of the correct value. Just
pick some feature
of your vehicle that you can get along without-like the
radio
or cigarette lighter-and use its fuse, if it is of the value you need.
Replace it as soon
as you can. See “Fuses and Circuit Breakers” in this
section.
To reinstall the fuse panel cover, push in and turn the fastener clockwise.
Capacities and Specification Charts
Replacement Parts
Replacement part numbers listed in this section are based on the latest
information available at the time
of printing, and are subject to change. If a
part listed in this manual is not the same as the part used in your vehicle
when it was built, or if you have any questions, please contact your
GM
truck dealer.
Engine Identification
Engine Description
Type
VIN Code
Fuel System
Produced By
Emissions
4.3L
V6
W
CPI* *
us.
L.D.
**Central Port Fuel Injection
6-62
Page 306 of 380
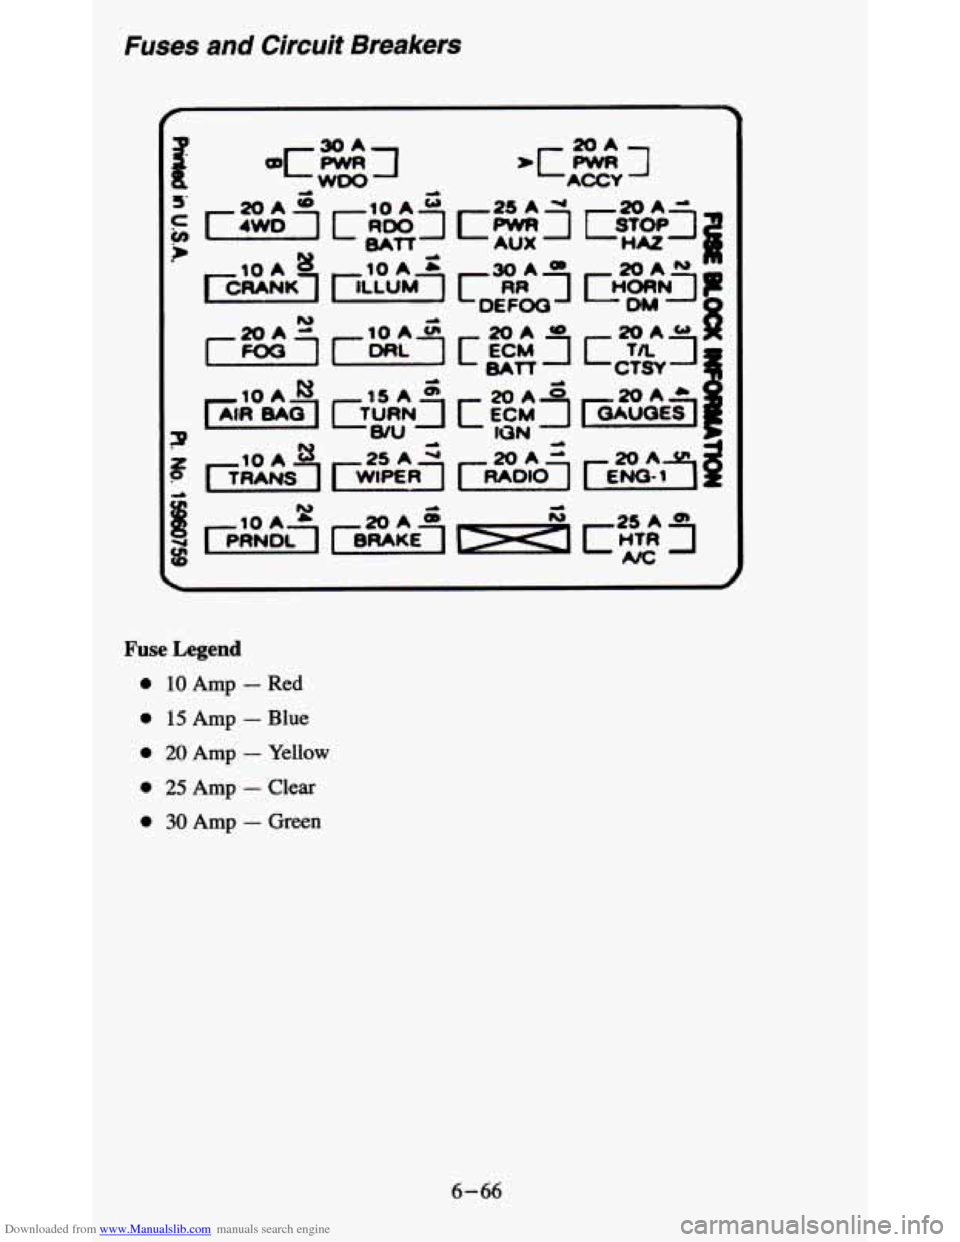
Downloaded from www.Manualslib.com manuals search engine Fuses and Circuit Breakers
Fuse Legend
0 10 Amp - Red
0 15 Amp - Blue
0 20 Amp - Yellow
0 25 Amp - Clear
0 30 Amp - Green
6-66
Page 370 of 380
Downloaded from www.Manualslib.com manuals search engine Bulb Replacement Composite Headlamps
......................................... 6-32
Front Park Turn Signal Lamps ................................... 6-34
Halogen Bulb ................................................ 6-32
RearLamps .................................................. 6-35
Replacementchart ............................................ 6-64
Sealed Beam Headlamps ........................................ 6-31
C
Capacities and Specification ....................................... 6-62
Cargocover .................................................... 2-64
Cargo Tie Downs ................................................. 2-63
Carbon Monoxide ................................ 2-10.2-29.4-34. 4-44
Care of Your Cassette Tape Player (See “Audio Systems”)
Catalytic Converter
.............................................. 640
Certificatiomire Label ........................................... 4-37
Changing a Flat Tire .............................................. 5-21
Chemical Paint Spotting ........................................... 6-56
Child Restraints (See “Safety Belts”)
CHMSL (Center High Mounted Stop Lamp)
........................... 6-36
Cigarette LightedAshtrays ......................................... 2-54
Circuit Breakers (See “Fuses and Circuit Breakers”)
Cleaning
Fabricprotection
.............................................. 6-51
Finishcare .................................................. 6-54
Glass ....................................................... 6-53
InsideofVehicle .............................................. 6-49
Instrument Panel. Top .......................................... 6-52
Outside of Vehicle ............................................. 6-53
Special Problems .............................................. 6-51
VinylorLeather .............................................. 6-52
Weatherslips ................................................. 6-53
Wheels and Tires .............................................. 6-55
Audio System without a Compact Disc (CD) ......................... 3-5
Audio System with Compact Disc (CD) ............................. 3-5
Comfort Controls ................................................. 3-1
Compass ....................................................... 2-59
Console
Centeroverhead
.............................................. 2-58
Garage Door Opener Compartment ............................... 2-61
ConvenienceNet ................................................ 2-63
Control of a Vehicle ............................................... 4-4
Coolant (See “Engine”)
Cooling System Capacity
.......................................... 6-63
Courtesy Transportation ............................................ 8-7
Crankcasecapacity .............................................. 6-63
Cruise Control (Option) ........................................... 2-42
OnHills ..................................................... 246
Passing Another Vehicle ........................................ 2-45
To Erase Speed Memory ........................................ 246
ToGetOutOf ................................................ 246
ToIncreaseSpeed ............................................. 24
ToReduceSpeed .............................................. 2-45
Clock. Setting the
2