headlights CHEVROLET BLAZER 1995 2.G Owners Manual
[x] Cancel search | Manufacturer: CHEVROLET, Model Year: 1995, Model line: BLAZER, Model: CHEVROLET BLAZER 1995 2.GPages: 380, PDF Size: 20.04 MB
Page 83 of 380
Downloaded from www.Manualslib.com manuals search engine dealer check your system. Turn the INT LIGHTS switch located to the righl
of your headlight switch to dim your transfer case indicator light when you1
headlights or parking lights are on. This will also cause your instrument
panel lights to dim.
2HI - This setting is for driving in most street and highway situations.
Your front axle is not engaged in two-wheel drive.
4HI - This setting engages your front axle to help drive your vehicle. Use
4HI when you need extra traction, such as on snowy or icy roads, or in mos
off-road situations.
N SET PARK BRAKE - Shift to this neutral setting only when your
vehicle needs to be towed.
4LO - This setting also engages your front axle to give you extra traction
and provides extra gear reduction. You may never need 4LO. It sends the
maximum power to all four wheels. You might choose 4LO if
you were
driving off-road in sand, mud, or deep snow and climbing or descending
steep hills.
You can shift from 2HI to 4HI or from 4HI to 2HI while the vehicle is
moving.
Do not press the transfer case shift lever button when shifting fron
2HI to 4HI or from 4HI to 2HI. Your front axle will engage faster
if you
take your foot off
of the accelerator for a few seconds after you shift.
To shift your transfer case into N SET PARK BRAKE:
1. Stop the vehicle and shift your transmission into NEUTRAL (N).
2. Set the parking brake. Your vehicle can roll unless the brakes are
3. Pull the transfer case shift lever into N SET PARK BRAKE.
applied.
To shift into or out
of 4LO:
1. The vehicle must be stopped or moving less than 3 mph (4.8 kdh)
with the transmission in NEUTRAL
(N) for an automatic transmission
or the clutch pedal depressed with a manual transmission.
2. Press the transfer case shift button and shift in one continuous motion.
Don’t pause in
N SET PARK BRAKE as you shift into or out of 4L0, or
your gears could clash.
Remember that driving in 4HI or 4LO may reduce fuel economy. Also,
driving in four-wheel
drive on dry pavement could cause your tires to wea
faster and make your transfer case harder to shift and reduce powertrain
longevity.
2-31
Page 100 of 380
Downloaded from www.Manualslib.com manuals search engine Fog Lamps (Option)
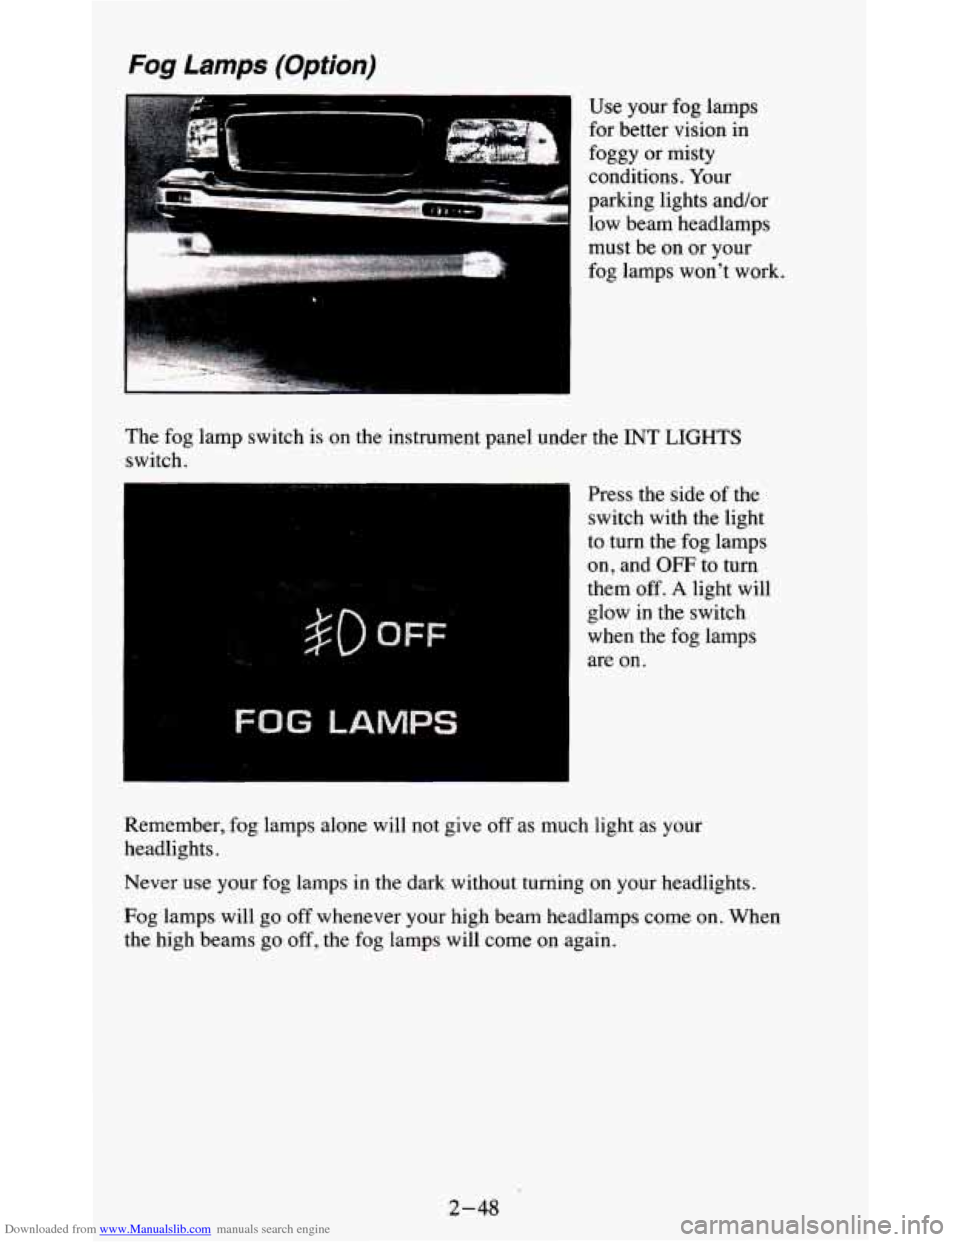
Use your fog lamps
for better vision in
foggy or misty
conditions. Your
parking lights and/or
low beam headlamps
must be on or your
fog lamps won’t work.
The fog lamp switch is on the instrument panel under the INT
LIGHTS
switch I
$0 OFF-
FOG LAMPS
Press the side of the
switch with the light
to turn the fog lamps
on, and OFF
to turn
them
off. A light will
glow
in the switch
when the fog lamps
are on.
Remember, fog lamps alone will not give
off as much light as your
headlights.
Never
use your fog lamps in the dark without turning on your headlights.
Fog lamps will
go off whenever your high beam headlamps come on. When
the high beams go
off, the fog lamps will come on again.
2-48
Page 123 of 380
Downloaded from www.Manualslib.com manuals search engine The brake system warning light will also come on when you set your
parking brake, and it will stay on
if your parking brake doesn’t release fully.
If it stays
on after your parking brake is fully released, it means you have a
brake problem.
Anti-Lock Brake System Warning Light
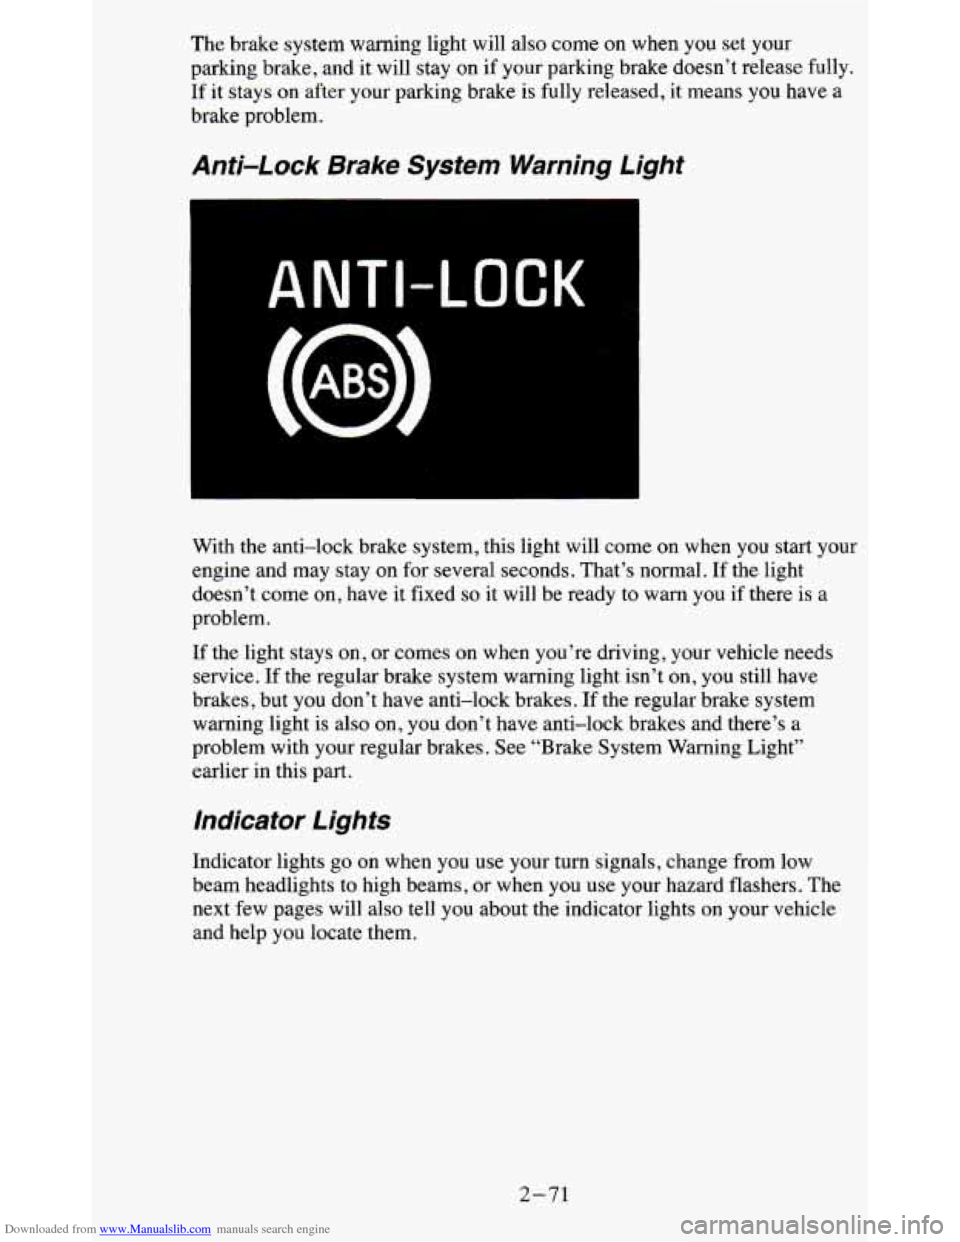
ANTI-LOCK
With the anti-lock brake system, this light will come on when you start your
engine and may stay on for several seconds. That’s normal. If the light
doesn’t come on, have it fixed
so it will be ready to warn you if there is a
problem.
If the light stays on, or comes on when you’re driving, your vehicle needs
service. If the regular brake system warning light isn’t on, you still have
brakes, but you don’t have anti-lock brakes.
If the regular brake system
warning light is also on, you don’t have anti-lock brakes and there’s a
problem with your regular brakes. See “Brake System Warning Light”
earlier in this part.
Indicator Lights
Indicator lights go on when you use your turn signals, change from low
beam headlights to high beams,
or when you use your hazard flashers. The
next few pages will also tell you about the indicator lights \
on your vehicle
and help you locate them.
2-71
Page 171 of 380
Downloaded from www.Manualslib.com manuals search engine Try to drive straight up the hill if at all possible. If the path twists and
turns,
you might want to find another route.
Ease up on’your speed as you approach the top of the hill.
Attach a flag to the vehicle to make you more visible to approaching
traffic on trails or hills.
Sound the horn as you approach the top of the hill to let opposing
traffic know you’re there.
Use your headlights even during the day. They make you more visible
to oncoming traffic.
Q: What should I do if my vehicle stalls, or is about to stall, and I
can’t make it up the hill?
A: If this happens, there are some things you should do, and there are
some things you must not do. First, here’s what you
should do:
Push the brake pedal to stop the vehicle and keep it from rolling
backwards. Also, apply the parking brake.
If your engine is still running, shift the transmission into reverse,
release the parking brake, and slowly back down the hill in reverse.
If your engine has stopped running, you’ll need to restart it. With the
brake pedal depressed and the parking brake still applied, shift the
transmission
to PARK (P) (or, shift to NEUTRAL (N) if your vehicle
has a manual transmission) and restart the engine. Then, shift to
reverse, release the parking brake, and slowly back down the hill as
straight as possible in reverse.
4-17
Page 178 of 380
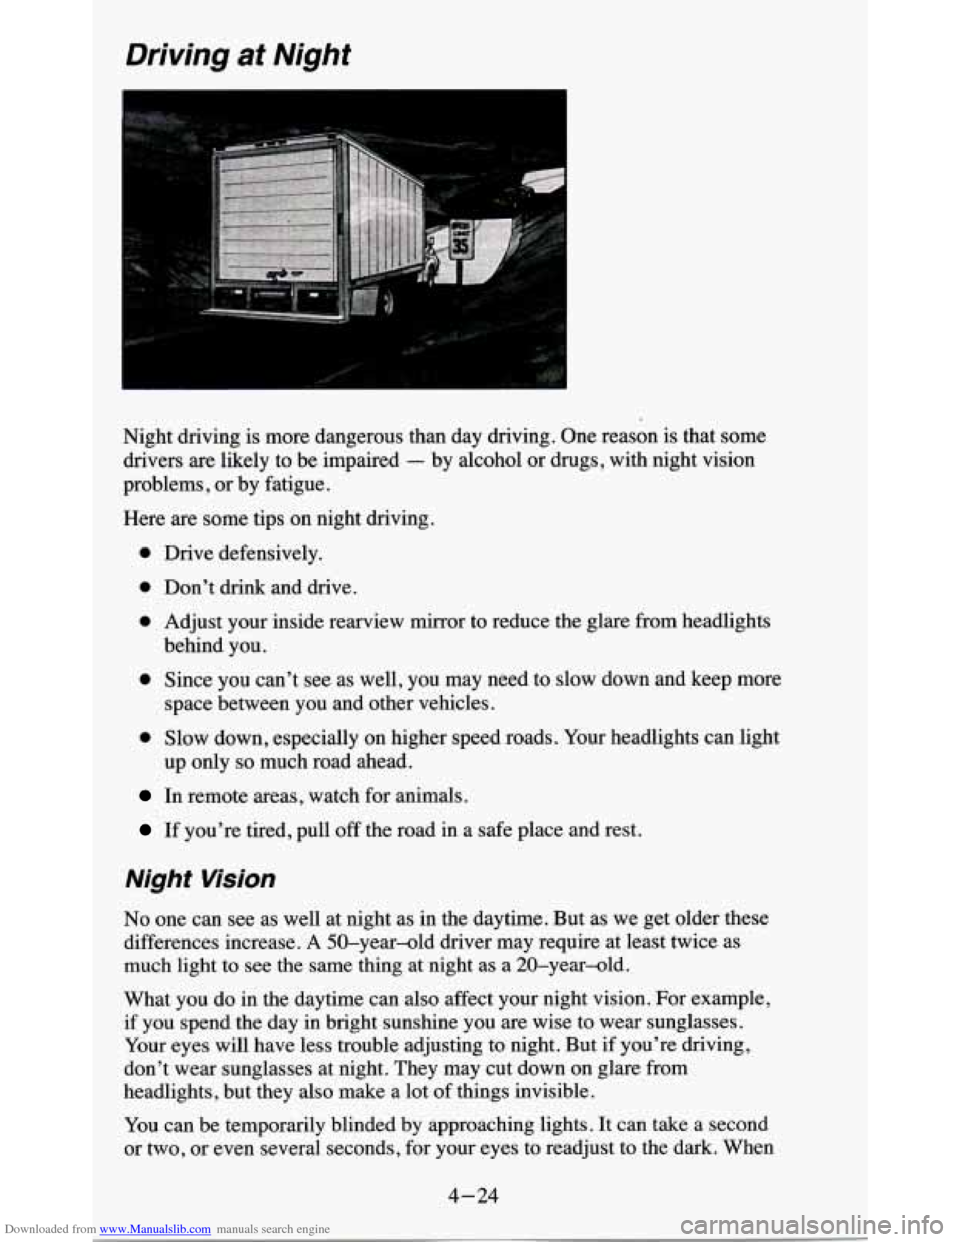
Downloaded from www.Manualslib.com manuals search engine Driving at Night
Night driving is more dangerous than day driving. One reason i\
s that some
drivers are likely to be impaired
- by alcohol or drugs, with night vision
problems, or by fatigue.
Here are some tips on night driving.
0 Drive defensively.
0 Don't drink and drive.
0 Adjust your inside rearview mirror to reduce the glare from headlights
behind you.
0 Since you can't see as well, you may need to slow down and keep more
0 Slow down, especially on higher speed roads. Your headlights can light
space
between you and other vehicles.
up only
so much road ahead.
In remote areas, watch for animals.
If you're tired, pull off the road in a safe place and rest.
Night Vision
No one can see as well at night as in the daytime. But as we get older these
differences increase.
A SO-year-ld driver may require at least twice as
much light to see the same thing at night as a 20-year-old.
What you do in the daytime can also affect your night vision. For example,
if you spend the day in bright sunshine you are wise to wear sunglasses.
Your eyes will have less trouble adjusting to night. But if you're driving,
don't wear sunglasses at night. They may cut down on glare from
headlights, but they also make a lot of things invisible.
You can be temporarily blinded by approaching lights. It can take a second
or two, or even several seconds, for your eyes to readjust to the dark. When
4-24
Page 179 of 380
Downloaded from www.Manualslib.com manuals search engine you are faced with severe glare (as from a driver who doesn’t lower the high
beams, or a vehicle
with misaimed headlights), slow down a little. Avoid
staring directly into the approaching lights.
Keep your windshield and all the glass on your vehicle clean
- inside and
out. Glare at night is made much worse by dirt on the glass. Even the inside
of the glass can build up
a film caused by dust. Dirty glass makes lights
dazzle and flash more than clean glass would, making the pupils
of your
eyes contract repeatedly.
Remember that your headlights light up far less
of a roadway when you are
in a turn or curve. Keep your eyes moving; that way, it’s easier to pick out
dimly lighted objects. Just as your headlights should be checked regularly
for proper aim,
so should your eyes be examined regularly. Some drivers
suffer from night blindness
- the inability to see in dim light - and aren’t
even aware of it.
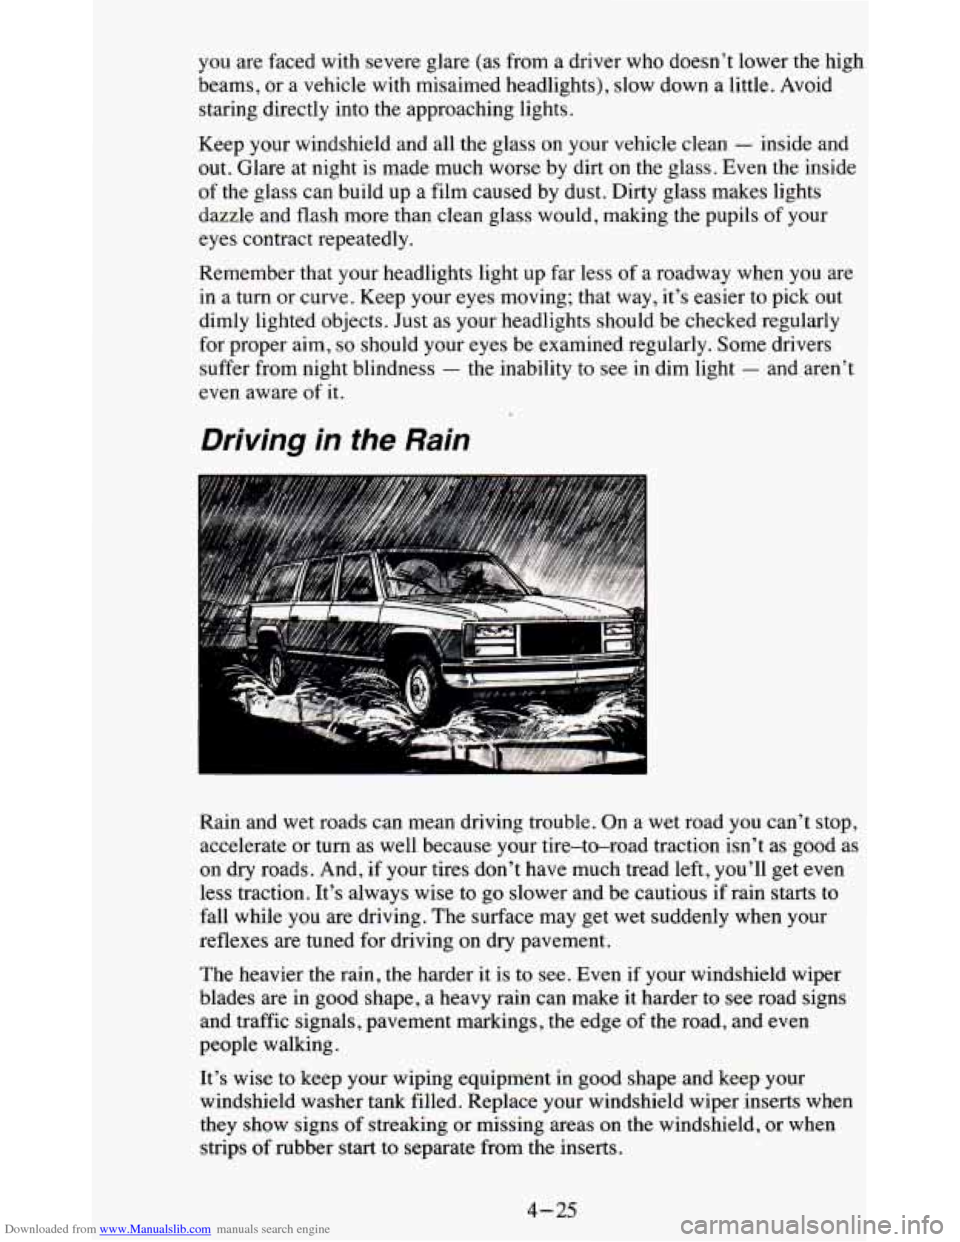
Driving in the Rain
Rain and wet roads can mean driving trouble. On a wet road y\
ou can’t stop,
accelerate or turn as well because your tire-to-road traction isn’t as good as
on dry roads. And, if your tires don’t have much tread left, you’ll get even
less traction. It’s always wise to go slower and be cautious
if rain starts to
fall while you are driving. The surface may get wet suddenly when your
reflexes are tuned for driving on dry pavement.
The heavier the rain, the harder it is to see. Even
if your windshield wiper
blades are in good shape,
a heavy rain can make it harder to see road signs
and traffic signals, pavement markings, the edge
of the road, and even
people walking.
It’s wise to keep your wiping equipment in good shape and keep your
windshield washer tank filled. Replace your windshield wiper inserts when
they show
signs of streaking or missing areas on the windshield, or when
strips of rubber start
to separate from the inserts.
4-25
Page 181 of 380
Downloaded from www.Manualslib.com manuals search engine Some Other Rainy Weather Tips
0 Turn on your low-beam headlights - not just your parking lights - to
help make
you more visible to others.
especially careful when you pass another vehicle. Allow yourself\
more clear room ahead, and be prepared to have your view restricted by road
spray.
0 Besides slowing down, allow some extra following distance. And be
Have good tires with proper tread depth. (See “Tires” in the Index.)
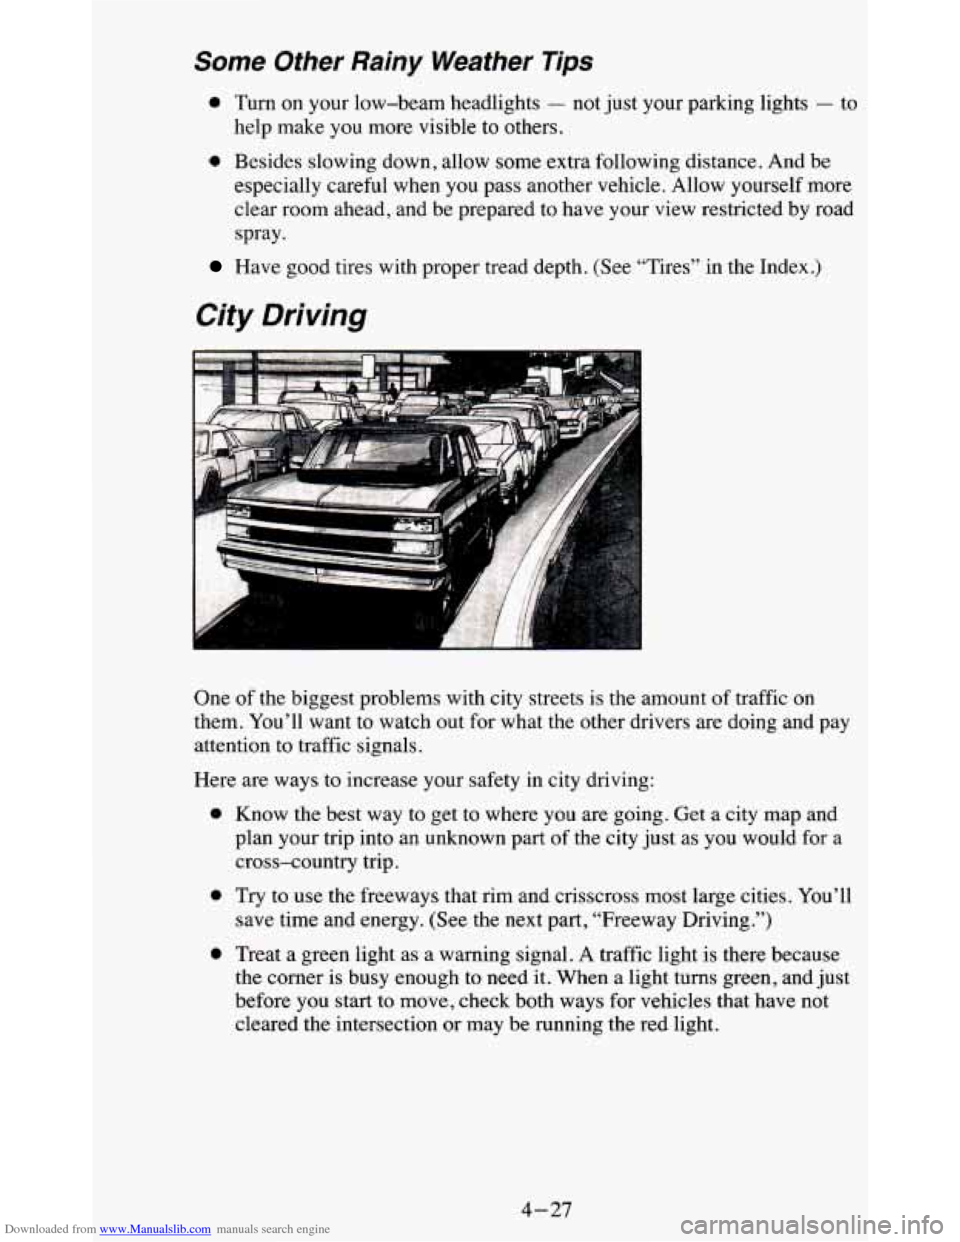
City Driving
One of the biggest problems with city streets is the amount of traffic on
them. You’ll want to watch out for what the other drivers are doing and pay
attention to traffic signals.
Here are ways to increase your safety in city driving:
0
0
e
Know the best way to get to where you are going. Get a city map and
plan your trip into an unknown part
of the city just as you would for a
cross-country trip.
Try to use the freeways that rim and crisscross most large cities. You’ll
save time and energy. (See the next part, “Freeway Driving.”)
Treat a green light as a warning signal.
A traffic light is there because
the corner
is busy enough to need it. When a light turns green, and just
before you start to move, check both ways for vehicles that have not
cleared the intersection or may be running the red light.
4-27
Page 189 of 380

Downloaded from www.Manualslib.com manuals search engine Run your engine only as long as you must. This saves fuel. When you run
the engine, make it go a little faster than just idle. That is, push the
accelerator slightly. This uses less fuel for the heat that you get and it keeps
the battery charged. You will need a well-charged battery to restart the
vehicle, and possibly for signaling later on with your headlights. Let the
heater run for awhile.
Then, shut the engine
off and close the window almost all the way to
preserve the heat. Start the engine again and repeat this only when you feel
really uncomfortable from the cold. But do it as little as possible. Preserve
the
fuel as long as you can. To help keep warm, you can get out of the
vehicle and do some fairly vigorous exercises every half hour
or so until
help comes.
Power Winches
If you wish to use a power winch on your vehicle, only use it when your
vehicle is stationary or anchored.
NOTICE:
Operating a power winch with an automatic transmission in
PARK (P) or a manual transmission in gear may damage the
transmission. Always put the transmission in a Neutral position \
while operating a power winch.
I
Use the regular brakes, set the parking brake or block the wheels to keep
your vehicle from rolling.
If your vehicle is equipped with an airbag, see "Adding Equipment to Your
Air Bag-Equipped Vehicle" in the Index.
4-35
Page 373 of 380
Downloaded from www.Manualslib.com manuals search engine Hood Checking Under. Hood Release
................................... 6-6
Horn .......................................................... 2-36
Hydraulic Clutch ................................................ 6-18
Hydroplaning (See “Driving in the Rain”)
I
If You’re Stuck in Sand. Mud. Ice. or Snow ........................... 5-35
Ignitionswitch .................................................. 2-14
Inflation-Tire Pressure ( See “Tires”)
Instrument Cluster
............................................... 2-65
Instrument Panel ................................................ 2-65
J
Jacking Equipment Storage ........................................ 5-22
Jump Starting .......... ....................................... 5-3
K
Key Release Button .............................................. 2-16
Keyless Entry System ............................................. 2-6
Keys ........................................................... 2-1
L
Labels
Lamps CertificatiodTire
.............................................. 4-37
Bulb Replacement ............................................. 6-31
Domes ...................................................... 2-50
FogLamps .................................................. 2-48
Front
Parkingmum Signal ....................................... 6-34
Headlights (See “Headlamps”)
Lamp and Bulb Data
........................................... 6-64
Operation of Lighting System .................................... 2-38
Overhead Console Reading ...................................... 2-58
RearLamps .................................................. 6-35
Air Bag Readiness Light ........................................ 2-69
Anti-Lock Brake System Warning Light ........................... 2-71
BrakeSystemLight ............................................ 2-70
Charging System Light ......................................... 2-74
CheckGagesLight ............................................ 2-74
Daytime Running Lamps (DRL) Light ............................. 2-75
Headlamp High Beam Light ..................................... 2-76
Headlights (See “Headlamps”)
Malfunction Indicator
..................................... 2-72. 641
Safety Belt Reminder Light ..................................... 2-69
Service Engine Soon (See “Malfunction Indicator”)
ShiftLight
.............................................. 2-23. 2-75
Turn Signal and Lane Change Light ............................... 2-76
Lights
5