brake fluid CHEVROLET BLAZER 1996 2.G Owners Manual
[x] Cancel search | Manufacturer: CHEVROLET, Model Year: 1996, Model line: BLAZER, Model: CHEVROLET BLAZER 1996 2.GPages: 392, PDF Size: 20.35 MB
Page 192 of 392
Downloaded from www.Manualslib.com manuals search engine Hill and Mountain Roads If you drive regularly in steep country, or if you’re
planning
to visit there, here are some tips that can make
your trips safer and more enjoyable. (See “Off-Road
Driving”
in the Index for information about driving
off-road.)
0
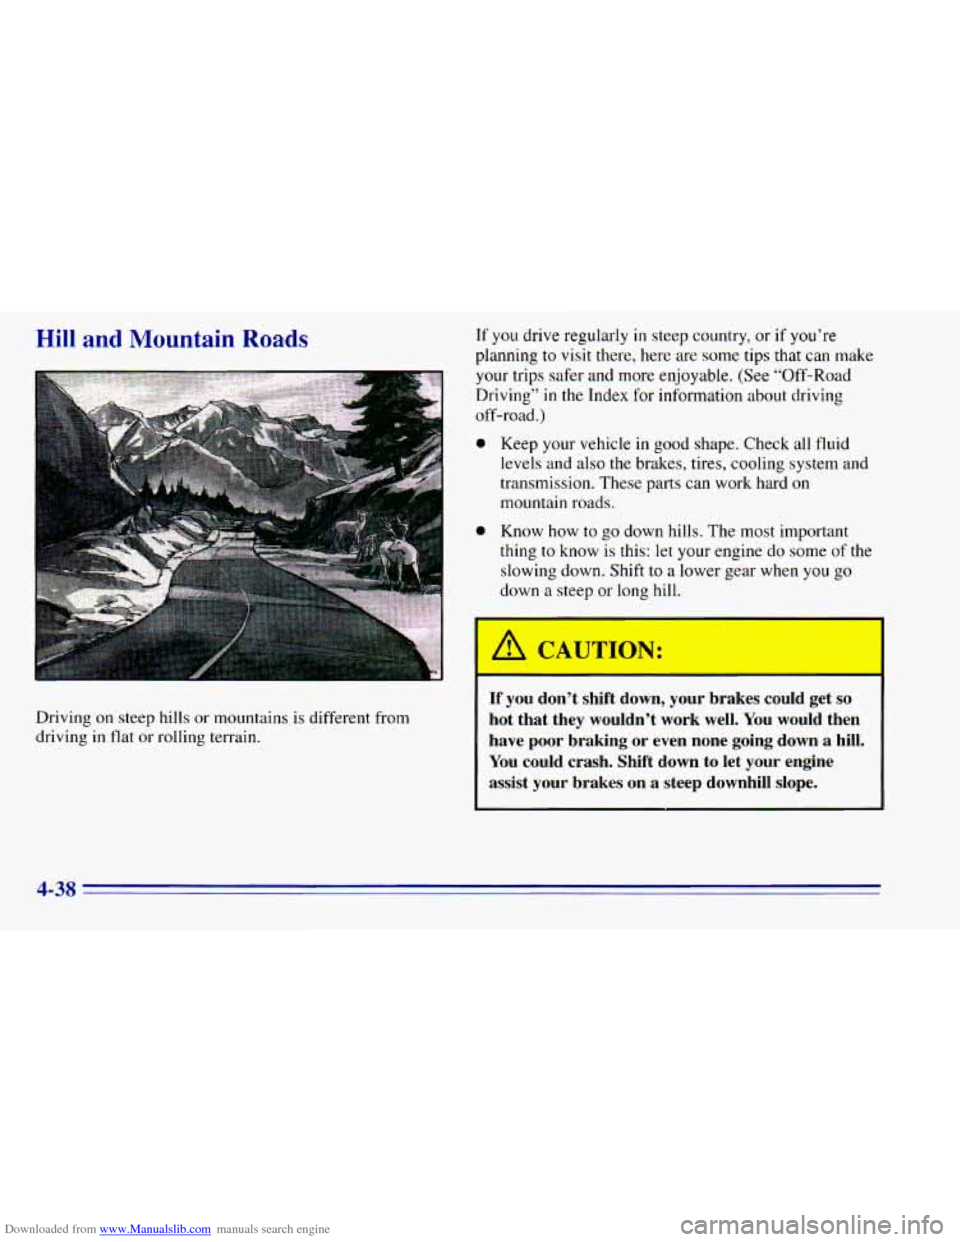
Driving on steep hills or mountains is different from
driving
in flat or rolling terrain.
0
Keep your vehicle in good shape. Check all fluid
levels and also the brakes, tires, cooling system and
transmission. These parts can work hard
on
mountain roads.
Know how to go down hills. The most important
thing
to know is this: let your engine do some of the
slowing down. Shift to a lower gear when you
go
down a steep or long hill.
If you don’t shift down, your brakes could get so
hot that they wouldn’t work well. You would then
have poor braking or even none going down a hill.
You could crash. Shift down to let your engine
assist your brakes on a steep downhill slope.
4-38
Page 205 of 392
Downloaded from www.Manualslib.com manuals search engine Trailer Brakes
If your trailer weighs more than 1,000 lbs. (450 kg)
loaded,
then it needs its own brakes -- and they must be
adequate. Be sure
to read and follow the instructions for
the trailer brakes
so you’ll be able to install, adjust and
maintain them properly.
Your trailer’s brake system can tap into the vehicle’s
hydraulic brake system only if:
0 The trailer parts can withstand 3,000 psi
(20 650 kPa) of pressure.
0.02 cubic inch (0.3 cc) of fluid from your vehicle’s
master cylinder. Otherwise, both braking systems
won’t work well. You could even lose your brakes.
0 The trailer’s brake system will use less than
If everything checks out this far, then make
the brake
fluid tap
at the port on the master cylinder that sends
fluid to the rear brakes. But don’t use copper tubing for
this. If
you do, it will bend and finally break off. Use
steel brake tubing.
Driving with a Trailer
A CAUTION:
-
If you hr ! a most wi ow 01 I and you
pull
a trailer with your vehicle, carbon monoxide
(CO) could come into your vehicle. You can’t see
or smell
CO. It can cause unconsciousness or
death. (See “Engine Exhaust” in the Index.)
To
maximize your safety when towing a trailer:
0
e
0
Have your exhaust system inspected €or
leaks, and make necessary repairs before
starting on your trip. Keep the rear-most windows closed.
If exhaust does come into your vehicle
through
a window in the rear or another
opening, drive with your front, main
heating or cooling system on and with the
fan on any speed. This will bring fresh,
outside
air into your vehicle. Do not use
MAX A/C because it only recirculates the
air inside your vehicle. (See “Comfort
Controls” in the Index.)
4-5 1
Page 210 of 392
Downloaded from www.Manualslib.com manuals search engine Maintenance When Trailer Towing
Your vehicle will need service more often when you’re
pulling
a trailer. See the Maintenance Schedule for more
on this. Things that are especially important in trailer
operation are automatic transmission fluid (don’t
overfill), engine oil, axle lubricant, belt, cooling system
and brake adjustment. Each of these is covered
in this
manual, and the Index will help you find them quickly.
If you’re trailering, it’s a good idea to review these
sections before you start your trip.
Check periodically to see that all hitch nuts and bolts
are tight.
Trailer Wiring Harness
The light duty trailer wiring is a six-wire harness
assembly. The heavy duty trailer wiring is an eight-wire
harness assembly. The harnesses are stored under
the
vehicle, along the passenger-side frame crossmember on
two-door vehicles or on the driver’s side corner frame
crossmember
on four-door vehicles. The heavy duty
trailer wiring has a 30-amp feed wire with an inline fuse
located by the junction block. See “Fuses and Circuit
Breakers” in
the Index. Both harnesses have no
connector and should be wired
by a qualified electrical technician. The technician can
use the following color code chart when connecting the
wiring harness
to your trailer.
0
0
0
0
0
0
0
0
DARK BLUE: Use for electric trailer brakes or
auxiliary wiring.
RED: Use for battery charging; it connects to the
starter solenoid (eight-wire harness
only).
LIGHT GREEN: Back-up lamps (eight-wire
harness only).
BROWN: Taillamps and parking lamps.
YELLOW Left stoplamp and turn signal.
DARK GREEN: Right stoplamp and turn signal.
WHITE (Heavy Gage): Ground wire.
WHITE (Light Gage): Auxiliary stoplamp.
Securely attach the harness
to the trailer, then tape or
strap it to your vehicle’s frame rail. Be sure you leave
it loose enough
so the wiring doesn’t bend or break,
but
not so loose that it drags on the ground. Store the
harness in its original place. Wrap the harness together
and
tie it neatly so it won’t be damaged.
4-56
Page 255 of 392
Downloaded from www.Manualslib.com manuals search engine Checking Things Under the Hood
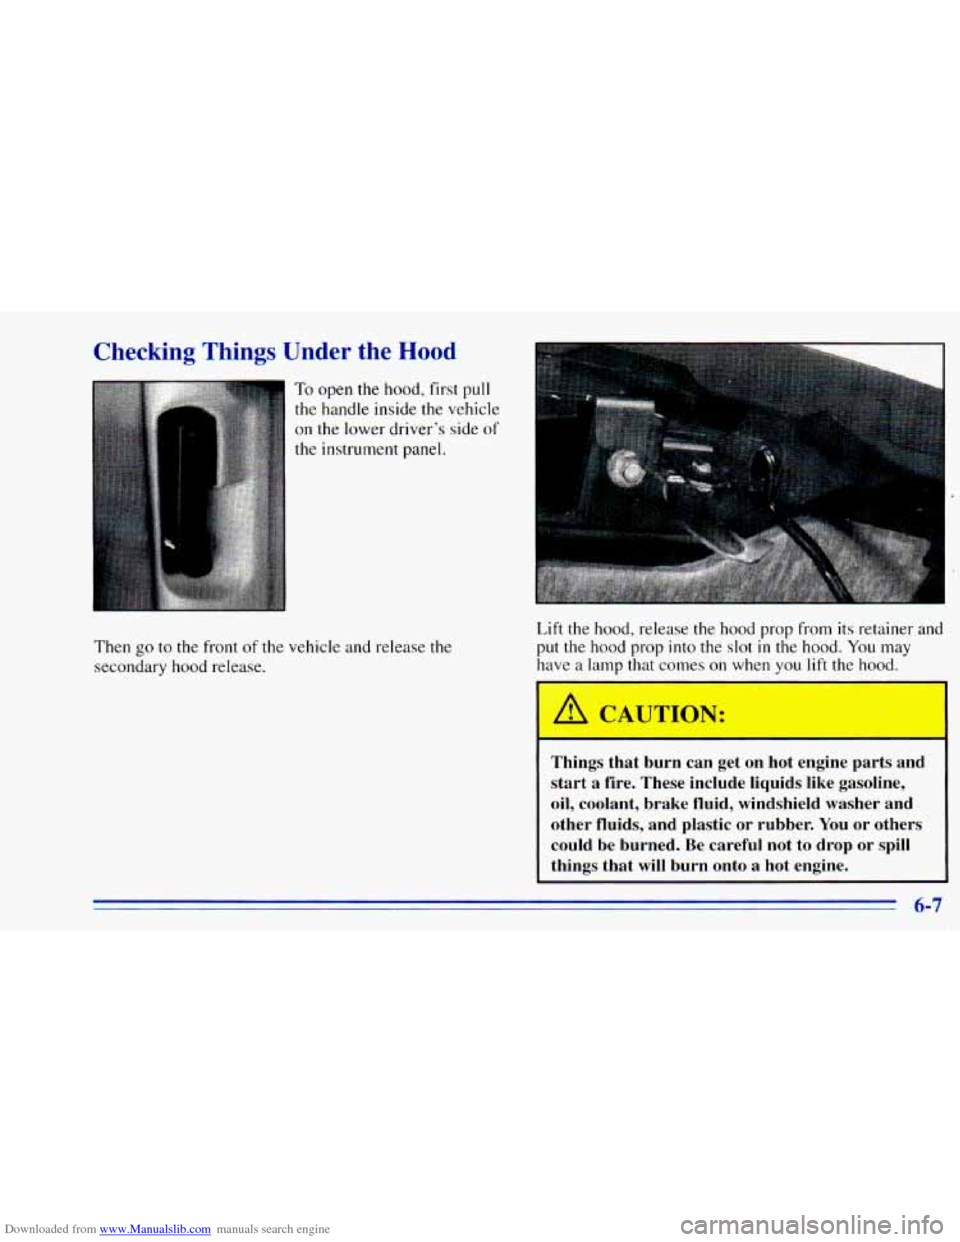
To open the hood, first pull
the handle inside the vehicle
on the lower driver's side of
the instrument panel.
Then go to the front of the vehicle and release the
secondary hood release. Lift the hood, release
the hood
prop from its retainer and
put the hood prop into the slot
in the hood. You may
have a
lnnl~ that cn'qes *n when you lift the hood.
.. .: '_* , . . .I.
Things that burn can get on hot engine parts and
start a fire. These include liquids like gasoline,
oil, coolant, brake fluid, windshield washer and
other fluids, and plastic or rubber. You
or others
could be burned. Be careful not to drop or spill
things that
will burn onto a hot engine.
6-7
Page 256 of 392
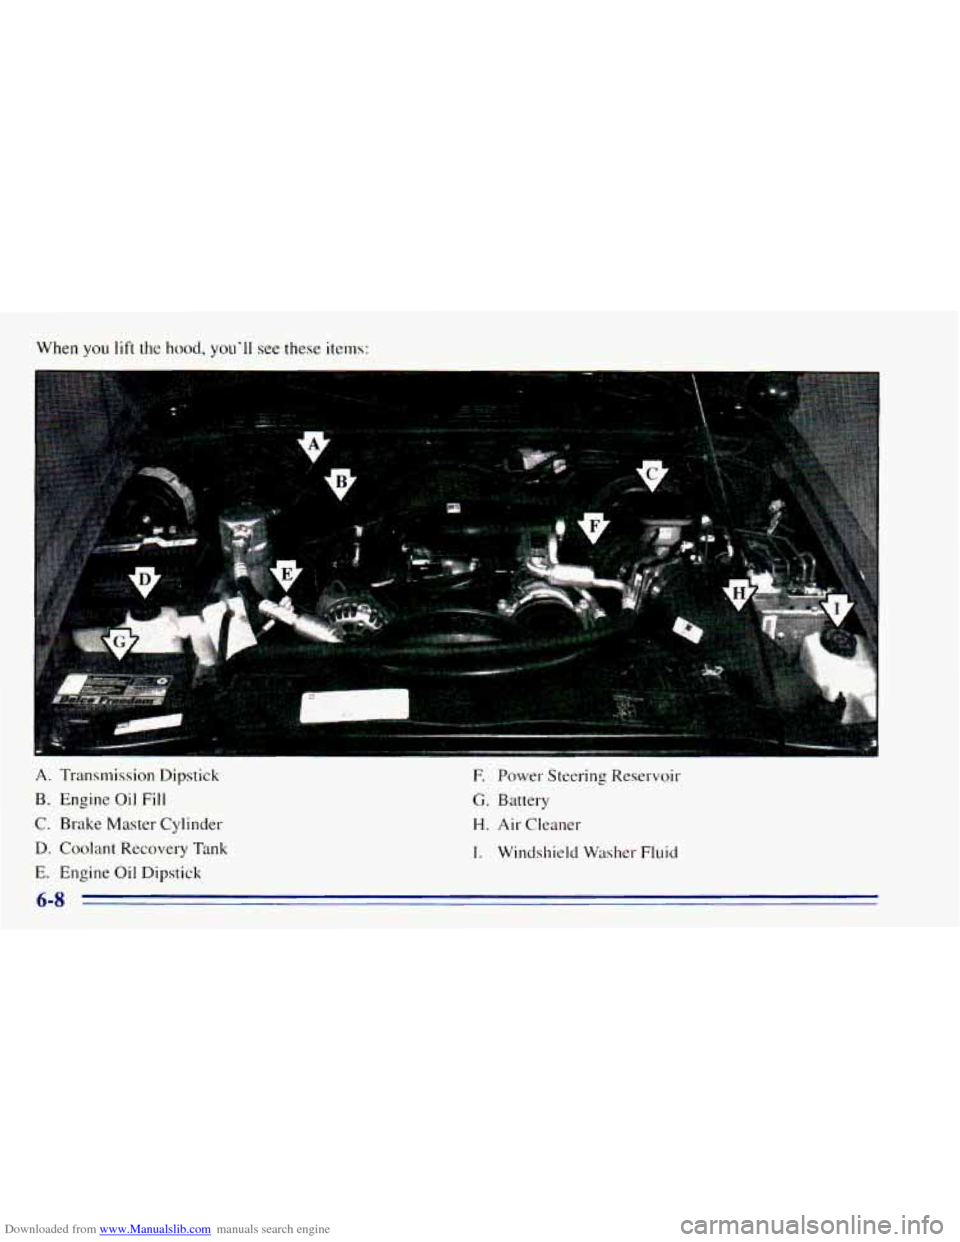
Downloaded from www.Manualslib.com manuals search engine When you lift the hood, you'll see these items:
A. Transmission Dipstick
B. Engine Oil Fill
C. Brake Master Cylinder
D. Coolant Recovery Tank
E. Engine Oil Dipstick F.
Power Steering Reservoir
G. Battery
H. Air Cleaner
I. Windshield Washer Fluid
6-8
Page 263 of 392
Downloaded from www.Manualslib.com manuals search engine Checking Transmission Fluid T'3t
Get the vehicle warmed up by driving about 15 miles
(24 km) when outside temperatures are above 50°F
(10°C). If it's colder than 50°F ( 10°C), drive the
vehicle in
DRIVE (D) until the engine temperature gage
moves and
then remains steady for 10 minutes. Then
follow the
hot check procedures.
Checking Transmission Fluid Cold
A cold check is made after the vehicle has been sitting
for eight hours or more with the engine
off and is used
only as a reference. Let the engine run at idle for five
minutes if outside temperatures are
50°F (10°C) or
more. If it's colder than 50°F (lO"C), you may have to
idle the engine longer. Should
the fluid level be low
during a cold check, you
must perform a hot check
before adding fluid. This will give you
a more accurate
reading
of the fluid level.
Checking the Fluid Hot or Cold
0 Park your vehicle on a level place. Keep the
engine running.
in
PARK (P).
0 With the parking brake applied, place the shift lever
0 With your foot on the brake pedal, move the shift
lever through each gear range, pausing for about
three seconds in each range. Then, position the shift
lever in
PARK (P).
Let the engine run at idle for three minutes or more.
Then, without shutting
off the engine, follow these steps:
. 3
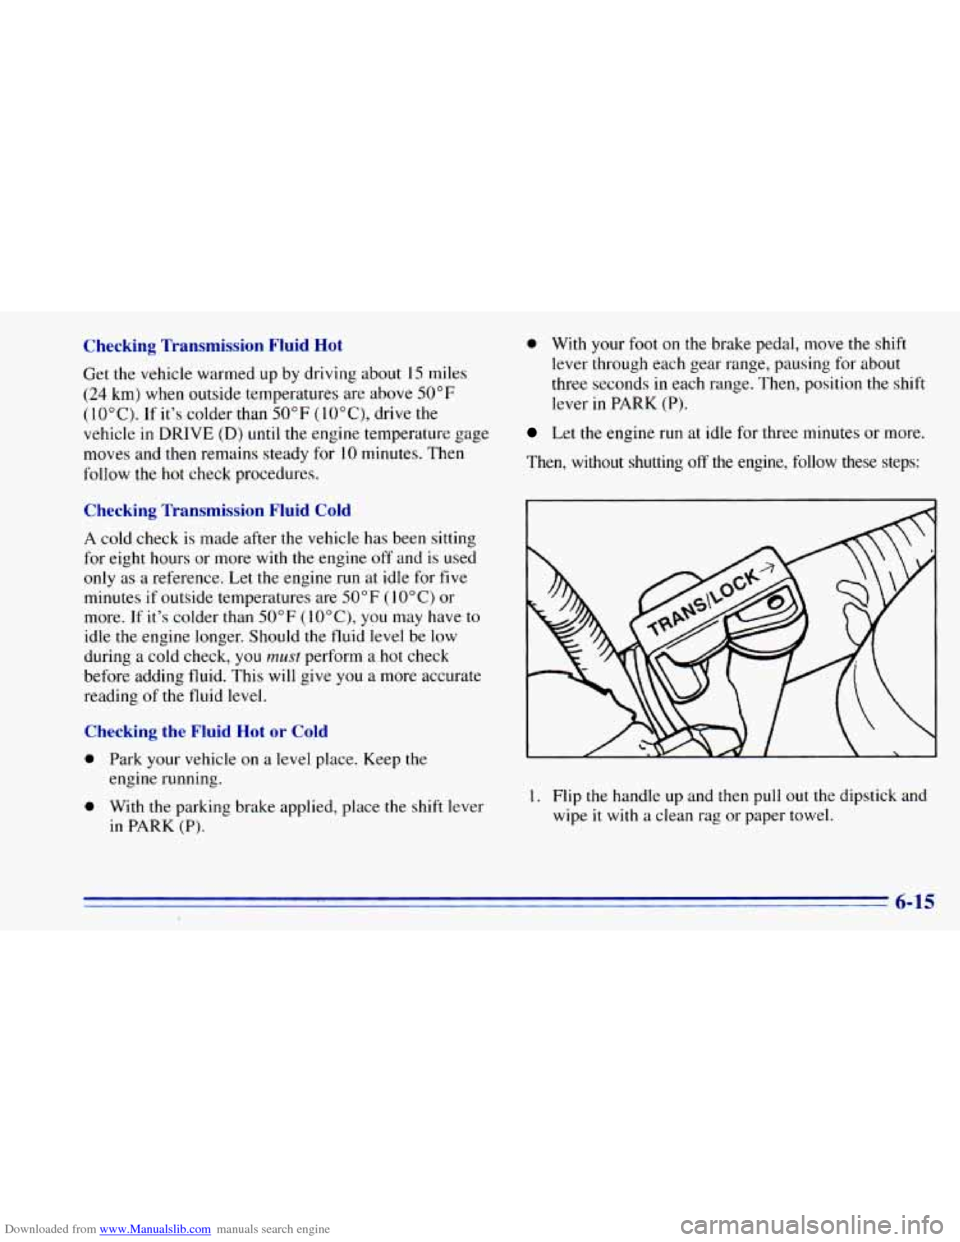
1. Flip the handle up and then pull out the dipstick and
wipe
it with a clean rag or paper towel.
., . - .. , , . . 6-15
Page 276 of 392
Downloaded from www.Manualslib.com manuals search engine Brakes
Bra.ke Fluid
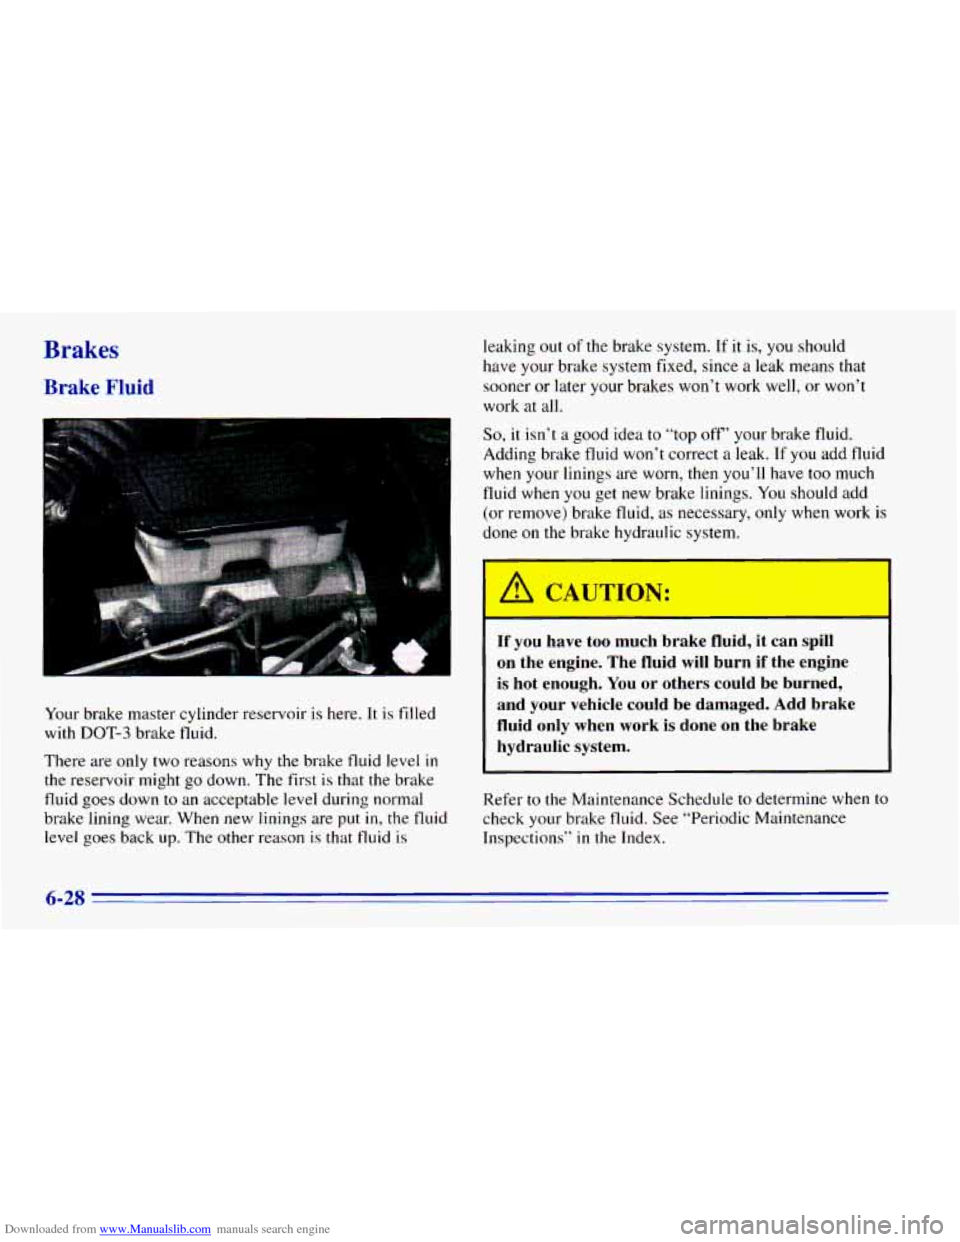
Your brake master cylinder reservoir is here. It is filled
with
DOT-3 brake fluid.
There are only two reasons why the brake fluid level
in
the reservoir might go down. The first is that the brake
fluid goes down
to an acceptable level during normal
brake lining wear. When new linings are
put in, the fluid
level goes back up. The other reason
is that fluid is
leaking out of the brake system. If it is, you should
have your brake system fixed, si.nce
a leak means that
sooner or later your brakes won’t work well, or won’t
work at all.
So, it isn’t a good idea to “top off’ your brake fluid.
Adding brake fluid won’t correct a leak. If
you add fluid
when your linings are worn,
then you’ll have too much
fluid when
you get new brake linings. You should add
(or remove) brake fluid, as necessary, only when work
is
done on the brake hydraulic system.
I A CAUTION:
If you have too much brake fluid, it can spill
on the engine. The fluid
will burn if the engine
is hot enough. You or others could be burned,
and your vehicle could be damaged. Add brake
fluid only when work is done on the brake
hydraulic system.
Refer to the Maintenance Schedule to determine when to
check your brake fluid. See “Periodic Maintenance
Inspections’’
in the Index.
6-28
Page 277 of 392
Downloaded from www.Manualslib.com manuals search engine Checking Brake Fluid
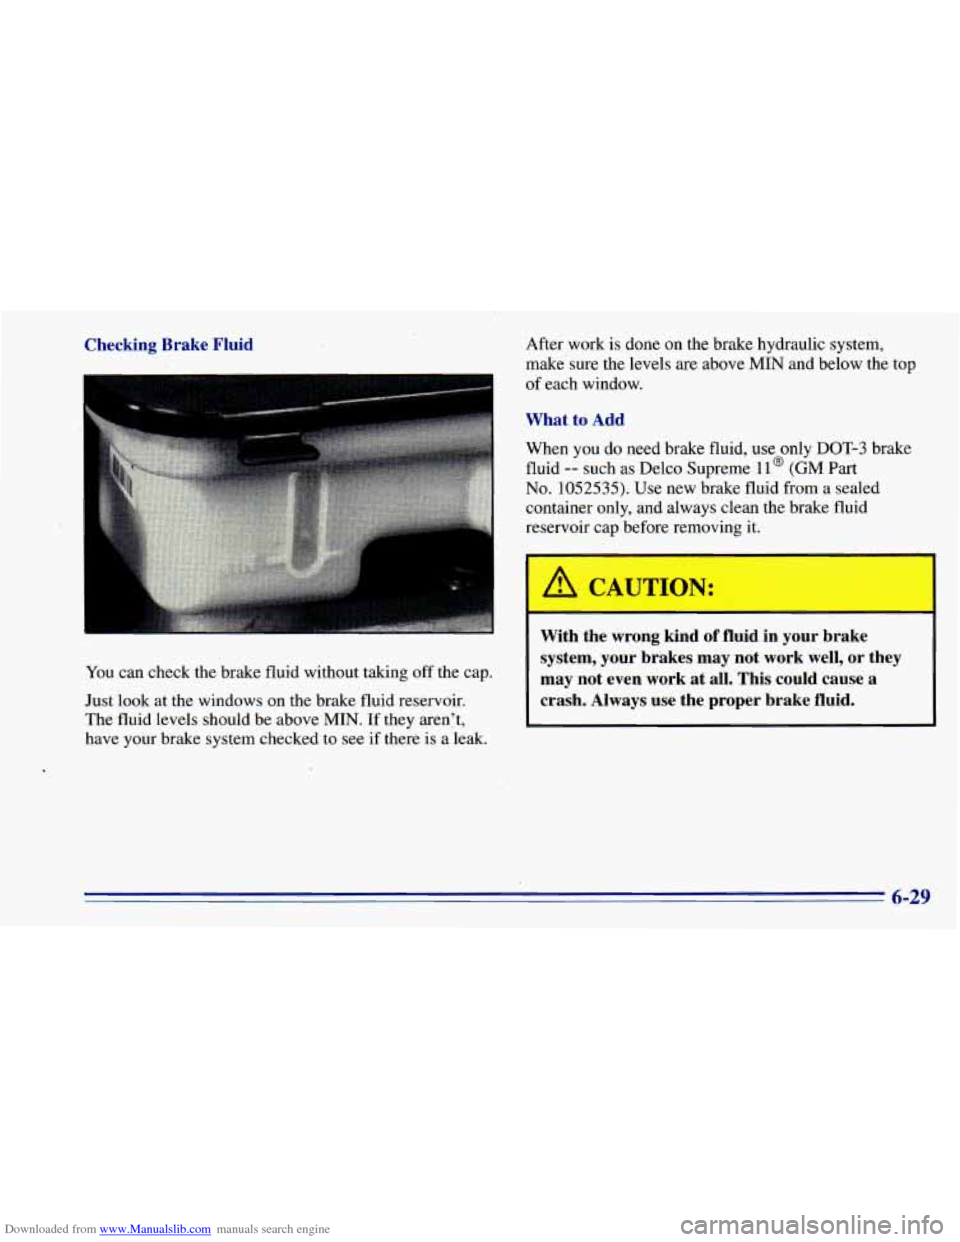
You can check the brake fluid without taking off the cap.
Just look at the windows on the brake fluid reservoir.
The fluid levels should be above MIN. If they arenrt,
have your brake system checked to see if there is a leak. After work
is done on the brake hydraulic system,
make'sure the levels
are above MIN and below the top
of each window.
What to Add
When you do need brake fluid, use only DOT-3 brake
fluid
-- such as Ddco Supreme 11 @ (GM Part
No. 1052535). Use new brake fluid from a sealed
container only, and always clean the brake fluid
reservoir cap before removing it.
Wit ;he wrong kind of fluid in your brake
system, your brakes may not work well, or they
may not even work at all. This could cause a
crash. Always use the proper brake fluid.
6-29
Page 278 of 392
Downloaded from www.Manualslib.com manuals search engine NOTICE:
a
a
Using the wrong fluid can badly damage
brake system parts. For example, just a few
drops
of mineral-based oil, such as engine
oil, in your brake system can damage brake
system parts
so badly that they’ll have to be
replaced. Don’t let someone put in the
wrong kind of fluid.
If you spill brake fluid on your vehicle’s
painted surfaces, the paint finish can be
damaged. Be careful not to spill brake fluid
on your vehicle.
If you do, wash it off
immediately. See “Appearance Care’’ in
the Index.
Brake Wear
Your vehicle has front disc brakes and rear drum brakes.
Disc brake pads have built-in wear indicators that make a
high-pitched warning sound when
the brake pads are worn
and new pads
are needed. The sound may come and go or
be heard all the time your vehicle is moving (except when
you are pushinq
on the brake pedal firmly).
The brake wear warning sound means that sooner
or later your brakes won’t work well. That could
lead
to an accident. When you hear the brake wear
warning sound, have your vehicle serviced.
NOTICE:
Continuing to drive with worn-out brake pads
could result in costly brake repair.
Page 319 of 392
Downloaded from www.Manualslib.com manuals search engine Short Trip/City Maintenance Schedule
3,000 Miles (5 000 km)
0 Change engine oil and filter (or every
3 months, whichever occurs first).
An Emission Control Service.
0 Lubricate the front suspension, ball joints,
steering linkage and transfer case shift
linkage, parking brake cable guides,
propshaft splines, universal joints, brake
pedal springs and clutch pedal springs at
every
oil change.(or every 3 months,
whichever occurs first).
0 Check readfront axle fluid level and add
fluid as needed. Check constant velocity
joints and axle seals for leaking?
DATE
SERVICED BY ACTUAL MILEAGE
6,000 Miles (10 000 km)
Cl Change engine oil and filter (or every
3 months, whichever occurs first).
An Ewission Control Service.
0 Lubricate the front suspension, ball joints,
steering linkage and transfer case shift
linkage, parking brake cable guides,
propshaft splines, universal joints, brake
pedal springs and clutch pedal springs at
every oil change
(or every 3 months,
whichever occurs first).
(Continued)
7-7