oil level CHEVROLET BLAZER 1996 2.G Owners Manual
[x] Cancel search | Manufacturer: CHEVROLET, Model Year: 1996, Model line: BLAZER, Model: CHEVROLET BLAZER 1996 2.GPages: 392, PDF Size: 20.35 MB
Page 130 of 392
Downloaded from www.Manualslib.com manuals search engine Engine Oil Pressure Gage
OIL 0-
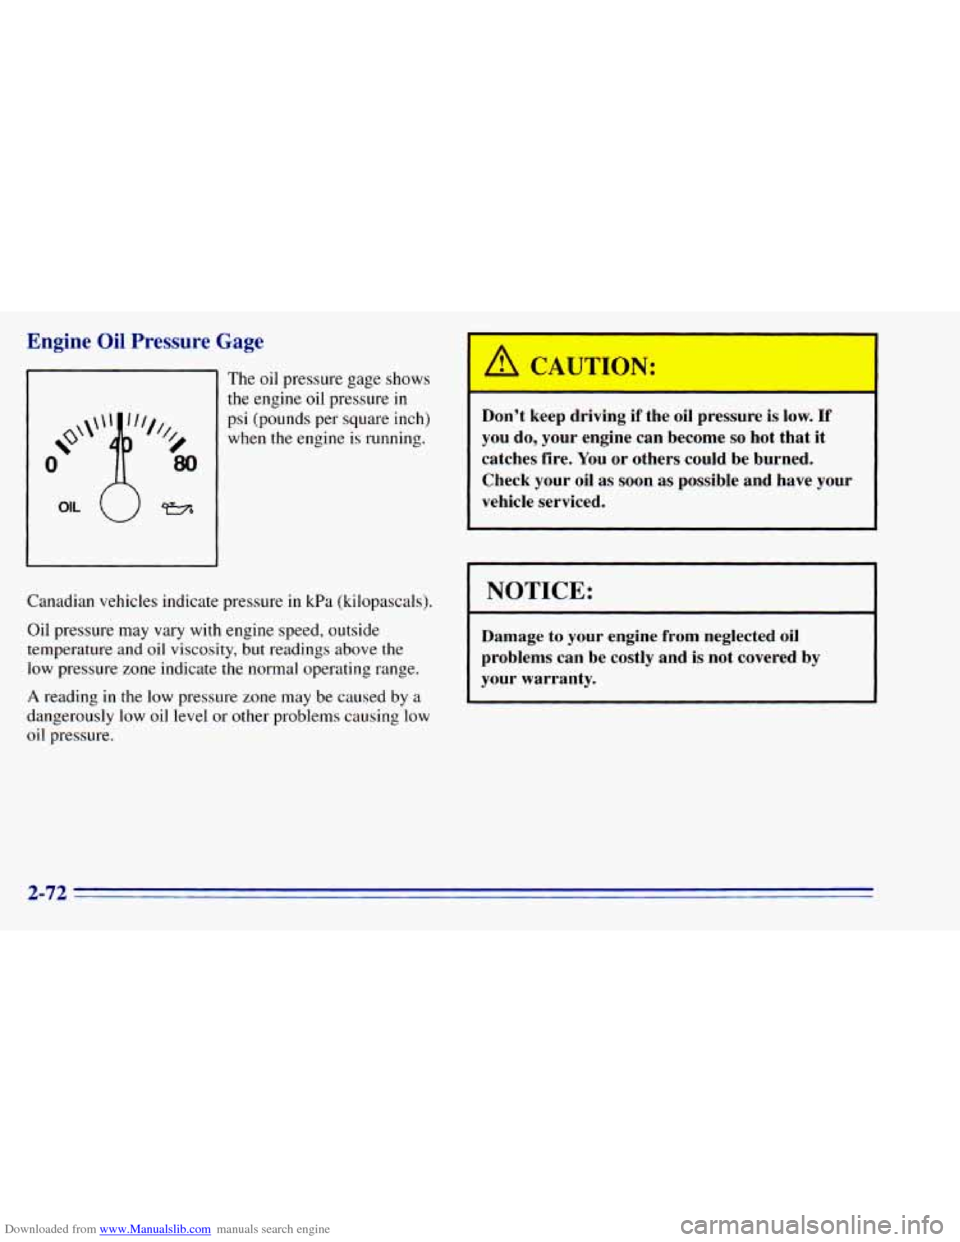
The oil pressure gage shows
the engine oil pressure in
psi (pounds per square inch)
when the engine
is running.
Canadian vehicles indicate pressure in kPa (kilopascals).
Oil pressure may vary with engine speed, outside
temperature
and oil viscosity, but readings above the
low pressure zone indicate the normal operating range.
A reading in the low pressure zone may be caused by a
dangerously
low oil level or other problems causing low
oil pressure.
CAUTION:
Don't keep driving if the oil pressure is low. If
you do, your engine can become so hot that it
catches fire. You or others could be burned.
Check your oil as soon as possible and have your
vehicle serviced.
NOTICE:
Damage to your engine from neglected oil
problems can be costly and is not covered by
your warranty.
2-72
Page 191 of 392
Downloaded from www.Manualslib.com manuals search engine Here are some things you can check before a trip:
0
a
0
0
0
0
0
Windshield Washer Fluid: Is the reservoir full?
Are all windows clean inside and outside?
Wiper Blades: Are they in good shape?
Fuel, Engine Oil, Other Fluids: Have you checked
all levels?
Lamps: Are they all working? Are the lenses clean?
Tires: They are vitally important to a safe,
trouble-free trip.
Is the tread good enough for
long-distance driving? Are the tires all inflated to the
recommended pressure?
Weather Forecasts: What’s the weather outlook
along your route? Should you delay your trip a short
time
to avoid a major storm system?
Maps: Do you have up-to-date maps?
Highway Hypnosis
Is there actually such a condition as “highway hypnosis”?
Or is
it just plain falling asleep at the wheel? Call it
highway hypnosis, lack of awareness,
or whatever.
There is something about an easy stretch
of road with the
same scenery, along with the hum of the tires on the road,
the drone
of the engine, and the rush of the wind against
the vehicle that can make
you sleepy. Don’t let it happen
to you!
If it does, your vehicle can leave the road in less
than n second, and you could crash and be injured.
What can
you do about highway hypnosis‘? First, be
aware that it can happen.
Then here are some tips:
0
0
0
Make sure your vehicle is well ventilated, with a
comfortably cool interior.
Keep your eyes moving. Scan the road ahead and
to
the sides. Check your mirrors and your instruments
frequently.
If
you get sleepy, pull off the road into a rest, service
or parking area and take a nap, get some exercise, or
both. For safety, treat drowsiness on the highway
as
an emergency.
4-37
Page 208 of 392
Downloaded from www.Manualslib.com manuals search engine On a long uphill grade, shift down and reduce your
speed to around
45 mph (70 kmh) to reduce the
possibility of engine and transmission overheating.
If you have
an automatic transmission, you should use
DRIVE (D) when towing
a trailer. Operating your
vehicle in DRIVE
(D) when towing a.trailer will
minimize heat buildup and extend the life of your
transmission. Or, if
you have a manual transmission,
it’s better not to use FIFTH
(5) gear, just drive in
FOURTH (4) gear (or, as you need to, a lower gear).
When towing at high altitude
on steep uphill grades,
consider the following: Engine coolant will boil at a
lower temperature than at normal altitudes. If you turn
your engine off immediately after towing at high altitude
on steep uphill grades, your vehicle may show signs
similar to engine overheating.
To avoid this, let the
engine run while parked (preferably on level ground)
with the automatic transmission in PARK
(P) (or the
manual transmission
out of gear and the parking brake
applied) for a few minutes before turning the engine off.
If
you do get the overheat warning, see “Engine
Overheating” in the Index.
Parking on Hills
You really should not park your vehicle, with a trailer
attached,
on a hill. If something goes wrong, your rig
could start to move. People can be injured, and both
your vehicle and the trailer can be damaged.
But
if you ever have to park your rig on a hill, here’s
how to
do it:
1.
2.
3.
4.
5.
6.
Apply your regular brakes, but don’t shift into
PARK
(P) yet, or into gear for a manual
transmission. Then turn your wheels into the
curb
if facing downhill or into traffic if facing uphill.
Have someone place chocks under the trailer wheels.
When the wheel chocks are
in place, release the
regular brakes
until the chocks absorb the load.
Reapply the regular brakes.
Then apply your
parking brake, and then shift into PARK (P), or
REVERSE
(R) for a manual transmission.
If
you have a four-wheel-drive vehicle with a
manual transfer case shift lever, be sure the transfer
case is
in a drive gear -- not in NEUTRAL (N).
Release the regular brakes.
4-54
Page 227 of 392
Downloaded from www.Manualslib.com manuals search engine How to Add Coolant to the
Coolant Recovery Tank
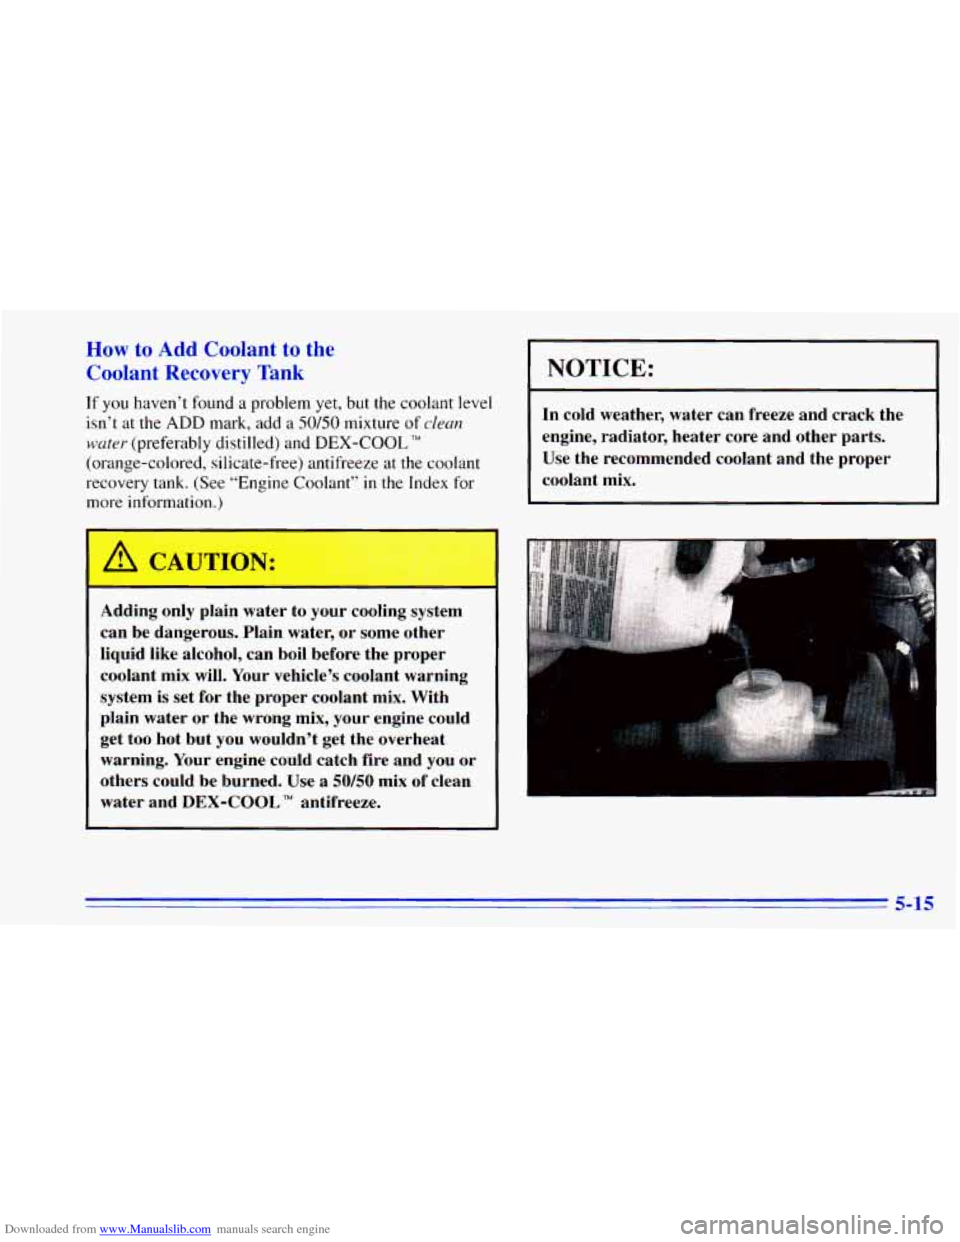
If you haven’t found a problem yet, but the coolant level
isn’t at the
ADD mark, add a 50/50 mixture of clean
water (preferably distilled) and DEX-COOL TM
(orange-colored, silicate-free) antifreeze at the coolant
recovery tank. (See “Engine Coolant”
in the Index for
more kformation
)
Adding only plain water to your cooling system
can be dangerous. Plain water, or some other
liquid like alcohol, can boil before the proper
coolant mix will. Your vehicle’s coolant warning
system is set for the proper coolant mix. With
plain water or the wrong mix, your engine could
get too hot but you wouldn’t get the overheat
warning. Your engine could catch fire and you or
others could be burned. Use
a 50/50 mix of clean
water and
DEX-COOL TM antifreeze.
1 NOTICE:
In cold weather, water can freeze and crack the
engine, radiator, heater core and other parts. Use the recommended coolant and the proper
coolant mix.
5-15
Page 257 of 392
Downloaded from www.Manualslib.com manuals search engine Before closing the hood, be sure all the filler caps are on
properly. Then lift the hood
to relieve pressure on the
hood prop.
Remove the hood prop
from the slot in the hood and
return the prop to
its retainer.
Then just pull the hood down firmly
to close. It will
latch when dropped from
10 to12 inches (25 to 30 cm)
without pressing
on the hood.
Engine Oil
It’s a good idea to check your engine oil every time you
get fuel. In order to get an accurate reading, the oil must
be warm and the vehicle must be on level ground.
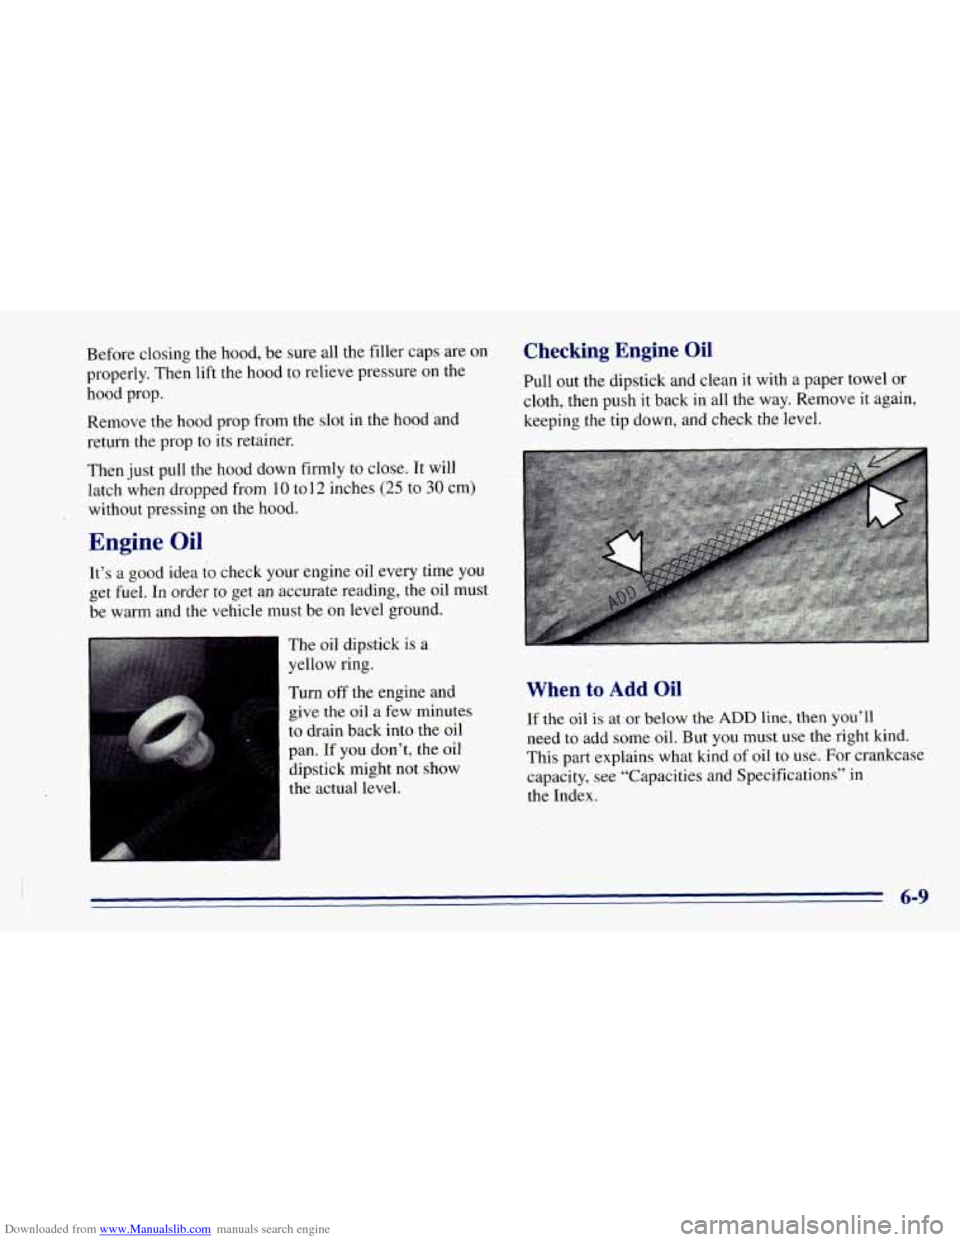
The oil dipstick is
a
yellow ring.
Turn
off the engine and
give the oil a few minutes
to drain back into the oil
pan.
If you don’t, the oil
dipstick might not show
the actual level.
Checking Engine Oil
Pull out the dipstick and clean it with a paper towel or,
cloth, then push it back in all the way. Remove it again,
keeping the tip down, and check the level.
When to Add Oil
If the oil is at or below the ADD line, then you’ll
need to add some oil. But you must use the right kind.
This part explains what kind of
oil to use. For crankcase
capacity, see “Capacities and Specifications” in
the Index.
6-9
Page 258 of 392
Downloaded from www.Manualslib.com manuals search engine .
NOTICE:
. Don’t-add too much oil. If your engine has so
much oil that the oil level gets above the
cross-hatched area that shows the proper
operating range, your engine could be damaged.
Just fill i.t enough to put the level somewhere in the
proper operating range. Push the dipstick all the way
back in when you’re through.
What Kind of Oil to Use
Oils recommended for your vehicle can be identified by
looking for the “Starburst” symbol. This symbol
indicates that the oil has been certified by the American
Petroleum Institute
(API). Do not use any oil which
does not carry this Starburst symbol.
If you change your own oil, be sure you use oil that has
the Starburst symbol
on the front of the oil container. If
you have your oil changed for you, be sure the oil put
into your engine is American Petroleum Institute
certified for gasoline engines.
,,
You should also use the proper viscosity oil for your
vehicle, as shown in the following chart:
6-10
Page 262 of 392
Downloaded from www.Manualslib.com manuals search engine .. Automatic Transmission Fluid
When to Check and Change
A good time to check your automatic transmission fluid
level
is when the engine oil is changed.
Change both
the fluid and filter every 50,000 miles
(83 000 km) if the vehicle is mainly driven under one or
more
of these conditions:
In heavy city traffic where the outside temperature
regularly reaches
90°F (32°C) or higher.
0 In hilly or mountainous terrain.
When doing frequent trailer towing.
0 Uses such as found in taxi, police or delivery service.
If you do not use your vehicle under any of these
conditions, the fluid and filter
do not require changing.
See “Scheduled Maintenance Services” in the Index.
How to Check
Because this operation can be a little difficult, you
may choose to have this done at your GM dealer
Service Department.
If you do it yourself, be sure to follow all the instructions
here, or you could get
a false reading on the dipstick.
I NOTICE:
Too much or too little fluid can damage your
transmission.
Too much can mean that some of
the fluid could come out and fall on hot engine
parts or exhaust system parts, starting a fire. Be
sure to get an accurate reading if you check your
transmission fluid.
Wait at least 30 minutes before checking the
transmission fluid level
if you have been driving:
When outside temperatures are above 90°F (32°C).
At high speed for quite a while.
In heavy traffic -- especially in hot weather.
While pulling a trailer.
To get the right reading, the fluid should be at normal
operating temperature, which is
180°F to 200°F
(82°C to 93°C).
. 6-14
Page 265 of 392
Downloaded from www.Manualslib.com manuals search engine Manual Transmission Fluid
When to Check
A good time to have it checked is when the engine oil is
changed. However,
the fluid in your manual
transmission doesn't require changing.
How to Check
Because this operation can be a little difficult, you
may choose to have this done at your GM dealer's
Service Department.
If you do it yourself, be sure to follow all the
instructions here, or
you could get a false reading.
I NOTICE: I
I
, Too much or too little fluid can dafnage your
l transmission. Too much can mean that some of
the fluid could come out and fall on hot engine
parts or exhaust system parts, starting
a fire. Be
sure to get an accurate reading if you check your
transmission fluid.
Check the fluid level only when your engine is off, the
vehicle is parked on a level place and the transmission is
cool enough for you to rest your fingers on the
transmission case.
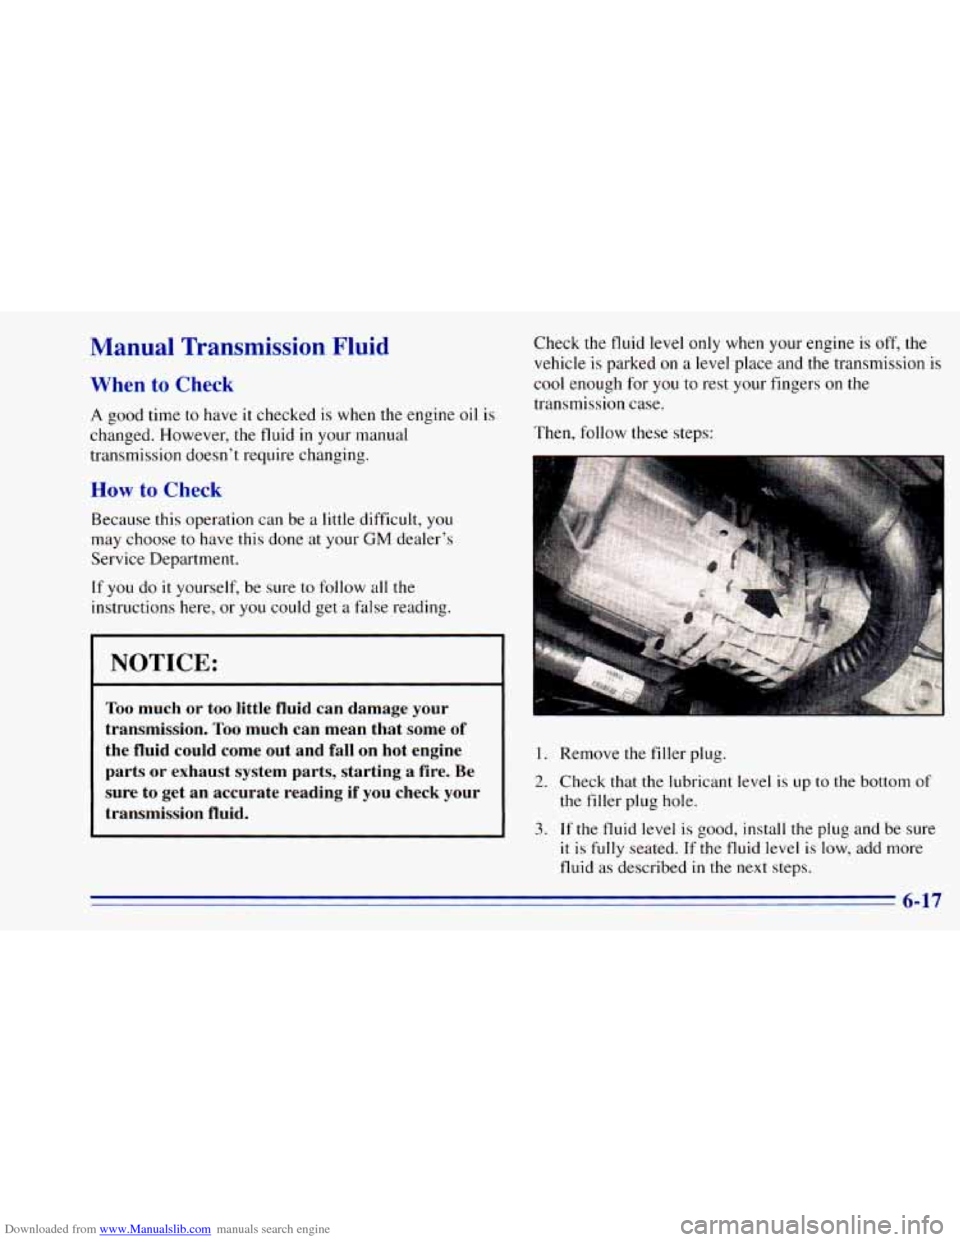
Then, follow these steps:
1. Remove the filler plug.
2. Check that the lubricant level is up to the bottom of
the filler plug hole.
3. , If the fluid level is good, install the plug and be sure
it is fully seated. If the fluid level is low, add more
fluid as described in
the next steps.
6-17
Page 313 of 392
Downloaded from www.Manualslib.com manuals search engine Section 7 Maintenance Schedule
IMPORTANT-
KEEP ENGINE OIL
AT THE PROPER
LEVEL AND CHANGE AS
RECOMMENDED
This section covers the maintenance required for your
vehicle. Your vehicle needs these services to retain its
safety, dependability and emission control performance.
es
Protection
Plan
Have you purchased the GM Protection Plan? The Plan
supplements
your new vehicle warranties. See your
Warranty and Owner Assistance booklet, or your GM
dealer for details.
Introduction
Your Vehicle and the Environment
Proper vehicle maintenance not only helps to keep your
vehicle
in good working condition, but also helps the
environment. All recommended maintenance procedures
are important. Improper vehicle maintenance can even
affect the quality of
the air we breathe. Improper fluid
levels or
the wrong tire inflation can increase the level
of emissions from your vehicle.
To help protect our
environment, and to keep your vehicle
in good
condition, please maintain your vehicle properly.
7-1
Page 318 of 392
Downloaded from www.Manualslib.com manuals search engine Short TripKity Maintenance Schedule
The services shown in this schedule up to 100,000 miles
(1 66 000 km) should be performed after 100,000 miles
(166
000 km) at the same intervals:
Footnotes
The U.S. Environmental Protection Agency or the
California Air Resources Board
has determined that the
failure to perform this maintenance item will not nullify
the emission warranty or limit recall liability prior to the
completion
of the vehicle’s useful life. We, however,
urge that all recommended maintenance services be
performed at the indicated intervals and the maintenance
be recorded.
** Drive axle servic e:
e
e
0
Locking Differential -- Drain fluid and refill at first
engine oil change. At subsequent
oil changes, check
fluid level and add fluid as needed.
If driving in
dusty areas or towing a trailer, drain fluid and refill
every
15,000 miles (25 000 km).
Standard Differential
-- Check fluid level and add
fluid as needed
at every oil change. If driving in
dusty areas or towing a trailer, drain fluid and refill
every
15,000 miles (25 000 km).
More frequent lubrication may
be required for
heavy-duty or off-road use.
7-6