audio CHEVROLET BLAZER 1997 2.G Owners Manual
[x] Cancel search | Manufacturer: CHEVROLET, Model Year: 1997, Model line: BLAZER, Model: CHEVROLET BLAZER 1997 2.GPages: 402, PDF Size: 21.93 MB
Page 2 of 402
Downloaded from www.Manualslib.com manuals search engine The 1997 Chevrolet Blazer Owner’s Manual
1-1
2-1
3- 1
4- 1
5-1
6- 1
7- 1
8- 1
9- 1
Seats and Restraint Systems
This section tells you how to use your seats and safety belts\
properly. It also explains the “SIR” system.
Features and Controls
This section explains how to start and operate your vehicle.
Comfort Controls and Audio Systems
This section tells you how to adjust the ventilation and comfort controls and how to \
operate your audio system.
Your Driving and the Road
Here you’ll find helpful information and tips about the road\
and how to drive under different conditions.
Problems on the Road
This section tells what to do if you have a problem while driving, such as a flat tire or overheated engine, etc.
Service and Appearance Care
Here the manual tells you how to keep your vehicle running pr\
operly and looking good.
Maintenance Schedule
This section tells you when to perform vehicle maintenance and \
what fluids and lubricants to use.
Customer Assistance Information
This section tells you how to contact Chevrolet for assistance \
and how to get service and owner publications.
It also gives you information on ”Reporting Safety Defects” on pag\
e 8- 10.
Index
Here’s an alphabetical listing of almost every subject in this ,manual. You can use it to quickly find
something you want to read.
i
Page 125 of 402
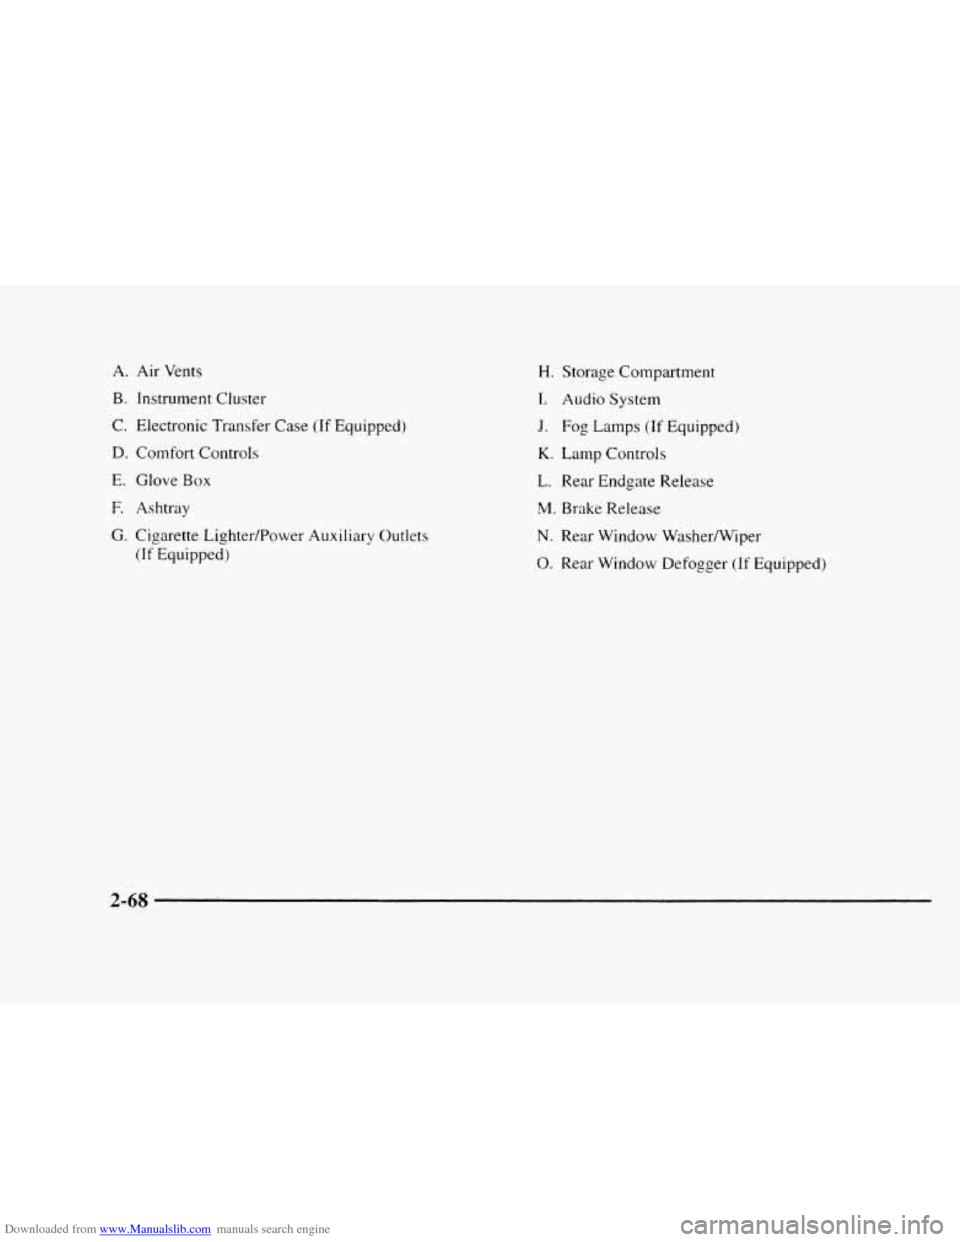
Downloaded from www.Manualslib.com manuals search engine A. Air Vents
B. Instrument Cluster
C. Electronic Transfer Case
(If Equipped)
D. Comfort Controls
E. Glove Box
F. Ashtray
G. Cigarette LightedPower Auxiliary
Outlets
(If Equipped)
H. Storage Compartment
I. Audio System
J. Fog Lamps (If Equipped)
K. Lamp Controls
L. Rear Endgate Release
M. Brake Release
N. Rear Window Washermiper
0. Rear Window Defogger (If Equipped)
2-68
Page 140 of 402
Downloaded from www.Manualslib.com manuals search engine Section 3 Comfort Controls and Audio Systems
In this section, you'll find out how to operate the comfort control and audio systems offered with your vehicle. Be
sure to read about the particular systems supplied
with your vehicle.
3-2
3-2
3-3 3-3
3-4
3-5
3-5
3 -6
3-6
3-6
3-6
Comfort Controls
Climate Control System
Air Conditioning
Heating Ventilation System
Defogging and Defrosting
Rear Window Defogger (Option)
Audio Systems
Setting the Clock
Setting the Clock for AM-FM Stereo
with Compact Disc Player and Automatic
Tone Control
AM-FM Stereo 3-8
3- 10
3- 13
3-17
3- 19
3- 19
3-20
3-2 1
3-2 1
AM-FM Stereo with Cassette Tape Player
(If Equipped)
AM-FM Stereo
with Cassette Tape Player
and Equalizer
(If Equipped)
AM-FM Stereo
with Compact Disc Player
and Automatic Tone Control (If Equipped)
Theft-Deterrent Feature
Understanding Radio Reception
Tips About Your Audio System
Care of
Your Cassette Tape Player
Care
of Your Compact Discs
Fixed Mast Antenna
Page 145 of 402
Downloaded from www.Manualslib.com manuals search engine Audio Systems
Your Delco" audio system has been designed to operate
easily and give
years of listening pleasure. You will yet
the most etl-joyment out of it if ~OLI acq~laint yo~~t-self
with it first. Find out what yo11r Delco system can do
and how
to operate all its controls. to be sure you're
went
into it.
2 Oettins the most out of the advanced engineering that
Setting the Clock for ANI-FM Stereo
with Compact Disc Player and Automatic
Tone Control
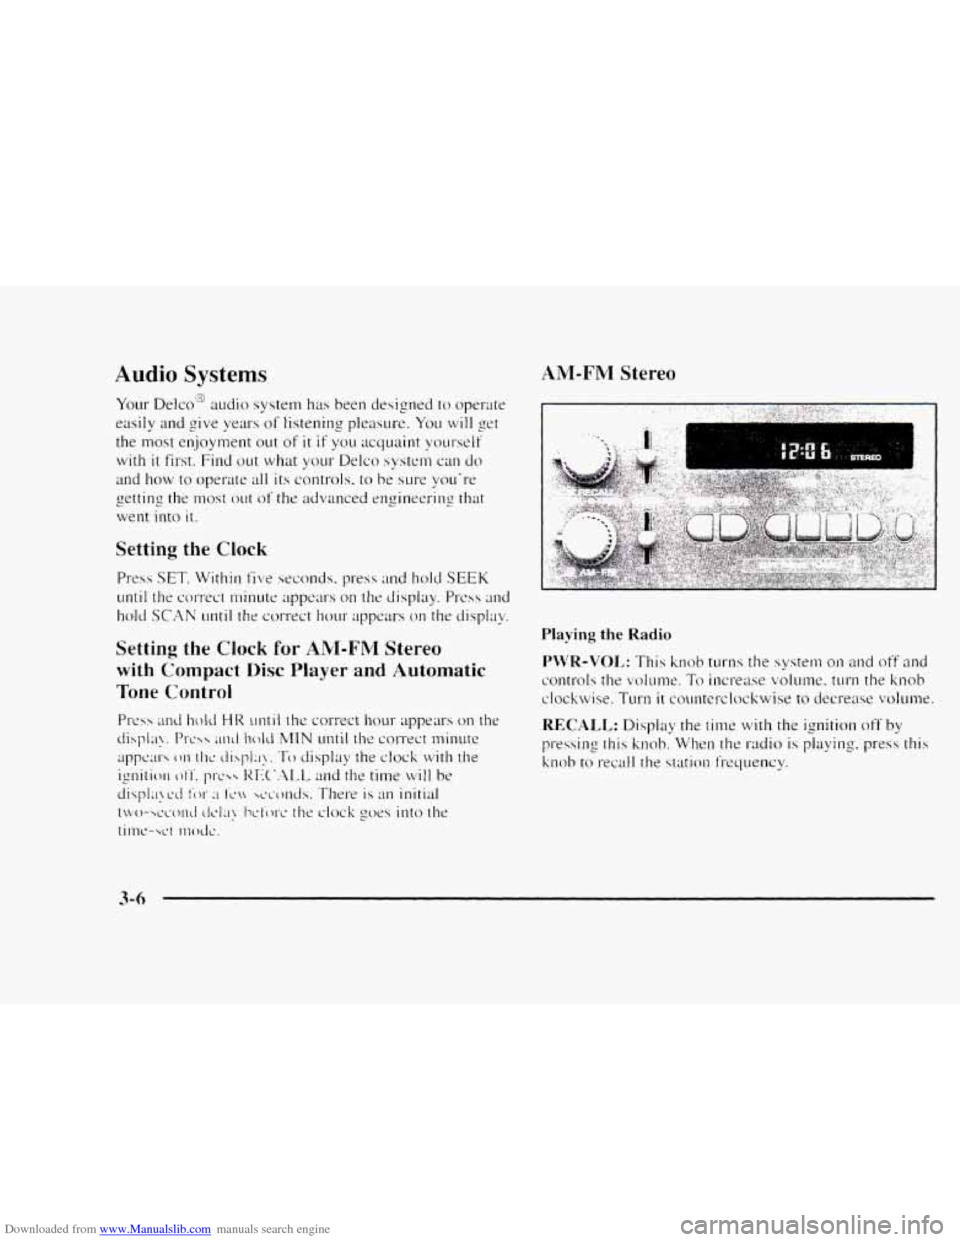
AM-FM Stereo
t "
Playing the Radio
Page 152 of 402
Downloaded from www.Manualslib.com manuals search engine AM-FM Stereo with Compact Disc Player
and Automatic Tone Control (If Equipped)
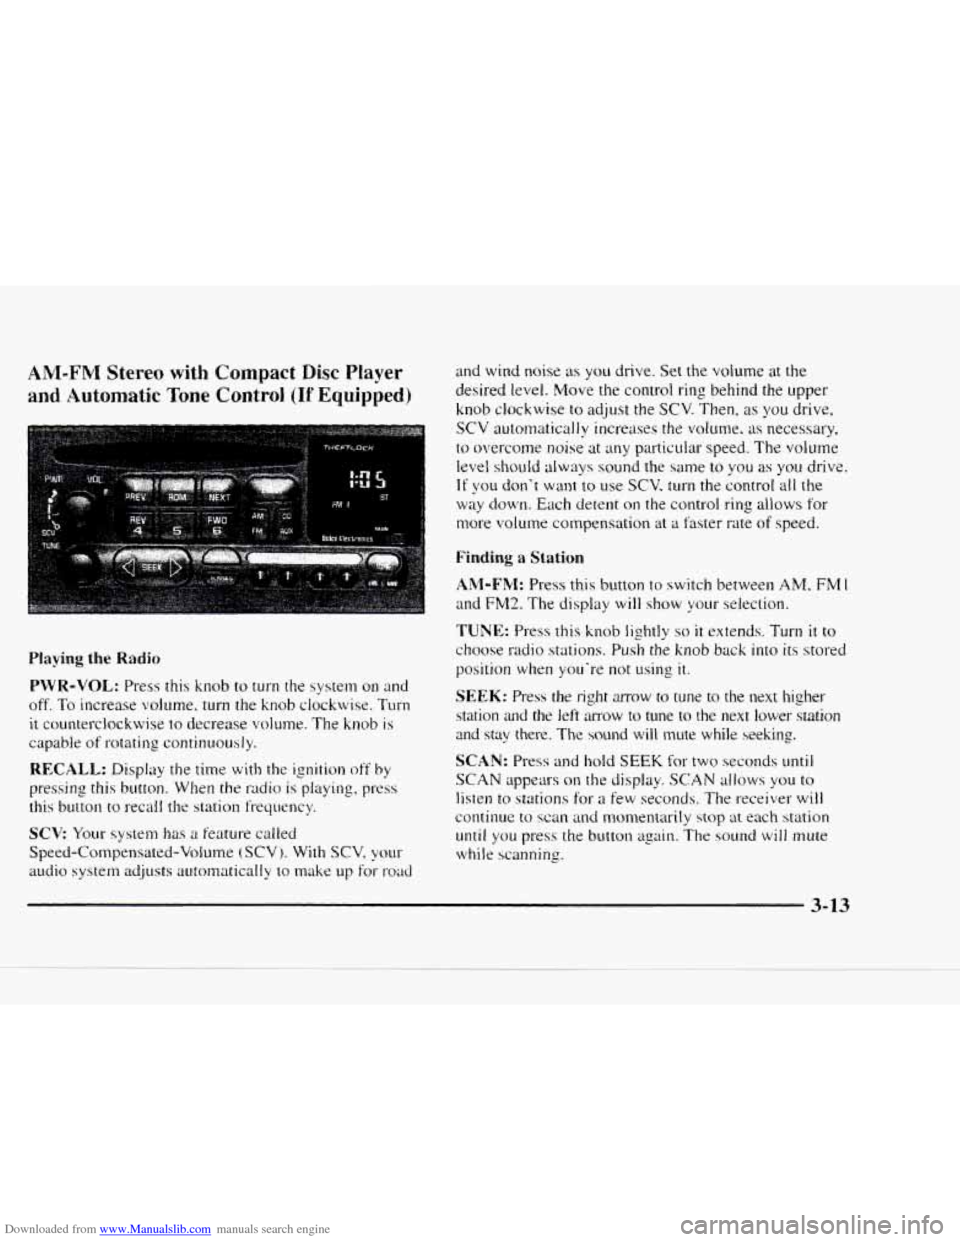
Playing the Radio
PWR-VOL: Press this knob to turn the system on and
off.
To increase volume, turn the knob clockwise. Turn
it counterclockwise to decrease volume. The knob is
capable of rotating continuously.
RECALL: Display the time with the ignition off by
pressing this button. When the radio is playing, press
this button
to recall the station frequency.
SCV Your system has a feature called
Speed-Compensated-Volume
(SCV j. With SCV, your
audio system adjusts autornatically to make up for- road
and wind noise as you drive. Set the volume at the
desired level. Move the control ring behind the upper
knob clockwise
to adjust the SCV. Then, as you drive,
SCV automatically increases the volume, as necessary.
to overcome noise at any particuiar speed. The volume
level shouId always sound the same to you as you drive.
If you don't want to use SCV. turn the control all the
way down. Each detent on the control ring allows for
more volume compensation at
a faster rate of speed.
Finding a Station
AM-FM: Press this button to switch between AM, FM 1
and FM2. The display will show your selection.
TUNE: Press this knob lightly so it extends. Turn it to
choose radio stations. Push the knob back into its stored
position
when you're not using it.
SEEK: Press the right mow to tune to the next higher
station
and the left amow to tune to the next lower station
and stay there. The sound will mute while seeking.
SCAN: Press and hold SEEK for two seconds mtil
SCAN appears on the display. SCAN allows you to
listen to stations for a few seconds. The receiver will
continue to scan and monxntarily stop at each station
until you press the button again. The sound will mute
while scanning.
3-13
Page 158 of 402
Downloaded from www.Manualslib.com manuals search engine Disabling the Theft-Deterrent Feature
Enter your secret code as follows; pause no more than
15 seconds between steps:
1. Turn the ignition to ACCESSORY or RUN.
2. Turn the radio off.
3. Press the 1 and 4 buttons together. Hold them down
until SEC shows on the display.
4. Press MN and 000 will appear on the display.
5. Press MN again to make the last two digits agree
with your code.
6. Press HR to make the first one or two digits agree
with your code.
7. Press AM-FM after you have confirmed that the
code matches the secret code you have written down.
The display will show
---, indicating that the radio is
no longer secured.
If the code entered is incorrect, SEC will appear on the
display. The radio will remain secured until
the correct
code is entered.
When battery power is removed and later applied
to a
secured radio, the radio won’t turn
on and LOC will
appear
on the display. To
unlock a secured radio,
see “Unlocking the
Theft-Deterrent Feature After
a Power Loss” earlier in
this section.
Understanding Radio Reception
FM Stereo
FM stereo will give you the best sound. But FM signals
will reach only about 10 to 40 miles (16 to 65 km). Tall
buildings or hills can interfere with
FM signals, causing
the sound to come and go.
AM
The range for most AM stations is greater than for FM,
especially at night. The longer range, however, can
cause stations to interfere with each other.
AM can pick
up noise from things like storms and power lines. Try
reducing
the treble to reduce this noise if you ever get it.
Tips About Your Audio System
Hearing damage from loud noise is almost undetectable
until it is too late. Your hearing can adapt to higher
volumes
of sound. Sound that seems normal can be loud
and harmful to your hearing. Take precautions by
adjusting the volume control on your radio to
a safe
sound level before your hearing adapts
to it.
3-19
Page 288 of 402
Downloaded from www.Manualslib.com manuals search engine Vehicle Storage
If you’re not going to dnve your vehicle for 25 days or
more, take off the black, negative (-) cable from the battery.
This will help keep your battery fiom running down.
I A CAUTION:
Batteries have acid that can burn you and gas
that can explode. You can be badly hurt
if you
, aren’t careful. See “Jump Starting” in the Index
for tips
on working around a battery without
getting hurt.
Contact your dealer to learn how to prepare your vehicle
for longer storage periods.
Also, for your audio system, see “Theft-Deterrent
Feature”
in the Index.
Bulb Replacement
Before you replace any bulbs, be sure that all the lamps
are off and the engine isn’t running. See “Replacement
Bulbs”
in the Index.
Halogen Bulbs
I /d CAUTION:
Halogen bulbs have pressurized gas inside and
can burst if
you drop or scratch the bulb. You or
others could be injured. Be sure to read and
follow the instructions on the bulb package.
6-33
Page 365 of 402
Downloaded from www.Manualslib.com manuals search engine Part B: Owner Checks and Services
Listed below are owner checks and services which
should
be performed at the intervals specified to help
ensure the safety, dependability and emission control
performance of your vehicle.
Be sure
any necessary repairs are completed at once.
Whenever any fluids or lubricants are added to your
vehicle, make sure they are the proper ones. as shown
in
Part D.
At Each Fuel Fill
Engine Oil Level Check
Check the engine oil level and add the proper oil if
necessary. See "Engine Oil" in the Index for
further details.
Engine Coolant Level Check
Check the engine coolant level and add DEX-COOL@
coolant mix if necessary. See "Engine Coolant" in the
Index
for further details.
Windshield Washer Fluid Level Check
Check the windshield washer fluid level in the
windshield washer tank
and add the proper fluid if
necessarv. See "Windshield Washer Fluid"
in the Index
for
furthkr details.
At Least Once a Month
Tire Inflation Check
Make sure tires are inflated to the correct pressures. See
"Tires" in the Index for further details.
Cassette Deck Service
Clean cassette deck. Cleaning should be done every
50 hours of tape play. See "Audio Systems" in the
Index
for further details.
7-46
Page 390 of 402
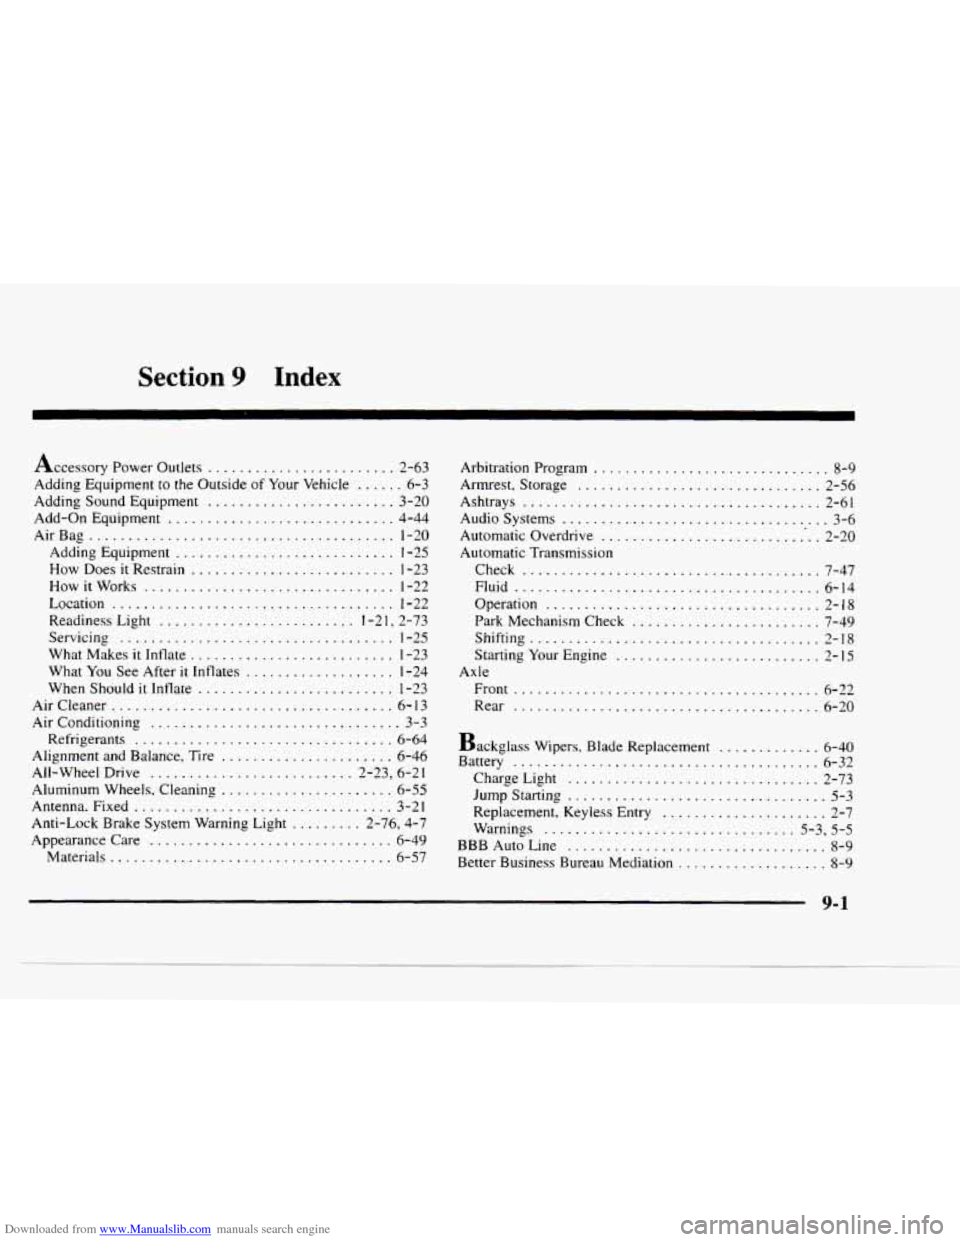
Downloaded from www.Manualslib.com manuals search engine Section 9 Index
Accessory Power Outlets ........................ 2-63
Adding Equipment to the Outside
of Your Vehicle ...... 6-3
Adding Sound Equipment
........................ 3-20
Add-on Equipment ............................. 4-44
AirBag
....................................... 1-20
Adding Equipment ............................ 1-25
How Does it Restrain .......................... 1-23
How it Works
................................ 1-22
Location
.................................... 1-22
Readiness Light
....................... . 1-21. 2-73
Servicing
................................... 1-25
What Makes it Intlate
.......................... 1-23
What
You See After it Inflates ................... 1-24
When Should
it Inflate ......................... 1-23
Aircleaner
.................................... 6-13
Air Conditioning
................................ 3-3
Refrigerants
................................. 6-64
Alignment and Balance, Tire ...................... 6-46
All-Wheel Drive
.......................... 2-23, 6-21
Aluminum Wheels. Cleaning
...................... 6-55
Antenna. Fixed
................................. 3-21
Appearancecare
............................... 6-49
Anti-Lock Brake
System Warning Light
......... 2-76, 4-7
Materials
.................................... 6-57 Arbitration Program
.............................. 8-9
Ashtrays ...................................... 2-61
Audio Systems
.................................. 3-6
Automatic Overdrive
............................ 2-20
Automatic Transmission Check
...................................... 7-47
Fluid
....................................... 6-14
Operation
................................... 2-18
Park Mechanism Check
........................ 7-49
Shifting
..................................... 2-18
Starting Your Engine
.......................... 2-15
Armrest. Storage
............................... 2-56
Axle Front
....................................... 6-22
Rear
....................................... 6-20
Backglass Wipers.
Blade Replacement ............. 6-40
Battery ....................................... 6-32
ChargeLight
................................ 2-73
Jump Starting
................................. 5-3
Replacement. Keyless Entry
..................... 2-7
Warnings
................................ 5-3. 5-5
BBB Auto Line
................................. 8-9
Better Business Bureau Mediation
................... 8-9
9-1