headlamp CHEVROLET BLAZER 1997 2.G Owners Manual
[x] Cancel search | Manufacturer: CHEVROLET, Model Year: 1997, Model line: BLAZER, Model: CHEVROLET BLAZER 1997 2.GPages: 402, PDF Size: 21.93 MB
Page 82 of 402
Downloaded from www.Manualslib.com manuals search engine The front axle portion of the diagram on the indicator
will light up when you shift
into four-wheel drive. A
slight delay between shifting and the pattern’s lighting is
normal. If the pattern does not light up, or if the front
axle lights do not go out after you shift out of
four-wheel drive, have your dealer check your system.
Turn the INT LIGHTS switch located to the right of
your headlamp switch
to dim your transfer case
indicator light when your headlamps or parking lamps
are on. This will also cause your instrument panel lights
to dim.
2HI: This setting is for driving in most street and
highway situations. Your front axle is
not engaged in
two-wheel drive.
4HI: This setting engages your front axle to help
drive
your vehicle. Use 4HI when you need extra
traction, such as on snowy
or icy roads, or in most
off-road situations.
N SET PARK BRAKE: Shift to this neutral setting
only when your vehicle needs to be towed.
4LO: This setting also engages your front axle to give
you extra traction and provides extra gear reduction.
You may never need 4LO. It sends the maximum power
to all four wheels. You might choose 4LO if you were
driving off-road in sand, mud or deep snow and
climbing or descending steep hills.
You can shift from 2HI to 4HI or from 4HI to 2HI while
the vehicle is moving. Do not press the transfer case
shift lever button when shifting from 2HI
to 4HI or
from 4HI to 2HI.
To shift your transfer case into N SET PARK BRAKE:
1. Stop the vehicle and shift your transmission into
NEUTRAL
(N).
2. Set the parking brake. Your vehicle can roll unless
the brakes are applied.
3. Pull the transfer case shift lever into N SET
PARK BRAISE.
2-25
Page 95 of 402
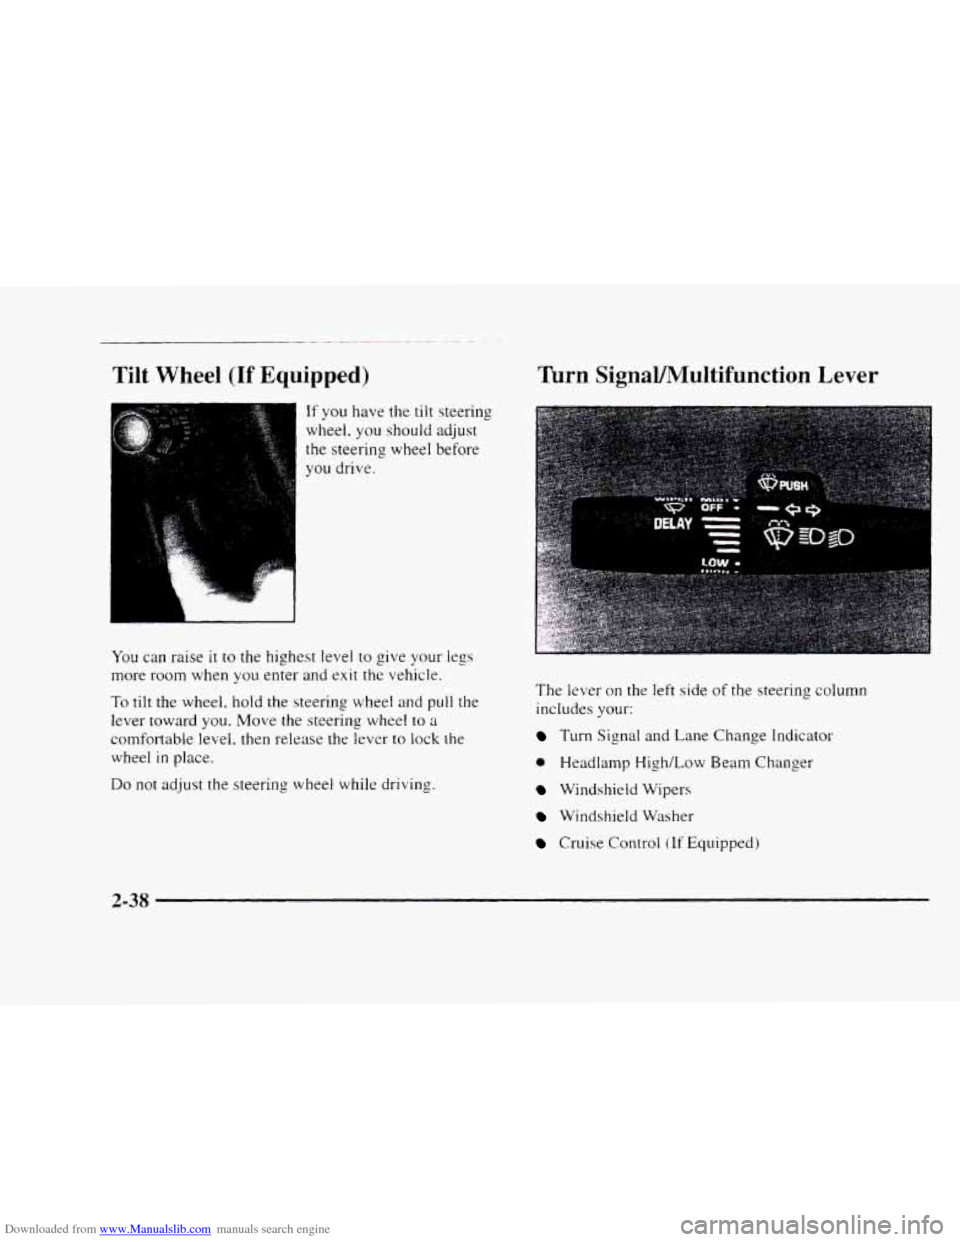
Downloaded from www.Manualslib.com manuals search engine Tilt Wheel (If Equipped)
I
If you have the tilt steering
wheel.
you should adjust
the steering wheel before
you drive.
You can raise it to the highest level to give your legs
more room when you enter and exit the vehicle.
To tilt the wheel, hold the steering wheel and pull the
lever toward
you. Move the steering wheel to a
comfortable level. then release the lever to lock the
wheel
in place.
Do not adjust the steering wheel while driving.
Turn SignaVMultifunction Lever
The level- on the left side of the steering column
includes
your:
Turn Signal and Lane Change Indicator
0 Headlamp High/Low Beam Changer
Windshield Wipers
Windshield Washer
Cruise Control (If Equipped)
2-38
Page 96 of 402
Downloaded from www.Manualslib.com manuals search engine ’krn and Lane Change Signals
The turn signal has two upward (for right) and two
downward (for left) positions.
These positions allow you
to signal a turn or a lane change.
To signal a turn, move the lever all the way up or down.
When
the turn is finished, the lever will return automatically.
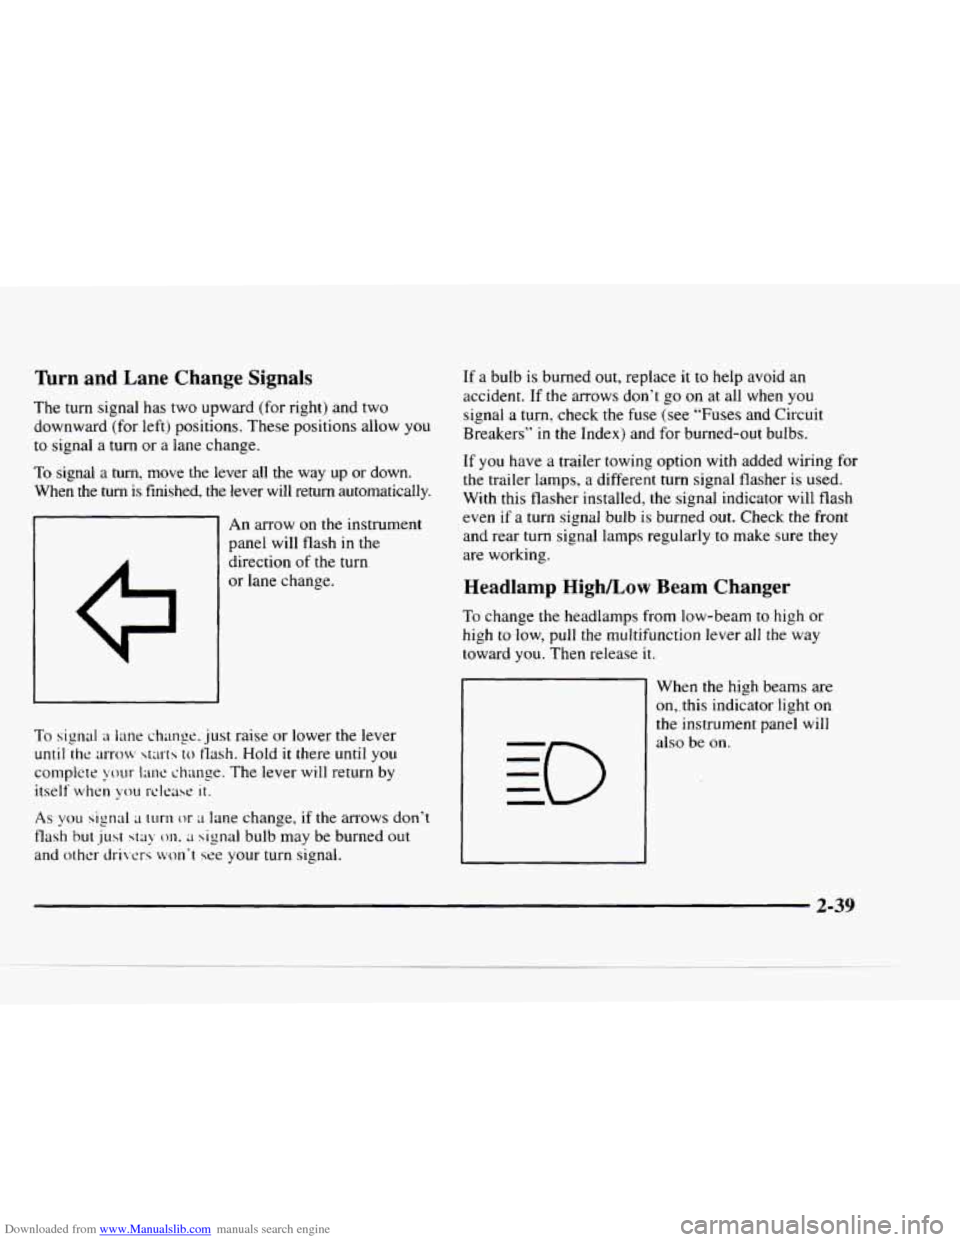
An arrow on the instrument
panel will flash in the
direction
of the turn
or lane change.
To signal a lane change. just raise or lower the lever
until the ;lrrocv starts to tlash. Hold it there until you
complete your
1mc change. The lever will return by
itself when you rclt.ast: it.
As you signal ;1 turn or LI lane change, if the arrows don’t
flash but just stay 011. ;I signal bulb may be burned out
and other drivers won‘t see your turn signal.
If a bulb is burned out, replace it to help avoid an
accident.
If the arrows don’t go on at all when you
signal a turn, check the fuse (see
“Fuses and Circuit
Breakers’’ in the Index) and for burned-out bulbs.
If
you have a trailer towing option with added wiring for
the trailer lamps, a different turn signal flasher is used.
With this flasher installed,
the signal indicator will flash
even
if a turn signal bulb is burned out. Check the front
and rear turn signal lamps regularly
to make sure they
are working.
Headlamp Highkow Beam Changer
To change the headlamps from low-beam to high or
high
to low, pull the multifunction lever all the way
toward
you. Then release it.
1
When the high beams are
on,. this indicator light on
the instrument panel will
also be
on.
2-39
Page 102 of 402

Downloaded from www.Manualslib.com manuals search engine Exterior Lamps
.. .- I
: ' aD
.-
*
The switches are on the left side of your instrument panel. Press
the top switch with the parking lamps symbol on it
to turn on:
0 Parking Lamps
0 Sidemarker Lamps
0 Taillamps
0 License Plate Lamps
0 Instrument Panel Lights
0 Transfer Case Indicator Light (if you have one)
Press the bottom switch with the master lamps symbol on
it to turn on all the lamps listed as well as the headlamps.
Press the
side of the switch marked OFF to turn off
your lamps.
2-45
Page 103 of 402
Downloaded from www.Manualslib.com manuals search engine Lamps On Reminder
A reminder tone will sound when your headlamps or
parking lamps are turned on and your ignition
is in OFF,
LOCK or ACCESSORY. To turn the tone off, press the
OFF switch.
Daytime Running Lamps
Daytime Running Lamps (DRL) can make it easier for
others to see the front
of your vehicle during the day.
DRL can be helpful
in many different driving
conditions. but they can be especially helpful
in the
short periods after dawn and before sunset.
The DRL system will make your headlamps come on at
reduced brightness when:
the ignition is on,
the headlamp switch is off and
the parking brake is released. When
the DRL are
on, only your headlamps will be on.
The taillamps, sidemarker and other lamps won’t be on.
The instrument panel won’t be lit up either.
When it begins to get dark, your
DRL indicator light is a
reminder to turn your headlamp switch on. The other
lamps that come on with your headlamps will also
come
on.
When you turn the headlamp switch off, the regular
lamps will
go off, and your headlamps will change to
the reduced brightness
of DRL.
To idle your vehicle with the DRL off, set the parking
brake. The DRL will stay off until you release the
parking brake.
As with any vehicle, you should turn on the regular
headlamp system
when you need it.
2-46
Page 104 of 402
Downloaded from www.Manualslib.com manuals search engine Fog Lamps (If Equipped)
I
..
$0 OFF
FOG LAMPS
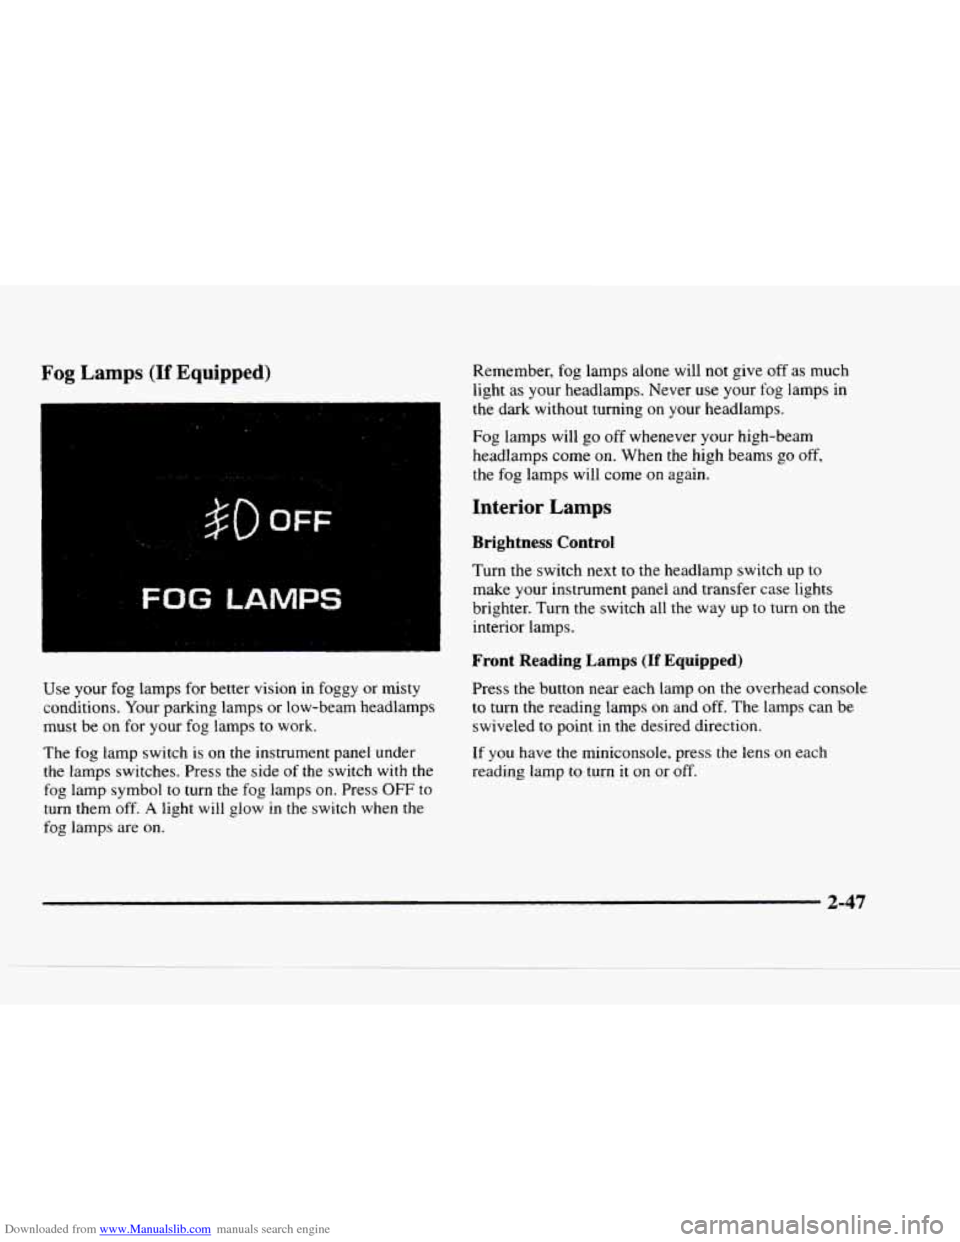
Use your fog lamps for better vision in foggy or misty
conditions. Your parking lamps or low-beam headlamps
must
be on for your fog lamps to work.
The
fog lamp switch is on the instrument panel under
the lamps switches. Press the side of the switch with the
fog lamp symbol
to turn the fog lamps on. Press OFF to
turn them off. A light will glow in the switch when the
fog lamps are
on.
Remember, fog lamps alone will not give off as much
light as your headlamps. Never
use your fog lamps in
the dark without turning
on your headlamps.
Fog lamps will go off whenever your high-beam
headlamps come
on. When the high beams go off,
the
fog lamps will come on again.
Interior Lamps
Brightness Control
Turn the switch next to the headlamp switch up to
make your instrument panel and transfer case lights
brighter. Turn the switch all the way up to turn on the
interior lamps.
Front Reading Lamps (If Equipped)
Press the button near each lamp on the overhead console
to turn the reading lamps on and off. The lamps can be
swiveled
to point in the desired direction.
If
you have the miniconsole, press the lens on each
reading lamp to turn it on or off.
2-47
Page 106 of 402
Downloaded from www.Manualslib.com manuals search engine Mirrors
Inside Daymight Rearview Mirror
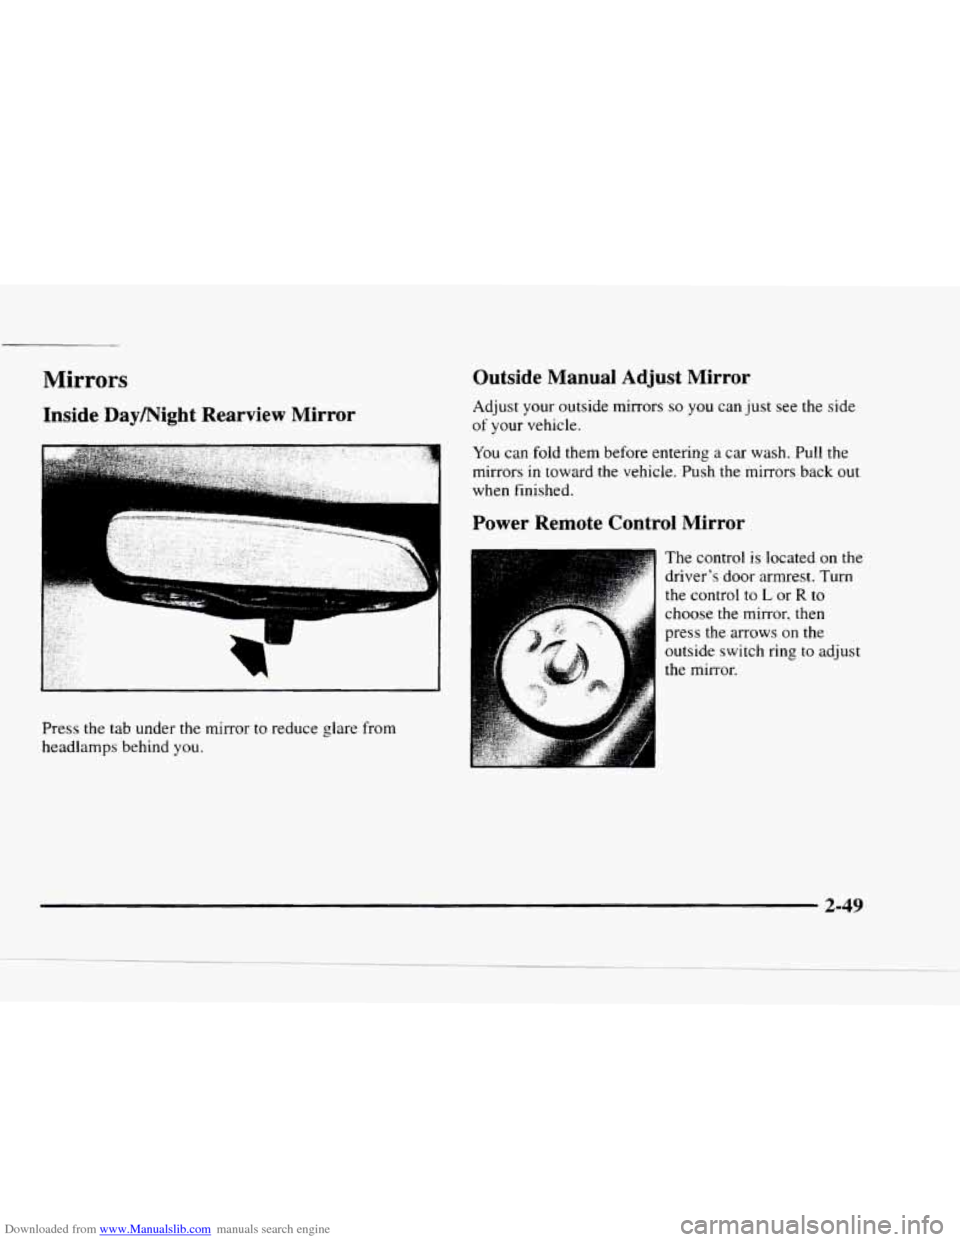
Press the tab under the mirror to reduce glare from
headlamps behind you.
Outside Manual Adjust Mirror
Adjust your outside mirrors so you can just see the side
of your vehicle.
You can fold them before entering a car wash. Pull the
mirrors
in toward the vehicle. Push the mirrors back out
when finished.
Power Remote Control Mirror
The control is located on the
driver's door armrest. Turn
the control
to L or R to
choose the mirror, then
press the
arrows on the
outside switch
ring to adjust
the mirror.
2-49
Page 137 of 402
Downloaded from www.Manualslib.com manuals search engine Shift Light
-w
/fls 1
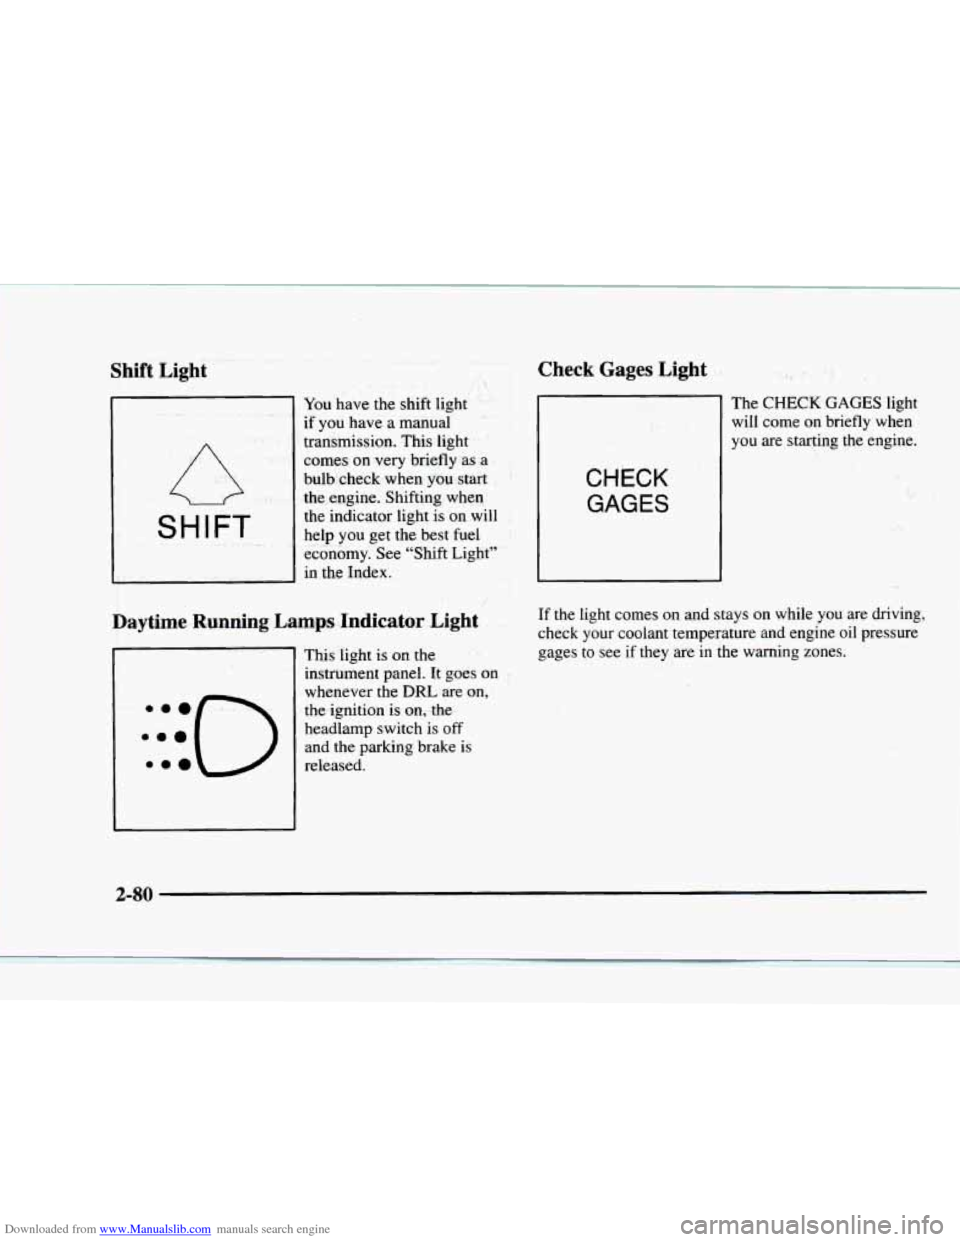
You have the shift light
if you have a manual
transmission. This light
comes
on very briefly as a
bulb check when
you start
the engine. Shifting when
the indicator light is on will
help you get
the best fuel
economy. See "Shift Light"
in the Index.
1 'd 8.
Daytime Running Lamps Indicator Light
This light is on the
instrument panel. It goes on
whenever the
DRL are on,
the ignition is on,.the
headlamp switch is
off
and the parking brake is
released.
Check Gages Light
CHECK GAGES
The CHECK GAGES light
will come on briefly when
you are starting the engine.
:
.. * ,. ,. , i ..3
I I.. -_. .
If the light comes on and stays on while you are driving,
check your coolant temperature and engine oil pressure
gages to see if they are in the warning zones.
1;
.I. ..
' , .;i ,- ..
"j
.. . .
2-80
Page 144 of 402
Downloaded from www.Manualslib.com manuals search engine Defogging and Defrosting
On cool, humid days. use BLEND to keep the
windshield and side windows clear.
Use
DEFROST to remove fog or ice from the
windshield quickly
in extreme humid or cold conditions.
Turn the temperature knob clockwise and move the fan
control toward
HI.
Rear Window Defogger (Option)
If your vehicle has this option, the rear window will
have lines that warm the glass. For best results. clear the window
of as
much snow or ice as possible before using
the rear window defogger.
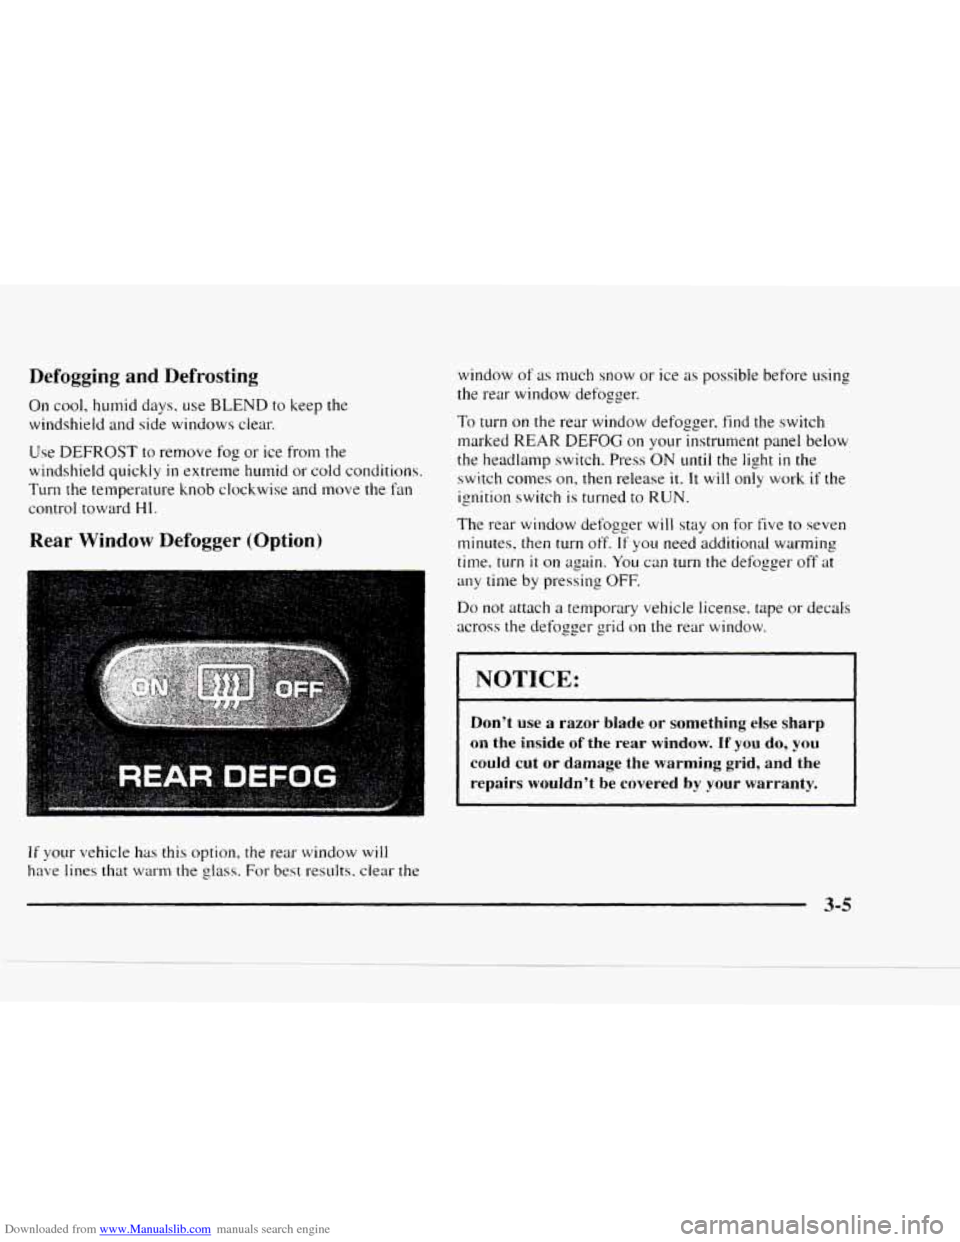
To turn on the rear window defogger. find the switch
marked
REAR DEFOG on your instrument panel below
the headlamp switch. Press
ON until the light in the
switch comes on, then release it. it will
only work if the
ignition switch is turned to RUN.
The rear window defogger will stay on for five to seven
minutes, then turn off.
If you need additional warming
time, turn
it on again. You can turn the defogger off at
any time
by pressing OFF.
Do not attach a temporary vehicle license. tape or decals
across the defogger grid on the rear window.
1 NOTICE:
Don’t use a razor blade or something else sharp
on the inside of the rear window. If you do, you
could cut or damage the warming grid, and the
repairs wouldn’t be covered by your warranty.
3-5
Page 181 of 402
Downloaded from www.Manualslib.com manuals search engine 0
0
Driving Uphill
Once you decide you can safely drive up the hill, you
need to take some special steps.
Use
a low gear and get a firm grip or1 the
steering wheel.
Get
a smooth start up the hill and try to maintain
your speed. Don't use more power than you need.
because
you don't want your wheels to start spinning
or sliding.
Try to drive straight up the
hill if at all possible. If
the path twists and turns, you might want to find
another route.
0
I A CAUTION:
Turning or driving across steep hills can be
dangerous. You could lose traction, slide
sideways, and
possibly roll over. You could be
seriously injured or killed. When driving up hills,
always try
to go straight up.
0
0
0
0
Ease LIP on your speed as you approach the top of
the hill.
Attach a flag to the vehicle to make you more visible
to approaching traffic on trails or hills.
Sound the horn as you approach the top of the hill to
let opposing traffic know you.1-e there.
Use your headlamps even during the day. They make
you more 1:isible to oncoming traffic.
A CAUTION:
Driving to the top (crest) of a hill at full speed can
cause an accident. There could be
a drop-off,
embankment, cliff, or even another vehicle. You
could
be seriously injured or killed. As you near
the top of
a hill, slow down and stay alert.
4-20