hood open CHEVROLET BLAZER 1998 2.G Owners Manual
[x] Cancel search | Manufacturer: CHEVROLET, Model Year: 1998, Model line: BLAZER, Model: CHEVROLET BLAZER 1998 2.GPages: 416, PDF Size: 22.4 MB
Page 91 of 416
Downloaded from www.Manualslib.com manuals search engine 3. If your engine still won’t start (or starts but then
stops), wait
15 seconds and start over.
When the engine starts, let go of the key and
the
accelerator pedal.
NOTICE:
Your engine is designed to work with the
electronics in your vehicle.
If you add electrical
parts or accessories, you could change the way
the engine operates. Before adding electrical
equipment, check with your dealer.
If you don’t,
your engine might not perform properly.
If you ever have to have your vehicle towed, see,
the part
of this manual that tells how to do it
without damaging your vehicle. See “Towing
Your Vehicle” in the Index.
Engine Coolant Heater (If Equipped)
In very cold weather, 0°F (- 1 SOC) or colder, the engine
coolant heater can help. You’ll get easier starting and
better fuel economy during engine warm-up. Usually,
the coolant heater should be plugged in a minimum of
four hours prior to starting your vehicle.
To Use the Engine Coolant Heater
1. Turn off the engine.
2. Open the hood and unwrap the electrical cord. The
cord is located
on the driver’s side of the engine
compartment, behind the underhood fuse block.
3. Plug it into a normal, grounded 1 10-volt AC outlet.
Plugging the cord into an ungrounded outlet
could cause an electrical shock. Also, the wrong
kind
of extension cord could overheat and cause
a fire.
You could be seriously injured. Plug the
cord into
a properly grounded three-prong
110-volt
AC outlet. If the cord won’t reach, use a
heavy-duty three-prong extension cord rated for
at least
15 amps.
4. Before starting the engine, be sure to unplug and store
the cord as it was before to keep it away from moving
engine parts. If you don’t,
it could be damaged.
2-17
Page 118 of 416
Downloaded from www.Manualslib.com manuals search engine You can use the DOME OVERRIDE button, located
below the parkingheadlamp
knob, to set the dome
lamps to
come on automatically when the doors are
opened, or to remain off. To turn the lamps off, press the
button once. With the button in this position, the dome
lamps will remain off when the doors are open. To
return the lamps to automatic operation, press the button
again and return it to the ‘‘OU~” position. With the button
in this position, the dome lamps will come on when you
open the door. This will not override the illuminated
entry feature.
Battery Run-Down Protection
This feature shuts off the dome, courtesy, vanity,
reading, glove box and underhood lamps
if they are left
on for more than
20 minutes when the ignition is off.
This will keep
your battery from running down.
If the battery run-down protection shuts
off the interior
lamps, to return to normal operation it may be
necessary to:
Shut off all lamps and close all doors, or
0 Turn the ignition key to RUN.
Mirrors
Electrochromic Daymight Inside
Rearview Mirror
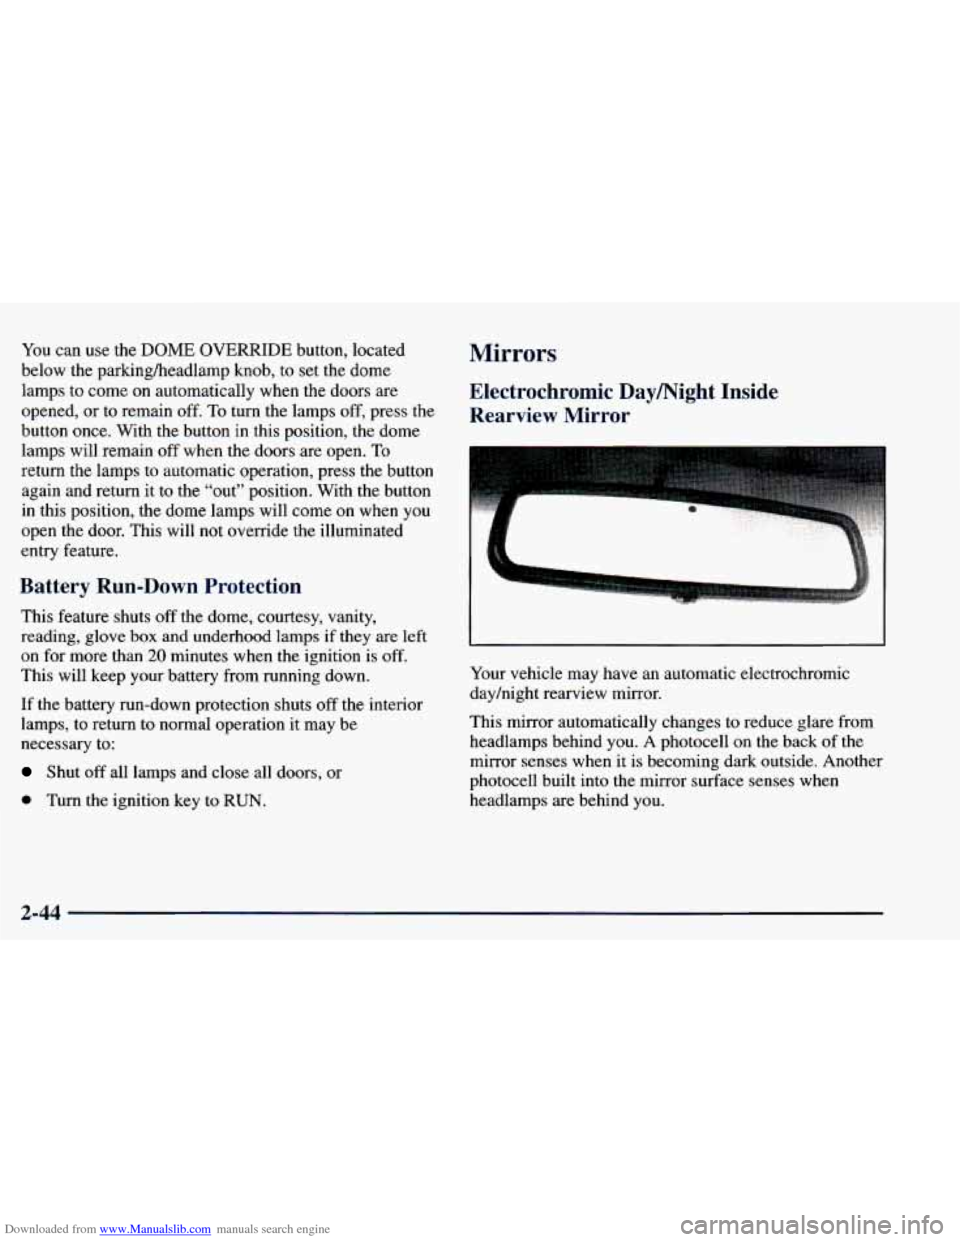
Your vehicle may have an automatic electrochromic
dayhight rearview mirror.
This mirror automatically changes to reduce glare from
headlamps behind you.
A photocell on the back of the
mirror senses when it is becoming
dark outside. Another
photocell built into the mirror surface senses when
headlamps are behind you.
2-44
Page 236 of 416
Downloaded from www.Manualslib.com manuals search engine 2. Get the vehicles close enough so the jumper cables
can reach, but be sure the vehicles aren’t touching
each other.
If they are, it could cause a ground
connection you don’t want. You wouldn’t be able to
start your vehicle, and the bad grounding could
damage the electrical systems.
To avoid the possibility of the vehicles rolling, set
the parlung brake firmly on both vehicles involved in
the procedure. Put an automatic transmission vehicle
in
PARK (P) and a manual transmission vehicle in
NEUTRAL (N).
3. Turn off the ignition on both vehicles. Unplug
unnecessary accessories plugged into the cigarette
lighter, or accessory power outlets, if you have this
option. Turn off all lamps that aren’t needed as well
as radios. This will avoid sparks and help save both
batteries. In addition, it could save your radio!
NOTICE:
If you leave your radio on, it could be badly
damaged. The repair wouldn’t be covered
by
your warranty.
4. Open both hoods and locate the batteries. Find
the positive
(+) and negative (-) terminals on
each battery.
AUTION:
I
Using a match near a battery can cause battery
gas to explode. People have been hurt doing this,
and some have been blinded.
Use a flashlight if
you need more light.
Be sure the battery has enough water.
You don’t
need to add water to the ACDelco Freedom@
battery installed in every new
GM vehicle. But if
a battery has filler caps, be sure the right amount
of fluid is there. If it is low, add water to take care
of that first.
If you don’t, explosive gas could
be present.
Battery fluid contains acid that can burn you.
Don’t get it on you.
If you accidentally get it in
your eyes or on your
skin, flush the place with
water and get medical help immediately.
5-4
Page 244 of 416
Downloaded from www.Manualslib.com manuals search engine Engine Overheating
You will find a coolant temperature gage on your
vehicle’s instrument panel. See “Gages” in the Index.
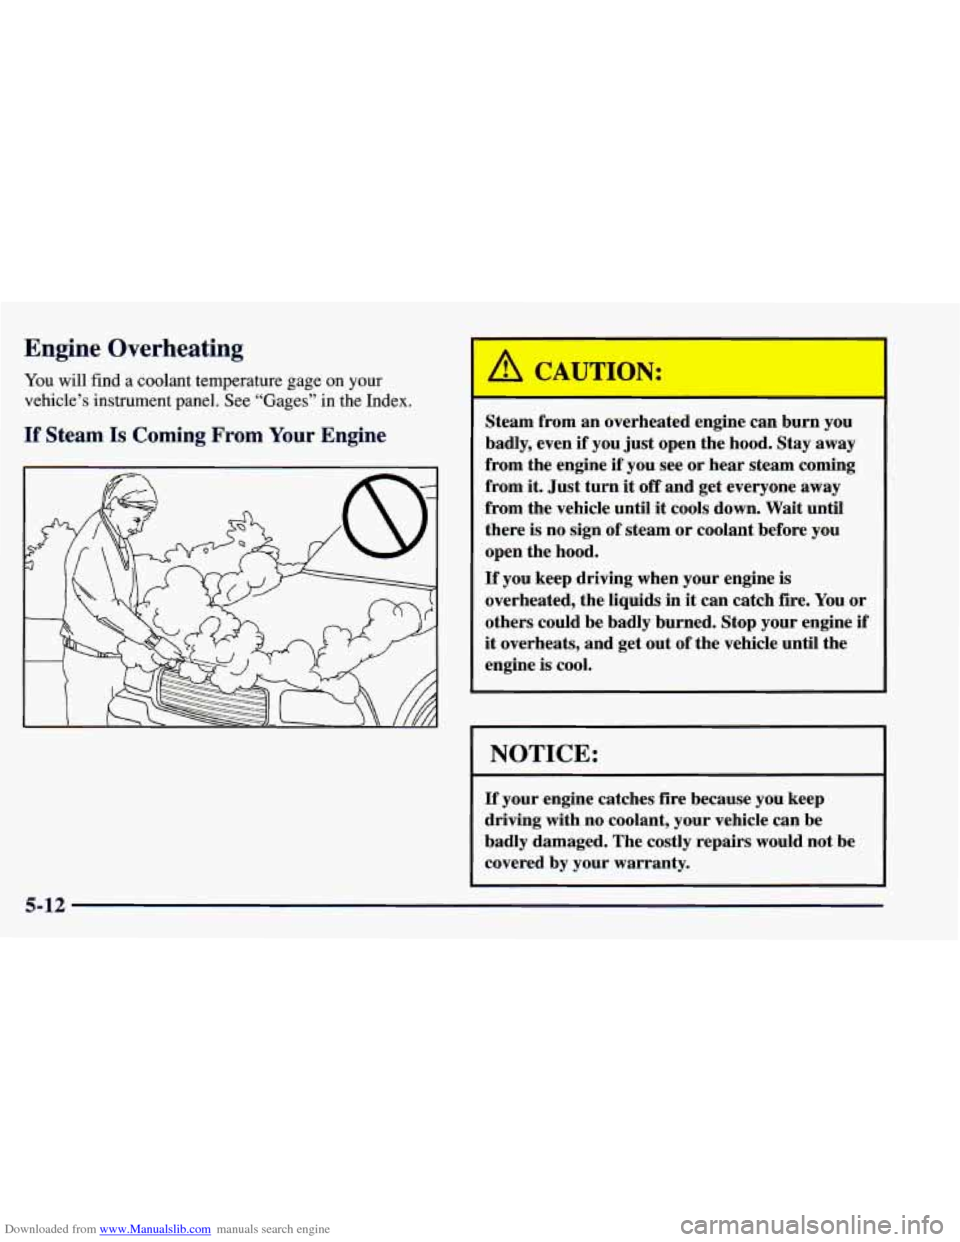
If Steam Is Coming From Your Engine
Steam from an overheated engine can burn you
badly, even if you just open the hood. Stay away
from the engine
if you see or hear steam coming
from it. Just turn it
off and get everyone away
from the vehicle until it cools down. Wait until
there is no sign of steam or coolant before you
open the hood.
If you keep driving when your engine is
overheated, the liquids in it can catch fire. You or
others could be badly burned. Stop your engine
if
it overheats, and get out of the vehicle until the
engine is cool.
I NOTICE: I
If your engine catches fire because you keep
driving with no coolant, your vehicle can be
badly damaged. The costly repairs would not be
covered
by your warranty.
5-12
Page 245 of 416
Downloaded from www.Manualslib.com manuals search engine If No Steam Is Coming From Your Engine
If you get the overheat warning but see or hear no
steam, the problem may not be too serious. Sometimes
the engine can get a little too hot when you:
Climb a long hill on a hot day.
Stop after high-speed driving.
Idle for long periods in traffic.
0 Tow a trailer. See “Driving on Grades” in the Index.
If you get the overheat warning with no sign of steam,
try this for a minute
or so:
1. Turn off your air conditioner.
2. Turn on your heater to full hot at the highest fan
speed and open the window
as necessary,
3. If you’re in a traffic jam, shift to NEUTRAL (N);
otherwise, shift to the highest gear while
driving
-- DRIVE (D) or THIRD (3) for
automatic transmissions. If you no
longer have
the overheat warning, you can
drive. Just
to be safe, drive slower for about 10 minutes.
If the warning doesn’t come back on, you can
drive normally.
If the warning continues, pull over, stop, and park your
vehicle right away.
If there’s still no sign
of steam, push the accelerator until
the engine speed
is about twice as fast as normal idle
speed. Bring the engine speed back to normal idle speed
after two or three minutes. Now see if the warning stops.
But then,
if you still have the warning, turn ofSthe
engine
and get everyone out of the vehicle until it
cools down.
You may decide not to
lift the hood but to get service
help right away.
5-13
Page 274 of 416
Downloaded from www.Manualslib.com manuals search engine If your vehicle is certified to meet California Emission
Standards (indicated on the underhood emission control
label), it is designed to operate on fuels that
meet
California specifications. If such fuels are not available
in states adopting California emissions standards, your
vehicle will operate satisfactorily
on fuels meeting
federal specifications, but emission control
system
performance may be affected. The malfunction indicator
lamp on your instrument panel may turn on and/or your
vehicle may fail
a smog-check test. If this occurs, return
to your authorized GM dealer for diagnosis to determine
the cause of failure.
In the event it is determined that the
cause of the condition is the type of fuels used, repairs
may not be covered by your warranty.
Some gasolines that are not reformulated for low
emissions contain an octane-enhancing additive called
methylcyclopentadienyl manganese tricarbonyl (MMT);
ask your service station operator whether or not his fuel
contains MMT. General Motors does not recommend the
use
of such gasolines. If fuels containing MMT are used,
spark plug life may be reduced and your emission
control system performance
may be affected. The
malfunction indicator lamp
on your instrument panel
may turn on. If this occurs, return to your authorized
GM dealer for service.
To provide cleaner air, all gasolines in the United States
are now required to contain additives that will help
prevent deposits from forming in your engine and fuel
system, allowing your emission control system to
function properly. Therefore, you should not have to
add anything to the fuel. In addition, gasolines
containing oxygenates, such as ethers and ethanol, and
reformulated gasolines may be available in your area
to
help clean the air. General Motors recommends that you
use these gasolines
if they comply with the
specifications described earlier.
NOTICE:
Your vehicle was not designed for fuel that
contains methanol. Don’t
use it. It can corrode
metal parts in your fuel system and also damage
plastic and rubber parts. That damage wouldn’t
be covered under your warranty.
6-4
Page 278 of 416
Downloaded from www.Manualslib.com manuals search engine Checking Things Under the Hood
' A CAUTION: I
Things that burn can get on hot engine parts and
start a fire. These include liquids like gasoline,
oil, coolant, brake fluid, windshield washer and
other fluids, and plastic or rubber. You or others
could be burned. Be careful not to drop
or spill
things that will burn onto
a hot engine.
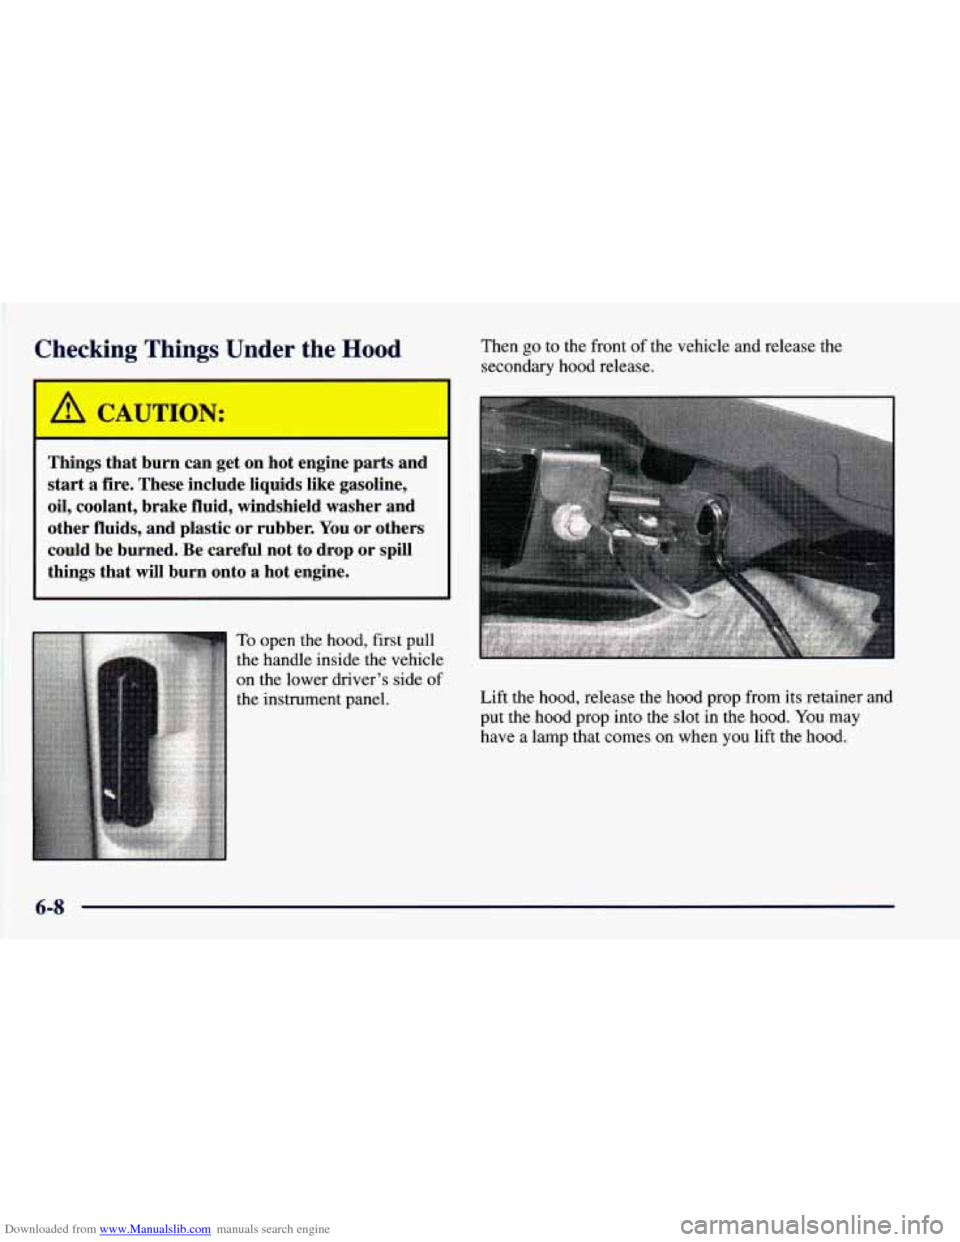
To open the hood, first pull
the handle inside the vehicle
on the lower driver's side
of
the instrument panel. Then
go to the front of the vehicle and release the
secondary
hood release.
Lift the hood, release the hood prop from its retainer and
put the hood prop into the slot in the hood.
You may
have a lamp that comes on when you lift the hood.
Page 304 of 416
Downloaded from www.Manualslib.com manuals search engine One-Piece Composite Headlamp System
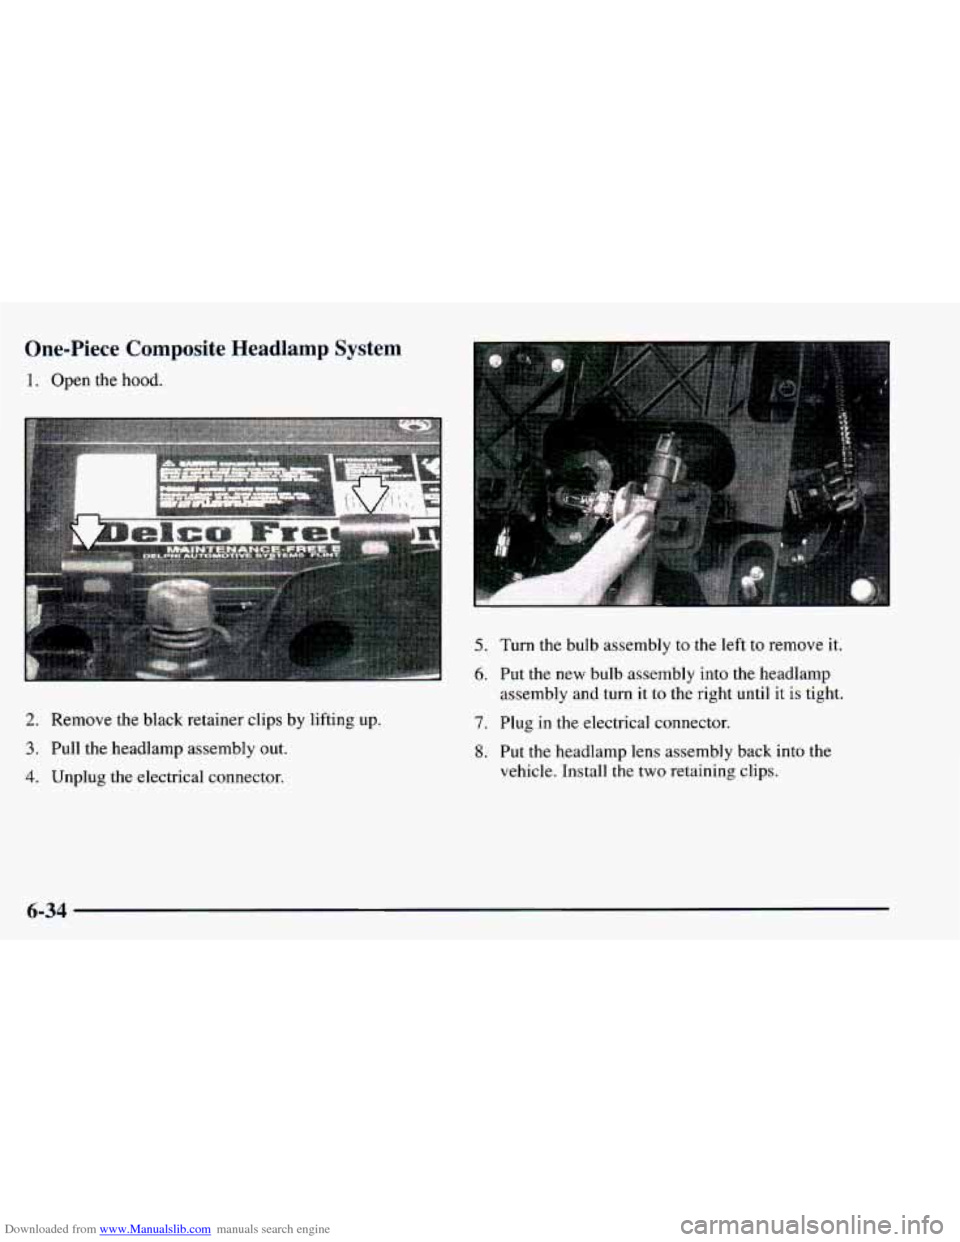
1. Open the hood.
2. Remove the black retainer clips by lifting up.
3. Pull the headlamp assembly out.
4. Unplug the electrical connector.
5. Turn the bulb assembly to the left to remove it.
6. Put the new bulb assembly into the headlamp
assembly and
turn it to the right until it is tight.
7. Plug in the electrical connector.
8. Put the headlamp lens assembly back into the
vehicle. Install
the two retaining clips.
6-34
Page 305 of 416
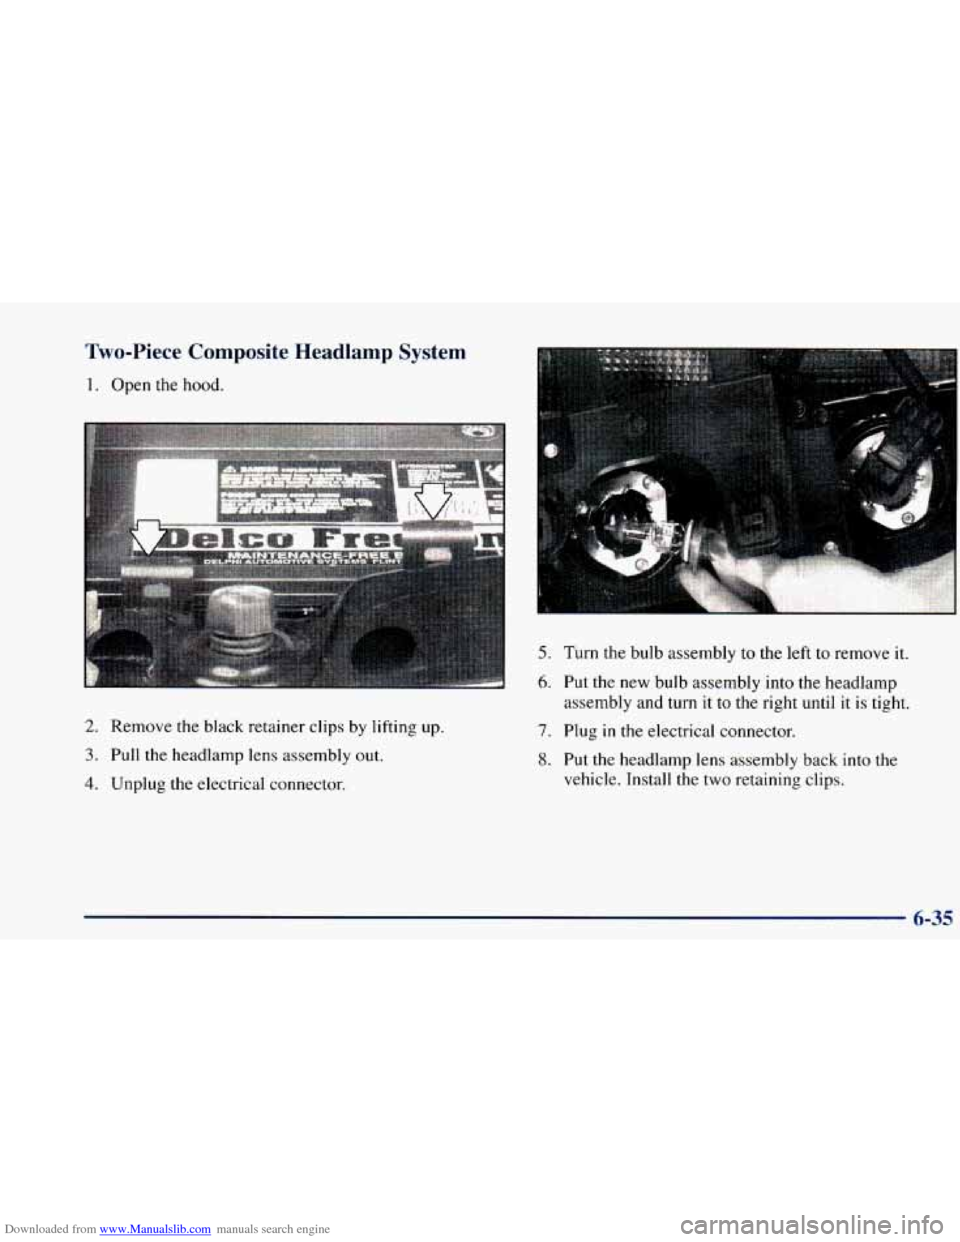
Downloaded from www.Manualslib.com manuals search engine Two-Piece Composite Headlamp System
1. Open the hood.
2. Remove the black retainer clips by lifting up.
3. Pull the headlamp lens assembly out.
4. Unplug the electrical connector.
5. Turn the bulb assembly to the left to remove it.
6. Put the new bulb assembly into the headlamp
assembly and turn
it to the right until it is tight.
7. Plug in the electrical connector.
8. Put the headlamp lens assembly back into the
vehicle. Install the two retaining clips,
6-35
Page 376 of 416
Downloaded from www.Manualslib.com manuals search engine At Least Twice a Year Automatic Transmission Check
Restraint System Check
Make sure the safety belt reminder light and all your
belts, buckles, latch plates, retractors and anchorages are working properly. Look
for any other loose or damaged
safety belt system parts. If you
see anything that might
keep a safety belt system from doing its job, have it
repaired. Have any torn or frayed safety belts replaced.
Also look for any opened or broken air bag coverings,
and have them repaired or replaced. (The
air bag system
does not need regular maintenance.)
Wiper Blade Check
Inspect wiper blades for wear or cracking. Replace blade
inserts that appear worn or damaged or that streak or
miss areas
of the windshield. Also see “Wiper Blades,
Cleaning” in the Index.
Manual Transmission Check
Check the transmission fluid level; add if needed. See
“Manual Transmission’’ in the Index. Check for leaks.
A fluid loss may indicate a problem. Have the system
inspected and repaired if needed. Check the transmission fluid level; add
if needed. See
“Automatic Transmission” in the Index.
A fluid loss
may indicate a problem. Check the system and repair
if needed.
Hydraulic Clutch System Check
Check the fluid level in the clutch reservoir. See
“Hydraulic Clutch Fluid” in the Index. A fluid loss in
this system could indicate a problem. Have the system inspected and repaired at once.
At Least Once a Year
Key Lock Cylinders Service
Lubricate the key lock cylinders with the lubricant
specified in Part
D.
Body Lubrication Service
Lubricate all body door and fuel door hinges, rear
compartment hinges, latches and locks including the
glove box, console doors and the body hood and any moving seat hardware. Lubricate the hood safety lever
pivot and prop rod pivot.
Part D tells you what to use.
More frequent lubrication may be required when
exposed to
a corrosive environment.
7-40