lights CHEVROLET BLAZER 1998 2.G Owners Manual
[x] Cancel search | Manufacturer: CHEVROLET, Model Year: 1998, Model line: BLAZER, Model: CHEVROLET BLAZER 1998 2.GPages: 416, PDF Size: 22.4 MB
Page 15 of 416
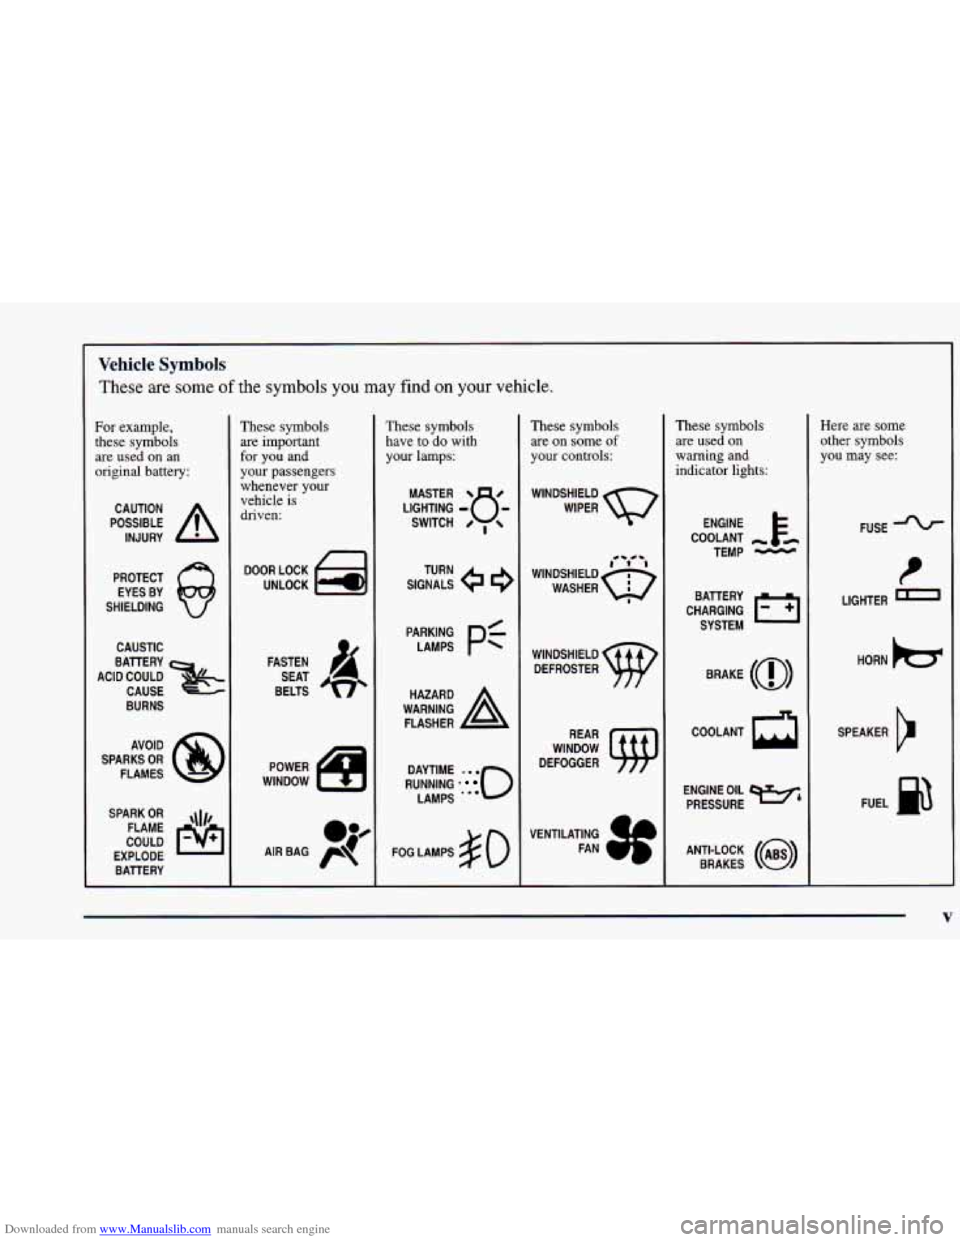
Downloaded from www.Manualslib.com manuals search engine Vehicle Symbols
These are some of the symbols you may find on your vehicle.
For example,
these symbols
are used on an
original battery:
POSSIBLE A
CAUTION
INJURY
PROTECT EYES BY
SHIELDING
CAUSTIC
BURNS
SPARK
OR ,111,
COULD FLAME
EXPLODE BATTERY
These symbols
are important
for you and
your passengers
whenever your vehicle is
driven:
FASTEN
SEAT
BELTS
POWER
WINDOW
These symbols have
to do with
your lamps:
SIGNALS e
TURN
RUNNING
* 0
DAYTIME . . .
LAMPS "'
FOG LAMPS # 0
These symbols
are on some
of
your controls:
WINDSHIELD
DEFROSTER
WINDOW
DEFOGGER
VENTILATING FAN
These symbols
are used on
warning and
indicator lights:
COOLANT -
TEMP -
BRAKE (a)
h COOLANT
ENGINE OIL
e,
PRESSURE
ANTI-LOCK
(@)
BRAKES
Here are some
other symbols
you may see:
FUSE -%-
I
LIGHTER m
HORN b
SPEAKER
b
FUEL 93
J
V
Page 75 of 416
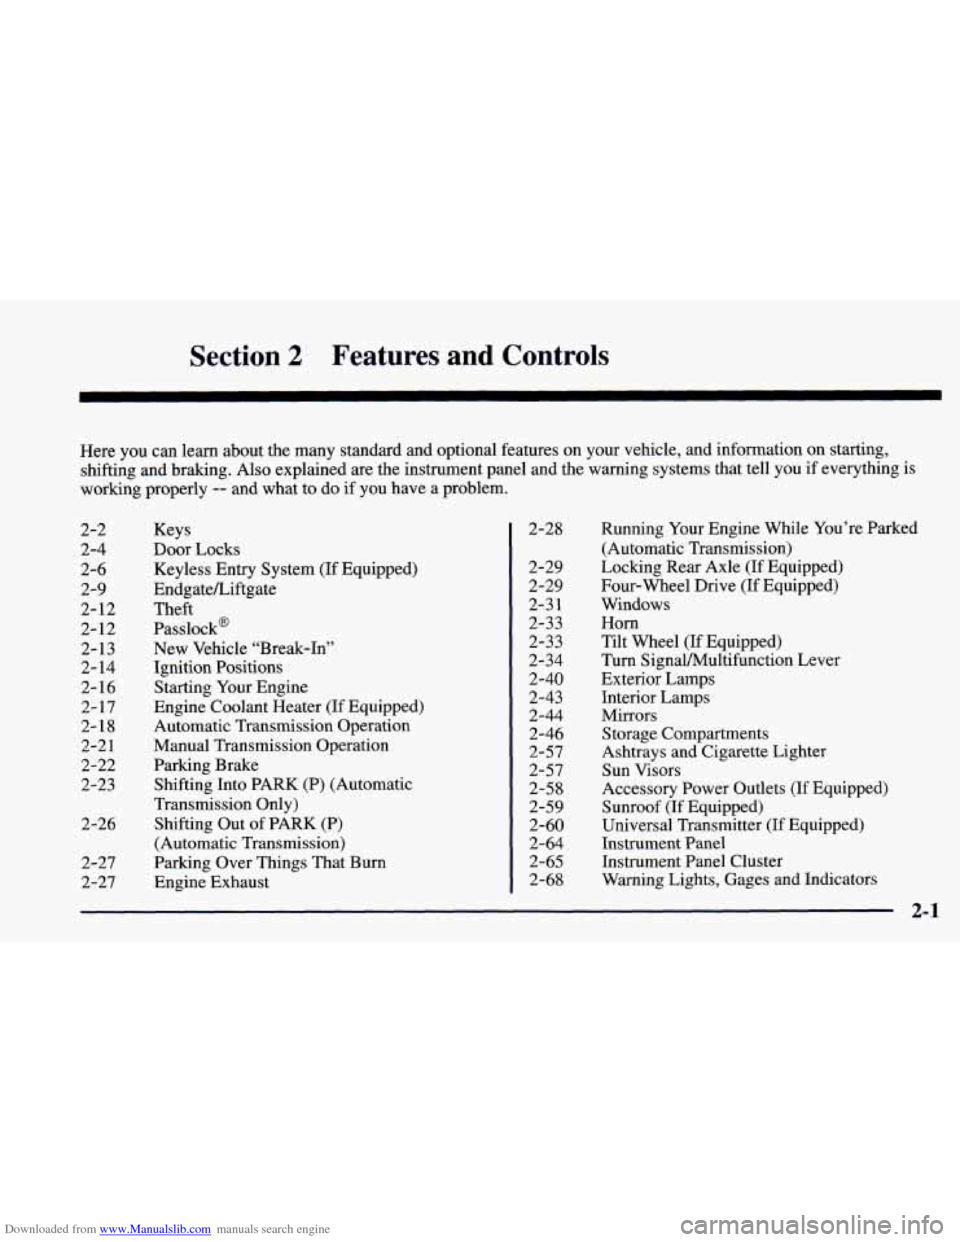
Downloaded from www.Manualslib.com manuals search engine Section 2 Features and Controls
Here you can learn about the many standard and optional features on your vehicle, and information on starting,
shifting and braking. Also explained are the instrument panel and the warning systems that tell you if everything is
working properly
-- and what to do if you have a problem.
2-2
2-4 2-6
2-9
2-
12
2- 12
2-13
2- 14
2- 16
2-17
2-
18
2-2 1
2-22
2-23
2-26 2-27
2-27 Keys
Door Locks
Keyless Entry System (If Equipped)
EndgateLiftgate
Theft
Passlock@ New Vehicle “Break-In”
Ignition Positions
Starting Your Engine
Engine Coolant Heater (If Equipped)
Automatic Transmission Operation
Manual Transmission Operation
Parking Brake Shifting Into PARK (P) (Automatic
Transmission Only)
Shifting Out
of PARK (P)
(Automatic Transmission)
Parking Over Things That Burn
Engine Exhaust 2-28
2-29
2-29
2-3
1
2-33
2-33
2-34 2-40
2-43
2-44
2-46
2-57
2-57
2-58 2-59
2-60
2-64
2-65
2-68
Running Your Engine While You’re Parked
(Automatic Transmission)
Locking Rear Axle
(If Equipped)
Four-wheel Drive (If Equipped)
Windows
Horn
Tilt Wheel (If Equipped)
Turn SignaVMultifunction Lever
Exterior Lamps
Interior Lamps
Mirrors Storage Compartments
Ashtrays and Cigarette Lighter
Sun Visors
Accessory Power Outlets
(If Equipped)
Sunroof
(If Equipped)
Universal Transmitter
(If Equipped)
Instrument Panel
Instrument Panel Cluster
Warning Lights, Gages and Indicators
2-1
Page 81 of 416
Downloaded from www.Manualslib.com manuals search engine Operation Matching Transmitter(s) To Your Vehicle
When you
press UNLOCK, the driver’s door will
unlock automatically, the parking lamps will flash and
the interior lights will go on. If you press UNLOCK
again within three seconds, the remaining doors will
unlock, the parking lamps will flash and the interior
lights will go on. Press LOCK to
lock all the doors.
Press LOCK again within three seconds and the horn
will chirp.
Press the REAR button twice within three seconds to
unlock the rear liftgate glass, the parking lamps will
flash and the interior lights will go on. If your vehicle
has an automatic transmission, the transmission
must be in PARK
(P) or NEUTRAL (N). If your
vehicle has a manual transmission, you must engage
the parking brake.
Remote Panic Alarm
When the button with the horn symbol on the key
transmitter is pressed, the horn will sound and the
headlamps and taillamps will flash for up to
30 seconds.
This can be turned off by pressing the horn button again,
waiting for
30 seconds, or starting the vehicle. Each
remote keyless entry transmitter is coded to
prevent another transmitter from unlocking your vehicle.
If a transmitter is lost or stolen, a replacement can be
purchased through your dealer. Remember to bring
any
remaining transmitters with you when you go to your
dealer. When the dealer matches the replacement
transmitter to your vehicle, any remaining transmitters
must also be matched. Once your dealer has coded the
new transmitter, the lost transmitter will not unlock your
vehicle. Each vehicle can have only four transmitters
matched
to it.
Battery Replacement
Under normal use, the battery in your remote keyless
entry transmitter should last about two years.
You
can tell the battery is weak if the transmitter won’t
work at
the normal range in any location. If you have to
get close to your vehicle before the transmitter works,
it’s probably time to change the battery.
2-7
Page 104 of 416
Downloaded from www.Manualslib.com manuals search engine 4LO: This setting also engages your front axle to give
you extra traction.
You may never need 4LO. It sends
the maximum power to
all four wheels. You might
choose 4LO if you were driving off-road in sand, mud
or deep snow and climbing or descending steep hills.
Indicator lights in the switches show you which setting
you
are in. The indicator lights will come on briefly when
you
turn on the ignition and one will stay on. If the lights
do not
come on, you should take your vehicle in for
service.
An indicator light will flash while shifting. It will
remain illuminated when the shift is completed.
Shifting from 2HI to 4HI
Press and release the 4HI switch. This can be done at
any speed, and the front axle will lock automatically.
Shifting from 4HI to 2HI
Press and release the 2HI switch. This can be done at
any speed, and the front axle will unlock automatically.
Shifting from 2HI or 4HI to 4LO
To shift from 2HI or 4HI to 4L0, the vehicle must be
stopped or moving less than 3 mph (4.8 kmh) with the
transmission
in NEUTRAL (N) in vehicles equipped with an automatic transmission
or the clutch pedal
engaged in vehicles equipped with
a manual
transmission. The preferred method for shifting into
4LO is to have your vehicle moving
1 to 2 mph
(1.6 to 3.2 km/h). Press and release the 4LO switch.
You must wait for the 4LO indicator light to stop
flashing and remain illuminated before shifting your
transmission into gear or releasing the clutch pedal.
If the 4LO switch is pressed when your vehicle is in
gear
and/or moving, the 4LO indicator light will flash
for 30 seconds and not complete the shift unless your
vehicle is moving slower than 3 mph (4.8
kmh) and
the transmission is in NEUTRAL
(N) or the clutch
pedal engaged.
On automatic transmission equipped vehicles, if your
transfer case does
not shift into 4L0, your transmission
indicator switch may require adjustment. With your
transmission in NEUTRAL
(N), press and release the
4LO switch. While the 4LO indicator light is flashing,
shift your transmission into PARK (P). Wait until the
4LO indicator light remains illuminated before shifting
your transmission into gear. This will get you into 4L0,
but you should take your vehicle in for service to restore
normal operation.
2-30
Page 114 of 416
Downloaded from www.Manualslib.com manuals search engine Using Cruise Control on Hills
How well your cruise control will work on hills depends
upon your speed, load and the steepness
of the hills.
When going up steep hills, you may want to step on the
accelerator pedal to maintain your speed. When going
downhill, you may have to brake or shift to a lower gear
to keep your speed down. Of course, applying the brake
takes you out
of cruise control. Many drivers find this to
be too much trouble and don’t use cruise control on
steep hills.
Ending Cruise Control
There are two ways to turn off the cruise control:
Step lightly on the brake pedal or push the clutch
pedal, if you have a manual transmission.
0 Move the cruise switch to OFF.
Erasing Speed Memory
When you turn off the cruise control or the ignition,
your cruise control set speed memory is erased.
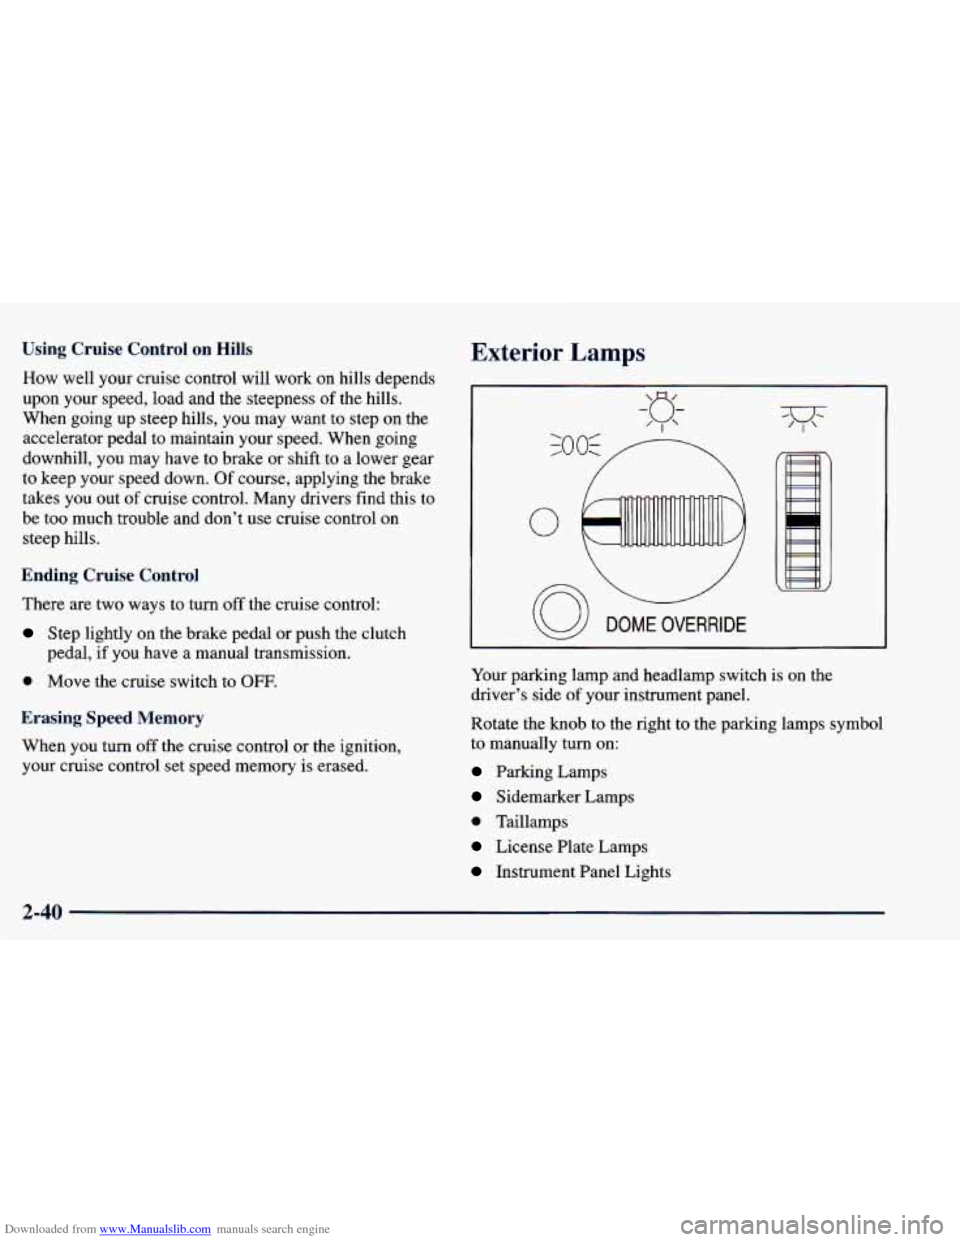
Exterior Lamps
0
DOME OVERRIDE
Your parking lamp and headlamp switch is on the
driver’s side
of your instrument panel.
Rotate the knob to
the right to the parking lamps symbol
to manually turn on:
Parking Lamps
Sidemarker Lamps
0 Taillamps
License Plate Lamps
Instrument Panel Lights
2-40
Page 115 of 416
Downloaded from www.Manualslib.com manuals search engine Rotate the knob to the right to the master lamps symbol
to turn on all the lamps listed as well as the headlamps.
Rotate the knob all the
way to the left to turn off your
lamps and put the system in auto headlamp mode.
Automatic Headlamp System
When it is dark enough outside, your automatic
headlamp system will turn on your headlamps at the
normal brightness along with other lamps such as the
taillamps, sidemarker, parking lamps and the instrument
panel lights. The radio lights will also be dim.
Your vehicle is equipped with a light sensor on the top
of the instrument panel under the radio speaker grill so
be sure it is not covered, which will cause the system to
be on whenever the ignition is on.
The system may also turn on your headlamps when
driving through a parking garage, heavy overcast
weather, a tunnel or fueling your vehicle in a low-light
area. This is normal. There is
a delay in the transition between the daytime and
nighttime operation of the Daytime Running Lamps
(DRL) and the automatic headlamp systems so that driving
under bridges or bright overhead street lights does not
affect the system. The
DRL and automatic headlamp
system will
only be affected when the light sensor sees a
change in lighting lasting longer than the delay.
To idle your vehicle with the automatic headlamp
system off, set the parking brake while the ignition is
off. Then
start your vehicle. The automatic headlamp
system will stay off until you release the parking brake.
As with any vehicle, you should turn on the regular
headlamp system when you need it.
Lamps On Reminder
A reminder chime will sound when your headlamps or
parking lamps are manually turned on and your ignition
is in
OFF, LOCK or ACCESSORY. To turn the chime
off, turn the knob all the way to the left or turn the
instrument panel dimmer down to the fully dimmed
position. In the automatic mode, the headlamps turn off
once the ignition key is in
OFF.
2-41
Page 117 of 416
Downloaded from www.Manualslib.com manuals search engine Interior Lamps
Brightness Control
Turn the switch next to the headlamp switch up to make
your instrument panel lights brighter. Turn the switch
all
the way up to turn on the interior lamps.
Exit Lighting
With exit lighting, the interior lamps will come on when
you remove the key from the ignition to help you see
while exiting the vehicle. These lights will stay on for a
short period of time and then will go out.
Illuminated Entry
Your vehicle is equipped with an illuminated
entry feature.
When the doors are opened, the dome lamps will come
on if the DOME OVERRIDE button is out. When
all the doors are closed, or the front door handles are
lifted and released, the lamps will stay on for a short
period
of time and will then go out. When the
DOME OVERRIDE button is pressed in, the
lamps will go out immediately.
Front Reading Lamps (If Equipped)
Press the button near each lamp on the overhead console
to turn the reading lamps on and
off. The lamps can be
swiveled to point in the desired direction.
If you have the mini-console, press the lens on each
lamp to turn it
on or off.
Front Map Lamps (If Equipped)
If your vehicle has optional front map lamps, they are
located on the inside rearview mirror. They will
automatically come on for approximately
40 seconds when
the doors are unlocked with the keyless entry transmitter (if equipped) or until the ignition key is turned to RUN or\
ACCESSORY. The lamps will
also stay on for
approximately
40 seconds after you exit the vehicle unless
you lock the doors with the keyless entry transmitter.
You can also turn the lamps on and off by pressing the
switch near each lamp.
Dome Lamps
The dome lamps will come on when you open the doors.
You can also turn the dome lamps on by rotating the
thumb wheel, located next to the parking/headlamps
knob, all the way up
to the top detent position. In this
position, the dome lamps will remain on whether the
doors are opened or closed.
2-43
Page 119 of 416
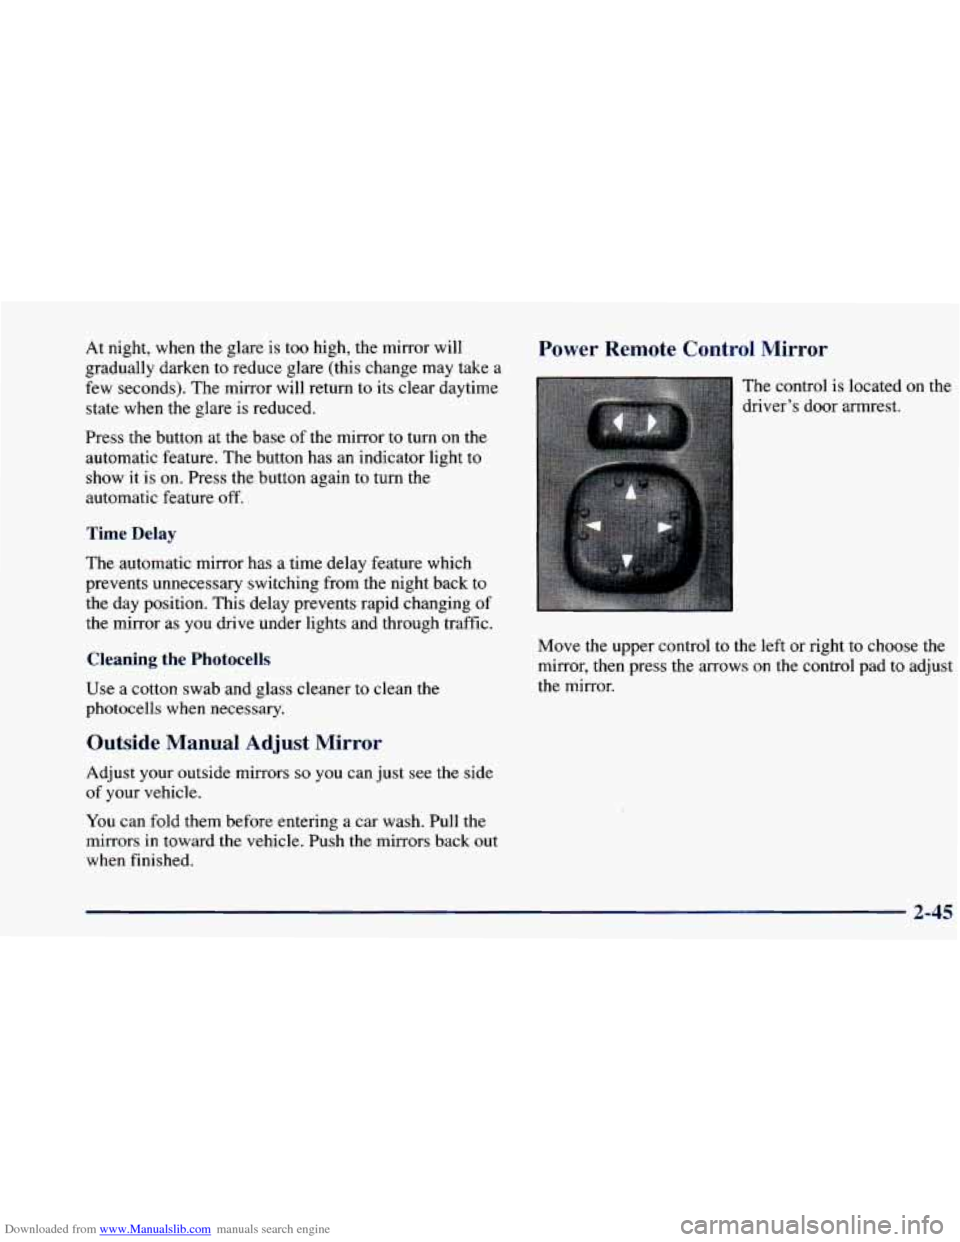
Downloaded from www.Manualslib.com manuals search engine At night, when the glare is too high, the mirror will Power Remote Control Mirror
gradually darken to reduce glare (this change may take a
few seconds). The mirror will return to its clear daytime The control is located on the
state when the glare is reduced. driver’s door armrest.
Press the button at the base of the mirror to turn on the
automatic feature. The button has
an indicator light to
show it is on. Press the button again to turn the
automatic feature off.
Time Delay
The automatic mirror has a time delay feature which
prevents unnecessary switching from the night back to
the day position. This delay prevents rapid changing
of
the mirror as you drive under lights and through traffic.
Cleaning the Photocells
Use a cotton swab and glass cleaner to clean the
photocells when necessary.
Outside Manual Adjust Mirror
Adjust your outside mirrors so you can just see the side
of your vehicle.
You can fold them before entering a car wash. Pull the
mirrors
in toward the vehicle. Push the mirrors back out
when finished. Move the upper control
to the left or right to
cl. )se me
mirror, then press the arrows on the control paa
IO adjust
the mirror.
2-45
Page 142 of 416
Downloaded from www.Manualslib.com manuals search engine Warning Lights, Gages and Indicators
This part describes the warning lights and gages that
may be
on your vehicle. The pictures will help you
locate them.
Warning lights and gages can signal that something is
wrong before it becomes serious enough to cause an
expensive repair or replacement. Paying attention to
your warning lights and gages
could also save you or
others from injury.
Warning lights come on when there may be or is a
problem with one
of your vehicle’s functions. As you
will see in the details on the next few pages, some
warning lights come on briefly when
you start the
engine just to let
you know they’re working. If you are
familiar with this section, you should not be alarmed
when this happens.
Gages can indicate when there may be or is a problem
with one of
your vehicle’s functions. Often gages and
warning lights work together to let
you know when
there’s a problem with your vehicle. When
one of the warning lights comes on and stays on
when you
are driving, or when one of the gages shows
there may be a problem, check the section that tells you
what to do about it. Please follow this manual’s advice.
Waiting
to do repairs can be costly -- and even
dangerous.
So please get to know your warning lights
and gages. They’re a big help.
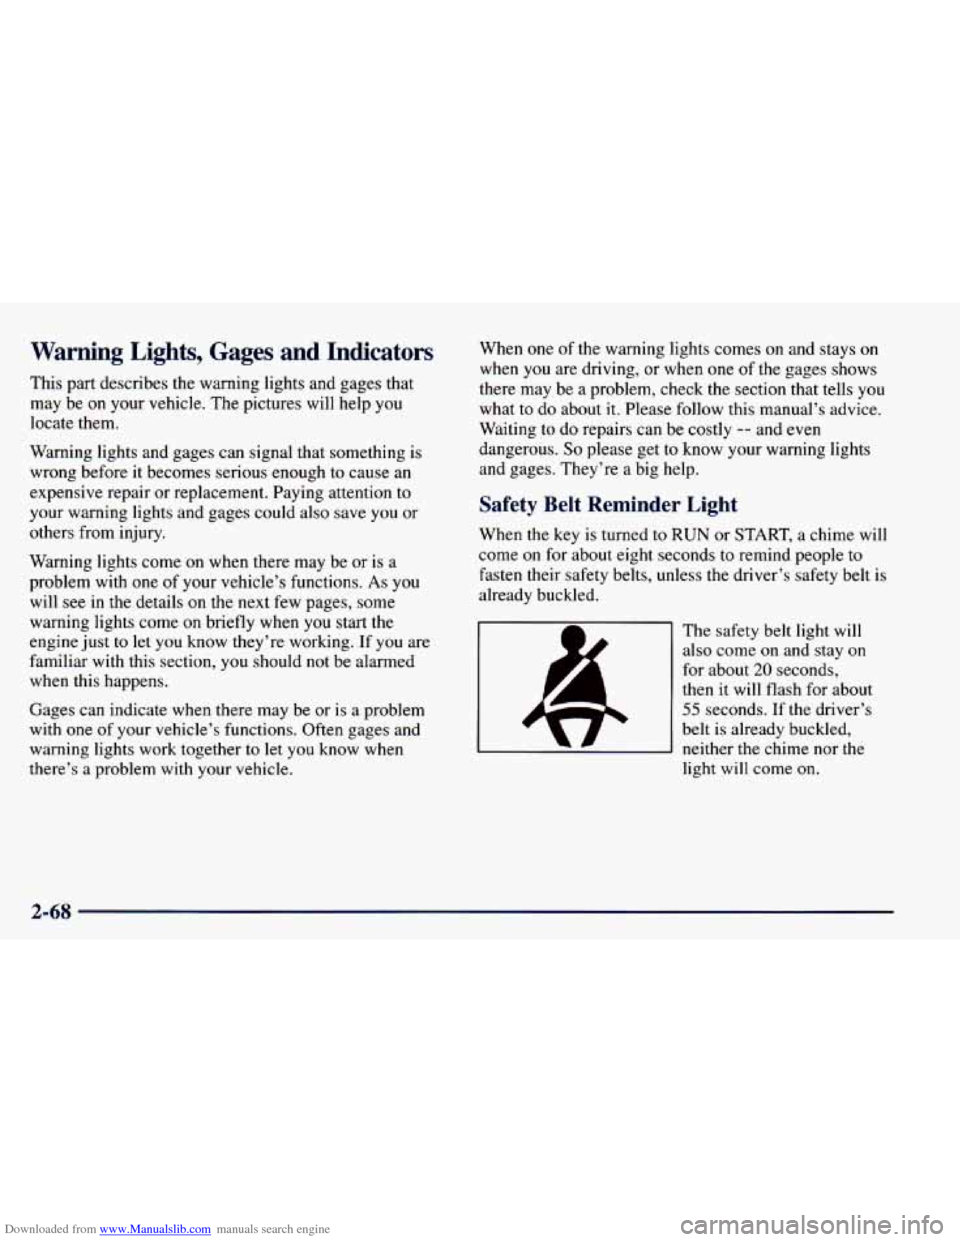
Safety Belt Reminder Light
When the key is turned to RUN or START, a chime will
come
on for about eight seconds to remind people to
fasten their safety belts, unless the driver’s safety belt is
already buckled.
The safety belt light will
also come
on and stay on
for about
20 seconds,
then it will flash for about
55 seconds. If the driver’s
belt
is already buckled,
neither the chime nor the
light will come
on.
2-68
Page 156 of 416
Downloaded from www.Manualslib.com manuals search engine Temperature Knob Mode Knob - Automatic Operation
The middle knob on the control panel lets you select the
desired air temperature in your vehicle. This knob will
allow
you to adjust the interior air temperature
independently
of the function knob setting. Move the
knob to the right toward
82 for warmer air. Move the
knob to the left toward 66 for cooler air.
Full Hot: If you turn the temperature knob past 82°F
(28”C), the system will go into the
“full hot” mode. The
system will remain at that maximum heating setting and
the fan will blow at the speed the fan knob is set to. If
the fan is in AUTO, it will run at
full speed.
Full Cold: If you turn the temperature knob past 66°F
(1 9”C), the system will go into the “full cold” mode.
The system will remain at that maximum cooling setting
and the fan will blow at the speed the fan knob is set to. \
If the fan is in AUTO, it will run at
full speed.
Choosing either maximum setting will
not cause the
system to heat or cool any faster. The right knob
on the control panel allows you to
choose the direction of air delivery. When the system is
set for automatic operation, sensors will control the air
delivery mode. Air will come primarily from the floor or
instrument panel outlets, with some air directed to the
windshield
to prevent fogging.
When the system is
in AUTO mode, the air conditioning
light
will turn on, and the recirculation and outside air
lights turn off. With the system in full auto control (both
the fan and mode knobs in AUTO), you still have the ability to override any function. However, continually
overriding the outside air or the A/C compressor will
limit the ability of the system
to cool the
vehicle quickly.
If
you push a button for a function which is not
available,
the light next to that button will flash three
times
to alert you that it’s not available.
To find your comfort zone, start with the
74°F (23°C)
setting and allow about 20 minutes for the system to
adjust the temperature
if necessary.
3-4