seats CHEVROLET BLAZER 2002 2.G Owners Manual
[x] Cancel search | Manufacturer: CHEVROLET, Model Year: 2002, Model line: BLAZER, Model: CHEVROLET BLAZER 2002 2.GPages: 488, PDF Size: 2.95 MB
Page 8 of 488
1-
1-1
Section 1 Seats and Restraint Systems
Here you'll find information about the seats in your vehicle and how to use your safety belts properly. You can also
learn about some things you should not do with air bags and safety belts.
1
-2 Seats and Seat Controls
1
-10 Safety Belts: They're for Everyone
1
-15 Here Are Questions Many People Ask About
Safety Belts
-- and the Answers
1
-16 How to Wear Safety Belts Properly
1
-16 Driver Position
1
-22 Safety Belt Use During Pregnancy
1
-23 Right Front Passenger Position
1
-23 Air Bag System
1
-31 Center Front Passenger Position (Four-Door
Models with Front Bench Seat)
1
-32 Rear Seat Passengers1
-36 Rear Safety Belt Comfort Guides for Children
and Small Adults (4
-Door Models)
1
-38 Center Rear Passenger Position
(4
-Door Models)
1
-40 Children
1
-43 Restraint Systems for Children
1
-55 Older Children
1
-58 Safety Belt Extender
1
-58 Checking Your Restraint Systems
1
-59 Replacing Restraint System Parts After
a Crash
Page 9 of 488
1-2
Seats and Seat Controls
This section tells you about the seats -- how to adjust
them, and fold them up and down.
Manual Front Seat
CAUTION:
You can lose control of the vehicle if you try to
adjust a manual driver's seat while the vehicle is
moving. The sudden movement could startle and
confuse you, or make you push a pedal when you
don't want to. Adjust the driver's seat only when
the vehicle is not moving.
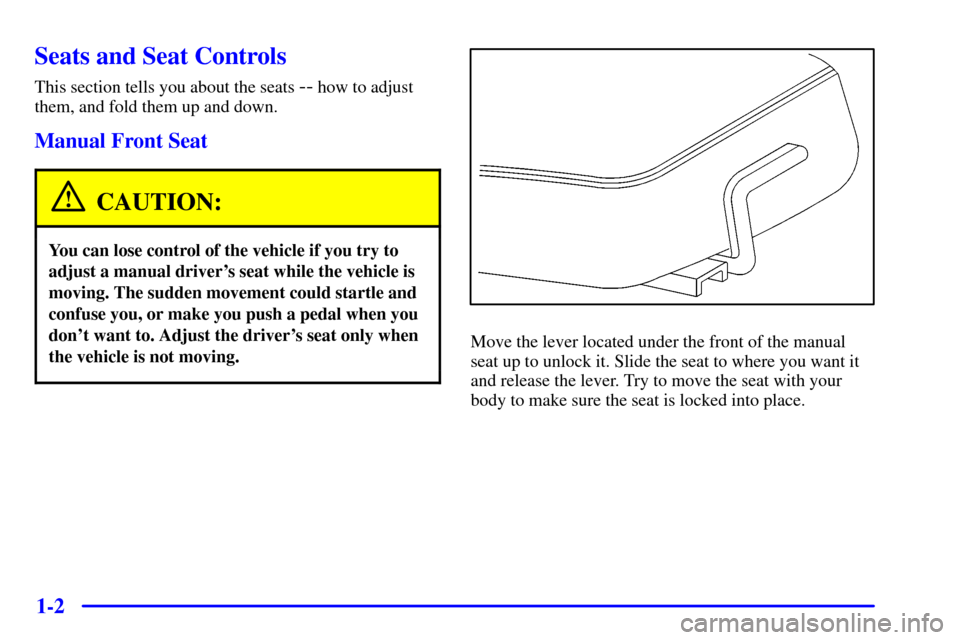
Move the lever located under the front of the manual
seat up to unlock it. Slide the seat to where you want it
and release the lever. Try to move the seat with your
body to make sure the seat is locked into place.
Page 10 of 488
1-3 Manual Lumbar Support (If Equipped)
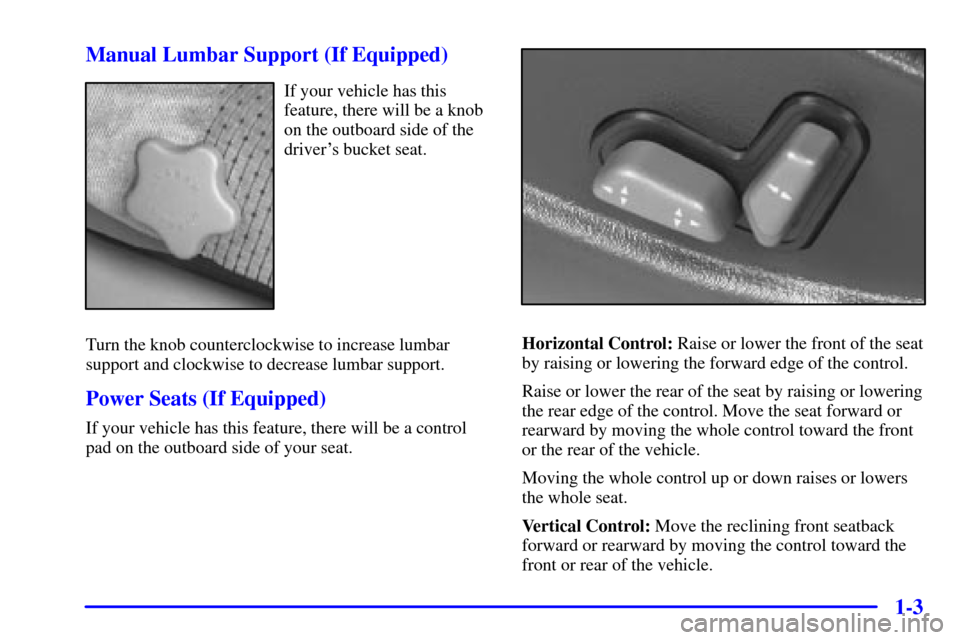
If your vehicle has this
feature, there will be a knob
on the outboard side of the
driver's bucket seat.
Turn the knob counterclockwise to increase lumbar
support and clockwise to decrease lumbar support.
Power Seats (If Equipped)
If your vehicle has this feature, there will be a control
pad on the outboard side of your seat.
Horizontal Control: Raise or lower the front of the seat
by raising or lowering the forward edge of the control.
Raise or lower the rear of the seat by raising or lowering
the rear edge of the control. Move the seat forward or
rearward by moving the whole control toward the front
or the rear of the vehicle.
Moving the whole control up or down raises or lowers
the whole seat.
Vertical Control: Move the reclining front seatback
forward or rearward by moving the control toward the
front or rear of the vehicle.
Page 12 of 488
1-5
3. To program your keyless entry transmitter, if equipped,
press the UNLOCK button within five seconds of
programming the memory button. You will hear a
chime to confirm programming of the transmitter.
When your vehicle is in PARK (P) for an automatic
transmission or the parking brake is engaged for a
manual transmission, press and release the numbered
memory button you just stored. The seat will move to
the set position. You will hear one chime.
Pressing the UNLOCK button of a keyless entry
transmitter will adjust the seat to the corresponding
stored memory position. You will hear one chime.
Repeat Steps 1 and 2 to readjust the seat. The transmitter
need not be reprogrammed unless it needs to correspond
to the other numbered memory button.
If there is a third driver, use the seat adjuster switch to
adjust the seat. Pressing any of the seat adjuster
switches, the SET button or pressing the desired
memory button twice will cause the seat to stop moving.
If you press the numbered button to adjust the seat and
start the vehicle while the seat is still adjusting,
adjustment will pause while the ignition is in START.
Adjustment will resume after the ignition is in RUN.Heated Front Seats (If Equipped)
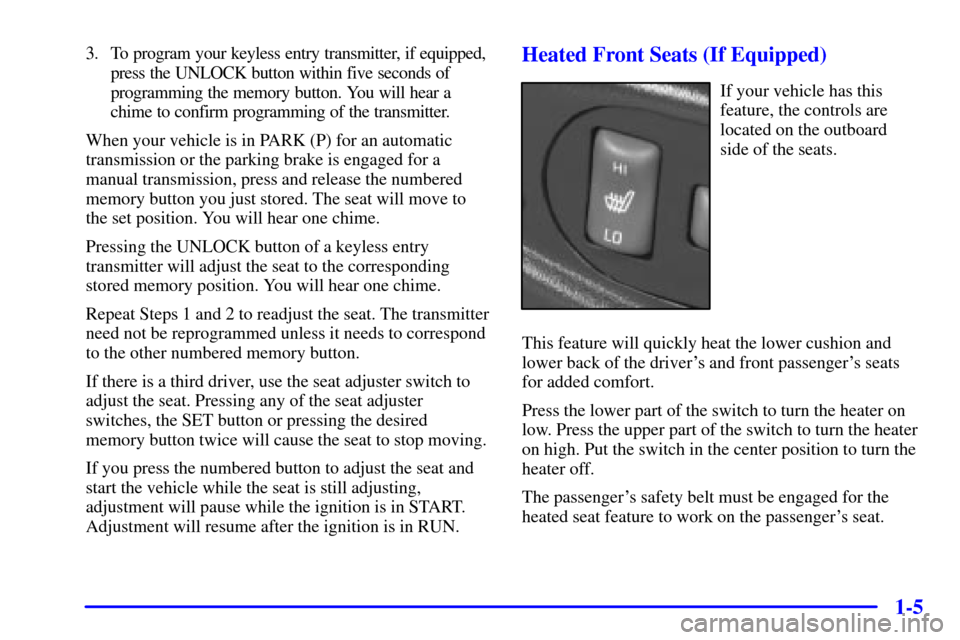
If your vehicle has this
feature, the controls are
located on the outboard
side of the seats.
This feature will quickly heat the lower cushion and
lower back of the driver's and front passenger's seats
for added comfort.
Press the lower part of the switch to turn the heater on
low. Press the upper part of the switch to turn the heater
on high. Put the switch in the center position to turn the
heater off.
The passenger's safety belt must be engaged for the
heated seat feature to work on the passenger's seat.
Page 16 of 488
1-9 Easy Entry Seat (2-Door Models)
The right front seat of your vehicle makes it easy to get
in and out of the rear seat.
1. Tilt the right front seatback completely forward and
the whole seat will slide forward.
2. Move the seatback to its original position after
someone gets into the rear seat area. Then move the
seat rearward until it locks.
CAUTION:
If an easy entry right front seat isn't locked, it
can move. In a sudden stop or crash, the person
sitting there could be injured. After you've used
it, be sure to push rearward on an easy entry seat
to be sure it is locked.
Tilt the seatback completely forward and slide the whole
seat forward again to get out of the rear seat.
Rear Seats
Your vehicle has a folding rear seat which lets you fold
the seatbacks down for more cargo space.
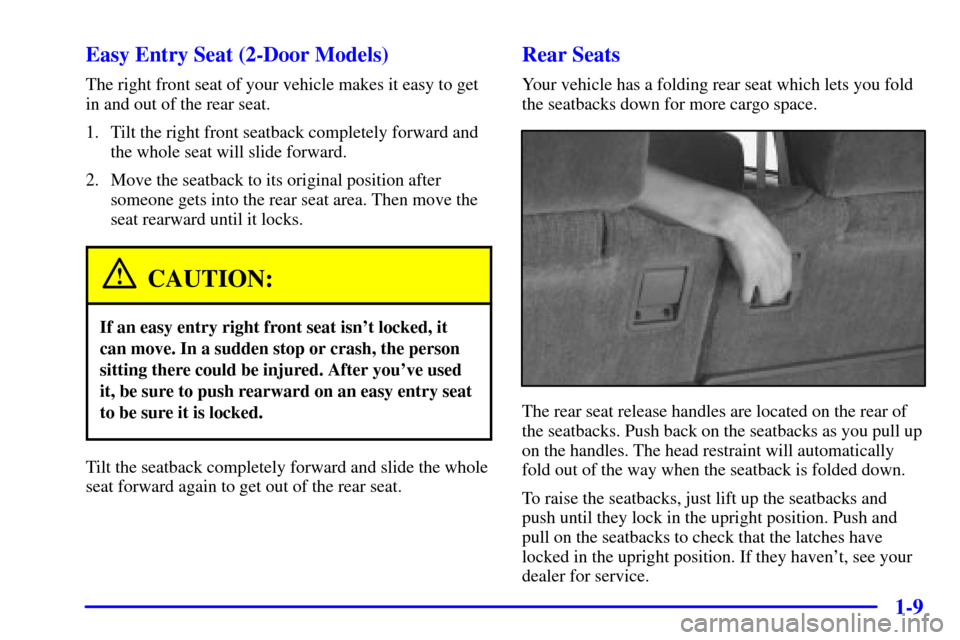
The rear seat release handles are located on the rear of
the seatbacks. Push back on the seatbacks as you pull up
on the handles. The head restraint will automatically
fold out of the way when the seatback is folded down.
To raise the seatbacks, just lift up the seatbacks and
push until they lock in the upright position. Push and
pull on the seatbacks to check that the latches have
locked in the upright position. If they haven't, see your
dealer for service.
Page 17 of 488
1-10
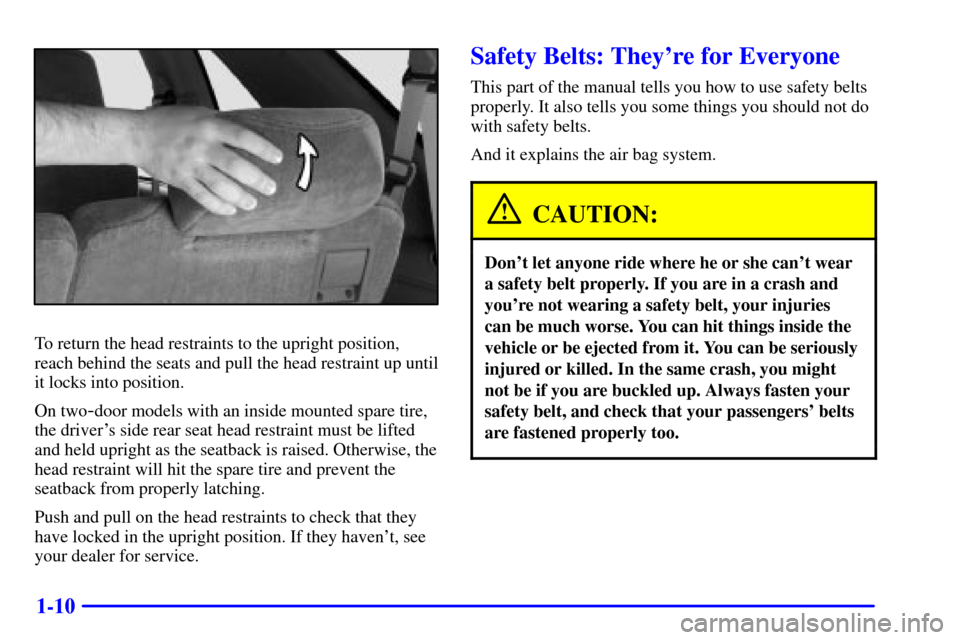
To return the head restraints to the upright position,
reach behind the seats and pull the head restraint up until
it locks into position.
On two
-door models with an inside mounted spare tire,
the driver's side rear seat head restraint must be lifted
and held upright as the seatback is raised. Otherwise, the
head restraint will hit the spare tire and prevent the
seatback from properly latching.
Push and pull on the head restraints to check that they
have locked in the upright position. If they haven't, see
your dealer for service.
Safety Belts: They're for Everyone
This part of the manual tells you how to use safety belts
properly. It also tells you some things you should not do
with safety belts.
And it explains the air bag system.
CAUTION:
Don't let anyone ride where he or she can't wear
a safety belt properly. If you are in a crash and
you're not wearing a safety belt, your injuries
can be much worse. You can hit things inside the
vehicle or be ejected from it. You can be seriously
injured or killed. In the same crash, you might
not be if you are buckled up. Always fasten your
safety belt, and check that your passengers' belts
are fastened properly too.
Page 18 of 488
1-11
CAUTION:
It is extremely dangerous to ride in a cargo area,
inside or outside of a vehicle. In a collision,
people riding in these areas are more likely to be
seriously injured or killed. Do not allow people to
ride in any area of your vehicle that is not
equipped with seats and safety belts. Be sure
everyone in your vehicle is in a seat and using a
safety belt properly.
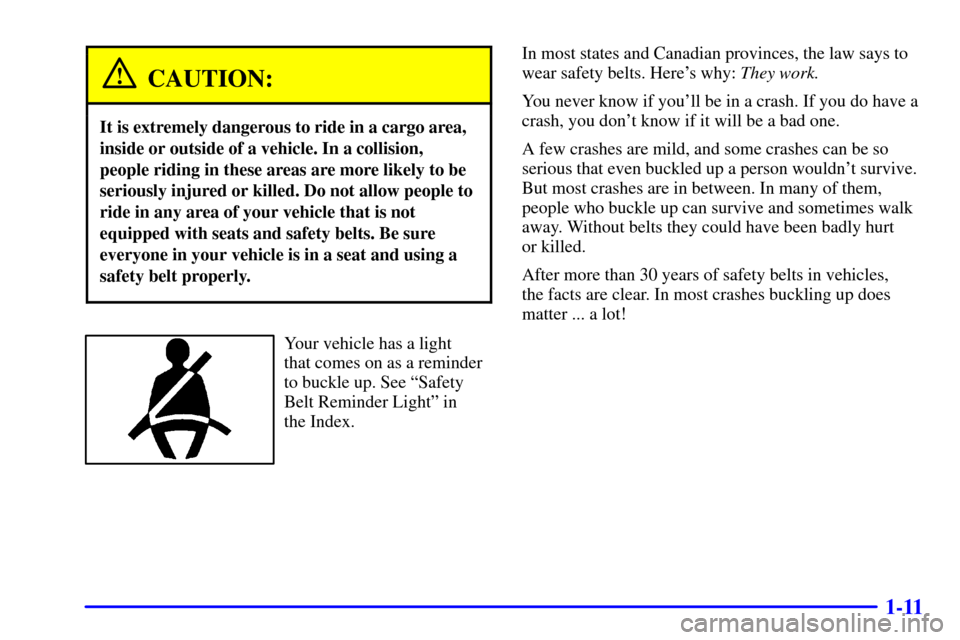
Your vehicle has a light
that comes on as a reminder
to buckle up. See ªSafety
Belt Reminder Lightº in
the Index.In most states and Canadian provinces, the law says to
wear safety belts. Here's why: They work.
You never know if you'll be in a crash. If you do have a
crash, you don't know if it will be a bad one.
A few crashes are mild, and some crashes can be so
serious that even buckled up a person wouldn't survive.
But most crashes are in between. In many of them,
people who buckle up can survive and sometimes walk
away. Without belts they could have been badly hurt
or killed.
After more than 30 years of safety belts in vehicles,
the facts are clear. In most crashes buckling up does
matter ... a lot!
Page 23 of 488
1-16
How to Wear Safety Belts Properly
Adults
This part is only for people of adult size.
Be aware that there are special things to know
about safety belts and children. And there are different
rules for smaller children and babies. If a child will
be riding in your vehicle, see the part of this manual
called ªChildren.º Follow those rules for
everyone's protection.
First, you'll want to know which restraint systems your
vehicle has.
We'll start with the driver position.
Driver Position
This part describes the driver's restraint system.
Lap-Shoulder Belt
The driver has a lap-shoulder belt. Here's how to wear
it properly.
1. Close and lock the door.
2. Adjust the seat so you can sit up straight. To see
how, see ªSeatsº in the Index.
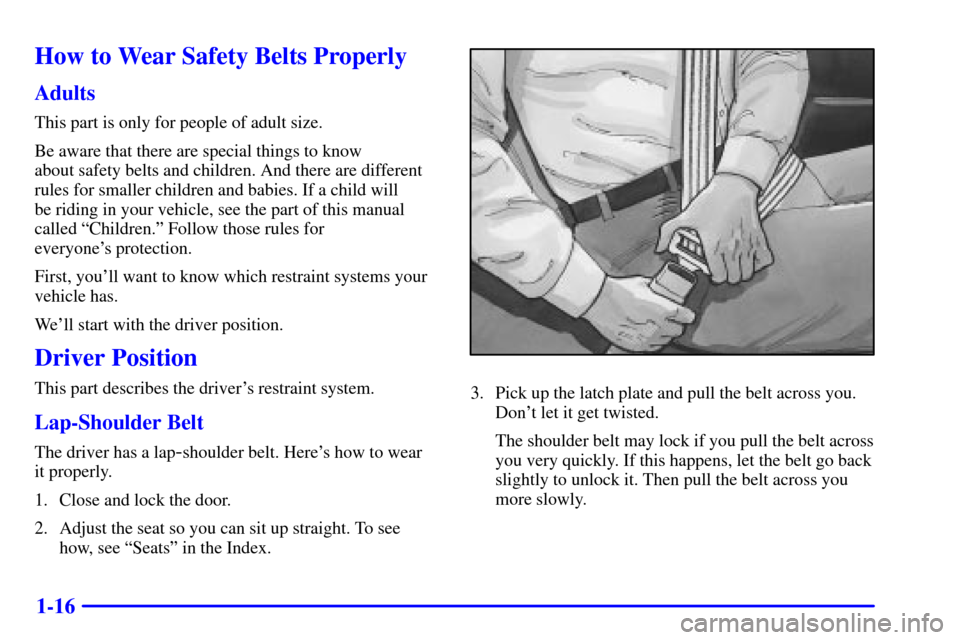
3. Pick up the latch plate and pull the belt across you.
Don't let it get twisted.
The shoulder belt may lock if you pull the belt across
you very quickly. If this happens, let the belt go back
slightly to unlock it. Then pull the belt across you
more slowly.
Page 43 of 488
1-36
Rear Safety Belt Comfort Guides
for Children and Small Adults
(4
-Door Models)
Four-door models have rear shoulder belt comfort
guides. This feature will provide added safety belt
comfort for older children who have outgrown booster
seats and for small adults. When installed on a shoulder
belt, the comfort guide better positions the belt away
from the neck and head.
To provide added safety belt comfort for children who
have outgrown child restraints and for smaller adults,
the comfort guides may be installed on the shoulder
belts. Here's how to install a comfort guide and use the
safety belt:
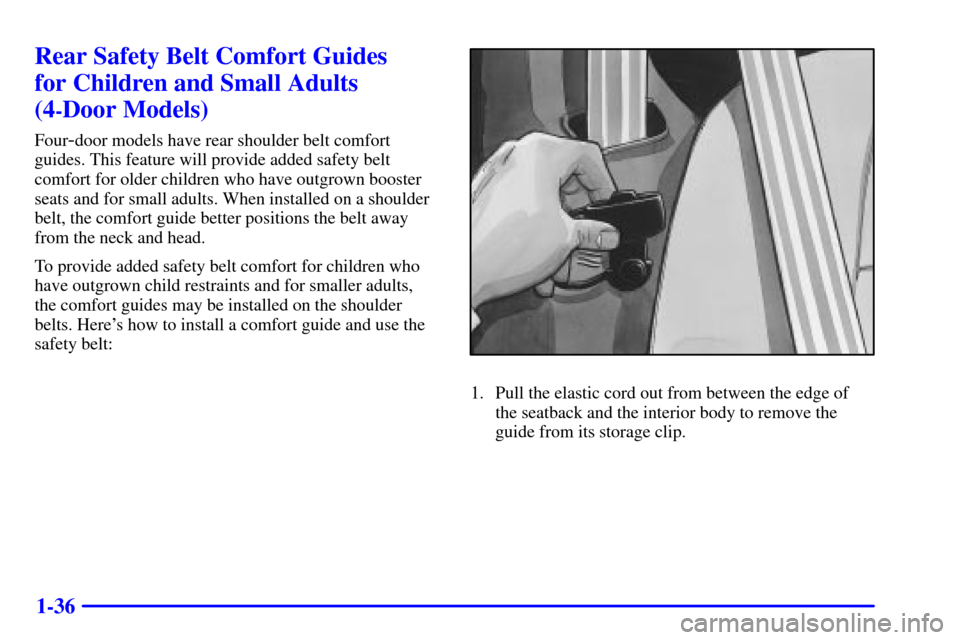
1. Pull the elastic cord out from between the edge of
the seatback and the interior body to remove the
guide from its storage clip.
Page 52 of 488
1-45
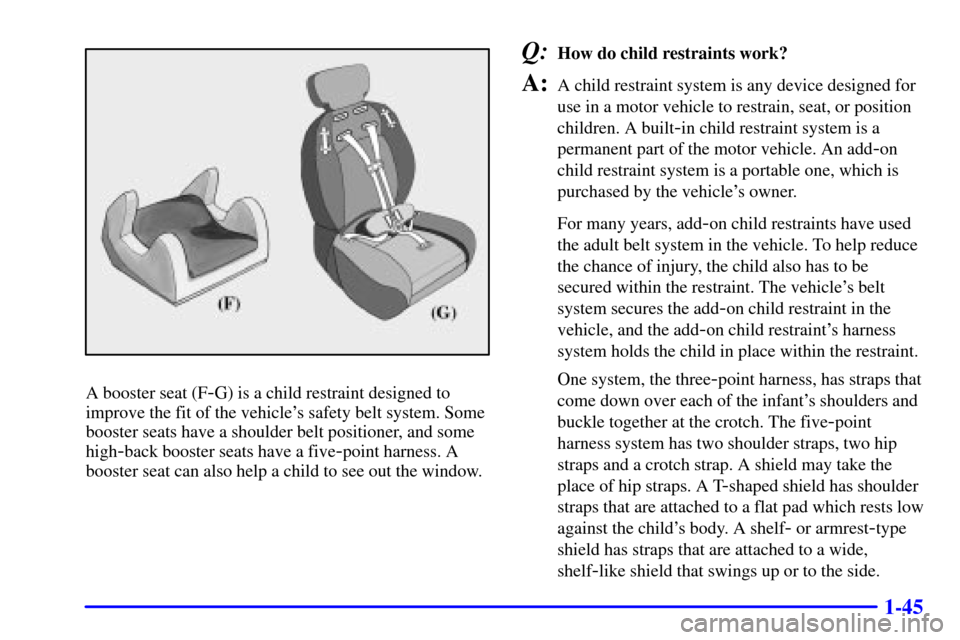
A booster seat (F-G) is a child restraint designed to
improve the fit of the vehicle's safety belt system. Some
booster seats have a shoulder belt positioner, and some
high
-back booster seats have a five-point harness. A
booster seat can also help a child to see out the window.
Q:How do child restraints work?
A:A child restraint system is any device designed for
use in a motor vehicle to restrain, seat, or position
children. A built
-in child restraint system is a
permanent part of the motor vehicle. An add
-on
child restraint system is a portable one, which is
purchased by the vehicle's owner.
For many years, add
-on child restraints have used
the adult belt system in the vehicle. To help reduce
the chance of injury, the child also has to be
secured within the restraint. The vehicle's belt
system secures the add
-on child restraint in the
vehicle, and the add
-on child restraint's harness
system holds the child in place within the restraint.
One system, the three
-point harness, has straps that
come down over each of the infant's shoulders and
buckle together at the crotch. The five
-point
harness system has two shoulder straps, two hip
straps and a crotch strap. A shield may take the
place of hip straps. A T
-shaped shield has shoulder
straps that are attached to a flat pad which rests low
against the child's body. A shelf
- or armrest-type
shield has straps that are attached to a wide,
shelf
-like shield that swings up or to the side.