change wheel CHEVROLET BLAZER 2004 2.G Owners Manual
[x] Cancel search | Manufacturer: CHEVROLET, Model Year: 2004, Model line: BLAZER, Model: CHEVROLET BLAZER 2004 2.GPages: 446, PDF Size: 2.93 MB
Page 2 of 446
GENERAL MOTORS, GM, the GM Emblem,
CHEVROLET, the CHEVROLET Emblem and the name
BLAZER are registered trademarks of General Motors
Corporation.
This manual includes the latest information at the time it
was printed. We reserve the right to make changes
after that time without further notice. For vehicles �rst
solid in Canada, substitute the name “General Motors of
Canada Limited” for Chevrolet Motor Division whenever
it appears in this manual.
Please keep this manual in you vehicle, so it will be
there if you ever need it when you’re on the road. If you
sell the vehicle, please leave this manual in it so the
new owner can use it.
Litho in U.S.A.
Part No. C2411 B First Edition©
Copyright General Motors Corporation 12/01/03
All Rights Reserved
Canadian Owners
A French language copy of this manual can be obtained
from your dealer or from:
Helm, Incorporated
P.O. Box 07130
Detroit, MI 48207
About Driving Your Vehicle
As with other vehicles of this type, failure to operate this
vehicle correctly may result in loss of control or an
accident. Be sure to read the “on-pavement” and
“off-road” driving guidelines in this manual. SeeYour
Driving, the Road, and Your Vehicle on page 4-2
andOff-Road Driving with Your Four-Wheel-Drive
Vehicle on page 4-15.
How to Use This Manual
Many people read the owner manual from beginning to
end when they �rst receive their new vehicle. If this
is done, it can help you learn about the features
and controls for the vehicle. Pictures and words work
together in the owner manual to explain things.
ii
Page 94 of 446
Up-Shift Light
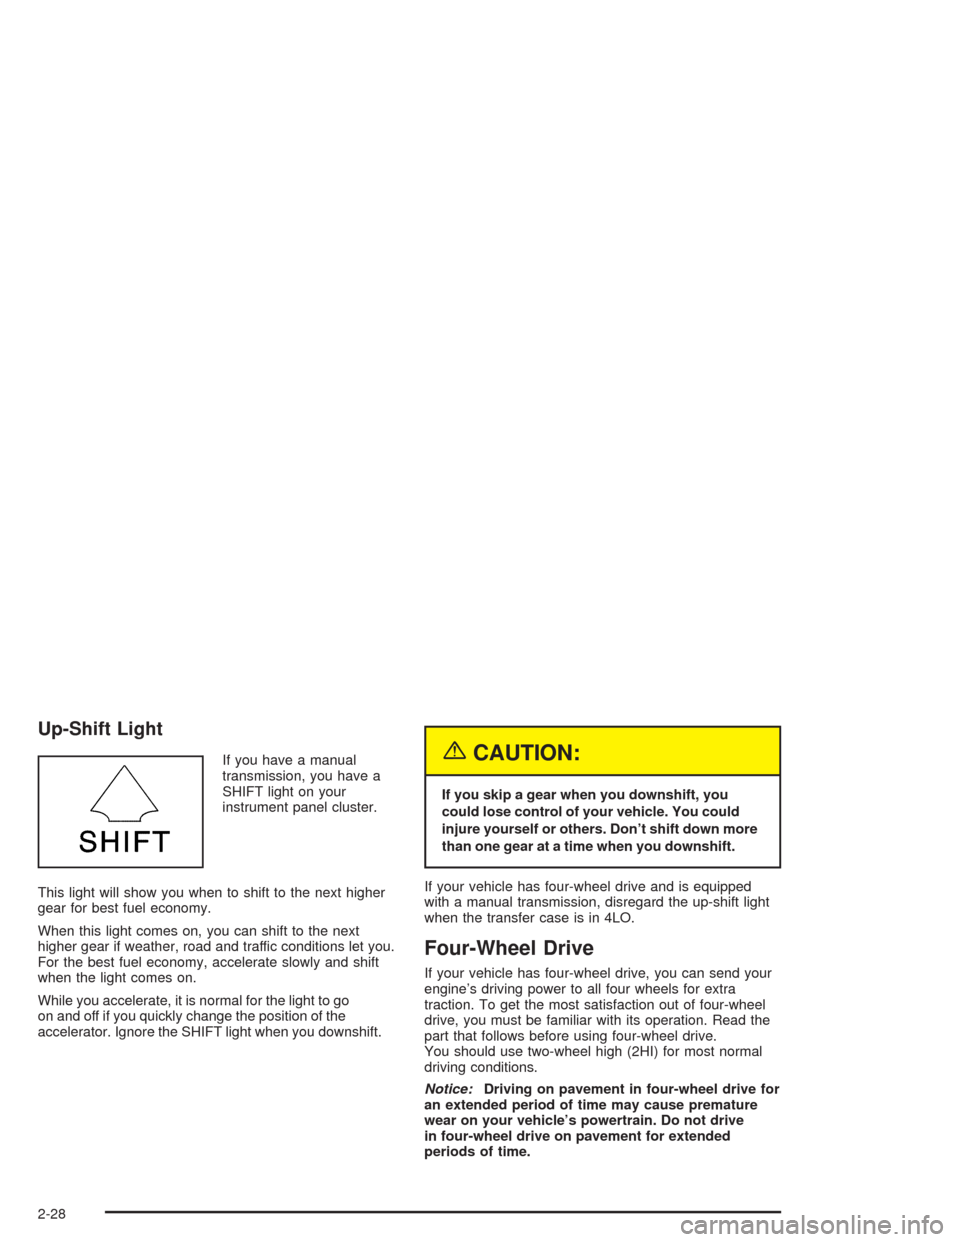
If you have a manual
transmission, you have a
SHIFT light on your
instrument panel cluster.
This light will show you when to shift to the next higher
gear for best fuel economy.
When this light comes on, you can shift to the next
higher gear if weather, road and traffic conditions let you.
For the best fuel economy, accelerate slowly and shift
when the light comes on.
While you accelerate, it is normal for the light to go
on and off if you quickly change the position of the
accelerator. Ignore the SHIFT light when you downshift.{CAUTION:
If you skip a gear when you downshift, you
could lose control of your vehicle. You could
injure yourself or others. Don’t shift down more
than one gear at a time when you downshift.
If your vehicle has four-wheel drive and is equipped
with a manual transmission, disregard the up-shift light
when the transfer case is in 4LO.
Four-Wheel Drive
If your vehicle has four-wheel drive, you can send your
engine’s driving power to all four wheels for extra
traction. To get the most satisfaction out of four-wheel
drive, you must be familiar with its operation. Read the
part that follows before using four-wheel drive.
You should use two-wheel high (2HI) for most normal
driving conditions.
Notice:Driving on pavement in four-wheel drive for
an extended period of time may cause premature
wear on your vehicle’s powertrain. Do not drive
in four-wheel drive on pavement for extended
periods of time.
2-28
Page 108 of 446
{CAUTION:
If you have four-wheel drive, your vehicle
will be free to roll — even if your shift lever
is in PARK (P) — if your transfer case is in
NEUTRAL. So be sure the transfer case is in a
drive gear — not in NEUTRAL. SeeFour-Wheel
Drive on page 2-28.
Follow the proper steps to be sure your vehicle will not
move. SeeShifting Into Park (P) on page 2-36.
If you are pulling a trailer, seeTowing a Trailer on
page 4-60.
Mirrors
Manual Rearview Mirror
Pull the tab under the mirror toward you to reduce the
glare from headlamps behind you after dark. Push
the tab away from you for normal daytime operation.
Automatic Dimming Rearview Mirror
If your vehicle has this feature, the mirror automatically
changes to reduce glare from headlamps behind
you. A photocell on the back of the mirror senses when
it is becoming dark outside. Another photocell built
into the mirror surface senses when headlamps
are behind you.
At night, when the glare is too high, the mirror will
gradually darken to reduce glare. This change may take
a few seconds. The mirror will return to its clear
daytime state when the vehicle is put into REVERSE (R)
or when the glare is reduced.
AUTO (Automatic Dimming):This button is located at
the base of the mirror. Use it to turn on the automatic
feature. The button has an indicator light to show it is on.
OFF:Press this button to turn the automatic feature off.
2-42
Page 135 of 446
Horn
To sound the horn, press the horn symbol on the
steering wheel pad.
Tilt Wheel
A tilt wheel allows you to adjust the steering wheel
before you drive. You can raise it to the highest level to
allow more room for the driver to enter and exit the
vehicle.
The tilt lever is located on
the driver’s side of the
steering column, under the
turn signal lever.
To tilt, hold the steering wheel and pull the tilt lever
toward you. Move the wheel to a comfortable level, then
release the tilt lever to lock the wheel in place.
Do not adjust the steering wheel while driving.
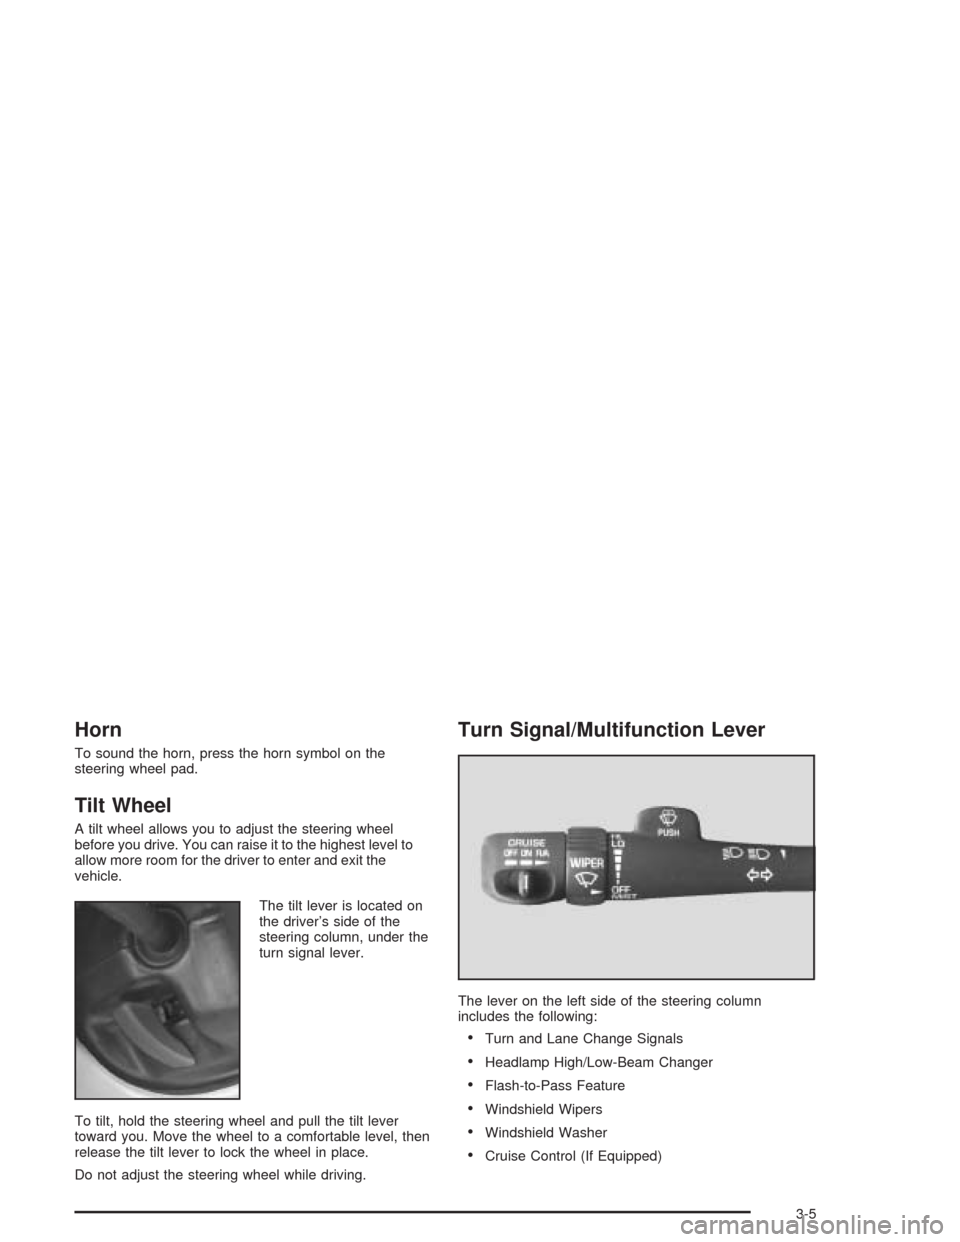
Turn Signal/Multifunction Lever
The lever on the left side of the steering column
includes the following:
Turn and Lane Change Signals
Headlamp High/Low-Beam Changer
Flash-to-Pass Feature
Windshield Wipers
Windshield Washer
Cruise Control (If Equipped)
3-5
Page 139 of 446
Rear Window Washer/Wiper
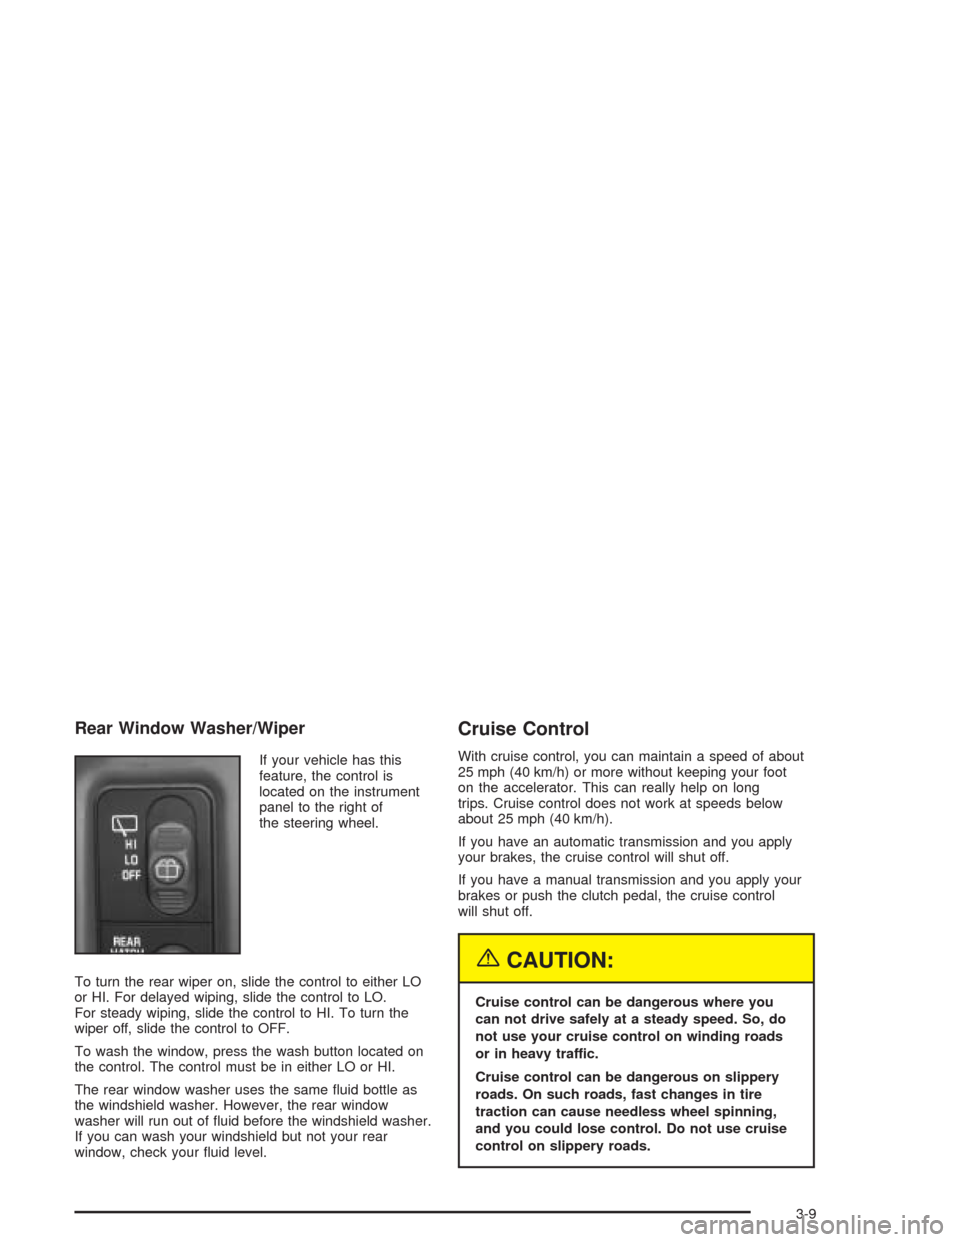
If your vehicle has this
feature, the control is
located on the instrument
panel to the right of
the steering wheel.
To turn the rear wiper on, slide the control to either LO
or HI. For delayed wiping, slide the control to LO.
For steady wiping, slide the control to HI. To turn the
wiper off, slide the control to OFF.
To wash the window, press the wash button located on
the control. The control must be in either LO or HI.
The rear window washer uses the same �uid bottle as
the windshield washer. However, the rear window
washer will run out of �uid before the windshield washer.
If you can wash your windshield but not your rear
window, check your �uid level.
Cruise Control
With cruise control, you can maintain a speed of about
25 mph (40 km/h) or more without keeping your foot
on the accelerator. This can really help on long
trips. Cruise control does not work at speeds below
about 25 mph (40 km/h).
If you have an automatic transmission and you apply
your brakes, the cruise control will shut off.
If you have a manual transmission and you apply your
brakes or push the clutch pedal, the cruise control
will shut off.
{CAUTION:
Cruise control can be dangerous where you
can not drive safely at a steady speed. So, do
not use your cruise control on winding roads
or in heavy traffic.
Cruise control can be dangerous on slippery
roads. On such roads, fast changes in tire
traction can cause needless wheel spinning,
and you could lose control. Do not use cruise
control on slippery roads.
3-9
Page 143 of 446

Automatic Headlamp System
When it is dark enough outside, your automatic
headlamp system will turn on your headlamps at the
normal brightness along with other lamps such as
the taillamps, sidemarker, parking lamps and the
instrument panel lights. The radio lights will also be dim.
Your vehicle is equipped with a light sensor on the
top of the instrument panel under the radio speaker grill.
Be sure it is not covered or the system will be on
whenever the ignition is on.
The system may also turn on your headlamps when
driving through a parking garage, heavy overcast
weather or a tunnel. This is normal.
There is a delay in the transition between the daytime
and nighttime operation of the Daytime Running
Lamps (DRL) and the automatic headlamp systems so
that driving under bridges or bright overhead street
lights does not affect the system. The DRL and
automatic headlamp system will only be affected when
the light sensor sees a change in lighting lasting
longer than the delay.
To idle your vehicle with the automatic headlamp
system off, set the parking brake while the ignition is off.
Then start your vehicle. The automatic headlamp
system will stay off until you release the parking brake.As with any vehicle, you should turn on the regular
headlamps when you need them.
You may be able to turn off your automatic headlamp
system. See “Daytime Running Lamps (DRL)” later
in this section for more information.
If you start your vehicle in a dark garage, the automatic
headlamp system will come on immediately. Once
you leave the garage, it will take approximately
one minute for the automatic headlamp system to
change to DRL if it is light outside. During that delay,
your instrument panel cluster may not be as bright
as usual. Make sure your instrument panel brightness
control is in the full bright position. See “Instrument
Panel Brightness Control” underInterior Lamps
on page 3-15.
Lamps On Reminder
A reminder chime will sound when your headlamps or
parking lamps are manually turned on, the driver’s door
is opened and your ignition is in OFF, LOCK or
ACCESSORY. To turn the chime off, turn the control
counterclockwise or turn the instrument panel brightness
thumbwheel down to the fully dimmed position. In the
automatic mode, the headlamps turn off once the ignition
key is in OFF.
3-13
Page 150 of 446
Rear Window Defogger
The rear window defogger uses a warming grid to
remove fog from the rear window.
will come on to let your know that the rear window
defogger is activated.
If your vehicle has heated outside rearview mirrors,
when the rear defogger button is pressed the mirrors will
warm to help clear any fog or frost from the surface of
the mirrors.
Notice:Using a razor blade or sharp object to clear
the inside rear window may damage the rear
window defogger. Repairs would not be covered by
your warranty. Do not clear the inside of the rear
window with sharp objects.
Outlet Adjustment
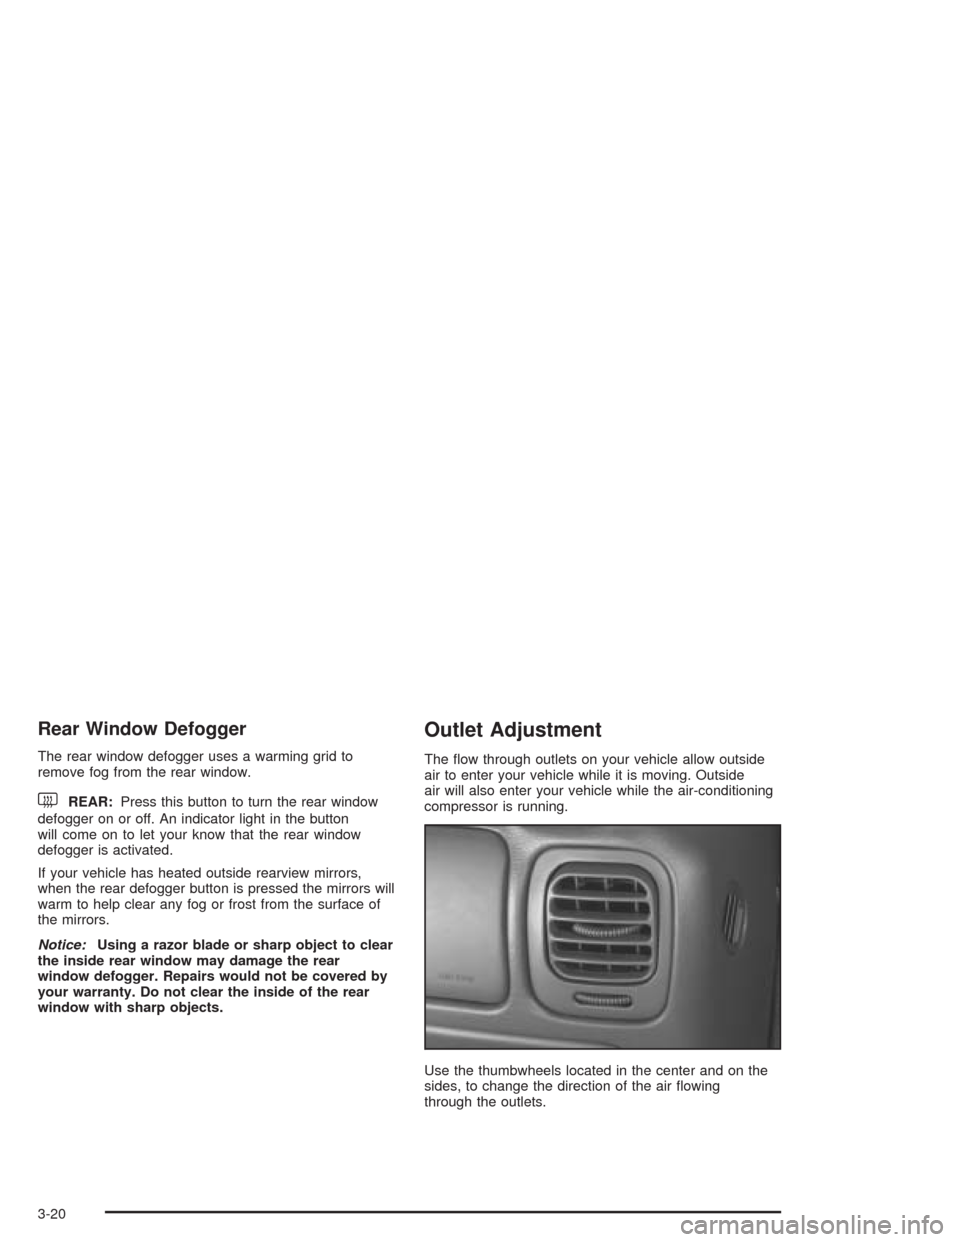
The �ow through outlets on your vehicle allow outside
air to enter your vehicle while it is moving. Outside
air will also enter your vehicle while the air-conditioning
compressor is running.
Use the thumbwheels located in the center and on the
sides, to change the direction of the air �owing
through the outlets.
3-20
Page 213 of 446
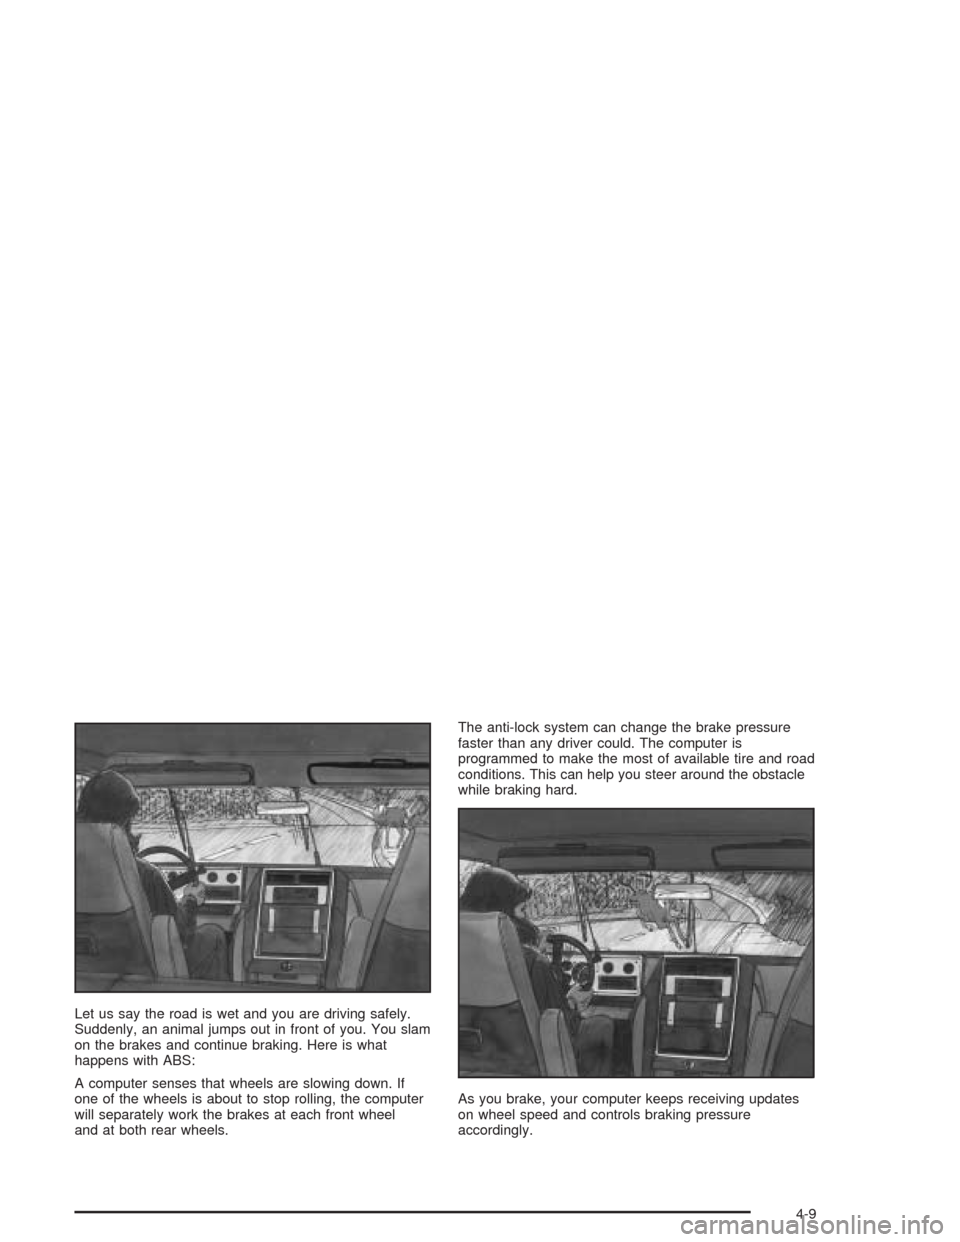
Let us say the road is wet and you are driving safely.
Suddenly, an animal jumps out in front of you. You slam
on the brakes and continue braking. Here is what
happens with ABS:
A computer senses that wheels are slowing down. If
one of the wheels is about to stop rolling, the computer
will separately work the brakes at each front wheel
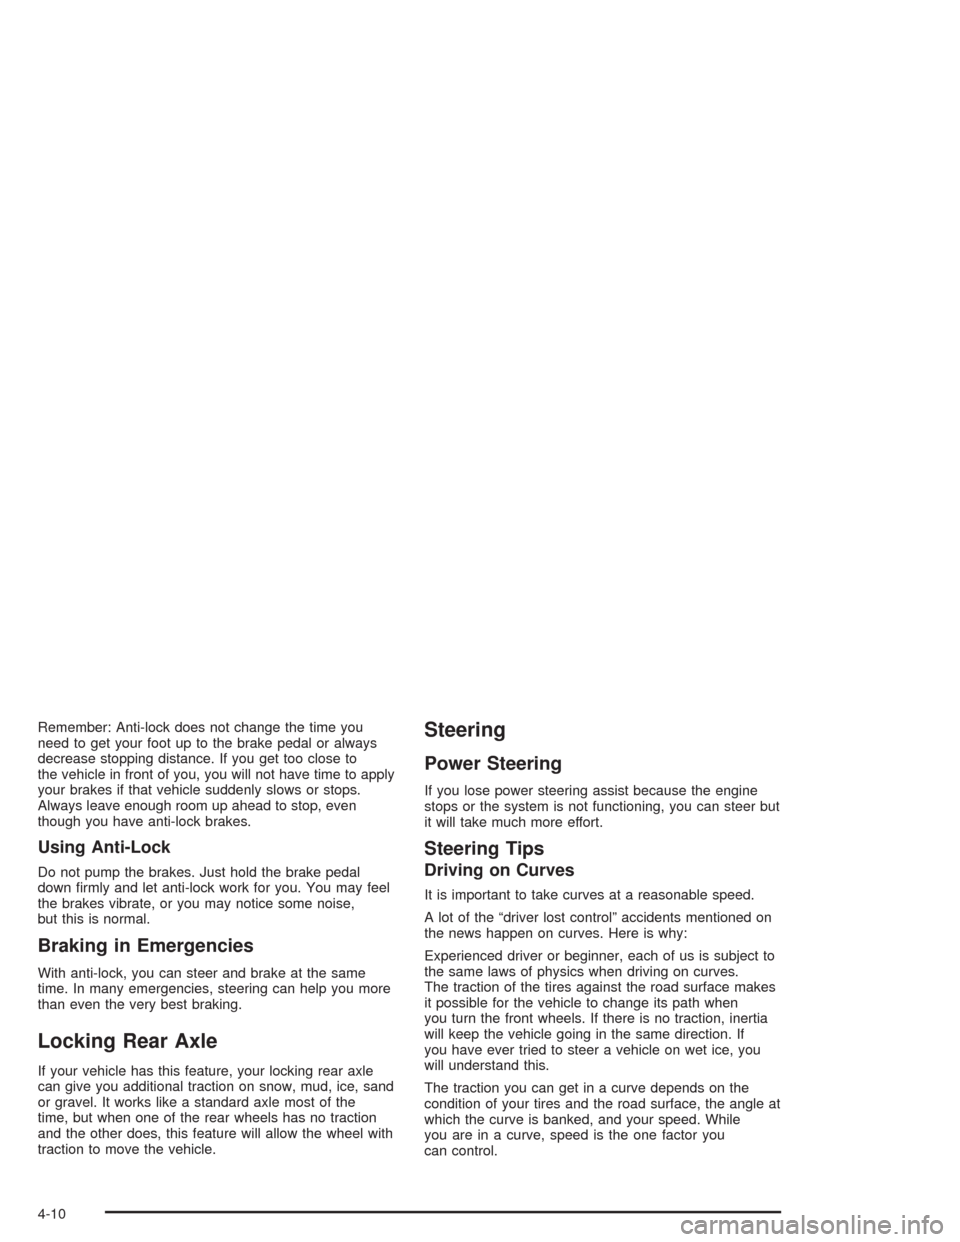
and at both rear wheels.The anti-lock system can change the brake pressure
faster than any driver could. The computer is
programmed to make the most of available tire and road
conditions. This can help you steer around the obstacle
while braking hard.
As you brake, your computer keeps receiving updates
on wheel speed and controls braking pressure
accordingly.
4-9
Page 214 of 446
Remember: Anti-lock does not change the time you
need to get your foot up to the brake pedal or always
decrease stopping distance. If you get too close to
the vehicle in front of you, you will not have time to apply
your brakes if that vehicle suddenly slows or stops.
Always leave enough room up ahead to stop, even
though you have anti-lock brakes.
Using Anti-Lock
Do not pump the brakes. Just hold the brake pedal
down �rmly and let anti-lock work for you. You may feel
the brakes vibrate, or you may notice some noise,
but this is normal.
Braking in Emergencies
With anti-lock, you can steer and brake at the same
time. In many emergencies, steering can help you more
than even the very best braking.
Locking Rear Axle
If your vehicle has this feature, your locking rear axle
can give you additional traction on snow, mud, ice, sand
or gravel. It works like a standard axle most of the
time, but when one of the rear wheels has no traction
and the other does, this feature will allow the wheel with
traction to move the vehicle.
Steering
Power Steering
If you lose power steering assist because the engine
stops or the system is not functioning, you can steer but
it will take much more effort.
Steering Tips
Driving on Curves
It is important to take curves at a reasonable speed.
A lot of the “driver lost control” accidents mentioned on
the news happen on curves. Here is why:
Experienced driver or beginner, each of us is subject to
the same laws of physics when driving on curves.
The traction of the tires against the road surface makes
it possible for the vehicle to change its path when
you turn the front wheels. If there is no traction, inertia
will keep the vehicle going in the same direction. If
you have ever tried to steer a vehicle on wet ice, you
will understand this.
The traction you can get in a curve depends on the
condition of your tires and the road surface, the angle at
which the curve is banked, and your speed. While
you are in a curve, speed is the one factor you
can control.
4-10
Page 218 of 446

Check your mirrors, glance over your shoulder, and
start your left lane change signal before moving out
of the right lane to pass. When you are far enough
ahead of the passed vehicle to see its front in your
inside mirror, activate your right lane change signal
and move back into the right lane. (Remember that
your right outside mirror is convex. The vehicle you
just passed may seem to be farther away from you
than it really is.)
Try not to pass more than one vehicle at a time on
two-lane roads. Reconsider before passing the next
vehicle.
Do not overtake a slowly moving vehicle too rapidly.
Even though the brake lamps are not �ashing, it may
be slowing down or starting to turn.
If you are being passed, make it easy for the
following driver to get ahead of you. Perhaps you can
ease a little to the right.
Loss of Control
Let us review what driving experts say about what
happens when the three control systems (brakes,
steering and acceleration) do not have enough friction
where the tires meet the road to do what the driver has
asked.
In any emergency, do not give up. Keep trying to steer
and constantly seek an escape route or area of less
danger.
Skidding
In a skid, a driver can lose control of the vehicle.
Defensive drivers avoid most skids by taking reasonable
care suited to existing conditions, and by not
“overdriving” those conditions. But skids are always
possible.
The three types of skids correspond to your vehicle’s
three control systems. In the braking skid, your wheels
are not rolling. In the steering or cornering skid, too much
speed or steering in a curve causes tires to slip and lose
cornering force. And in the acceleration skid, too much
throttle causes the driving wheels to spin.
A cornering skid is best handled by easing your foot off
the accelerator pedal.
If your vehicle starts to slide, ease your foot off the
accelerator pedal and quickly steer the way you want
the vehicle to go. If you start steering quickly enough,
your vehicle may straighten out. Always be ready
for a second skid if it occurs.
Of course, traction is reduced when water, snow, ice,
gravel or other material is on the road. For safety,
you will want to slow down and adjust your driving to
these conditions. It is important to slow down on slippery
surfaces because stopping distance will be longer and
vehicle control more limited.
4-14