glove box CHEVROLET BLAZER 2004 2.G Owners Manual
[x] Cancel search | Manufacturer: CHEVROLET, Model Year: 2004, Model line: BLAZER, Model: CHEVROLET BLAZER 2004 2.GPages: 446, PDF Size: 2.93 MB
Page 68 of 446
Storage Areas................................................2-49
Glove Box...................................................2-49
Overhead Console........................................2-49
Front Storage Area.......................................2-56
Assist Handles.............................................2-57
Garment Hooks............................................2-57
Luggage Carrier...........................................2-57Rear Storage Area........................................2-59
Convenience Net..........................................2-59
Rear Convenience System.............................2-60
Sunroof.........................................................2-62
Vehicle Personalization...................................2-64
Memory Seat...............................................2-64
Section 2 Features and Controls
2-2
Page 115 of 446
Reprogramming a Single HomeLink®
Button
To program a device to HomeLink®using a HomeLink®
button previously trained, follow these steps:
1. Press and hold the desired HomeLink
®button.
Do not release the button.
2. The indicator light will begin to �ash after
20 seconds. While still holding the HomeLink
®
button, proceed with Step 2 under “Programming
HomeLink®.”
Resetting Defaults
To reset HomeLink®to default settings do the following:
1. Hold down the two outside buttons for about
20 seconds until the indicator light begins to �ash.
2. Continue to hold both buttons until the HomeLink
®
indicator light turns off.
3. Release both buttons.
For questions or comments, contact HomeLink
®at
1-800-355-3515, or on the internet at www.homelink.com.
Storage Areas
Glove Box
To open your glove box, lift the lever on the front of the
glove box and lower the door. The glove box should
not be open while you are driving.
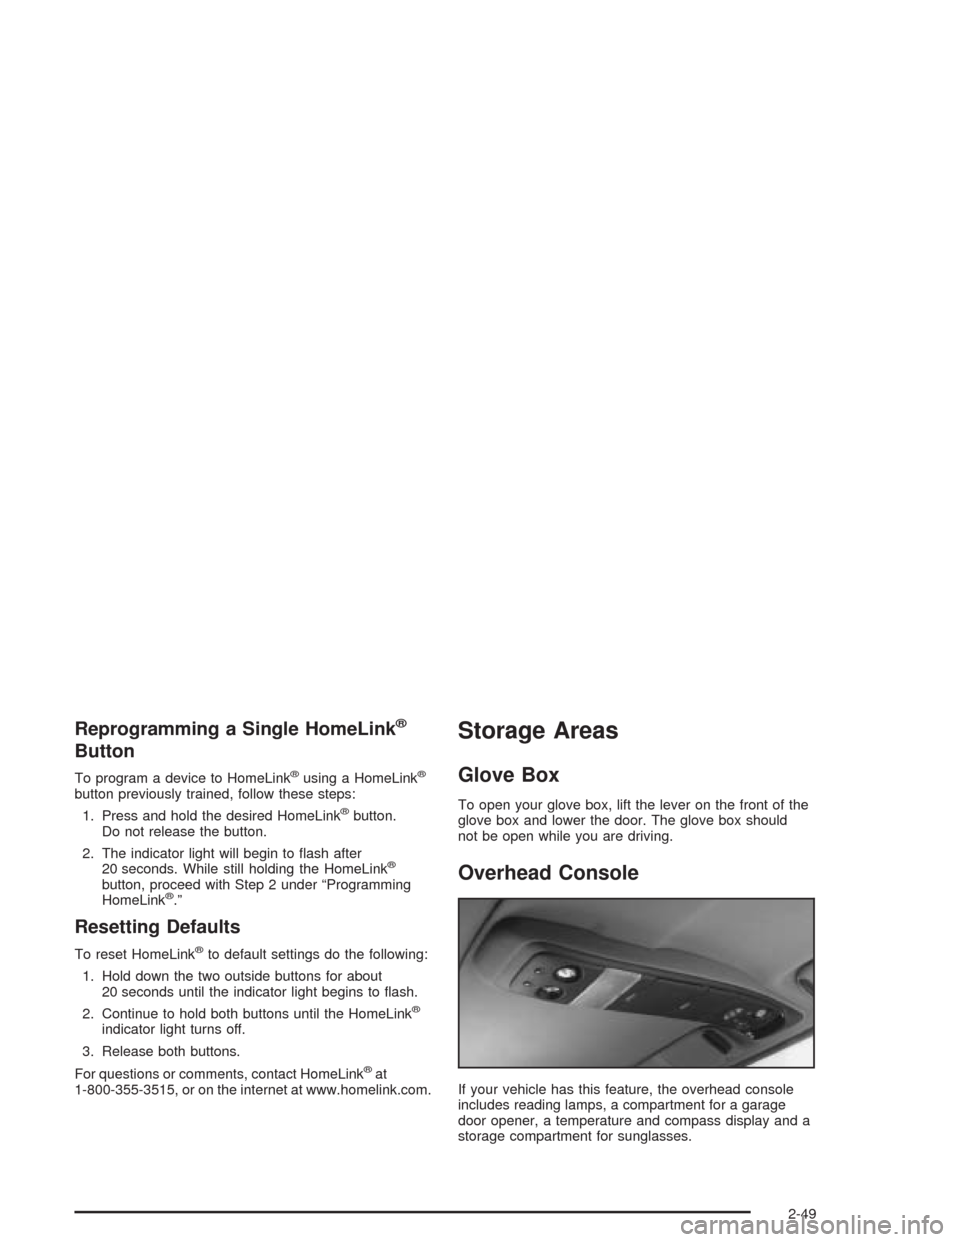
Overhead Console
If your vehicle has this feature, the overhead console
includes reading lamps, a compartment for a garage
door opener, a temperature and compass display and a
storage compartment for sunglasses.
2-49
Page 133 of 446
A. Air Vents. SeeOutlet Adjustment on page 3-20for
more information.
B. Turn Signal/Multifunction Lever. SeeTurn
Signal/Multifunction Lever on page 3-5for more
information.
C. Instrument Panel Cluster. SeeInstrument Panel
Cluster on page 3-22for more information.
D. Transfer Case Button (If Equipped). See “Transfer
Case” underFour-Wheel Drive on page 5-48
for more information.
E. Exterior Lamps Control. SeeExterior Lamps on
page 3-12for more information.
F. Fog Lamp Button (If Equipped). See “Fog Lamps”
underExterior Lamps on page 3-12for more
information.
G. Brake Release. SeeParking Brake on page 2-35for
more information.
H. Horn. SeeHorn on page 3-5for more information.I. Rear Window Washer/Wiper. SeeWindshield Wiper
Blade Replacement on page 5-55for more
information.
J. Rear Tailgate Release. See “Rear Tailgate Release”
underRear Window on page 2-13for more
information.
K. Ashtray (If Equipped). SeeAshtrays and Cigarette
Lighter on page 3-17for more information.
L. Climate Control System. SeeClimate Control
System on page 3-17for more information.
M. Rear Window Defogger. See “Rear Window
Defogger” underClimate Control System on
page 3-17for more information.
N. Audio System. SeeAudio System(s) on page 3-37
for more information.
O. Glove Box. SeeGlove Box on page 2-49for more
information.
3-3
Page 146 of 446
Exit Lighting
With exit lighting, the interior lamps will come on when
you remove the key from the ignition to help you
see while exiting the vehicle. If the DOME OVERRIDE
button is in the out position, these lamps will stay
on for a short period of time and then will go out.
Front Reading Lamps
Press the button located near each lamp on the
overhead console to turn a reading lamp on and off.
The lamps can be swiveled to point in the desired
direction.
If you have the mini console, press the lens on each
lamp to turn it on or off.
Front Map Lamps
If your vehicle has front map lamps, they are located on
the inside rearview mirror. They will automatically
come on for about 40 seconds when the doors are
unlocked with the keyless entry transmitter, if equipped,
or until the ignition key is turned to RUN or
ACCESSORY. The lamps will also stay on for about
40 seconds after you exit the vehicle unless you lock the
doors with the keyless entry transmitter.
You can also turn the lamps on and off by pressing the
button near each lamp.
Dome Lamps
The dome lamps will come on when you open a door.
You can also turn the dome lamps on by turning
the thumbwheel, located next to the exterior lamps
control, all the way up to the top position. In this
position, the dome lamps will remain on until they are
turned off.
You can press the DOME OVERRIDE button, located
below the exterior lamp control. This will override
the entry lighting feature, unless you use your keyless
entry transmitter (if equipped) to unlock the vehicle.
Battery Run-Down Protection
This feature shuts off the dome, courtesy, vanity,
reading, glove box and underhood lamps if they are left
on for more than 20 minutes when the ignition is off.
This will keep your battery from running down.
If the battery run-down protection shuts off the interior
lamps, it may be necessary to do one of the following to
return to normal operation:
Shut off all lamps and close all doors.
Turn the ignition key to RUN.
3-16
Page 373 of 446
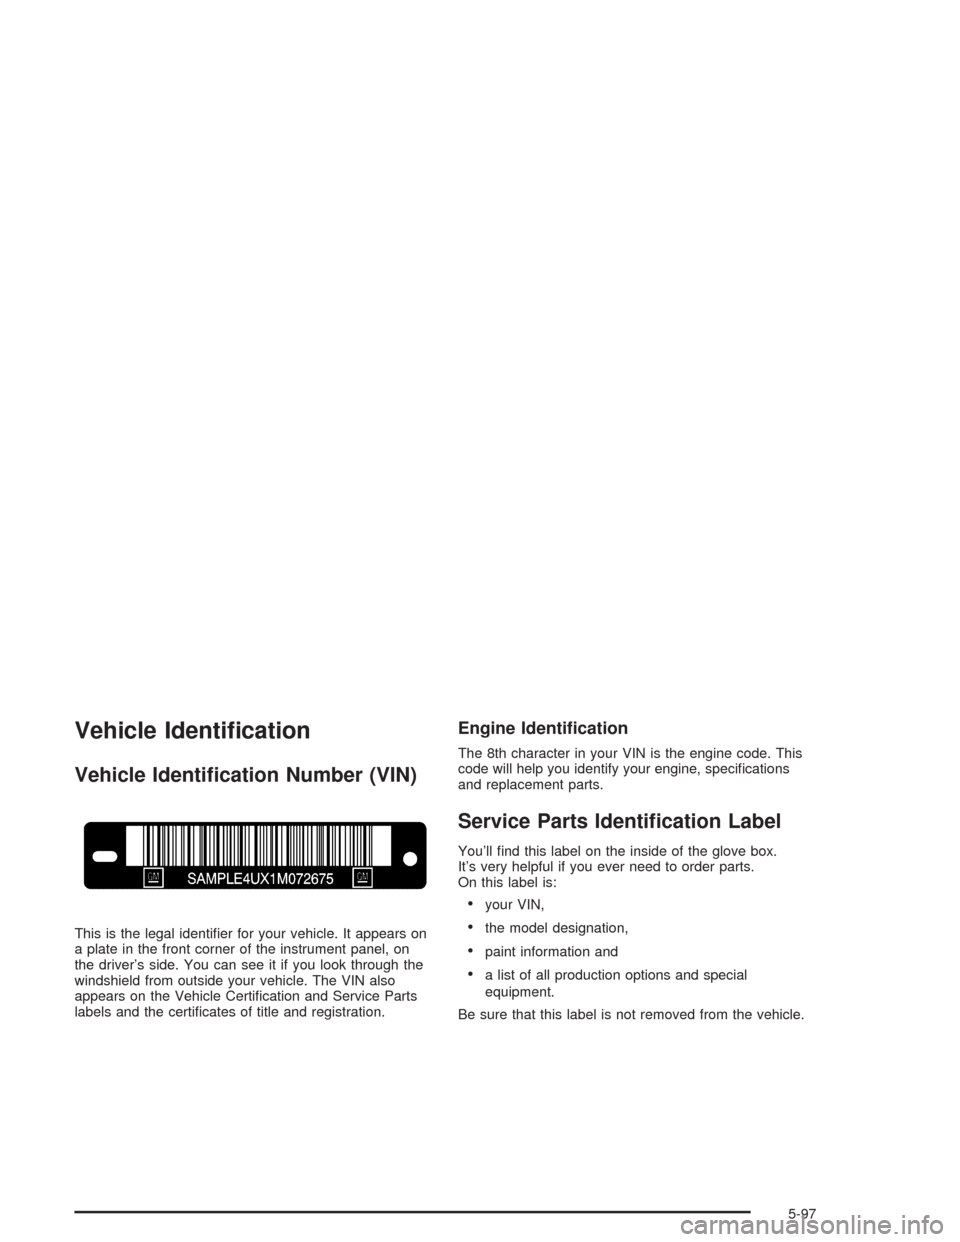
Vehicle Identi�cation
Vehicle Identi�cation Number (VIN)
This is the legal identi�er for your vehicle. It appears on
a plate in the front corner of the instrument panel, on
the driver’s side. You can see it if you look through the
windshield from outside your vehicle. The VIN also
appears on the Vehicle Certi�cation and Service Parts
labels and the certi�cates of title and registration.
Engine Identi�cation
The 8th character in your VIN is the engine code. This
code will help you identify your engine, speci�cations
and replacement parts.
Service Parts Identi�cation Label
You’ll �nd this label on the inside of the glove box.
It’s very helpful if you ever need to order parts.
On this label is:
your VIN,
the model designation,
paint information and
a list of all production options and special
equipment.
Be sure that this label is not removed from the vehicle.
5-97
Page 408 of 446

At Least Once a Year
Key Lock Cylinders Service
Lubricate the key lock cylinders with the lubricant
speci�ed in Part D.
Body Lubrication Service
Lubricate all hood hinges, hood latch assembly,
secondary latch, pivots, spring anchor, release pawl,
door hinges, fuel door hinge, endgate hinges, outer
tailgate handle pivot points, tailgate hinges, tailgate
mounted spare tire (if equipped), glove box and console
doors, moving seat hardware and folding seat
hardware. Part D tells you what to use. More frequent
lubrication may be required when exposed to a corrosive
environment.
Starter Switch Check
{CAUTION:
When you are doing this inspection, the
vehicle could move suddenly. If the vehicle
moves, you or others could be injured.
1. Before you start, be sure you have enough room
around the vehicle.
2. Firmly apply both the parking brake and the regular
brake. SeeParking Brake on page 2-35if
necessary.
Do not use the accelerator pedal, and be ready to
turn off the engine immediately if it starts.
3. On automatic transmission vehicles, try to start the
engine in each gear. The starter should work only
in PARK (P) or NEUTRAL (N). If the starter works in
any other position, your vehicle needs service.
On manual transmission vehicles, put the shift lever
in NEUTRAL (N), push the clutch down halfway and
try to start the engine. The starter should work only
when the clutch is pushed down all the way to the
�oor. If the starter works when the clutch is not
pushed all the way down, your vehicle needs service.
6-28
Page 437 of 446
Glove Box.....................................................2-49
GM Mobility Program for Persons with
Disabilities.................................................... 7-5
H
Hazard Warning Flashers................................... 3-4
Head Restraints............................................... 1-6
Headlamp High/Low-Beam Changer.................... 3-7
Headlamps....................................................5-50
Bulb Replacement.......................................5-50
Electrical System.........................................5-98
Halogen Bulbs............................................5-50
One-Piece Front Turn Signal Lamps...............5-52
Two-Piece Front Turn Signal Lamps...............5-53
Heated Seats................................................... 1-4
Heating.........................................................3-18
Highway Hypnosis...........................................4-38
Hill and Mountain Roads..................................4-38
Hitches..........................................................4-65
HomeLink
®Transmitter....................................2-44
HomeLink®Transmitter, Programming................2-46
Hood
Checking Things Under................................5-10
Release.....................................................5-10
Horn............................................................... 3-5
How to Add Coolant to the Coolant
Recovery Tank............................................5-31
How to Add Coolant to the Radiator..................5-33How to Add Fluid....................................5-22, 5-23
How to Check................................5-20, 5-22, 5-68
How to Check and Add Fluid............................5-24
How to Check Lubricant..........................5-47, 5-49
How to Check Power Steering Fluid..................5-37
How to Inspect the Engine Air Cleaner/Filter.......5-18
How to Use This Manual...................................... ii
How to Wear Safety Belts Properly...................1-13
Hydraulic Clutch.............................................5-23
Hydraulic Clutch System Check........................6-27
Hydroplaning..................................................4-34
I
If No Steam Is Coming From Your Engine..........5-28
If Steam Is Coming From Your Engine...............5-27
If the Light Is Flashing.....................................3-31
If the Light Is On Steady.................................3-32
If You Are Caught in a Blizzard.........................4-42
If You Are Stuck in Sand, Mud, Ice or Snow.......4-44
If You Decide To Pull A Trailer..........................4-61
Ignition Positions.............................................2-19
Ignition Transmission Lock Check......................6-29
Infants and Young Children, Restraints...............1-34
In�ation - Tire Pressure...................................5-67
Inspection
Brake System.............................................6-32
Engine Cooling System................................6-31
Exhaust System..........................................6-31
7
Page 444 of 446
Storage Areas (cont.)
Front Storage Area......................................2-56
Glove Box..................................................2-49
Luggage Carrier..........................................2-57
Overhead Console.......................................2-49
Rear Convenience System............................2-60
Rear Storage Area.......................................2-59
Storing a Flat or Spare Tire and Tools...............5-85
Stuck in Sand, Mud, Ice or Snow......................4-44
Sun Visors.....................................................2-16
Sunglasses Storage Compartment.....................2-53
Sunroof.........................................................2-62
Swing-Out Windows........................................2-13
T
Tachometer....................................................3-24
Tailgate Release.............................................2-14
Tailgate-Mounted Spare...................................2-16
Taillamps.......................................................5-54
Temperature and Compass Display....................2-52
Testing the Alarm............................................2-17
Theft-Deterrent, Radio.....................................3-72
Theft-Deterrent Systems...................................2-16
Content Theft-Deterrent................................2-16
Passlock
®...................................................2-18
Throttle System Inspection...............................6-32
Tilt Wheel........................................................ 3-5
Time Delay....................................................2-43Tire In�ation Check.........................................6-26
Tire Sidewall Labeling......................................5-58
Tire Size.......................................................5-63
Tire Terminology and De�nitions........................5-64
Tires.............................................................5-57
Buying New Tires........................................5-70
Chains.......................................................5-74
Changing a Flat Tire....................................5-76
Compact Spare Tire.....................................5-88
If a Tire Goes Flat.......................................5-75
In�ation - Tire Pressure................................5-67
Inspection and Rotation................................5-68
Spare Tire..................................................5-89
Uniform Tire Quality Grading.........................5-71
Wheel Alignment and Tire Balance.................5-72
Wheel Replacement.....................................5-73
When It Is Time for New Tires......................5-70
Matching Transmitter(s) to Your Vehicle............... 2-6
To Use the Engine Coolant Heater....................2-22
Top Strap......................................................1-41
Top Strap Anchor Location...............................1-43
Torque Lock...................................................2-38
Total Weight on Your Vehicle’s Tires..................4-65
Tow/Haul Mode...............................................2-26
Tow/Haul Mode Light.......................................3-35
Towing
Recreational Vehicle.....................................4-46
Towing a Trailer..........................................4-60
Your Vehicle...............................................4-46
Trailer Brakes.................................................4-66
14