clock CHEVROLET C/K 1999 Owner's Manual
[x] Cancel search | Manufacturer: CHEVROLET, Model Year: 1999, Model line: C/K, Model: CHEVROLET C/K 1999Pages: 440, PDF Size: 6.91 MB
Page 272 of 440
yellowblue
5-26
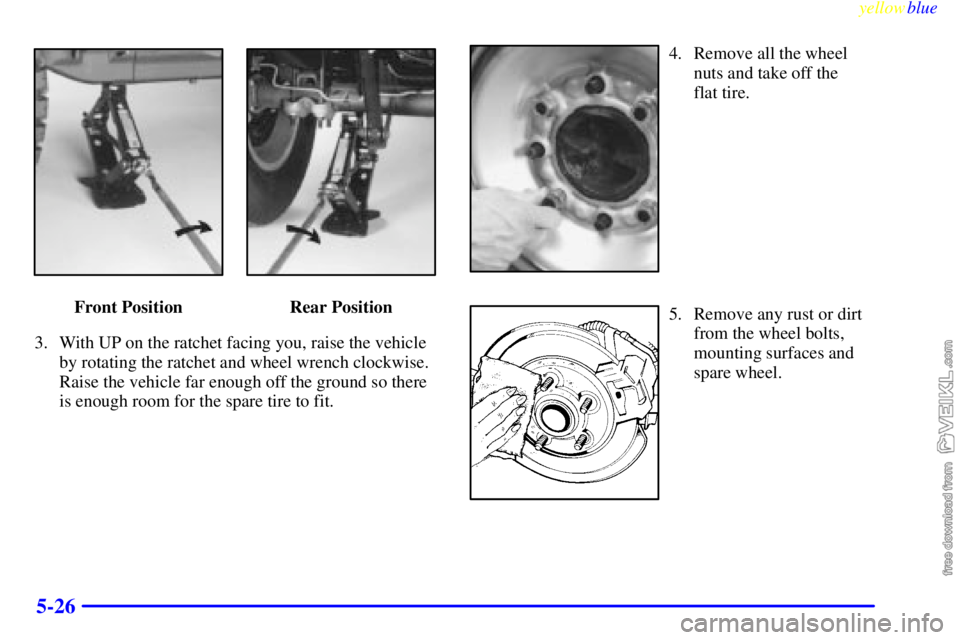
Front Position Rear Position
3. With UP on the ratchet facing you, raise the vehicle
by rotating the ratchet and wheel wrench clockwise.
Raise the vehicle far enough off the ground so there
is enough room for the spare tire to fit.
4. Remove all the wheel
nuts and take off the
flat tire.
5. Remove any rust or dirt
from the wheel bolts,
mounting surfaces and
spare wheel.
Page 274 of 440
yellowblue
5-28
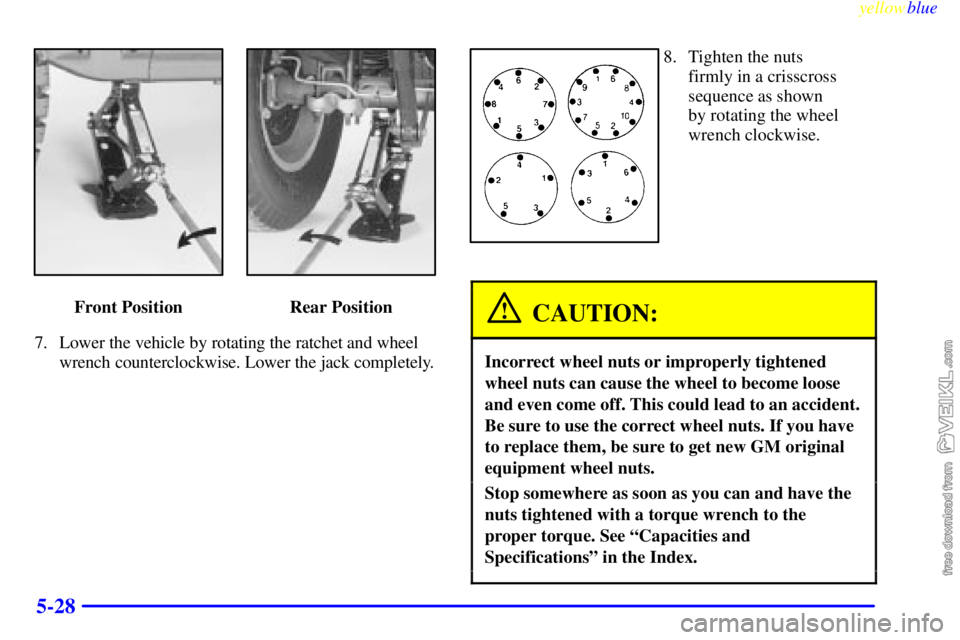
Front Position Rear Position
7. Lower the vehicle by rotating the ratchet and wheel
wrench counterclockwise. Lower the jack completely.
8. Tighten the nuts
firmly in a crisscross
sequence as shown
by rotating the wheel
wrench clockwise.
CAUTION:
Incorrect wheel nuts or improperly tightened
wheel nuts can cause the wheel to become loose
and even come off. This could lead to an accident.
Be sure to use the correct wheel nuts. If you have
to replace them, be sure to get new GM original
equipment wheel nuts.
Stop somewhere as soon as you can and have the
nuts tightened with a torque wrench to the
proper torque. See ªCapacities and
Specificationsº in the Index.
Page 288 of 440
yellowblue
6-6
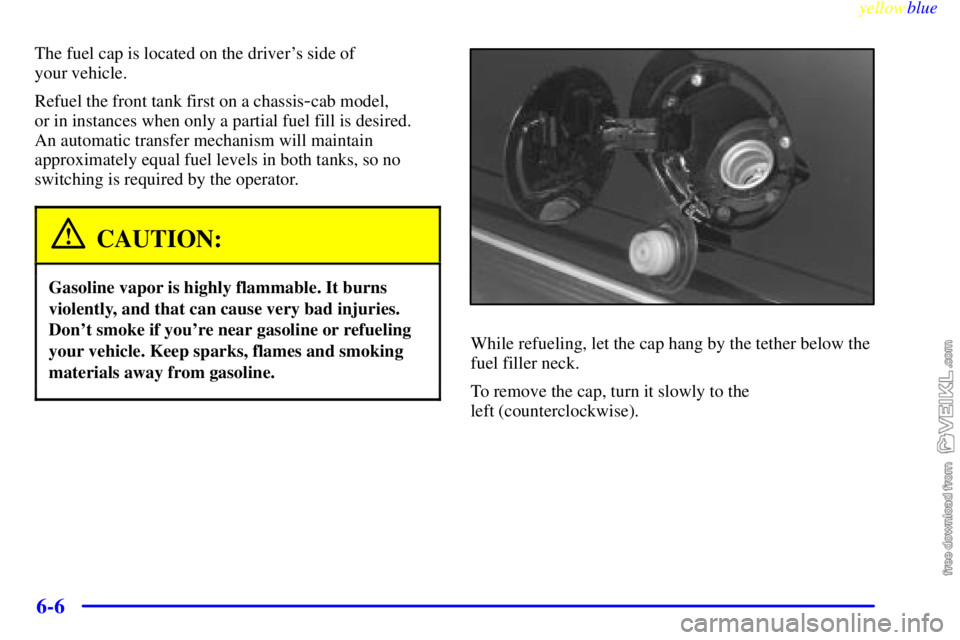
The fuel cap is located on the driver's side of
your vehicle.
Refuel the front tank first on a chassis
-cab model,
or in instances when only a partial fuel fill is desired.
An automatic transfer mechanism will maintain
approximately equal fuel levels in both tanks, so no
switching is required by the operator.
CAUTION:
Gasoline vapor is highly flammable. It burns
violently, and that can cause very bad injuries.
Don't smoke if you're near gasoline or refueling
your vehicle. Keep sparks, flames and smoking
materials away from gasoline.
While refueling, let the cap hang by the tether below the
fuel filler neck.
To remove the cap, turn it slowly to the
left (counterclockwise).
Page 289 of 440
yellowblue
6-7
CAUTION:
If you get gasoline on yourself and then
something ignites it, you could be badly burned.
Gasoline can spray out on you if you open the
fuel filler cap too quickly. This spray can happen
if your tank is nearly full, and is more likely in
hot weather. Open the fuel filler cap slowly and
wait for any ªhissº noise to stop. Then unscrew
the cap all the way.
Be careful not to spill gasoline. Clean gasoline from
painted surfaces as soon as possible. See ªCleaning the
Outside of Your Vehicleº in the Index.When you put the cap back on, turn it to the right
(clockwise) until you hear a clicking sound. Make sure
you fully install the cap. The diagnostic system can
determine if the fuel cap has been left off or improperly
installed. This would allow fuel to evaporate into the
atmosphere. See ªMalfunction Indicator Lampº in
the Index.
NOTICE:
If you need a new cap, be sure to get the right
type. Your dealer can get one for you. If you get
the wrong type, it may not fit properly. This may
cause your malfunction indicator lamp to light
and your fuel tank and emissions system may be
damaged. See ªMalfunction Indicator Lampº in
the Index.
Page 323 of 440
yellowblue
6-41
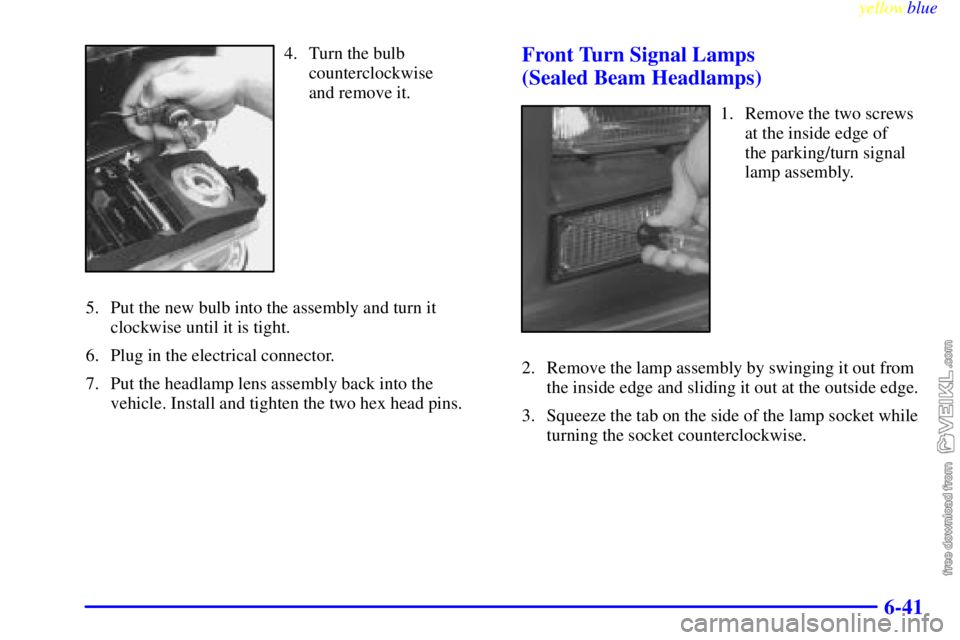
4. Turn the bulb
counterclockwise
and remove it.
5. Put the new bulb into the assembly and turn it
clockwise until it is tight.
6. Plug in the electrical connector.
7. Put the headlamp lens assembly back into the
vehicle. Install and tighten the two hex head pins.Front Turn Signal Lamps
(Sealed Beam Headlamps)
1. Remove the two screws
at the inside edge of
the parking/turn signal
lamp assembly.
2. Remove the lamp assembly by swinging it out from
the inside edge and sliding it out at the outside edge.
3. Squeeze the tab on the side of the lamp socket while
turning the socket counterclockwise.
Page 324 of 440
yellowblue
6-42
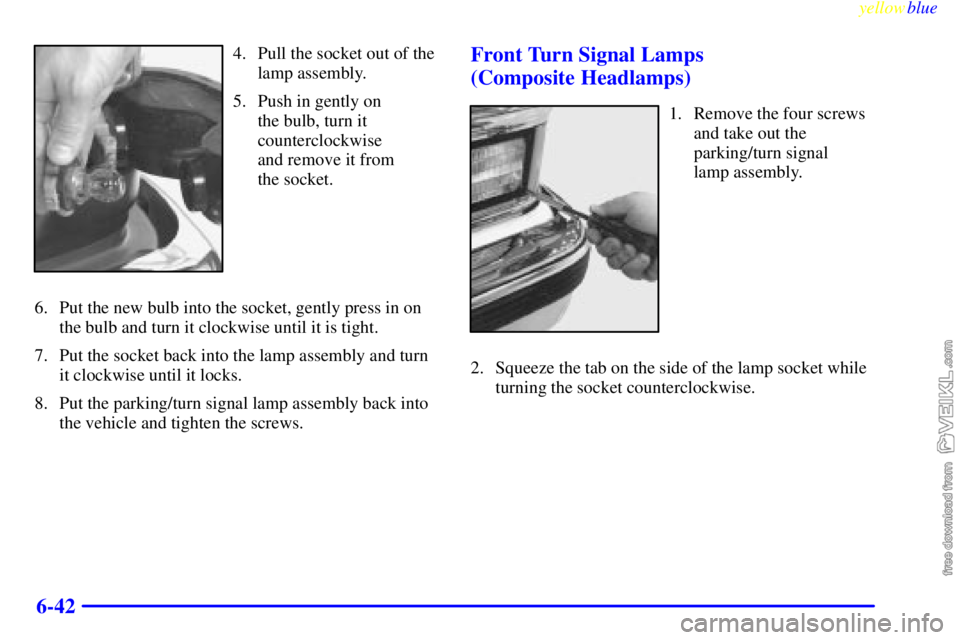
4. Pull the socket out of the
lamp assembly.
5. Push in gently on
the bulb, turn it
counterclockwise
and remove it from
the socket.
6. Put the new bulb into the socket, gently press in on
the bulb and turn it clockwise until it is tight.
7. Put the socket back into the lamp assembly and turn
it clockwise until it locks.
8. Put the parking/turn signal lamp assembly back into
the vehicle and tighten the screws.Front Turn Signal Lamps
(Composite Headlamps)
1. Remove the four screws
and take out the
parking/turn signal
lamp assembly.
2. Squeeze the tab on the side of the lamp socket while
turning the socket counterclockwise.
Page 325 of 440
yellowblue
6-43
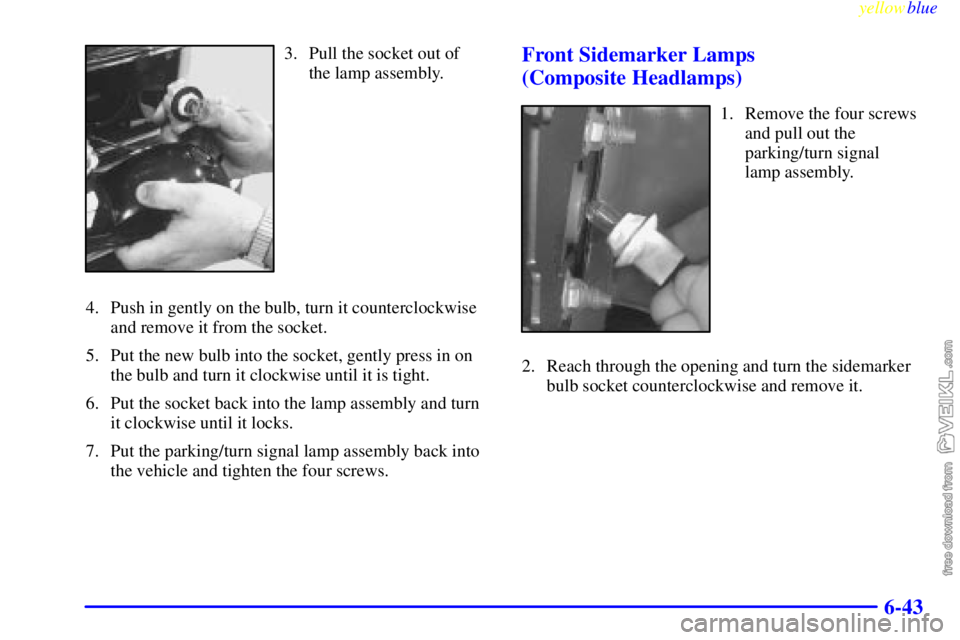
3. Pull the socket out of
the lamp assembly.
4. Push in gently on the bulb, turn it counterclockwise
and remove it from the socket.
5. Put the new bulb into the socket, gently press in on
the bulb and turn it clockwise until it is tight.
6. Put the socket back into the lamp assembly and turn
it clockwise until it locks.
7. Put the parking/turn signal lamp assembly back into
the vehicle and tighten the four screws.Front Sidemarker Lamps
(Composite Headlamps)
1. Remove the four screws
and pull out the
parking/turn signal
lamp assembly.
2. Reach through the opening and turn the sidemarker
bulb socket counterclockwise and remove it.
Page 326 of 440
yellowblue
6-44
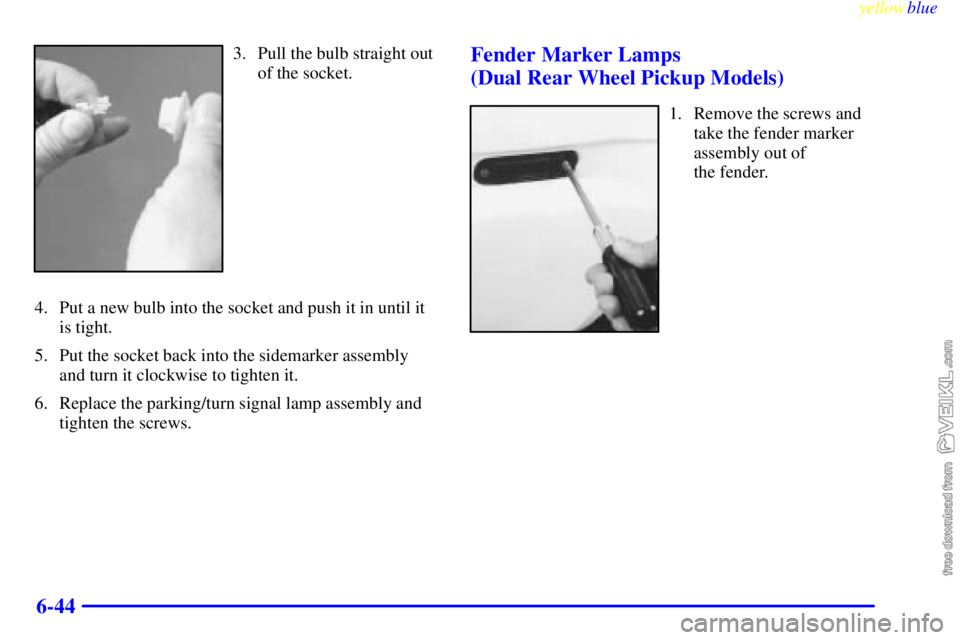
3. Pull the bulb straight out
of the socket.
4. Put a new bulb into the socket and push it in until it
is tight.
5. Put the socket back into the sidemarker assembly
and turn it clockwise to tighten it.
6. Replace the parking/turn signal lamp assembly and
tighten the screws.Fender Marker Lamps
(Dual Rear Wheel Pickup Models)
1. Remove the screws and
take the fender marker
assembly out of
the fender.
Page 327 of 440
yellowblue
6-45
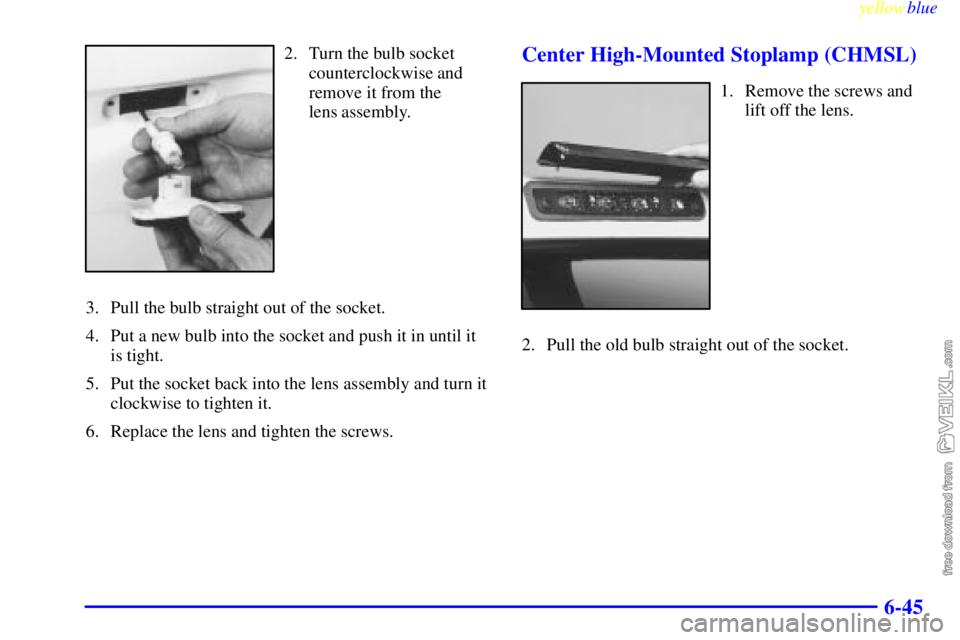
2. Turn the bulb socket
counterclockwise and
remove it from the
lens assembly.
3. Pull the bulb straight out of the socket.
4. Put a new bulb into the socket and push it in until it
is tight.
5. Put the socket back into the lens assembly and turn it
clockwise to tighten it.
6. Replace the lens and tighten the screws.Center High-Mounted Stoplamp (CHMSL)
1. Remove the screws and
lift off the lens.
2. Pull the old bulb straight out of the socket.
Page 330 of 440
yellowblue
6-48
5. Put in a new bulb and push it straight in until it
is tight.
6. Replace the bulb retainer.
7. Replace the rear lamp assembly and tighten
the screws.
8. Close the tailgate.
Taillamps (Chassis Cab Models)
1. Using your hands, peel the rubber seal away from
the lens.
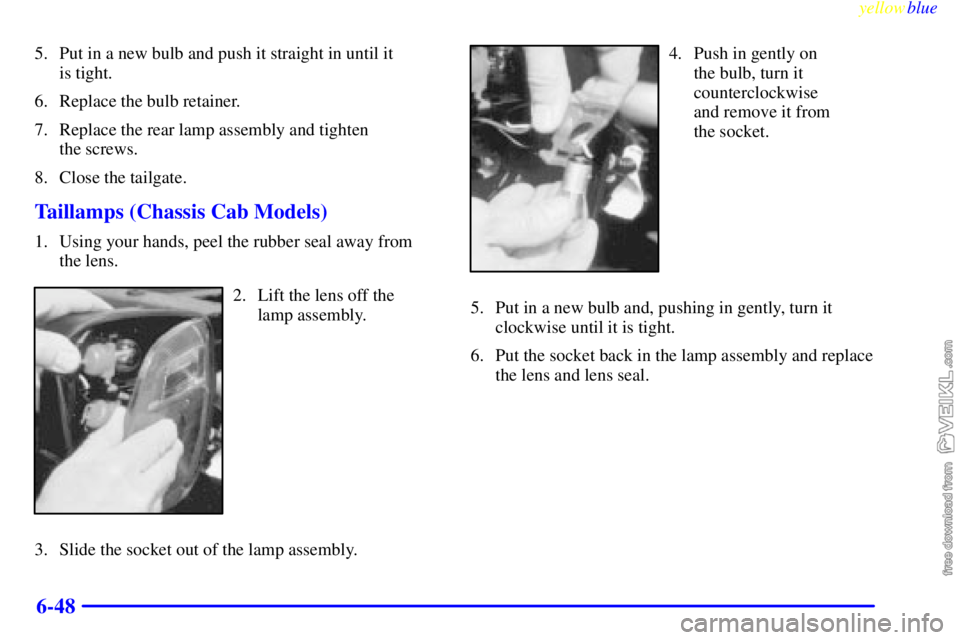
2. Lift the lens off the
lamp assembly.
3. Slide the socket out of the lamp assembly.
4. Push in gently on
the bulb, turn it
counterclockwise
and remove it from
the socket.
5. Put in a new bulb and, pushing in gently, turn it
clockwise until it is tight.
6. Put the socket back in the lamp assembly and replace
the lens and lens seal.