steering CHEVROLET CAMARO 1973 2.G Owners Manual
[x] Cancel search | Manufacturer: CHEVROLET, Model Year: 1973, Model line: CAMARO, Model: CHEVROLET CAMARO 1973 2.GPages: 84, PDF Size: 32.64 MB
Page 4 of 84
Downloaded from www.Manualslib.com manuals search engine 1973 CAMARO
OWNER'S
MANUAL
CHEVROLET MOTOR
DIVISION
GENERAL MOTORS CORPORATION DETROIT, MICHIGAN 48202
All information. illu$trations and specifications contained in this manual are based on the latest product
information available at the time of publication. The right is reserved to make changes at any time without notice .
For vehicles
sold in Canada. substitute the name
General Motors of Canada. wherever the name
Chevrolet Motor Division appears in this manual.
ST 309-73
©GENERAL MOTORS CORPORATION 1972
Table of Contents
Section
1 Before Driving Your Camaro ...
Page
3
2 Starting and Operating. . . . . . . . . . . . . . . . . . . . . . . . . . . . . . . . . . . . . .. 12
Steering Column Controls. . . . . . . . . . . . . . . . . . . . . . . . . . . . . . . .. 13
Starting Engine. . . . . . . . . . . . . . . • . . . . . . . . . . . . . . . . . . . . . . . . .. 13
Floor Controls. . . . . . . . . . . . . . . . . . • . . . . . . . . . . . . . . . . . . . . . . . .. 20
Instrument Panel.. . . . . . . . . . . . . . . . . . . . . . . . . . . . . . . . . . . . . . . .. 22
Other Controls and Features. . . . . . . . . . . . . . . . . . . . . . . . . . . . . . .. 35
3 In Case of Emergency ........................................ 36
4 Appearance Care ............................................. 41
5 Service and Maintenance ........................ " . . . . . . . . .. 45
6 Minor Trouble Shooting ...................................... 62
7
Specifications, Owner Assistance, Service Manuals, Index, Gas Station Information ........................................ " 66
1
Page 10 of 84
Downloaded from www.Manualslib.com manuals search engine (those next to side windows)
are linked to a buzzer and light
which remind occupants to fas
ten seat belts.
• On cars with automatic trans
missions, or manual transmis
sions with steering column
mounted shift levers, the buzzer
and light are designed to come
on when the ignition switch
is
on, the transmission selector is
in a forward drive position, and
the driver's or right front pas
senger's lap belt
is not fastened.
• On manual transmission cars
with floor mounted shift con
trols the reminders are designed
to come on when the ignition
switch
is on, the driver's or
right front passenger's lap belt
is not fastened and the transmis
sion
is in any gear position, ex
cept that they do not come
on
when the parking brake is en
gaged.
NOTE: The right front seat con
tains a weight detector which
is
designed to activate the buzzer
and light whenever
a. nominal
weight
is placed on the seat. The
weight detector cannot distinguish
between a passenger and any item
of luggage or cargo, therefore such
items should be placed elsewhere
in the car, preferably
in the trunk.
If seat belt system or reminder
system does not work
as described,
see your dealer for information
and assistance.
Shoulder Belts
• When properly worn with a lap
belt, a shoulder belt can provide
important additional protection
against impact with the car in
terior by restraining forward
motion of the upper torso in a
collision. This
is particularly
true in the case of a frontal im
pact, which
is the most frequent
7 type
of accident.
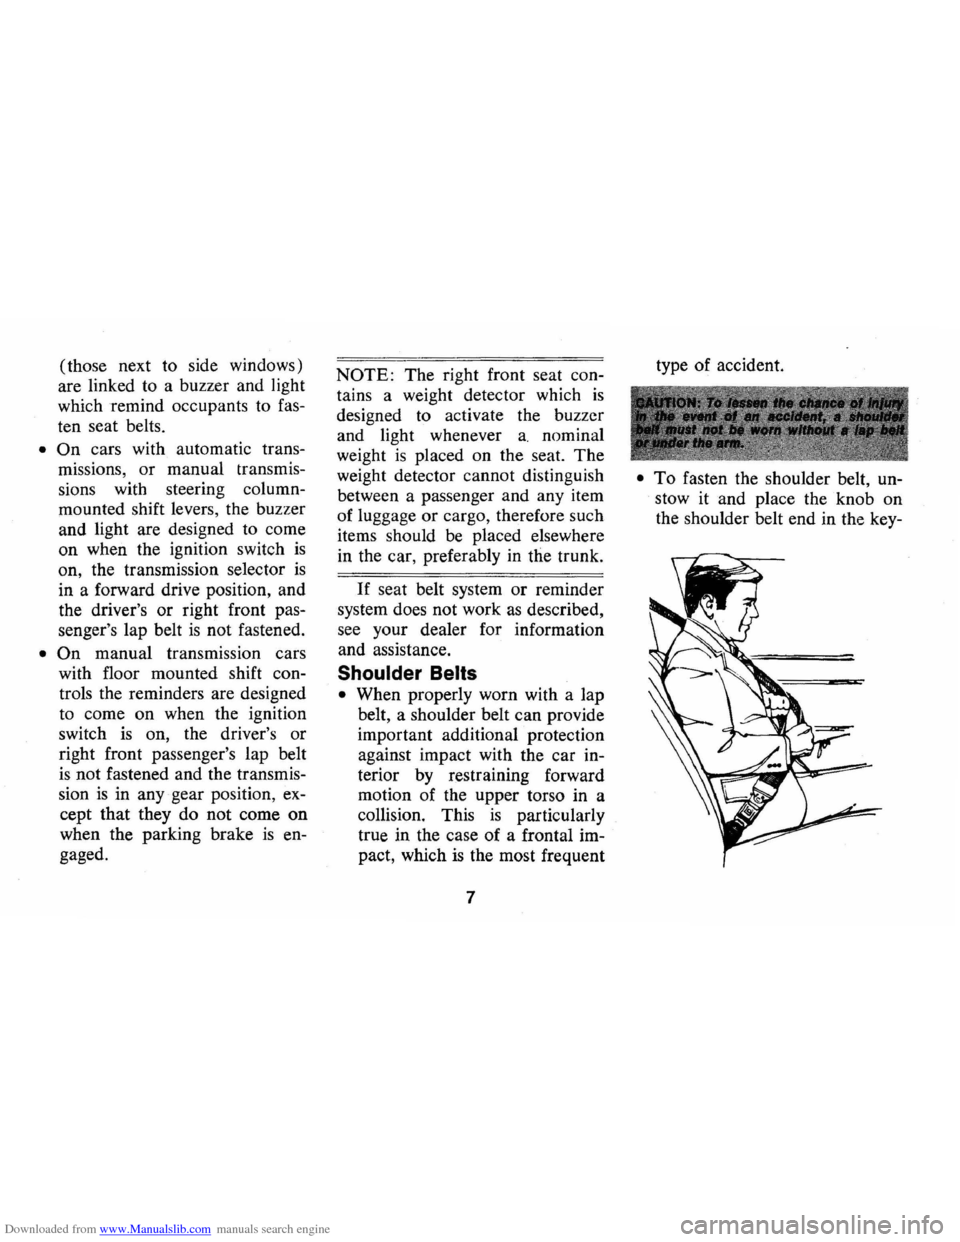
• To fasten the shoulder belt, un
stow it and place the knob on
the shoulder belt end in the key-
Page 14 of 84
Downloaded from www.Manualslib.com manuals search engine Break-in Schedule
In addition to the new car
break-in instructions in this man
ual, it
is recommended that your
new Camaro be operated for
500
miles before trailer towing. If it is
necessary to tow during this period,
avoid speeds over
50 MPH and full
throttle starts. The same precau
tions should be observed whenever
a new engine, transmission
or axle
is installed in your car.
Operation in Foreign Countries
Your Camaro is designed to op
erate on fuel of approximately
91
research octane number or higher,
sold in the United
States and Can
ada.
If you plan to operate your
Camaro outside the continental
limits of the United
States or Can
ada, there
is a possibility that the
best fuels available in some coun
tries are
so low in anti-knock
quality that excessive knocking
and serious engine damage may
result from their
use. To minimize
this possibility, write to Chevrolet
Motor Division, Service Depart- ment,
Detroit, Michigan 48202
(or in Canada write to General
Motors of Canada Limited,
Owner
Relations Department, Oshawa,
Ontario),
giving:
• The vehicle identification num
ber ( on plate on instrument
panel ahead of the steering
wheel and visible through the
windshield, or from registration
slip or title).
• The country or countries in
which you plan to travel.
You
will be furnished informa-
11
tion on the quality of fuels avail
able in the countries in which you
plan to travel.
It is recommended
that you not operate your Camaro
in any country not having fuels
meeting the requirements
of your
Camaro engine. Engine modifica
tions are not available to compen
sate for low anti-knock quality
fuels. Operation of your car under
conditions of continuous
or exces
sive knocking constitutes misuse
of the engine for which the Chev
rolet Division
is not responsible
under the terms of the Chevrolet
New Vehicle Warranty.
Page 16 of 84
Downloaded from www.Manualslib.com manuals search engine STEERING COLUMN CONTROLS
Anti-Theft Steering
Column Lock
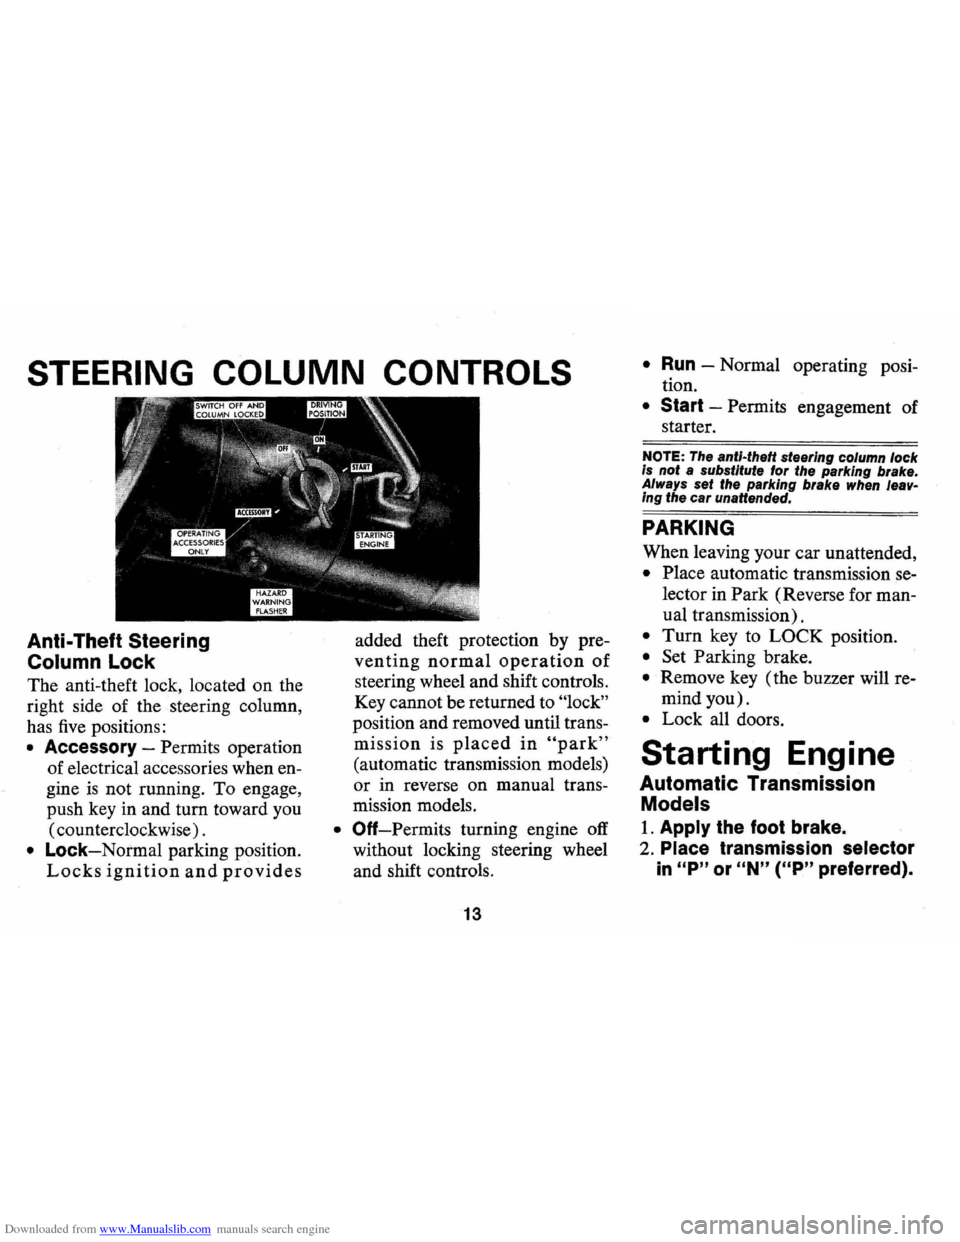
The anti-theft lock, located on the
right side of the steering column,
has
five positions:
• Accessory -Permits operation
of electrical accessories when en
gine
is not running. To engage,
push key in and turn toward you
( counterclockwise) .
• Lock-Normal parking position.
Locks ignition and provides
added theft protection by pre
venting normal operation of
steering wheel and shift controls.
Key cannot be returned to
"lock"
position and removed until trans
mission is placed in "park"
(automatic transmission models)
or in reverse on manual trans
mission models.
• Off-Permits turning engine off
without locking steering wheel
and shift controls.
13
• Run -Normal operating posi
tion.
• Start -Permits engagement of
starter.
NOTE: The anti-theft steering column lock Is not a substitute lor the parking brake.
Always set the parking brake when leaving the car unattended.
PARKING
When leaving your car unattended,
• Place automatic transmission se
lector in Park (Reverse for man
ual transmission).
• Turn key to LOCK position.
• Set Parking brake.
• Remove key (the buzzer will re
mind you).
• Lock all doors.
Starting Engine
Automatic Transmission
Models
1. Apply the foot brake.
2. Place transmission selector
in "P" or "N" (UP" preferred).
Page 20 of 84
Downloaded from www.Manualslib.com manuals search engine Driving with Manual Transmissions
The 3-speed manual transmis
sion shift positions follow the stan
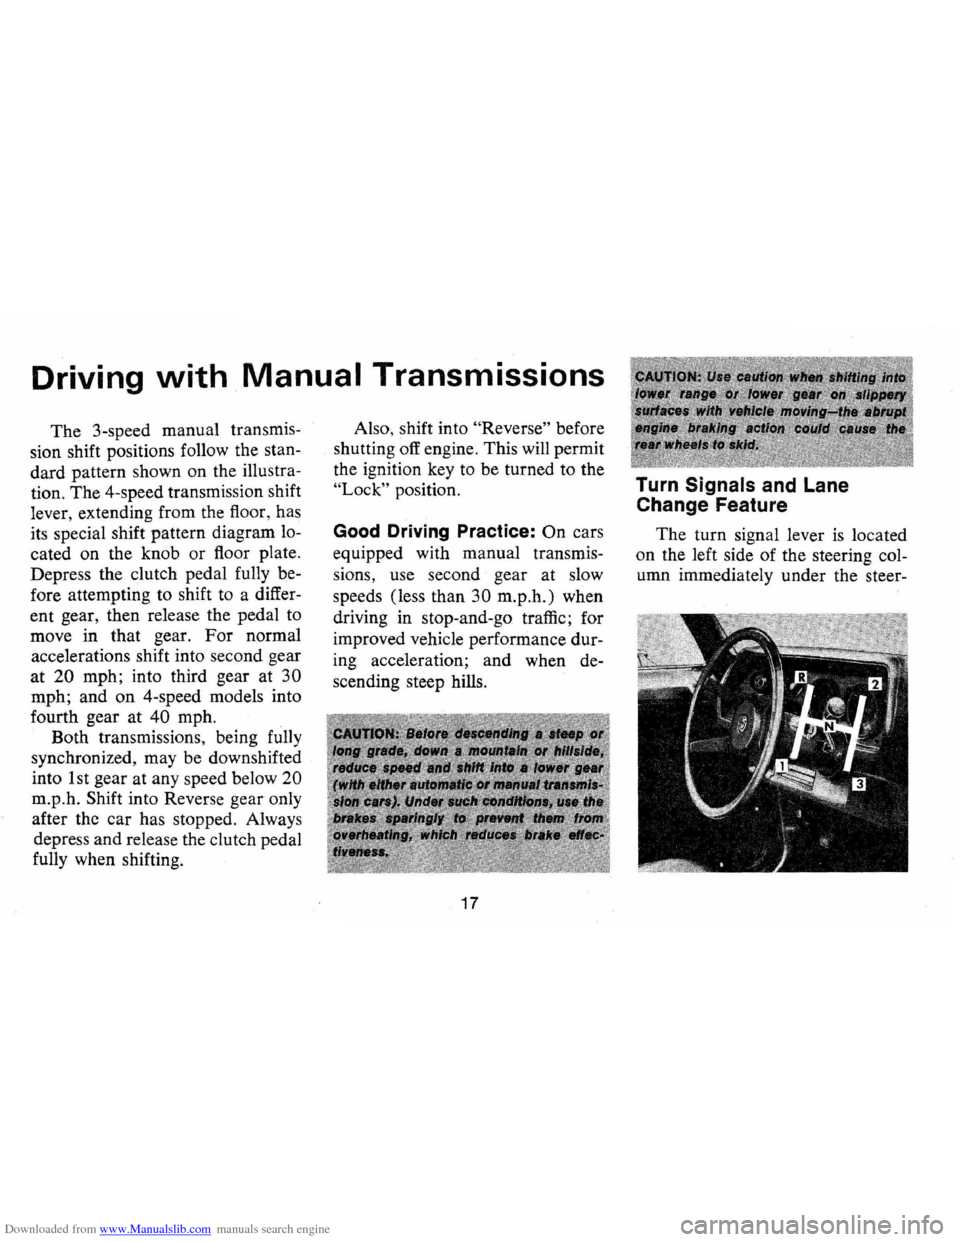
dard pattern shown on the illustra
tion. The 4-speed transmission shift
lever, extending from the floor, has
its special shift pattern diagram lo
cated on the knob or floor plate.
Depress the clutch pedal fully be
fore attempting to shift to a differ
ent gear, then release the pedal to
move in that gear.
For normal
accelerations shift into second gear
at 20 mph; into third gear at 30
mph; and on 4-speed models into
fourth gear at
40 mph.
Both transmissions , being fully
synchronized, may be downshifted
into 1 st gear at any speed below
20
m.p.h. Shift into Reverse gear only
after the car has stopped. Always
depress and release the clutch pedal
fully when shifting. Also,
shift into
"Reverse" before
shutting off engine. This will permit
the ignition key to be turned to the
"Lock" position.
Good Driving Practice: On cars
equipped with manual transmis
sions, use second gear at slow
speeds (less than
30 m.p.h.) when
driving in stop-and-go traffic; for
improved vehicle performance dur
ing acceleration; and when de
scending steep hills.
17
Turn Signals and Lane
Change Feature
The turn signal lever is located
on the left side of the steering col
umn immediately under the steer-
Page 21 of 84

Downloaded from www.Manualslib.com manuals search engine ing wheel. The lever is moved up
ward to signal a right turn and
downward
to signal a left turn.
Lamps on the front and rear of the
car transmit this signal to other
motorists and pedestrians. The
ig
nition switch must be in the "ON"
position in order for the turn sig
nals to be operational. This feature
prevents battery drain
if the lever
is left in an "ON" position when
your car
is not in use.
In a normal turning situation
such
as turning a corner, the turn
signal
is cancelled automatically
after the turn
is completed. How
ever, in some driving maneuvers
such as changing lanes
on an ex
pressway, the steering wheel
is not
turned back sufficiently after com
pleting the turn to automatically
cancel the turn signal. For con
venience in such maneuvers, the
driver can flash the
tum signals by moving
the turn signal lever part
way (to the first stop) and holding
it there. The lever returns to the
neutral
or cancelled position when
the driver releases his hold on the
lever.
A green light on the instrument
cluster flashes to indicate proper
operation of the front and rear turn
signal lamps.
If the indicator lamp
18
remains on and does not flash,
check for a defective lamp bulb.
If
the indicator fails to light when the
lever
is moved, check the fuse and
indicator bulb.
Power Steering
If the steering system power as
sist fails due to some malfunction,
or because the engine has stalled,
the car can still be steered.
How
ever, much greater effort is re
quired, particularly in sharp turns.
Holding Car on an Upgrade
When stopped on an upgrade,
maintain your position by applying
the brakes. Never hold the car in
place
by accelerating engine with
transmission in gear. This could
cause damage by overheating the
transmission (automatic) or clutch
(manual).
Page 22 of 84
Downloaded from www.Manualslib.com manuals search engine Parking Your Car
Always engage the parking brake
and place the automatic transmis
sion selector lever in
"Park" posi
tion when leaving your
car unat
tended. Also with automatic trans
missions, never park for prolonged
periods with engine idling and
transmission in gear, especially if
your car
is equipped with air con
ditioning. This practice
is detri
mental to the transmission, due to
overheating.
Horn
The horn on your Camaro is
actuated by firmly pressing on the
horn button in the center of the
steering wheel.
Tilt Steering Wheel
The optional tilt steering wheel
can be tilted up above normal posi
tion to provide additional room for
entrance and exit as well as selected
driving positions below normal
height. This permits individual
se
lection of the most natural position
for all driving conditions.
On long
trips the steering wheel position can
be changed to minimize tension and
fatigue.
The
tilt mechanism is operated
by lifting up on the small control
As a good motorist, use of the
horn should be kept at a minimum.
However, acquaint yourself as soon
as possible with this function of lever
on the left side of the steering
column just below the directional
signal, moving the steering wheel to
the selected position, and releasing
the lever.
your car, should it ever become
necessary to give a warning to a
pedestrian or another motorist.
NOTE: For operation of hazard flasher, see page 36 in, Section "In Case of Emergency."
19
Page 39 of 84
Downloaded from www.Manualslib.com manuals search engine .1 n Case of Emergency
Four Way Hazard
Warning Flasher
• Use the warning flasher to warn
other drivers any time your
ve·
hicle becomes a traffic hazard,
day or night.
• Avoid stopping on the roadway
if possible.
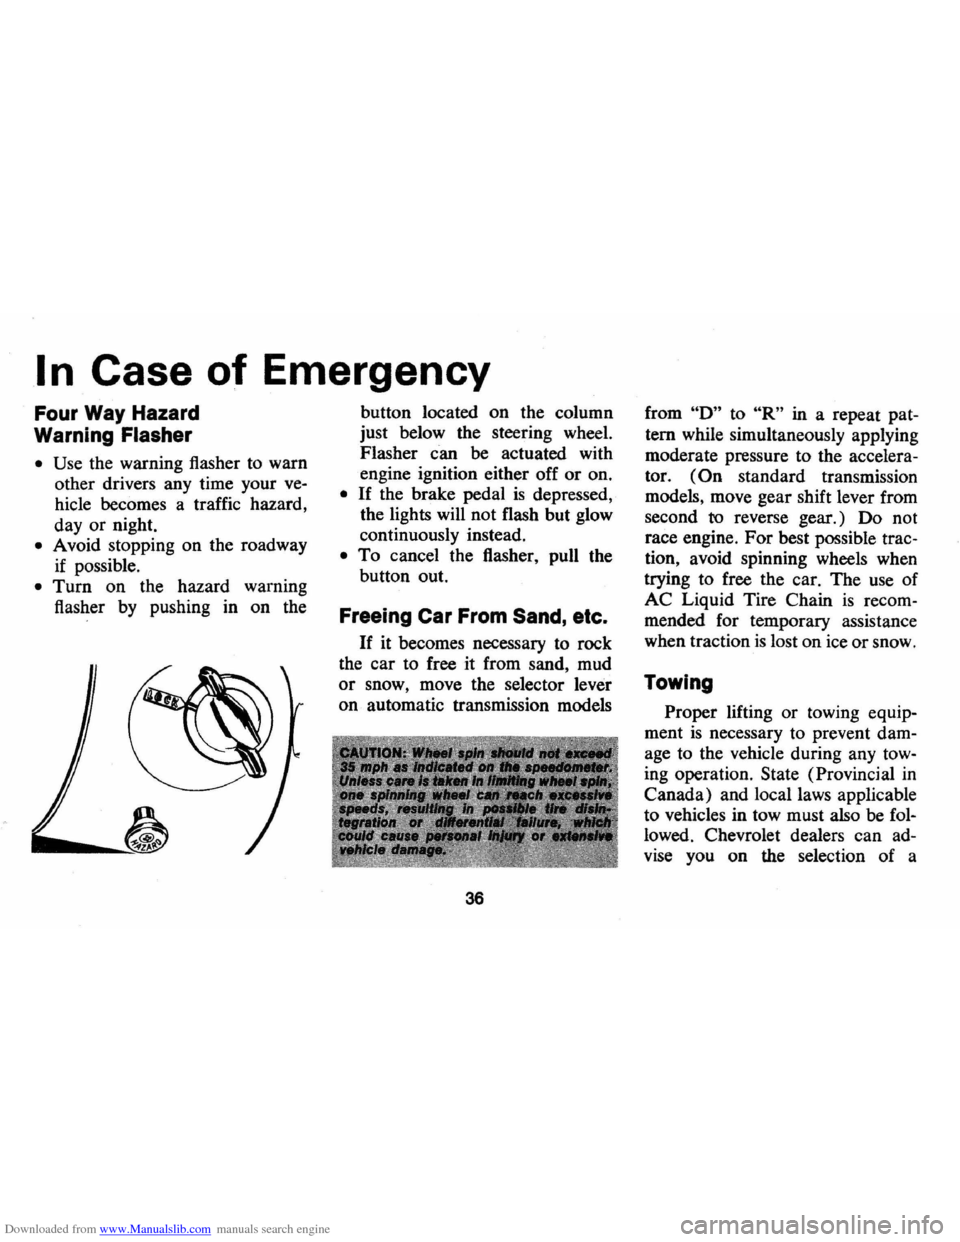
• Turn on the hazard warning
flasher
by pushing in on the
.---~
button located on the column
just below the steering wheel.
Flasher can be actuated with
engine ignition either off or on.
• If the brake pedal is depressed,
the lights will not flash but glow
continuously instead.
• To cancel the flasher, pull the
button out.
Freeing Car From Sand, etc.
If it becomes necessary to rock
the car to free it from sand, mud
or snow, move the selector lever
on automatic transmission models
36
from "0" to "R" in a repeat pat·
tern while simultaneously applying
moderate pressure to the
accelera
tor. (On standard transmission
models, move gear shift lever from
second
to reverse gear.) 00 not
race engine.
For best possible trac
tion, avoid spinning wheels when
trying to free the car. The use of
AC Liquid Tire Chain is recom
mended for temporary assistance
when traction
is lost on ice or snow.
Towing
Proper lifting or towing equip
ment is necessary to prevent dam
age to the vehicle during any tow
ing operation. State (Provincial in
Canada) and local laws applicable
to vehicles in tow must also be
fol
lowed . Chevrolet dealers can ad
vise you on the selection of a
Page 40 of 84
Downloaded from www.Manualslib.com manuals search engine knowledgeable towing concern.
Your Camaro may be towed on
all four wheels, at speeds of
less
than 35 mph, for distances up to
50 miles, provided driveline, axle
and transmission are otherwise
normally operable. For such tow
ing, parking brake must be re
leased, transmission must be in
neutral
and ignition lock turned to
OFF position. Attachments must
be to main structural members of
the car, not to bumpers or brac
keting. Separate safety chains
or
cables should be used. Remember
that power brake and steering
as
sists will not be available when
engine
is inoperative.
Emergency Starting
• Never tow the car to start be
cause the surge forward when
the engine starts could cause a
collision with the tow vehicle.
• Engines in vehicles with auto
matic transmissions cannot be
started by (towing
or) pushing
the car.
• To start the car when the Ener
gizer (battery)
is discharged,
use a single auxiliary battery or
Energizer of the same nominal
voltage
(12 volts) as the dis
charged battery, with suitable
jumper cables.
• Make connections as set forth
below under
"Jump Starting
with Auxiliary (Booster) Bat
tery" to lessen the chance of
personal injury
or property
damage.
Jump Starting with
Auxiliary (Booster) Battery
Both booster and discharged
battery should be treated carefully
when using jumper cables. Follow
37
exactly the procedure outlined be
low, being careful not to cause
sparks:
1. Set parking brake and place
automatic transmission in
"PARK" (neutral for manual
transmission). Turn
off lights,
heater and other electrical loads.
2. Remove vent caps from both
the booster and the discharged
batteries. Lay a cloth over the
open vent wells of each battery.
These two actions help reduce
the explosion hazard always
Page 53 of 84
Downloaded from www.Manualslib.com manuals search engine the transmission sump and add ap
proximately 2.5 quarts U.S. Mea
sure
(2.0 quarts Imperial Mea
sure). Operate transmission
through all shift ranges and re
check fluid level as described
above.
Turbo Hydra-Matic 400-Lubri
cation of your Turbo Hydra-matic
400 will, except for fluid capacity
and filter change listed below, fol
low previously stated automatic
transmission recommendations.
After checking transmission fluid
level it
is important that the dip
stick be pushed all the way into
the filler tube.
Every 24,000 miles -After re
moving fluid from the transmission
sump, approximately
71h. pints
U.S. measure (6 pints Imperial
measure) of fresh fluid will be re
quired to return level to proper mark
on the dipstick.
Every 24,000 miles the transmis
sion sump filter should be re
placed.
Transmission Shift and Back
drive Linkage (Manual and
Automatic) -
Every 6,000 miles
or 4 months lubricate shift link
age and on manual transmission
floor controls lever contacting
faces with water
resistantEP chas
sis lubricant which meets GM
Specification 6031M.
Transmission Shift Linkage
(Manual and Automatic)
Every 6,000 miles or 4 months
lubricate shift linkage and on man
ual transmission floor controls
lever contacting faces with water
resistant
EP chassis lubricant
which meets
GM Specification
6031M.
50
Chassis
Front Suspension
Every 6,000 miles or 4 months
-Lubricate 4 fittings · with water
resistant
EP Chassis Lubricant
which meets
GM Specification
6031M.
Ball joints should not be lu
bricated unless their tempera
ture
is 10°F. or higher. During
colder weather, they should be
allowed to warm up as neces
sary before lubrication.
Steering Linkage
Every 6,000 miles or 4 months
-Lubricate 7 fittings, one at each
end of each tie rod, one at each
end of relay rod, and one
at idler
lever with water resistant
EP Chas
sis Lubricant which meets
GM
Specification 6031 M.