radiator CHEVROLET CAMARO 1995 4.G User Guide
[x] Cancel search | Manufacturer: CHEVROLET, Model Year: 1995, Model line: CAMARO, Model: CHEVROLET CAMARO 1995 4.GPages: 388, PDF Size: 19.69 MB
Page 216 of 388

Downloaded from www.Manualslib.com manuals search engine 8. Then replace the pressure cap. At any time during
this procedure if coolant begins to flow out
of the
filler neck, reinstall the pressure cap. Be sure the
arrows
on the pressure cap line up like this.
How to Add Coolant to the Radiator - LT1
(Code P) Engine Only
NOTICE:
The LT1 Engine (Code P) has a specific radiator
fill procedure. Failure
to follow this procedure
could cause your engine to overheat
and be
severely damaged.
5-22
Page 217 of 388

Downloaded from www.Manualslib.com manuals search engine 1. You can remove the radiator pressure cap when the
cooling system, including
the radiator pressure cap
and upper radiator hose, is
no longer hot. Turn the
pressure cap slowly to the left until it first stops.
(Don’t press down while turning
the pressure cap.)
If you hear a hiss, wait for that to stop. A hiss means
there is still some pressure left.
2. Then keep turning the pressure cap, but now push
down
as you turn it. Remove the pressure cap.
5-23
Page 218 of 388

Downloaded from www.Manualslib.com manuals search engine 3. After the engine cools, open the air bleed valves on
the heater return hose and water pump inlet. 4.
5.
6.
7.
Fill with the proper mix. Add coolant until you see a
steady stream of coolant coming from the bleed
valves.
Close the bleed valves.
Continue to fill the radiator up to the base of the
filler neck.
Rinse or wipe the spilled coolant from the engine and compartment.
5-24
Page 219 of 388

Downloaded from www.Manualslib.com manuals search engine 8. Start the engine and allow it to run in idle for
approximately four minutes. By this time, the
coolant level inside
the radiator will be lower. Add
more of the proper mix through the filler neck until
the level reaches the base
of the filler neck.
10. Then fill the coolant recovery tank to the proper
level.
9. Shut the engine off and replace the pressure cap. Be
sure the arrows
on the cap line up like this.
For a complete drain, flush and refill, see your Chevrolet
dealer or a Chevrolet Service Manual.
To purchase a
service manual, see “Service Publications’’
in the Index.
5-25
Page 260 of 388
Downloaded from www.Manualslib.com manuals search engine Engine Coolant
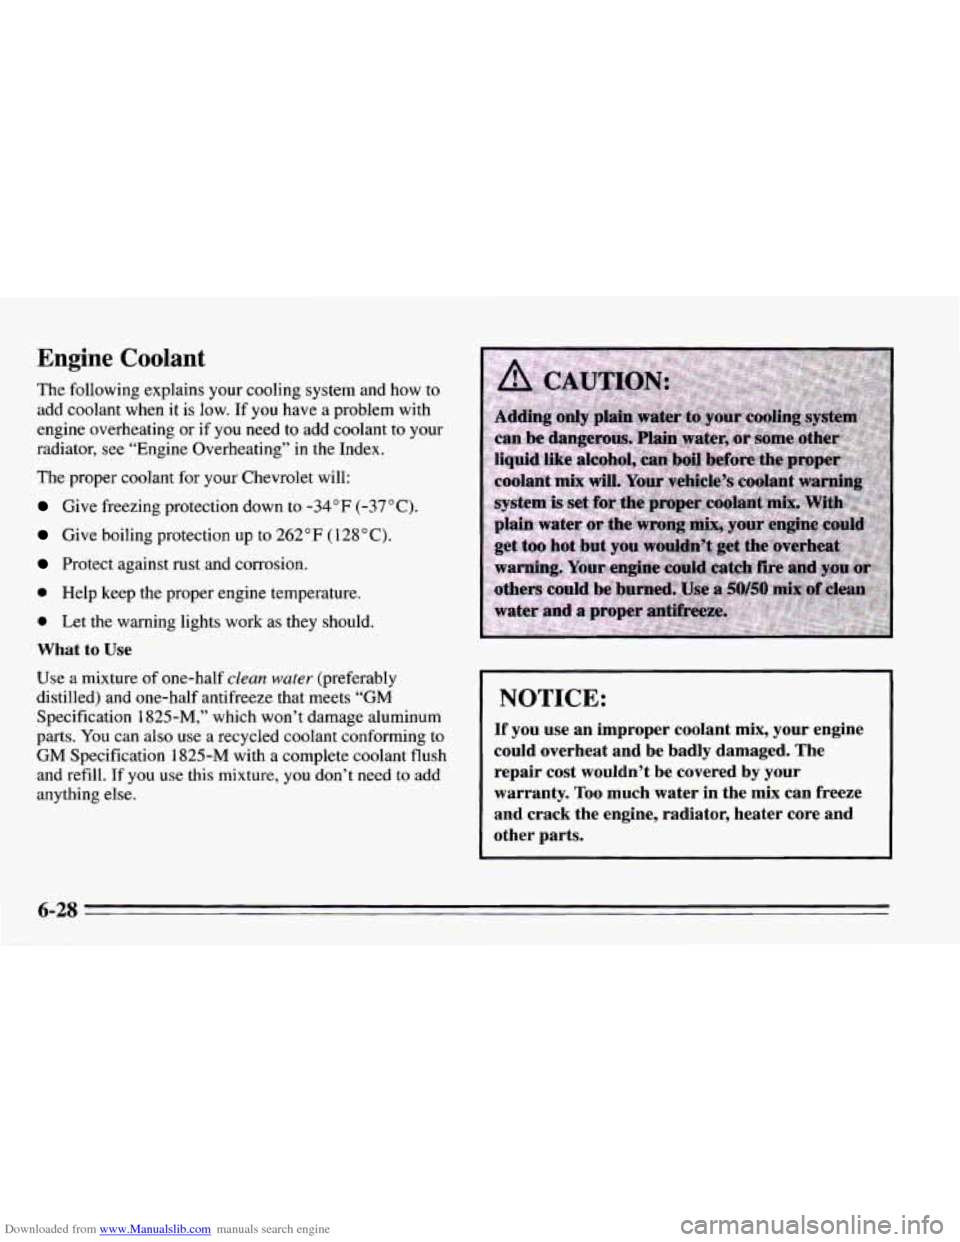
The following explains your cooling system and how to
add coolant when it
is low. If you have a problem with
engine overheating or if you need to add coolant to your
radiator, see “Engine Overheating”
in the Index.
The proper coolant for your Chevrolet will:
Give freezing protection down to -34°F (-37°C).
Give boiling protection up to 262” F ( 128 * C).
Protect against rust and corrosion.
0 Help keep the proper engine temperature.
0 Let the warning lights work as they should.
What to Use
Use a mixture of one-half clean water (preferably
distilled) and one-half antifreeze that meets
“GM
Specification 1825-M,” which won’t damage aluminum
parts.
You can also use a recycled coolant conforming to
GM Specification 1825-M with a complete coolant flush
and refill. If you use this mixture, you don’t need to add
anything else.
I NOTICE:
If you use an improper coolant mix, your engine
could overheat and
be badly damaged. The
repair
cost wouldn’t be covered by your
warranty.
Too much water in the mix can freeze
and crack the engine, radiator, heater core and
other parts.
6-28
Page 261 of 388
Downloaded from www.Manualslib.com manuals search engine Adding Coolant
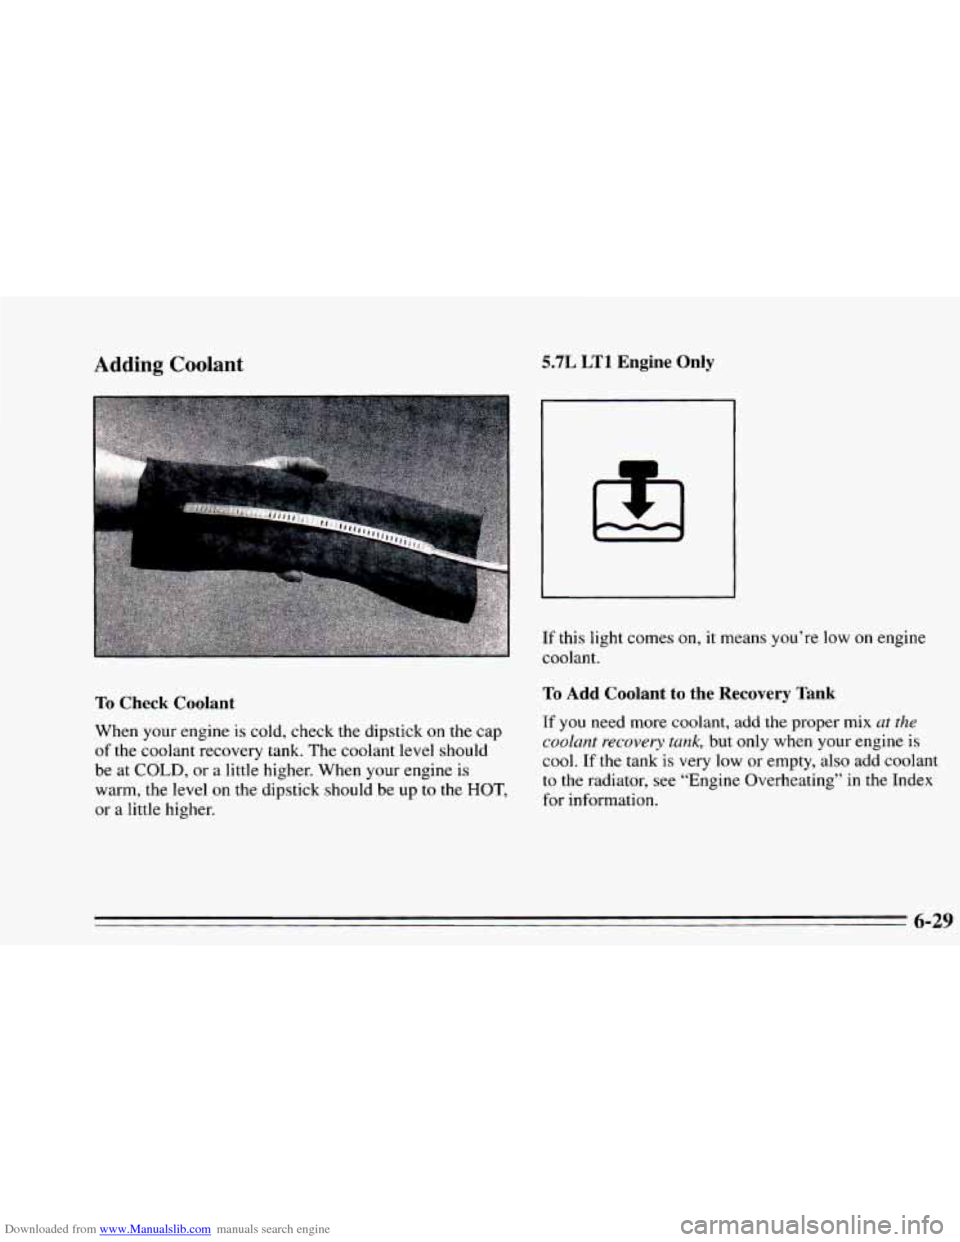
To Check Coolant
When your engine is cold, check the dipstick on the cap
of the coolant recovery tank. The coolant level should
be at
COLD, or a little higher. When your engine is
warm, the level on the dipstick should be up to the HOT,
or a little higher.
5.7L LT1 Engine Only
If this light comes on, it means you’re low on engine
coolant.
To Add Coolant to the Recovery Tank
If you need more coolant, add the proper mix ut the
coolant
recovery tank, but only when your engine is
cool. If the tank is very low or empty, also add coolant
to the radiator, see “Engine Overheating” in the Index
for information.
6-29
Page 262 of 388
Downloaded from www.Manualslib.com manuals search engine I
I
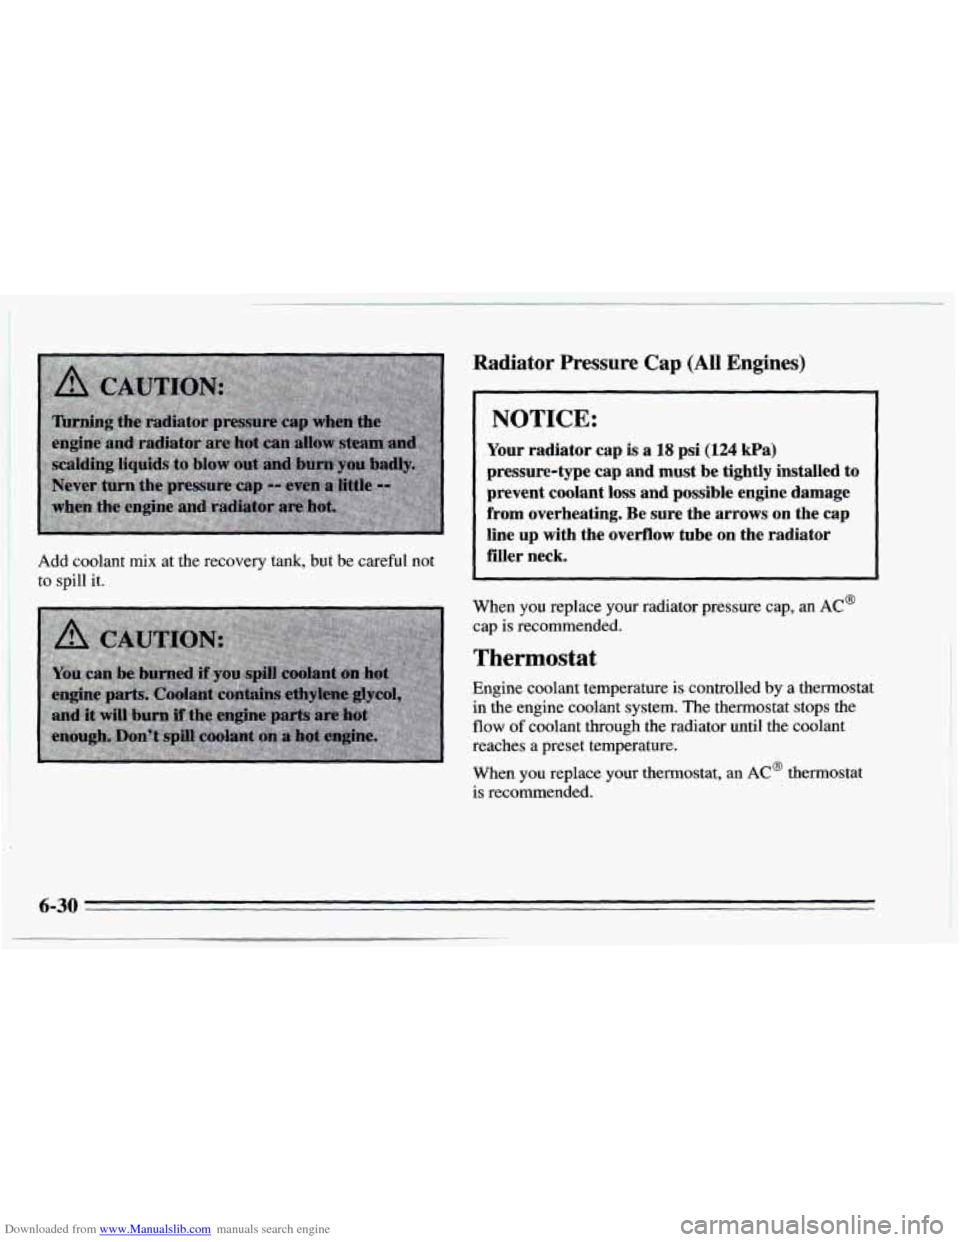
1 Add coolant mix at the recovery tank, but be careful not
, to spill it.
Radiator Pressure Cap (All Engines)
NOTICE:
Your radiator cap is a 18 psi (124 kPa)
pressure-type cap and must be tightly installed to
prevent coolant loss and possible engine damage from overheating. Be sure the arrows on the cap
line
up with the overflow tube on the radiator
filler neck.
When you replace your radiator pressure cap, an AC@
cap is recommended.
Thermostat
Engine coolant temperature is controlled by a thermostat
in the engine coolant system. The thermostat stops the
flow of coolant through the radiator until the coolant
reaches
a preset temperature.
When you replace your thermostat, an
AC@ thermostat
is recommended.
6-30
Page 266 of 388
Downloaded from www.Manualslib.com manuals search engine NOTICE:
When using concentrated washer fluid,
follow the manufacturer’s instructions for
adding water.
Don’t mix water with ready-to-use washer
fluid. Water can cause the solution to freeze
and damage your washer fluid tank and
other parts
of the washer system. Also,
water doesn’t clean
as well as washer fluid.
0 Fill your washer fluid tank only 314 full
when it’s very cold. This allows for
expansion, which could damage the tank if
it is completely full.
windshield washer. It can damage your
washer system and paint.
Don’t use radiator antifreeze in your
Brakes
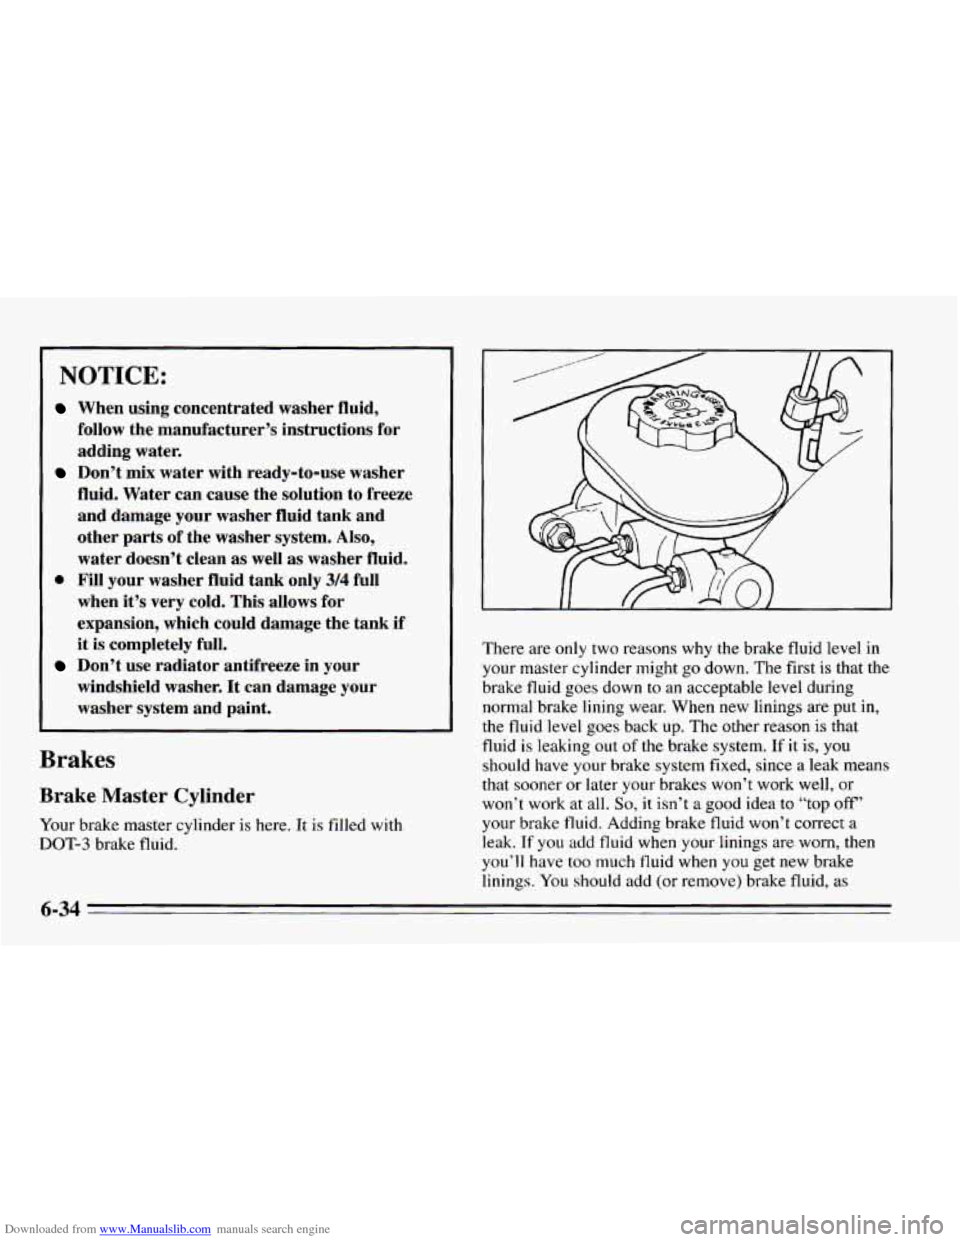
Brake Master Cylinder
Your brake master cylinder is here. It is filled with
DOT-3 brake fluid. There
are only two reasons why the brake
fluid level in
your master cylinder might go down. The first is that the
brake fluid goes down
to an acceptable level during
normal brake lining wear. When new linings are put in,
the fluid level goes back up. The other reason
is that
fluid is leaking out
of the brake system. If it is, you
should have your brake system fixed, since a leak means
that sooner or later your brakes won’t work well, or
won’t work at all.
So, it isn’t a good idea to “top off’
your brake fluid. Adding brake fluid won’t correct a
leak.
If you add fluid when your linings are worn, then
you’ll have too much fluid when you get new brake
linings. You should add (or remove) brake fluid,
as
6-34
Page 308 of 388

Downloaded from www.Manualslib.com manuals search engine Replacement Parts
Air Cleaner Filter ........................ A 1 I63C
Battery
.................................. 75-60
Engine Oil Filter
VIN Engine Code
S and K ................. PF47
VIN Engine Code P
...................... PF25
Fuel Filter ............................. GF578
PCV Valve
VIN Engine Code
S ................... CV789C
VIN Engine Code
K ................... CV892C
VIN Engine Code
P ................... CV895C
Radiator Cap
............................. RC24
Spark Plug VIN Engine Code
S ........ -R43TSK (0.045' Gap)
VIN Engine Code
K ......... a41 -606 (0.060' Gap)
VIN Engine Code
P ....... -R45LTSP (0.050' Gap)
Thermostat Temperature Specification
... 1 80°F(82 O C)
6-76
Page 320 of 388
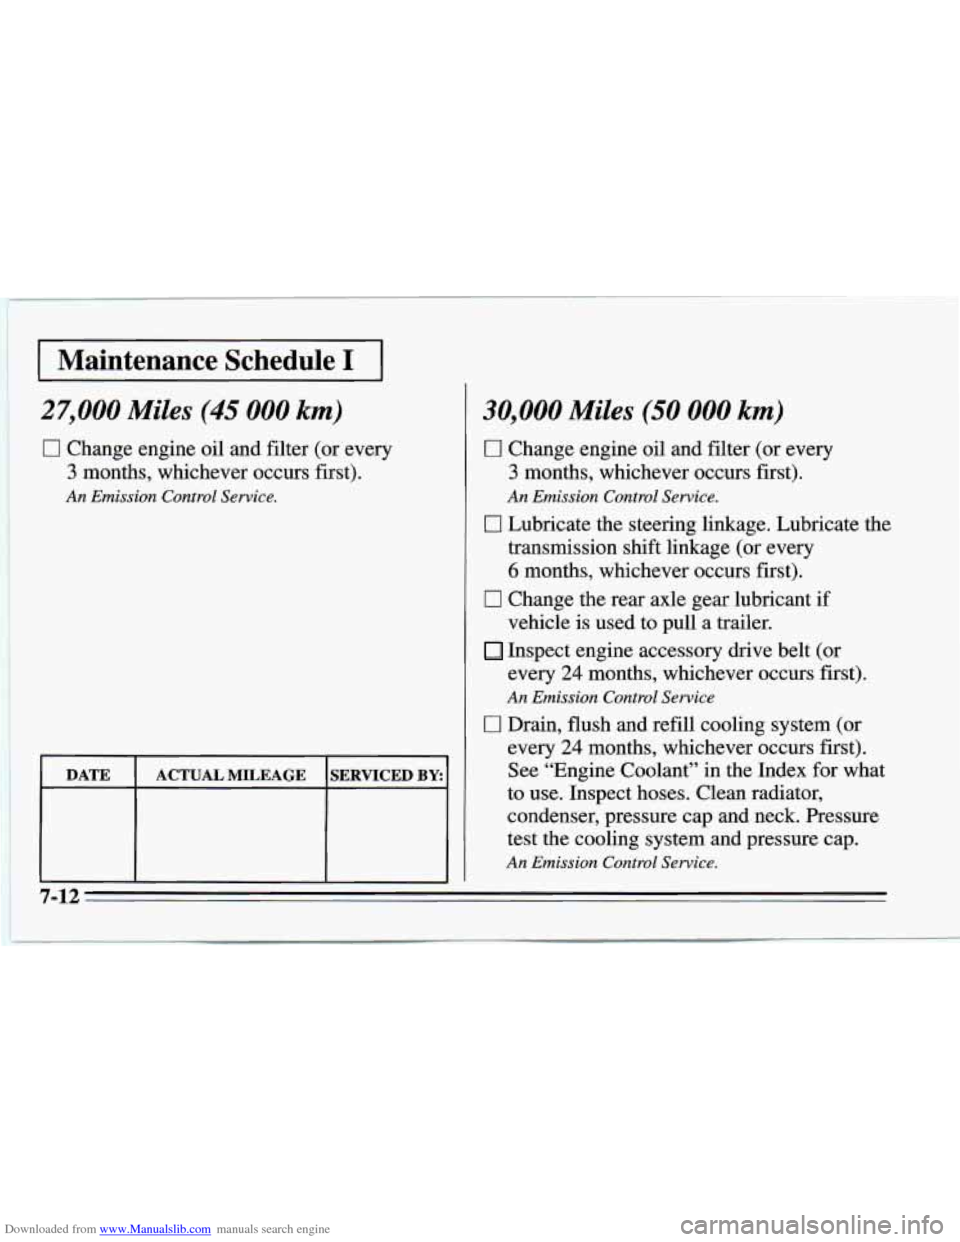
Downloaded from www.Manualslib.com manuals search engine I Maintenance Schedule I I
27,000 Miles (45 000 km)
0 Change engine oil and filter (or every
3 months, whichever occurs first).
An Emission Control Service.
30,000 Miles (50 000 km)
0 Change engine oil and filter (or every
3 months, whichever occurs first).
An Emission Control Sewice.
0 Lubricate the steering linkage. Lubricate the
transmission shift linkage (or every
6 months, whichever occurs first).
0 Change the rear axle gear lubricant if
vehicle is used to pull a trailer.
Inspect engine accessory drive belt (or
every
24 months, whichever occurs first).
An Emission Control Service
0 Drain, flush and refill cooling system (or
every
24 months, whichever occurs first).
See “Engine Coolant” in the Index for what
to use. Inspect hoses. Clean radiator,
condenser, pressure cap and neck. Pressure
test the cooling system and pressure cap.
An Emission Control Service.
7-12