brake fluid CHEVROLET CAMARO 1995 4.G Owners Manual
[x] Cancel search | Manufacturer: CHEVROLET, Model Year: 1995, Model line: CAMARO, Model: CHEVROLET CAMARO 1995 4.GPages: 388, PDF Size: 19.69 MB
Page 180 of 388
Downloaded from www.Manualslib.com manuals search engine If you drive regularly in steep country, or if you’re
planning
to visit there, here are some tips that can make
your trips safer and more enjoyable.
Keep your vehicle in good shape. Check all fluid
levels and also the brakes, tires, cooling system and
transmission. These parts can work hard
on
mountain roads.
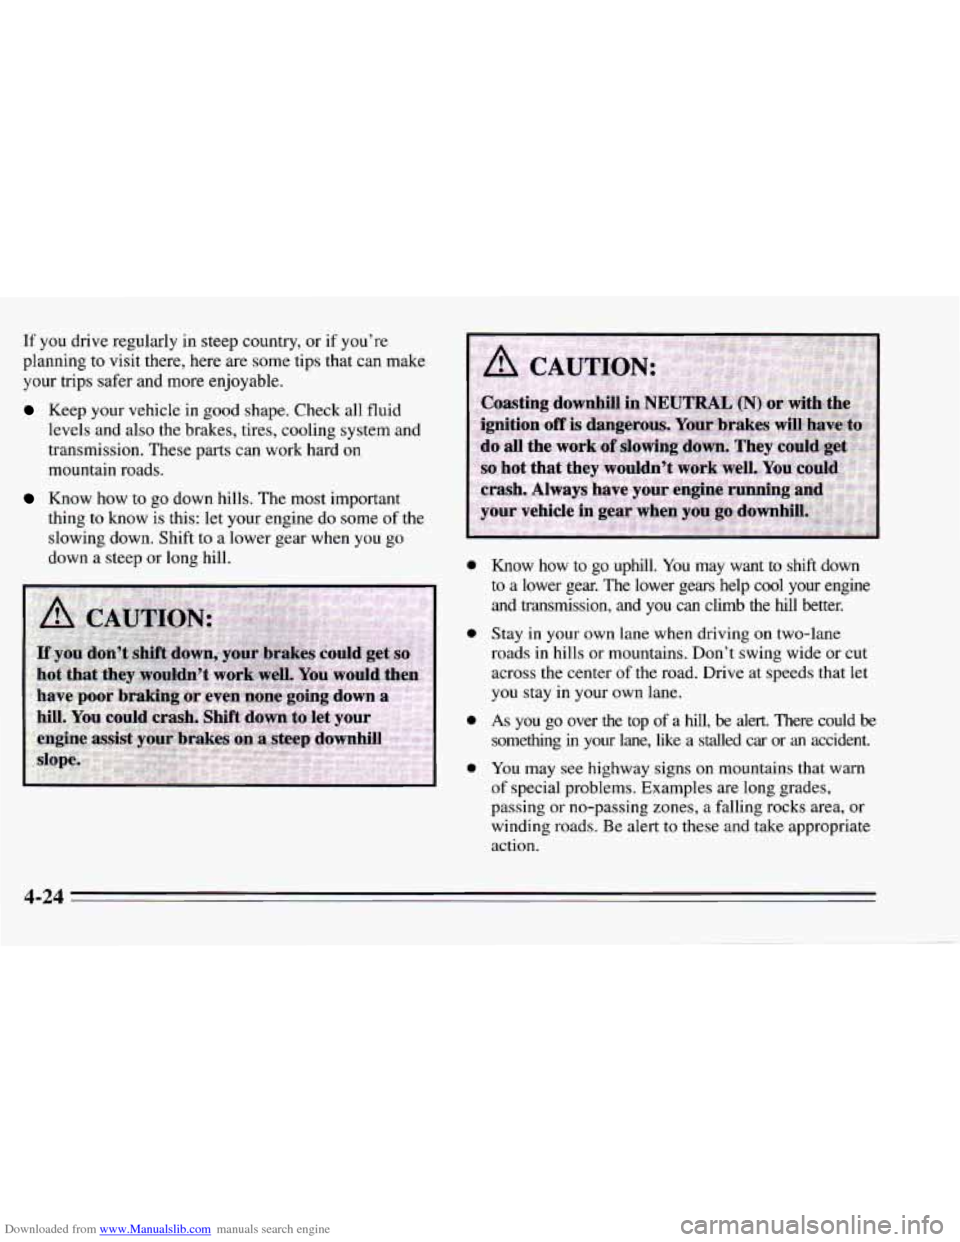
Know how to go down hills. The most important
thing to know is this: let your engine do some of
the
slowing down. Shift to a lower gear when you go
down a steep or long hill. 0
0
0
0
Know how to go uphill. You may want to shift down
to a lower gear. The lower gears help cool your engine
and transmission, and you
can climb the hill better.
Stay in your
own lane when driving on two-lane
roads in hills or mountains. Don’t swing wide or cut
across the center
of the road. Drive at speeds that let
you stay in your own lane.
As you go over the top of a hill, be alert. There could be
something in your lane, like a stalled car or an accident.
You may see highway signs on mountains that warn
of special problems. Examples are long grades,
passing or no-passing zones, a falling rocks area, or
winding roads. Be alert
to these and take appropriate
action.
4-24
Page 193 of 388
Downloaded from www.Manualslib.com manuals search engine Parking on Hills
You really should not park your vehicle, with a trailer
attached,
on a hill. If something goes wrong, your rig
could start to move. People can be injured, and both
your vehicle and the trailer can be damaged.
But if you ever have to park your rig on a hill, here’s
how
to do it:
1.
2.
3.
4.
5.
Apply your regular brakes, but don’t shift into
PARK (P)
yet, or into gear for a manual
transmission.
Have someone place chocks under the trailer wheels.
When the wheel chocks
are in place, release the
regular brakes. Then apply your parking brakes until
the chocks absorb the load.
Reapply the regular brakes. Then apply your parking
brake and then shift
to PARK(P) or REVERSE (R)
for a manual transmission.
Release the regular brakes.
When You Are Ready to Leave After
Parking on a
Hill
1. Apply your regular brakes and hold the pedal down
while you:
0 Start your engine;
0 Shift into a gear; and
0 Release the parking brake.
2. Let up on the brake pedal.
3. Drive slowly until the trailer is clear of the chocks.
4. Stop and have someone pick up and store the chocks.
Maintenance When Trailer Towing
Your vehicle will need service more often when you’re
pulling a trailer. See the Maintenance Schedule for more
on this. Things that are especially important in trailer
operation are automatic transmission fluid (don’t
overfill), engine oil, axle lubricant, cooling system, and
brake adjustment. Each
of these is covered in this
manual, and the Index will help you find them quickly.
If you’re trailering, it’s a good idea
to review these
sections before you start your trip.
Check periodically
to see that all hitch nuts and bolts are
tight.
4-37
Page 240 of 388
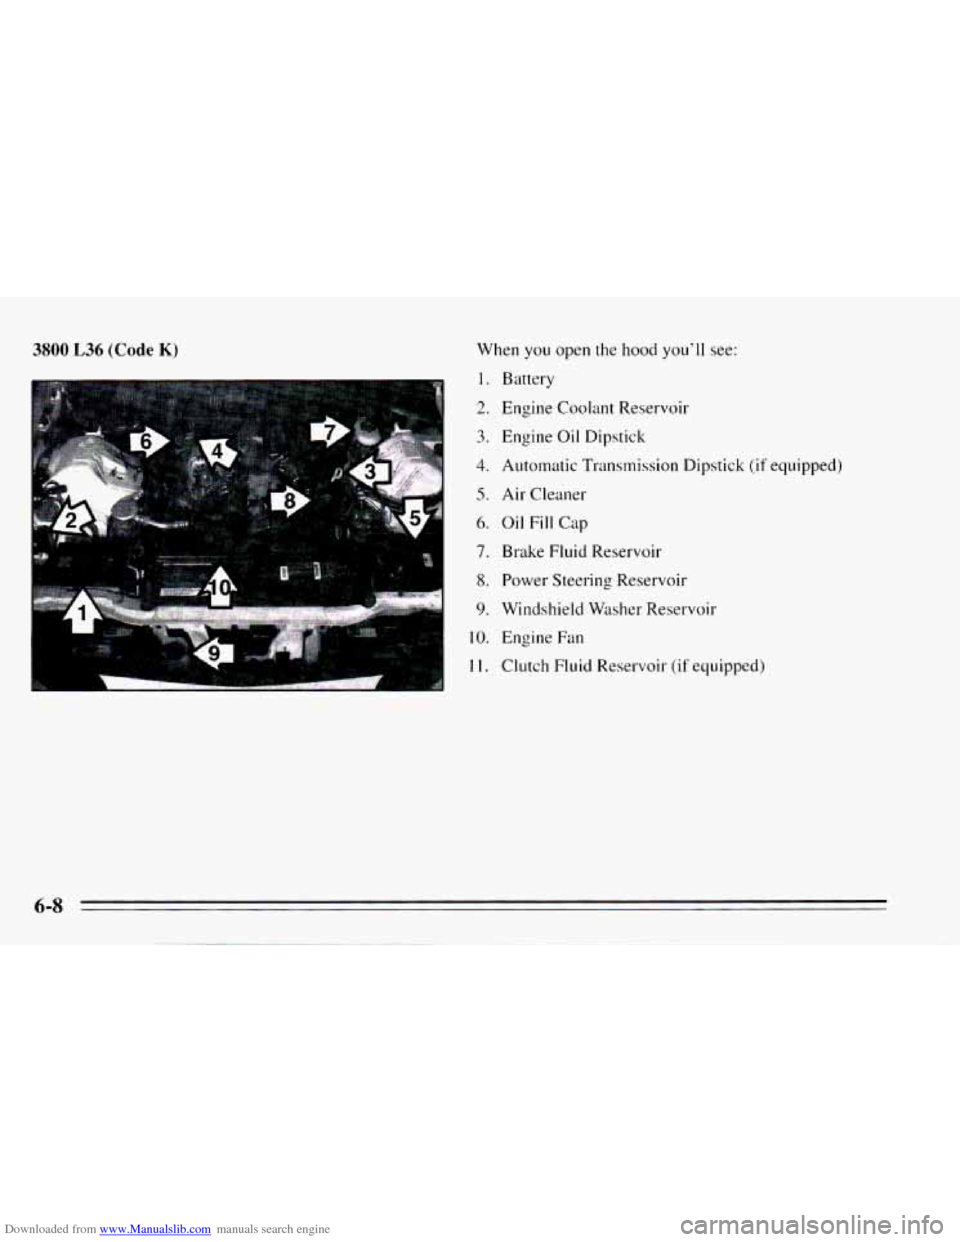
Downloaded from www.Manualslib.com manuals search engine 3800 L36 (Code K) When you open the hood you’ll see:
1.
2.
3.
4.
5.
6.
7.
8.
9.
10.
11.
Battery
Engine Coolant Reservoir
Engine
Oil Dipstick
Automatic Transmission Dipstick
(if equipped)
Air Cleaner
Oil
Fill Cup
Brake Fluid Reservoir
Power Steering Reservoir
Windshield Washer Reservoir
Engine Fan
Clutch Fluid Reservoir
(if equipped)
6-8
Page 241 of 388
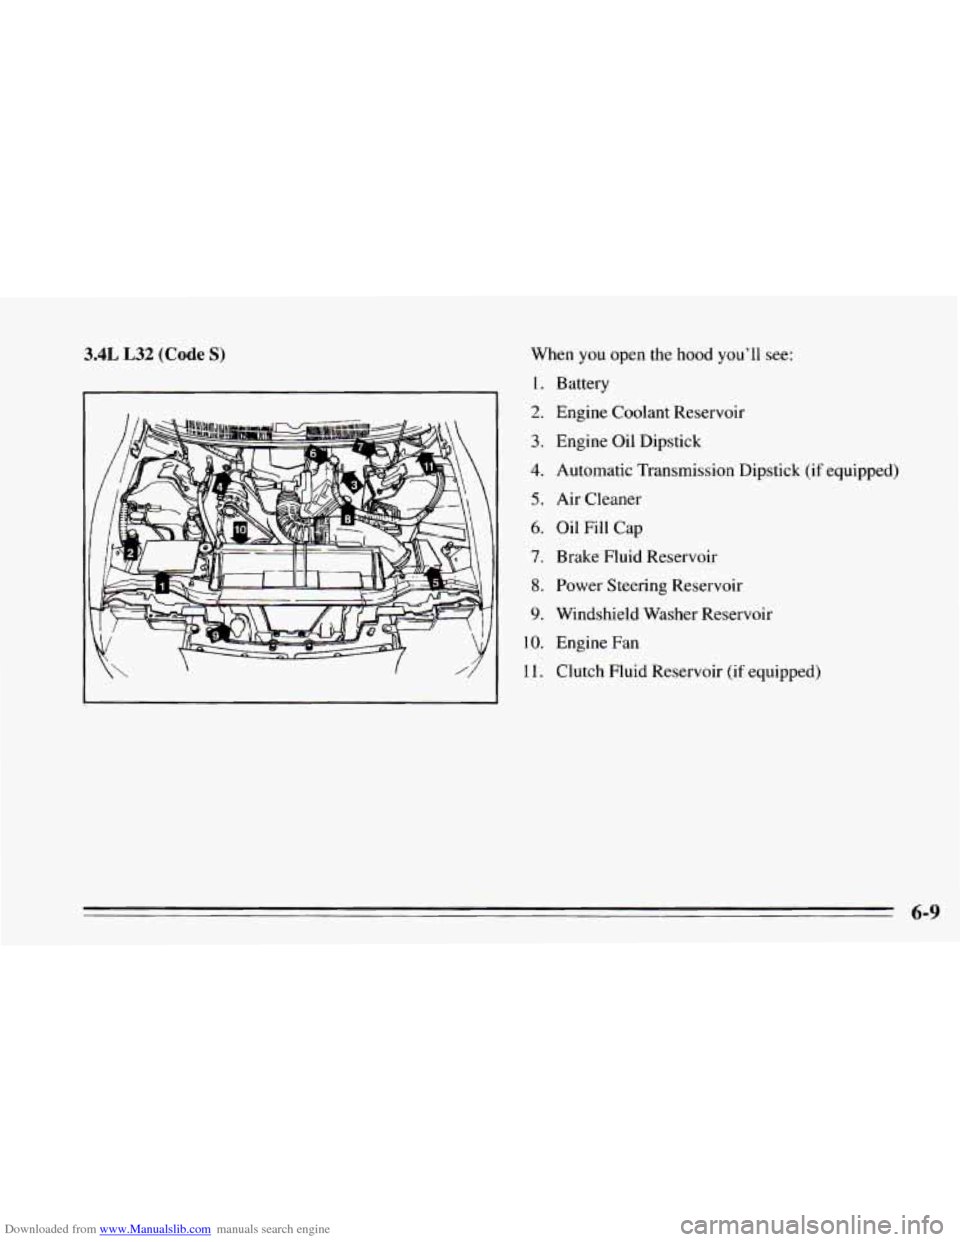
Downloaded from www.Manualslib.com manuals search engine 3.4L L32 (Code S) When you open the hood you’ll see:
1.
2.
3.
4.
5.
6.
7.
8.
9.
10.
11.
Battery
Engine Coolant Reservoir
Engine Oil Dipstick
Automatic Transmission Dipstick (if equipped)
Air Cleaner
Oil Fill Cap
Brake Fluid Reservoir
Power Steering Reservoir
Windshield Washer Reservoir
Engine Fan
Clutch Fluid Reservoir (if equipped)
6-9
Page 242 of 388
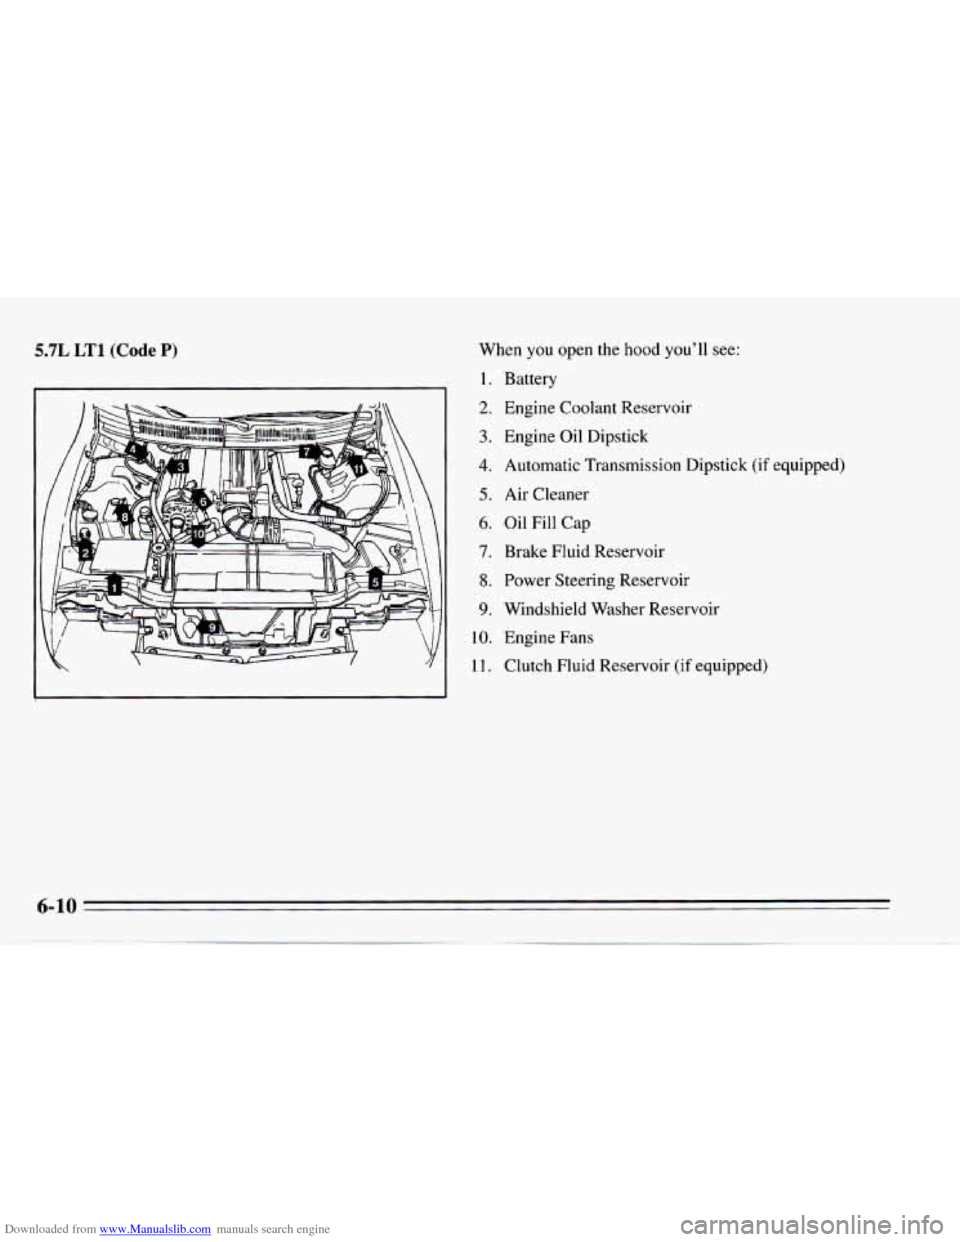
Downloaded from www.Manualslib.com manuals search engine 5.7L LT1 (Code P) When you open the hood you’ll see:
1.
2.
3.
4.
5.
6.
7.
8.
9.
10.
11.
Battery
Engine Coolant Reservoir
Engine Oil Dipstick
Automatic Transmission Dipstick (if equipped)
Air Cleaner
Oil Fill Cap
Brake Fluid Reservoir
Power Steering Reservoir
Windshield Washer Reservoir
Engine Fans
Clutch
Fluid Reservoir (if equipped)
Page 254 of 388
Downloaded from www.Manualslib.com manuals search engine To get the right reading, the fluid should be at normal
operating temperature, which
is 180°F to 200°F
(82°C to 93°C).
To
check transmission fluid hot: Get the vehicle
warmed up by driving about
15 miles (24 km) when
outside temperatures are above
50°F (10°C).
If it's colder than
50°F (10°C) drive the vehicle in
DRIVE (D) until the engine temperature gage moves
and then remains steady for ten minutes. Then follow
the hot check procedures.
To check transmission fluid cold: A cold check is
made after the vehicle has been sitting for eight hours or
more with
the engine off and is used only as a reference.
Let the engine run at idle for five minutes
if outside
temperatures are
50°F (10°C) or more. If it's colder
than
50°F (lO"C), you may have to idle the engine
longer. Should the fluid level be low during
a cold
check,
you must perform a hot check before adding
fluid. This will give you a more accurate reading
of the
fluid level.
To check the fluid hot or cold:
Park your vehicle on a level place. Keep the engine
running.
With the parking brake applied, place the shift lever
in PARK (P).
With your foot on the brake pedal, move the shift
lever through each gear range, pausing for about
three seconds
in each range. Then, position the shift
lever
in PARK (P).
Let the engine run at idle for three minutes or more.
Then, without shutting off the engine, follow these steps:
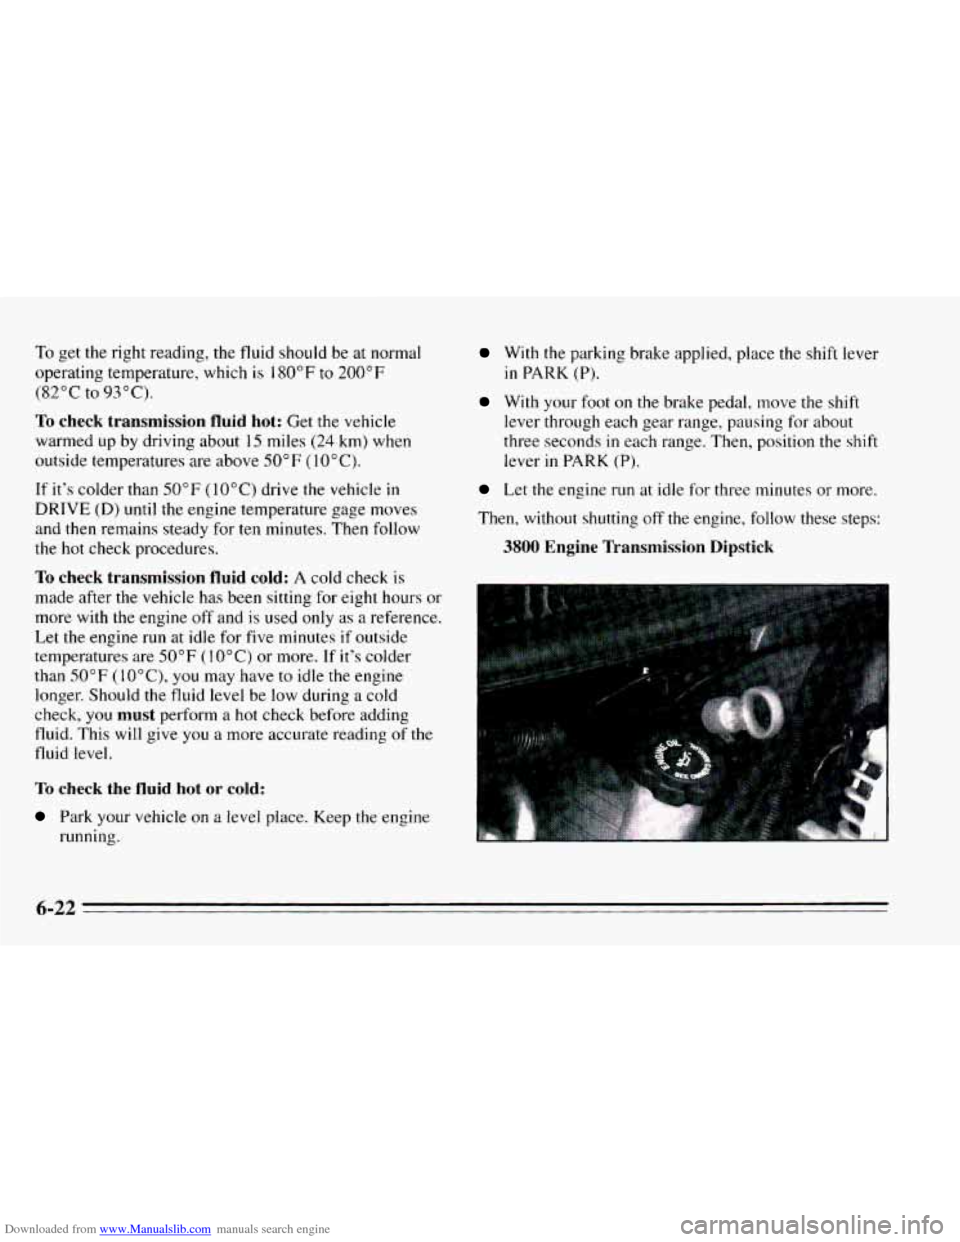
3800 Engine Transmission Dipstick
6-22
Page 266 of 388
Downloaded from www.Manualslib.com manuals search engine NOTICE:
When using concentrated washer fluid,
follow the manufacturer’s instructions for
adding water.
Don’t mix water with ready-to-use washer
fluid. Water can cause the solution to freeze
and damage your washer fluid tank and
other parts
of the washer system. Also,
water doesn’t clean
as well as washer fluid.
0 Fill your washer fluid tank only 314 full
when it’s very cold. This allows for
expansion, which could damage the tank if
it is completely full.
windshield washer. It can damage your
washer system and paint.
Don’t use radiator antifreeze in your
Brakes
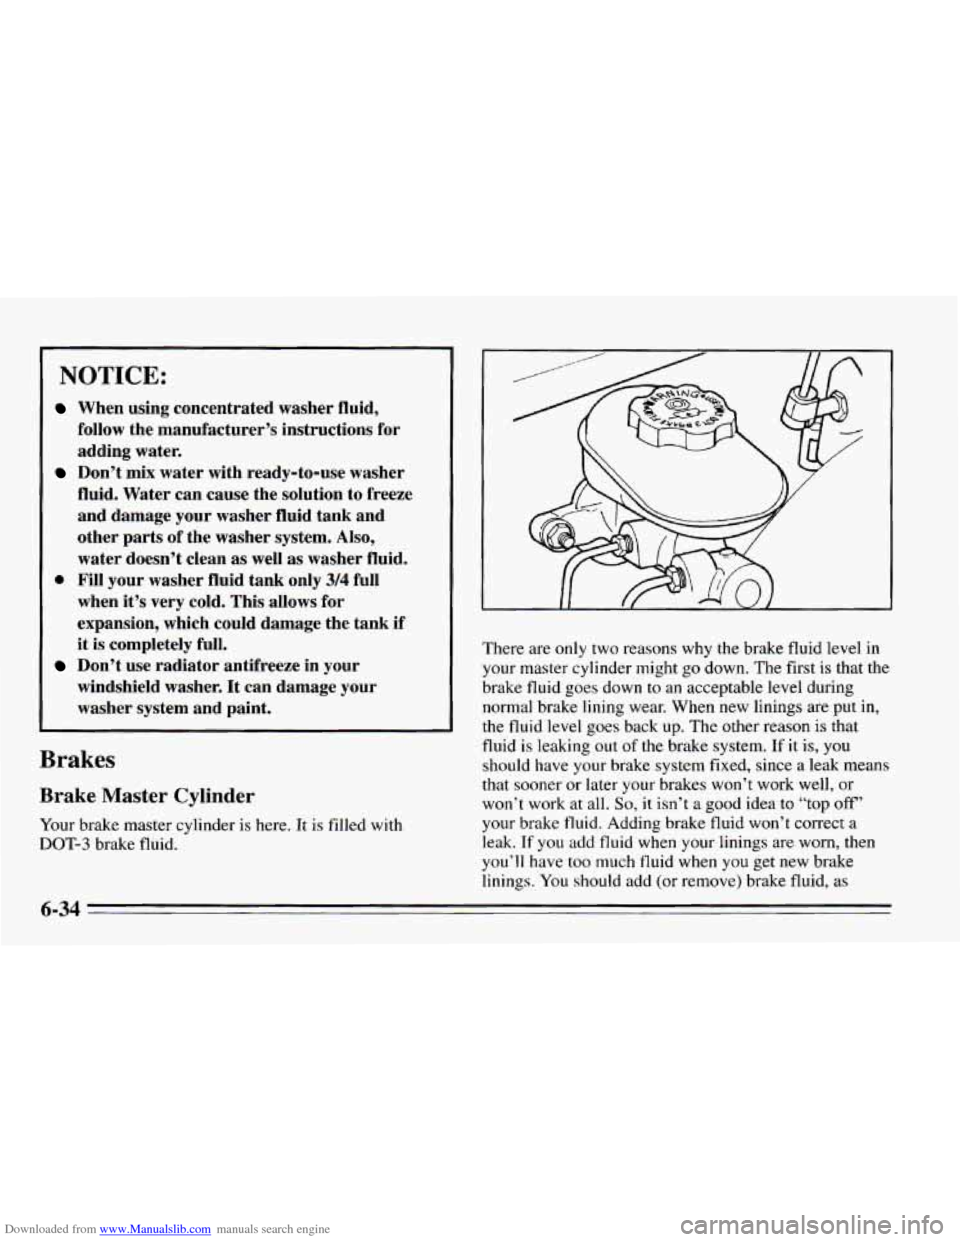
Brake Master Cylinder
Your brake master cylinder is here. It is filled with
DOT-3 brake fluid. There
are only two reasons why the brake
fluid level in
your master cylinder might go down. The first is that the
brake fluid goes down
to an acceptable level during
normal brake lining wear. When new linings are put in,
the fluid level goes back up. The other reason
is that
fluid is leaking out
of the brake system. If it is, you
should have your brake system fixed, since a leak means
that sooner or later your brakes won’t work well, or
won’t work at all.
So, it isn’t a good idea to “top off’
your brake fluid. Adding brake fluid won’t correct a
leak.
If you add fluid when your linings are worn, then
you’ll have too much fluid when you get new brake
linings. You should add (or remove) brake fluid,
as
6-34
Page 267 of 388
Downloaded from www.Manualslib.com manuals search engine necessary, only when work is done on the brake
hydraulic system.
Refer to the Maintenance Schedule to determine when
to
check your brake fluid. See “Periodic Maintenance
Inspections’’ in the Index.
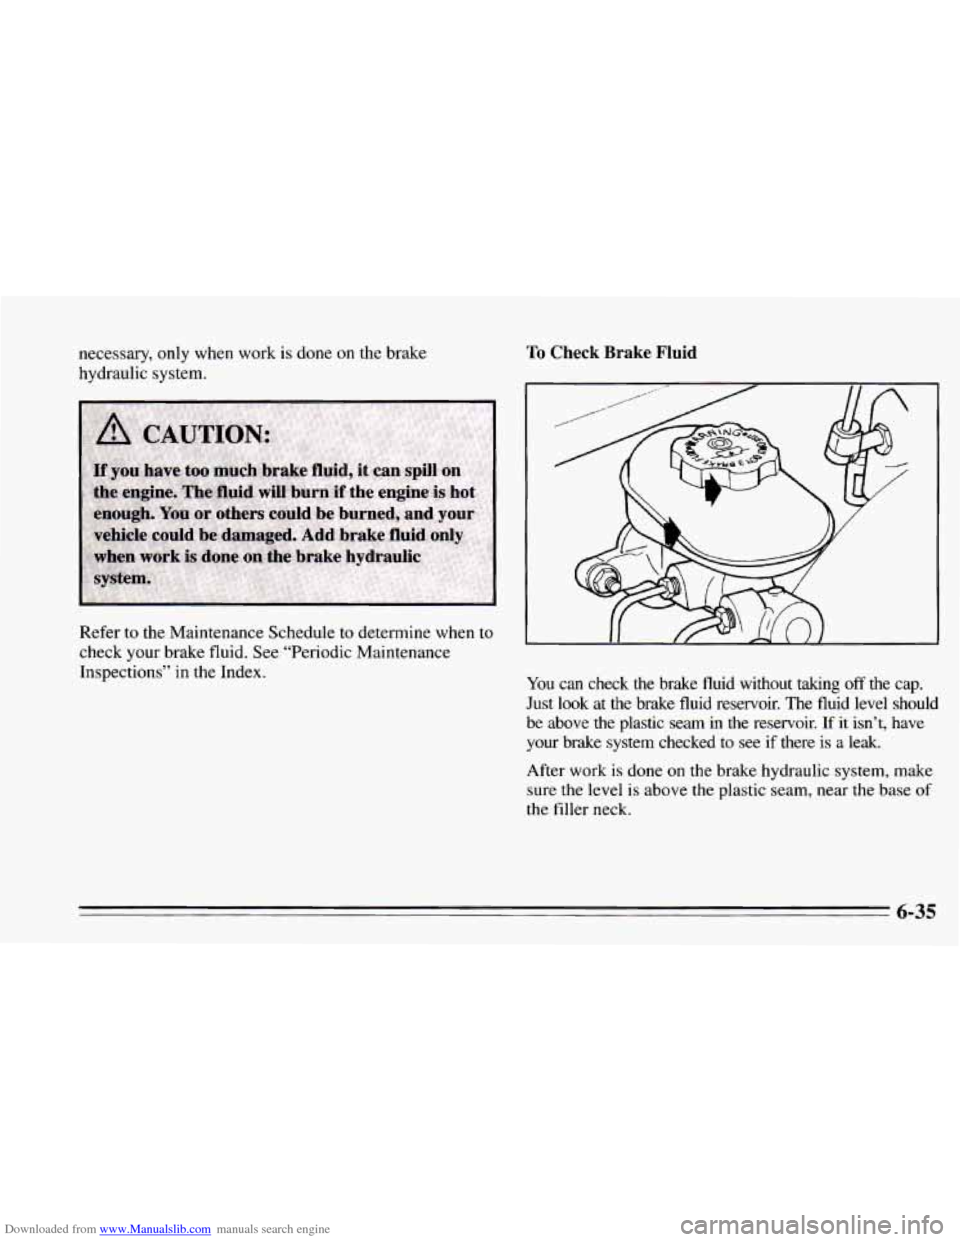
To Check Brake Fluid
You can check the brake fluid without taking off the cap.
Just look at the brake fluid reservoir.
The fluid level should
be above the plastic seam in the reservoir.
If it isn’t, have
your brake system checked to see if there is a leak.
After work
is done on the brake hydraulic system, make
sure the level
is above the plastic seam, near the base of
the filler neck.
6-35
Page 268 of 388
Downloaded from www.Manualslib.com manuals search engine What to Add
When you do need brake fluid, use only DOT-3 brake
fluid
-- such as Delco Supreme II@ (GM Part
No. 1052535). Use new brake fluid from a sealed
container only, and always clean the brake fluid
reservoir cap before removing it.
I NOTICE:
Don’t let someone put in the wrong kind of
fluid. For example, just a few drops of
mineral-based oil, such
as engine oil, in
your brake system can damage brake
system parts
so badly that they’ll have to be
replaced.
Brake fluid can damage paint, so be careful
not
to spill brake fluid on your vehicle. If
you do, wash it off immediately. See
“Appearance Care” in the Index.
Brake Wear
Unless you have the four-wheel disc brake option, your
Chevrolet has front disc brakes and rear
drum brakes.
Disc brake pads have built-in wear indicators that make
a
high-pitched warning sound when the brake pads are
worn and new pads are needed. The sound may come and
go or be heard all the time your vehicle is moving (except
when
you are pushing on the brake pedal firmly).
NOTICE:
Continuing to drive with worn-out brake pads
could result in costly brake repair.
6-36
Page 357 of 388
Downloaded from www.Manualslib.com manuals search engine Throttle Linkage Inspection
Inspect the throttle linkage for interference or binding,
and for damaged or missing parts. Replace parts as
needed. Accelerator and cruise control cables should
not
be lubricated.
Manual Transmission
Check the transmission fluid level; add if needed. See
“Manual Transmission”
in the Index. A fluid loss may
indicate a problem. Check the system and repair
if
needed.
Rear Axle Service
Check the gear lubricant level in the rear axle and add if
needed. See “Rear Axle” in the Index. A fluid loss may
indicate a problem. Check the axle and repair
it if
needed.
Brake System Inspection
Inspect the complete system. Inspect brake lines and
hoses for proper hookup, binding, leaks, cracks, chafing,
etc. Inspect disc brake pads for wear and rotors for
surface condition. Also inspect drum brake linings for
wear and cracks. Inspect other brake parts, including
drums, wheel cylinders, calipers, parking brake, etc. The
parking brake
is self-adjusting and no manual
adjustment
is required. You may need to have your
brakes inspected more often
if your driving habits or
conditions result in frequent braking.
7-49