ignition CHEVROLET CAMARO 1997 4.G Workshop Manual
[x] Cancel search | Manufacturer: CHEVROLET, Model Year: 1997, Model line: CAMARO, Model: CHEVROLET CAMARO 1997 4.GPages: 404, PDF Size: 20.96 MB
Page 160 of 404
Downloaded from www.Manualslib.com manuals search engine Theft-Deterrent Feature
THEFTLOCK" is designed to discourage theft of your
radio. It works by using
a secret code to disable all radio
functions whenever battery power is removed.
The THEFTLOCK feature for the radio may be used or
ignored. If ignored, the system plays normally and the
radio
is not protected by the feature. If THEFTLOCK is
activated, your radio will not operate if stolen.
When THEFTLOCK is activated, the radio will display
LOC to indicate a locked condition anytime battery
power is removed. If your battery loses power for any
reason,
you must unlock the radio with the secret code
before it will operate.
Activating the Theft-Deterrent Feature
The instructions which follow, explain how to enter your
secret code to activate the THEFTLOCK system. It is
recommended that
you read through all nine steps
before starting the procedure.
NOTE:
If you allow more than 15 seconds to elapse
between any steps, the radio automatically reverts to
time and
you must start the procedure over at Step 4.
1. Write down any three or four-digit number from
000 to 1999 and keep it in a safe place separate from
the vehicle.
2. Turn the ignition to ACCESSORY or RUN.
3. Turn the radio off.
4. Press the 1 and 4 buttons together. Hold them down
until --- shows on the display. Next you will use the
secret code number which you have written down.
5. Press MN and 000 will appear on the display.
6. Press MN again to make the last two digits agree
7. Press HR to make the first one or two digits agree
8. Press AM-FM after you have confirmed that the
with
your code.
with your code.
code matches the secret code
you have written down.
The display will show REP to let you know that
you
need to repeat Steps 5 through 7 to confirm your
secret code.
9. Press AM-FM and this time the display will show
SEC to
let you know that your radio is secure. The
indicator by the volume control will begin flashing
when the ignition is turned
off.
3-20
Page 161 of 404
Downloaded from www.Manualslib.com manuals search engine Unlocking the Theft-Deterrent Feature After a
Power
Loss
Enter your secret code as follows; pause no more than
15 seconds between steps:
1. LOC appears when the ignition is on.
2. Press MN and 000 will appear on the display.
3. Press MN again to make the last two digits agree
with your code.
4. Press HR to make the first one or two digits agree
with your code.
5. Press AM-FM after you have confirmed that the
code matches the secret code you have written down.
The display will show SEC, indicating the radio is
now operable and secure.
If you enter the wrong code eight times, INOP will
appear
on the display. You will have to wait an hour
with the ignition on before
you can try again. When you
try again,
you will only have three chances to enter the
correct code before INOP appears.
If
you lose or forget your code, contact your dealer.
Disabling the Theft-Deterrent Feature
Enter your secret code as follows; pause no more than
15 seconds between steps: 1.
2.
3.
4.
5.
6.
7.
Turn the ignition
to ACCESSORY or RUN.
Turn the radio off.
Press the 1 and
4 buttons together. Hold them down
until SEC shows
on the display.
Press MN and
000 will appear on the display.
Press MN again to make the last two digits agree
with your code.
Press
HR to make the first one or two digits agree
with your code.
Press AM-FM after you have confirmed that the
code matches the secret code you have written down.
The display will show
---, indicating that the radio is
no longer secured.
If the code entered is incorrect, SEC will appear on the
display. The radio will remain secured until the correct
code
is entered.
When battery power is removed and later applied to a
secured radio, the radio won’t turn on and
LOC will
appear on
the display.
To unlock a secured radio, see “Unlocking the
Theft-Deterrent Feature After a Power
Loss” earlier in
this section.
3-21
Page 189 of 404
Downloaded from www.Manualslib.com manuals search engine If you drive regularly in steep country, or if you’re
planning to visit there, here are some tips that can
make
your trips safer and more enjoyable.
Keep your vehicle in good shape. Check all fluid
levels and also the brakes, tires, cooling system
and transmission. These parts can work hard on
mountain roads.
0 Know how to go down hills. The most important
thing to know
is this: let your engine do some of the
slowing down. Shift
to a lower gear when you go
down a steep or long hill.
If you don’t shift down, your brakes could get
so hot that they wouldn’t work well. You would
then have poor braking or even none going
down a hill. You could crash. Shift down to let
your engine assist your brakes on a steep
downhill slope. Coasting downhill in
NEUTRAL (N) or
with the
ignition
off is dangerous. Your brakes will have to
do all the work of slowing down. They could get so
hot that they wouldn’t work well. You would then
have poor braking or even none going
down a hill.
You could crash. Always have your engine running
and your vehicle in gear when you go downhill.
0
0
0
0
Know how to go uphill. You may want to shift down
to a lower gear. The lower gears help cool your engine
and transmission, and you can climb the hill better.
Stay in your own lane when driving
on two-lane
roads in hills or mountains. Don’t swing wide or cut
across the center
of the road. Drive at speeds that let
you stay in your own lane.
As you go over
the top of a hill, be alert. There
could be something in your lane, like a stalled car
or an accident.
You may see highway signs on mountains that
warn of
special problems. Examples are long grades, passing or
no-passing zones, a falling rocks area or winding
roads. Be alert to these and take appropriate action.
4-25
Page 208 of 404
Downloaded from www.Manualslib.com manuals search engine NOTICE:
Ignoring these steps could result in costly damage
to your vehicle that wouldn’t be covered by
your warranty.
Trying to start your Chevrolet by pushing
or
pulling it could damage your vehicle, even if you
have a manual transmission. And if you have an
automatic transmission,
it won’t start that way.
1. Check the other vehicle. It must have a 12-volt
battery with a negative ground system.
NOTICE:
If the other system isn’t a 12-volt system with a
negative ground, both vehicles can be damaged.
2.
3.
Get the vehicles close enough so the jumper cables
can reach, but be sure the vehicles aren’t touching
each
other. If they are, it could cause a ground
connection you don’t want.
You wouldn’t be able to
start
your Chevrolet, and the bad grounding could
damage the electrical systems.
Turn off the ignition
on both vehicles. Turn off all
lights that aren’t needed, and radios. This will avoid
sparks and help save both batteries. And it could
save your radio!
I NOTICE:
If you leave your radio on, it could be badly
damaged. The repairs wouldn’t be covered by
your warranty.
4. Open the hoods and locate the batteries.
Find
the positive (+) and negative (-) terminals on
each battery.
5-4
Page 213 of 404
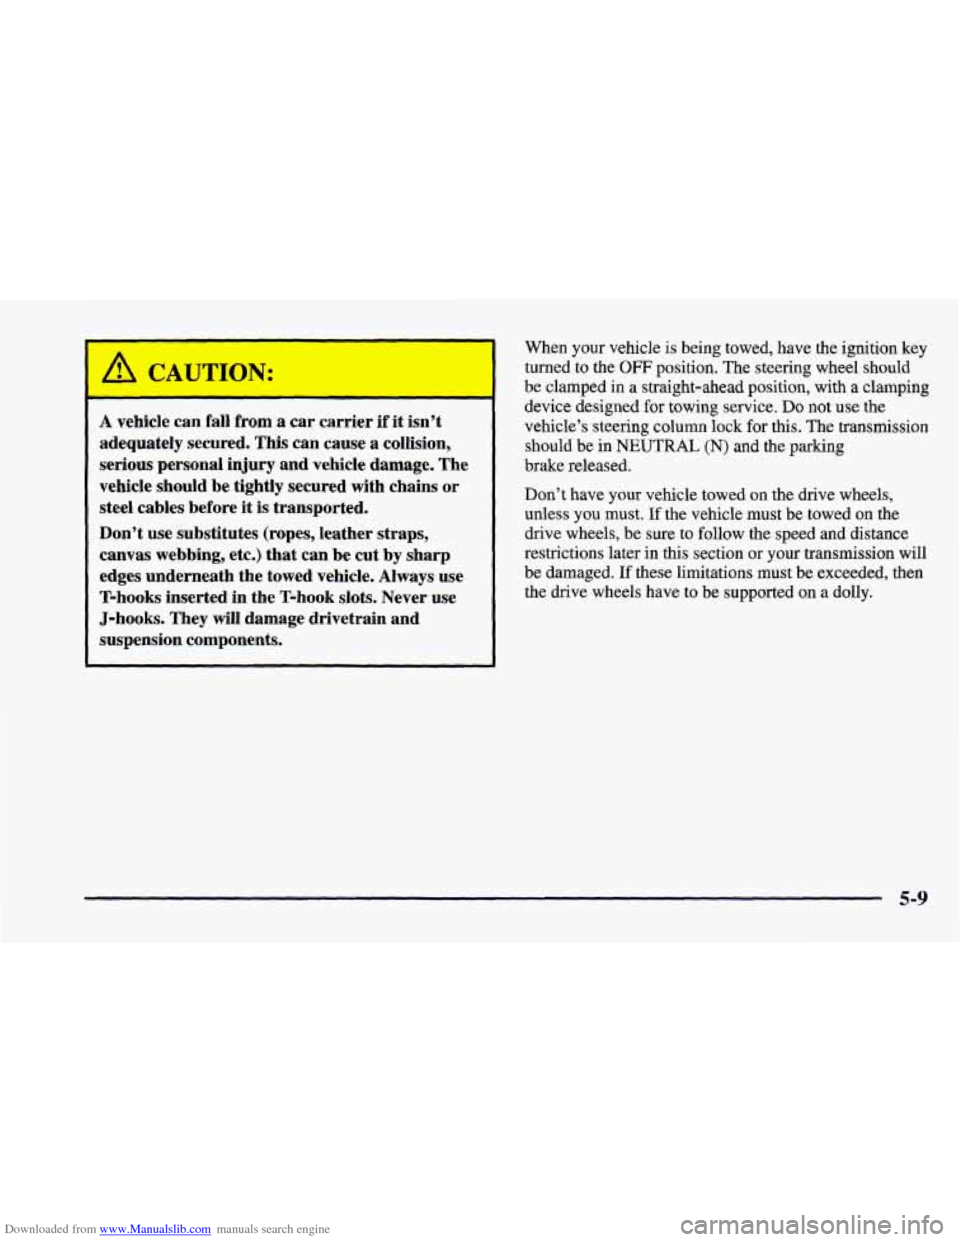
Downloaded from www.Manualslib.com manuals search engine A CAUTION:
A vehicle can fall from a car carrier if it isn’t
adequately secured. This can cause a collision,
serious personal injury and vehicle damage. The
vehicle should
be tightly secured with chains or
steel cables before it is transported.
Don’t use substitutes (ropes, leather straps,
canvas webbing, etc.) that can
be cut by sharp
edges underneath the towed vehicle. Always use
T-hooks inserted in the T-hook slots. Never use
J-hooks. They
will damage drivetrain and
suspension components.
When your vehicle is being towed, have the ignition key
turned to the OFF position.
The steering wheel should
be clamped in a straight-ahead position, with
a clamping
device designed for towing service.
Do not use the
vehicle’s steering column lock for this. The transmission
should be
in NEUTRAL (N) and the parking
brake released.
Don’t have your vehicle towed
on the drive wheels,
unless you must.
If the vehicle must be towed on the
drive wheels, be sure to follow the speed and distance
restrictions later in this section or your transmission will
be damaged.
If these limitations must be exceeded, then
the drive wheels have to be supported on
a dolly.
5-9
Page 319 of 404
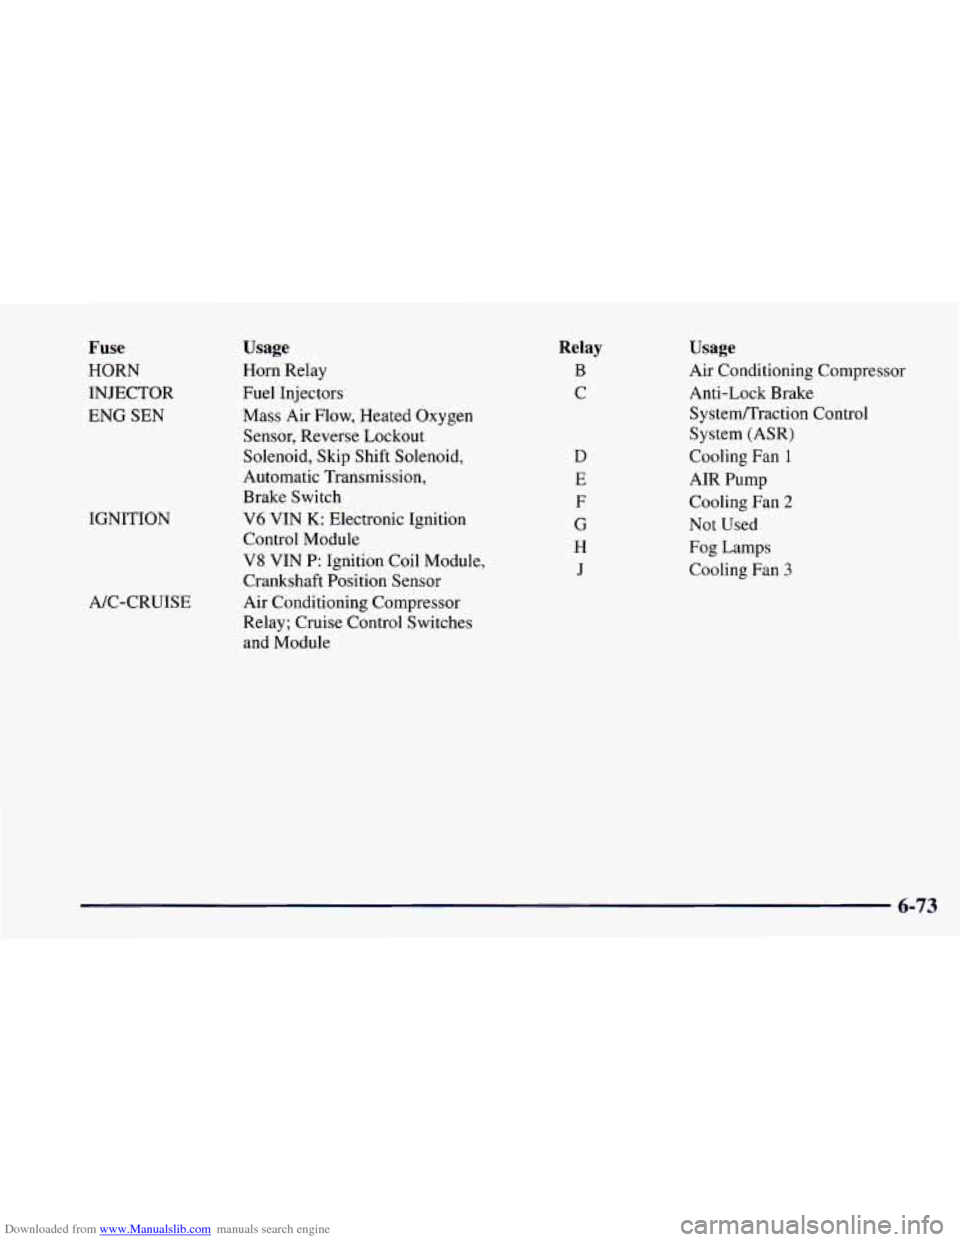
Downloaded from www.Manualslib.com manuals search engine Fuse
HORN
INJECTOR
ENG SEN IGNITION
A/C-CRUISE
Usage
Horn Relay
Fuel Injectors
Mass Air Flow, Heated Oxygen
Sensor, Reverse Lockout
Solenoid, Skip Shift Solenoid,
Automatic Transmission,
Brake Switch
V6 VIN K: Electronic Ignition
Control Module
V8 VIN P: Ignition Coil Module,
Crankshaft Position Sensor
Air Conditioning Compressor
Relay; Cruise Control Switches
and Module
Relay
B
C
D
E
F
G
H
J
Usage
Air Conditioning Compressor
Anti-Lock Brake
Systeflraction Control
System (ASR)
Cooling Fan
1
AIR Pump
Cooling Fan
2
Not Used
Fog Lamps
Cooling Fan
3
6-73
Page 370 of 404
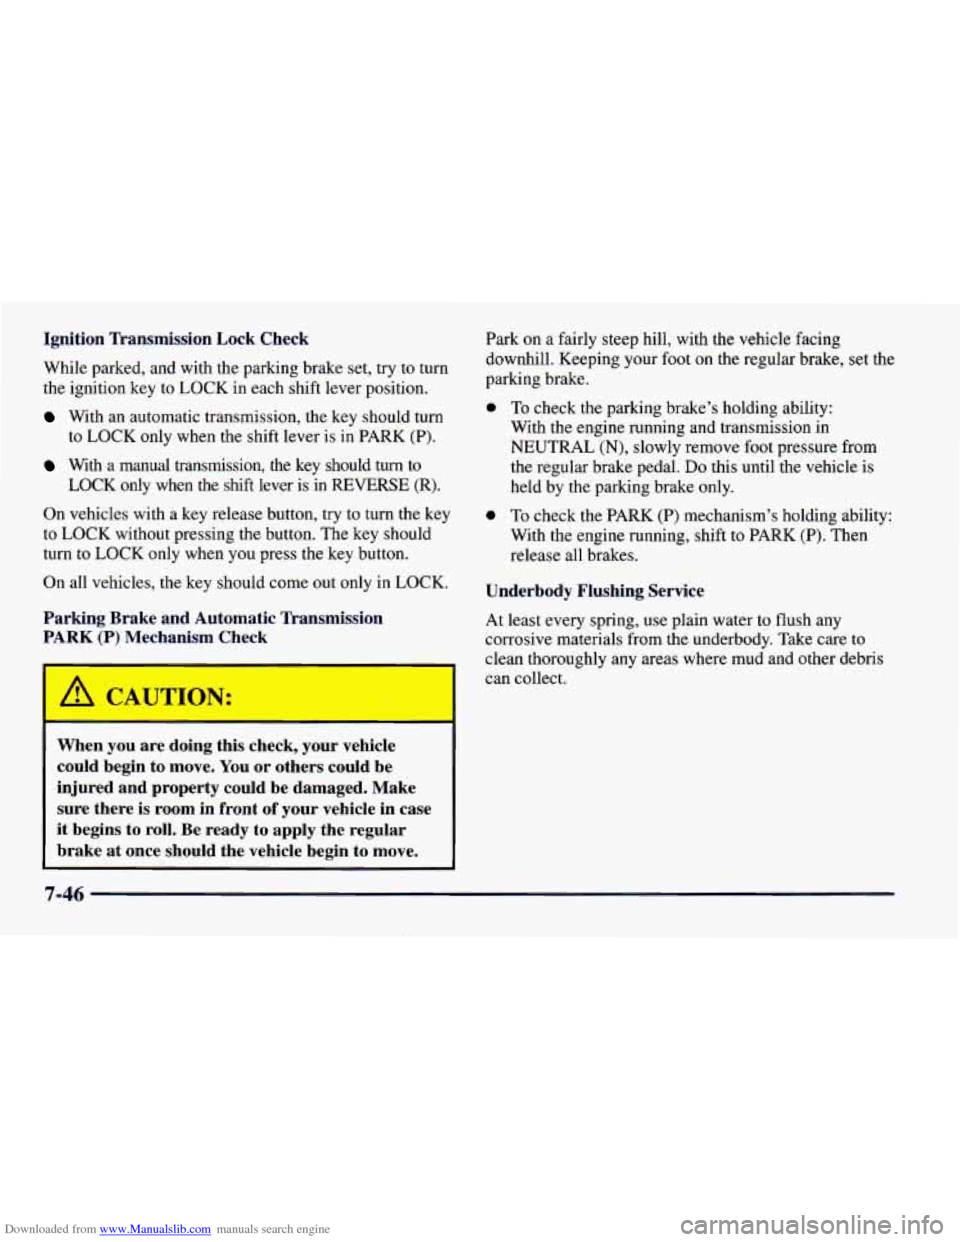
Downloaded from www.Manualslib.com manuals search engine Ignition Transmission Lock Check
While parked, and with the parking brake set, try to turn
the ignition key to LOCK in each shift lever position.
With an automatic transmission, the key should turn
to LOCK only when the shift lever is in PARK (P).
LOCK only when the
shift lever is in REVERSE (R).
With a manual transmission, the key should turn to
On vehicles with a key release button, try to turn the key
to LOCK without pressing the button. The key should
turn
to LOCK only when you press the key button.
On all vehicles, the key should come
out only in LOCK.
Parking Brake and Automatic Transmission
PARK (P) MecL--'ym Ck--k
When you are doing this check, your vehicle
could begin to move. You or others could be
injured and property could be damaged. Make
sure there is room in front of your vehicle in case
it begins to roll. Be ready to apply the regular
brake
at once should the vehicle begin to move.
Park on a fairly steep hill, with the vehicle facing
downhill. Keeping your foot on the regular brake, set the
parking brake.
0 To check the parking brake's holding ability:
With
the engine running and transmission in
NEUTRAL (N), slowly remove foot pressure from
the regular brake pedal.
Do this until the vehicle is
held by the parking brake only.
0 To check the PARK (P) mechanism's holding ability:
With the engine running, shift to PARK (P). Then
release all brakes.
Underbody Flushing Service
At least every spring, use plain water to flush any
corrosive materials from the underbody. Take care to
clean thoroughly any areas where mud and other debris
can collect.
7-46
Page 395 of 404
Downloaded from www.Manualslib.com manuals search engine Gages Engine Coolant Temperature
.................... 2-83
Engine Oil Pressure
........................... 2-87
Fuel
....................................... 2-89
GAWR
....................................... 4-31
Gear Positions. Automatic Transmission
............. 2-29
Gear Positions. Manual Transmission
............... 2-32
GloveBox
.................................... 2-58
Gross Axle Weight Rating
........................ 4-3 1
Gross Vehicle Weight Rating ...................... 4-31
Guide
en FranGais 11 .. .................................
GVWR ........................................ 4-31
Halogen Bulbs
................................ 6-40
Hatch
........................................ 2-11
Hatch Release
.................................. 2- 12
Hatch Release. Remote
.......................... 2-12
Hazard Warning Flashers .......................... 5-2
Headlamps
.................................... 2-52
Aiming
..................................... 6-40
Bulb Replacement
............................ 6-40
HighLow Beamchanger
...................... 2-46
OnReminder
................................ 2-52
Wiring
..................................... 6-69
Hearing Impaired. Customer Assistance .............. 8-4
Heating
........................................ 3-4
High-Beam Headlamps
.......................... 2-46
Highway Hypnosis
.............................. 4-24
Hill and Mountain Roads
......................... 4-24
Hitches, Trailer
................................. 4-36
Hood Checking Things Under
......................... 6-8
Release ...................................... 6-9 Horn
......................................... 2-44
Hydraulic Clutch
............................... 6-26
Hydraulic Clutch System Check
................... 7-44
Hydroplaning
.................................. 4-20
Ignition Positions
.............................. 2-24
Inflation. Tire
.................................. 6-51
Inside Daymight Rearview Mirror
................. 2-56
Inspections
.................................... 7-47
Brakesystem
................................ 7-48
CalipedKnuckle Maintenance
................... 7-48
Exhaust Systems
............................. 7-47
Radiator and Heater Hose
...................... 7-47
RearAxle
................................... 7-47
Steering
.................................... 7-47
Suspension
.................................. 7-47
Throttle Linkage
.............................. 7-47
Instrument Panel
............................... 2-74
Brightness Control
............................ 2-54
Cluster
..................................... 2-76
Interior Lamps
................................. 2-55
Cleaning
.................................... 6-62
.................................... J ack. Tire
5-31
Jump Starting
................................... 5-3
Key Lock Cylinders Service ..................... 7-44
Key Release Button
............................. 2-25
Keys
.......................................... 2-2