battery CHEVROLET CAMARO 1997 4.G Owners Manual
[x] Cancel search | Manufacturer: CHEVROLET, Model Year: 1997, Model line: CAMARO, Model: CHEVROLET CAMARO 1997 4.GPages: 404, PDF Size: 20.96 MB
Page 10 of 404
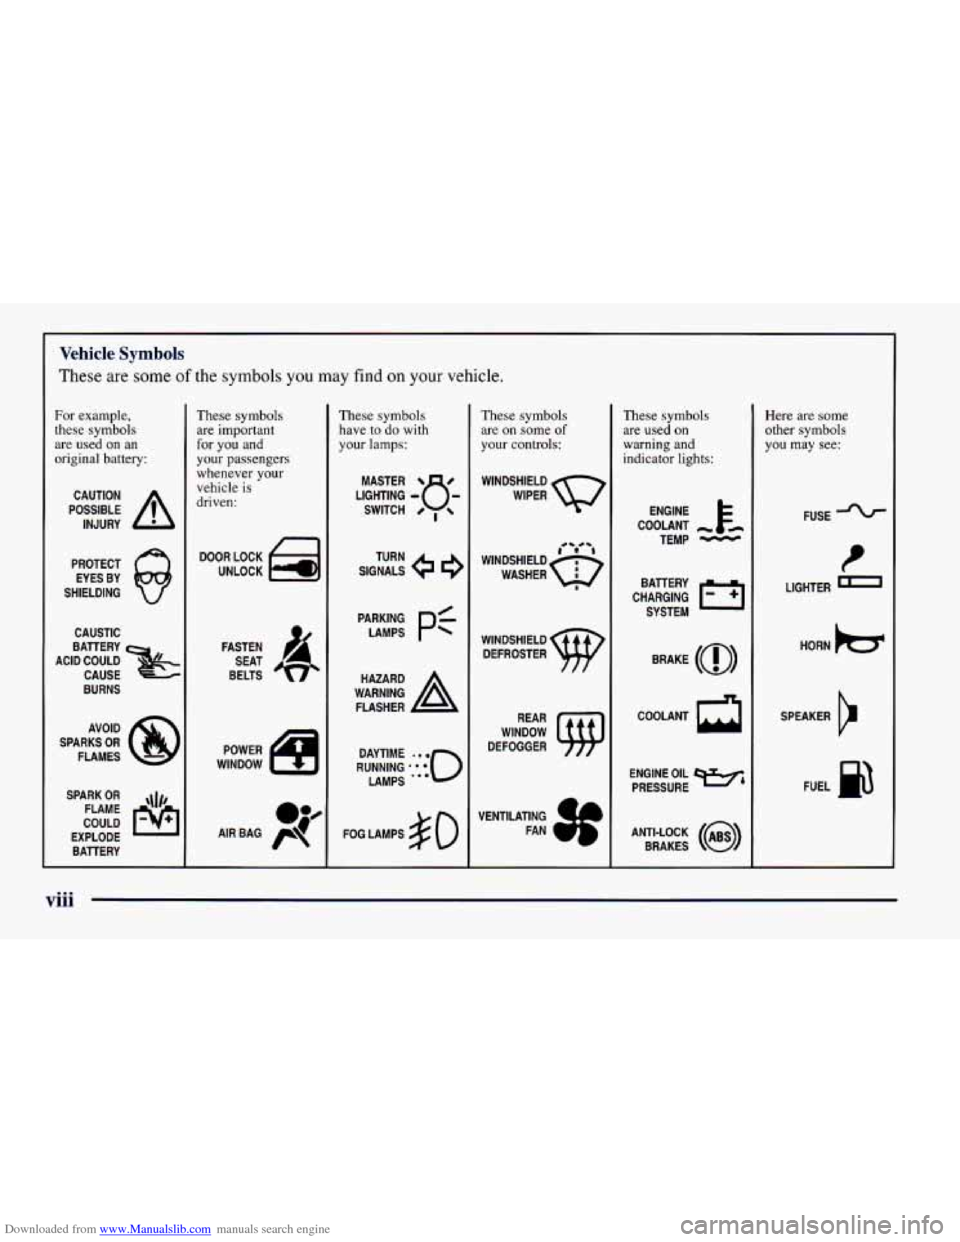
Downloaded from www.Manualslib.com manuals search engine Vehicle Symbols
These are some of the symbols you may find on your vehicle.
For example,
these symbols
are used on an
original battery:
POSSIBLE A
CAUTION
INJURY
PROTECT EYES BY
SHIELDING
CAUSTIC
BURNS AVOID
SPARKS
OR
FLAMES
SPARK
OR ,\I/,
COULD FLAME
EXPLODE BAllERY
These symbols
are important
for you and
your passengers
whenever your
vehicle
is
driven:
DOOR LOCK
UNLOCK
FASTEN SEAT
BELTS
These symbols have to
do with
your
lamps:
SIGNALS e a
TURN
FOG LAMPS
$0
These symbols
are
on some of
your controls:
WINDSHIELD
WIPER
WINDSHIELD DEFROSTER
WINDOW
DEFOGGER
These symbols
are used
on
warning and
indicator lights:
ENGINE t
COOLANT
TEMP
-
CHARGING 1-1
BAllERY
SYSTEM
BRAKE
(@)
COOLANT a
ENGINE OIL w,
PRESSURE
ANTI-LOCK
(a)
BRAKES
Here are some other symbols
you may
see:
FUSE
t
LIGHTER m
HORN k3
SPEAKER
Er
FUEL B
...
Page 35 of 404
Downloaded from www.Manualslib.com manuals search engine 0 Your vehicle is equipped with a crash sensing and
diagnostic module, which records information
about the air bag system. The module records
information about the readiness of the system, when
the sensors are activated and driver’s safety belt
usage at deployment.
0 Let only qualified technicians work on your air bag
system. Improper service can mean that your
air bag system won’t work properly. See your
dealer for service.
Servicing Your Air Bag-Equipped
Chevrolet
Air bags affect how your Chevrolet should be serviced.
There are parts of the air bag system in several places
around your vehicle.
You don’t want the system to
inflate while someone is working on your vehicle.
Your Chevrolet dealer and the Camaro Service Manual
have information about servicing your vehicle and the
air bag system. To purchase a service manual, see
“Service and Owner Publications” in the Index.
NOTICE:
If you damage the covering for the driver’s or the
right front passenger’s
air bag, the bag may not
work properly. You may have to replace the
air
bag module in the steering wheel or both the air
bag module and the instrument panel for the
right front passenger’s
air bag. Do not open or
break the
air bag coverings. For up
to
10 minutes after the ignition key is
turned off and the battery is disconnected, an air
bag can still inflate during improper service. You
can be injured
if you are close to an air bag when
it inflates. Avoid wires wrapped with yellow tape
or yellow connectors. They are probably part of
the air bag system. Be sure to follow proper
service procedures, and make sure the person
performing work for you is qualified to do
so.
The air bag system does not need regular maintenance.
1-25
Page 58 of 404
Downloaded from www.Manualslib.com manuals search engine Operation Alarmanic Mode
The driver’s door will unlock automatically when
UNLOCK is pressed. If UNLOCK is pressed again
within five seconds, the passenger door will also unlock.
All doors will lock when LOCK is pressed.
The hatch will unlock when the button with the trunk
symbol is pressed twice within five seconds, as long as
the ignition is turned to the
OFF position. If the ignition
is on, the trunk button will only work if the transmission
is in PARK (P) for an automatic transmission, or if the
parking brake
is set on a manual transmission.
The system will turn on the interior lamps for about
40 seconds (or until the ignition switch is turned to the
RUN position), when you unlock
the doors or hatch.
The interior lamps will
go off when you lock the doors.
Operating the Remote Keyless Entry transmitter may
interact with the Vehicle and Content
Theft-DeterrenUAlarm System (if you have this option).
See “Vehicle and Content Theft-DeterrenVAlarm
System” in the Index. If
your vehicle is equipped with the Vehicle and Content
Theft-DeterrenVAlarm System, you will have a fourth
button
on your transmitter. This button is the panic
button. If you are involved in a panic situation, press
this button and your vehicle’s horn will sound and the
headlamps will flash. This will draw needed attention to
you and your vehicle. To turn this feature off, either
push the panic button again or turn the ignition
to the
RUN position. Note:
This feature will not work if your
ignition is on or if the transmitter is
30 feet (9 m) or
more away from your vehicle.
Wansmitter Range
The range of your Remote Keyless Entry system should
be about
3 feet (1 m) up to 30 feet (9 m). At times you
may notice a decrease in the range. This is normal for
the Remote Keyless Entry system. If the transmitter
does not work, or you have
to stand closer to your
vehicle for the transmitter to work:
You may have to replace the battery in your transmitter.
See the instructions for battery replacement.
0 You may be too far from your vehicle. Check your
distance. You may have
to stand closer to your
vehicle in rain or snow.
2-8
Page 59 of 404
Downloaded from www.Manualslib.com manuals search engine 0 Check the location. Other vehicles or objects may be
blocking the signal. Take a few steps to the right or left.
0 You may have to synchronize your transmitter to
the receiver in your vehicle. See the instructions
for synchronization.
You may have to match the transmitters to your
vehicle. See instructions.
If none of the above apply, see your Chevrolet dealer
or qualified technician for service.
Synchronization
Synchronization may be necessary due to the security
method used by the Remote Keyless Entry system. The
transmitter does not send the same signal twice to the
receiver. The receiver will not respond to a signal it has
been sent previously. This prevents anyone from recoding
and playing back the signal from the transmitter.
To
resynchronize the transmitter with the receiver:
0 While standing close to your vehicle, simultaneously
press and hold the LOCK and
UNLOCK buttons on
the transmitter for eight seconds. The door locks
should cycle and the parking lamps flash to confirm
synchronization. If this does not happen, you may
need to replace the battery in your transmitter
or
match the transmitter to your vehicle.
Transmitter Verification (If Equipped)
This feature provides feedback to the holder of the
Remote Keyless Entry transmitter that a command has
been received by the Remote Keyless Entry receiver.
The parking lamps will flash
on every lock and unlock
command and the horn will sound only if the
LOCK
button is pushed twice within five seconds. This allows
for silent operation of locking and unlocking, unless a
confirming horn chirp is desired. Other options may be
selected for this feature (see “Feature Customization” in
the Index).
Matching Transmitter(s) To Your Vehicle
Each remote keyless entry transmitter is coded to
prevent another transmitter from unlocking your vehicle.
If a transmitter is lost or stolen, a replacement can be
purchased through your dealer. Remember to bring any
remaining transmitters with you when you go to your
dealer. When the dealer matches the replacement
transmitter to your vehicle, any remaining transmitters
must also be matched. Once your dealer has coded the
new transmitter, the lost transmitter will not unlock your
vehicle. Each vehicle can have up to four transmitters
matched
to it.
2-9
Page 60 of 404
Downloaded from www.Manualslib.com manuals search engine Have each transmitter you intend to match ready for the
next steps.
To match transmitters to your vehicle:
1.
2.
3.
4.
5.
6.
7.
Turn the ignition to the RUN position, then to the
OFF position. This will disarm the Vehicle and
Content Theft-DeterrendAlarm System (if your
vehicle has this option).
Remove the RADIO fuse. This fuse is located in the
main fuse block, located on the left side
of your main
instrument panel. See “Fuses and Circuit Breakers”
in the Index.
Turn the ignition switch from the
OFF to the RUN
position three times quickly (within five seconds).
The vehicle will respond by locking the doors,
unlocking the driver’s doors and releasing the hatch.
Your transmitter is now ready
to match the vehicle.
Press and hold the LOCK and UNLOCK buttons
on
the first transmitter for 15 seconds. The vehicle will
respond as in step
3.
Repeat Step 4 for the remaining transmitters.
When you have finished matching all
of your
transmitters, replace the
RADIO fuse.
Check that all transmitters work by pressing
their buttons.
If the transmitters don’t work, or if you’d rather not match
the transmitters yourself, see your Chevrolet dealer.
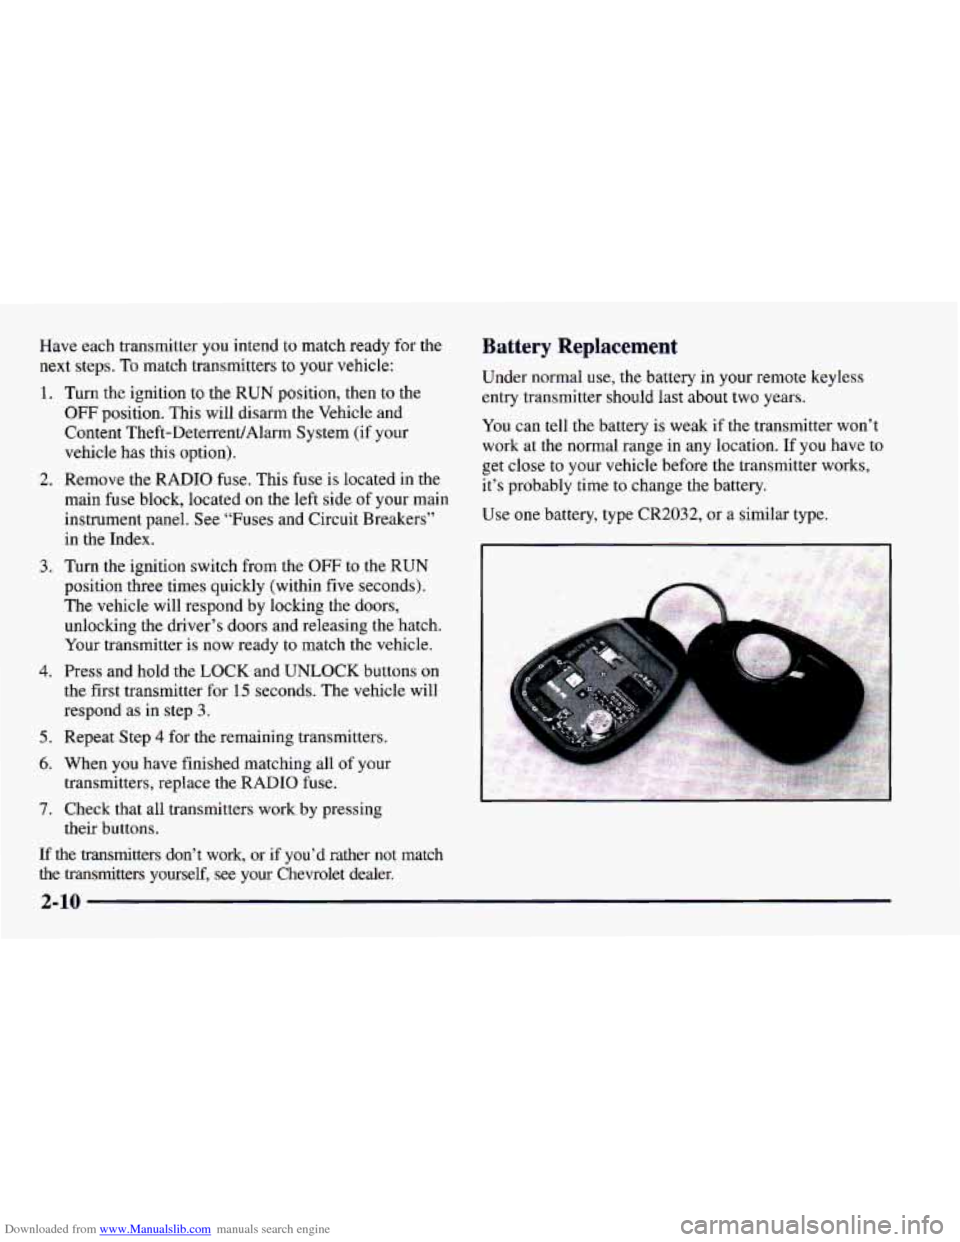
Battery Replacement
Under normal use, the battery in your remote keyless
entry transmitter should last about two years.
You can tell the battery is weak if the transmitter won’t
work at the normal range in any location. If
you have to
get close
to your vehicle before the transmitter works,
it’s probably time to change the battery.
Use one battery, type CR2032, or a similar type.
2-10
Page 61 of 404
Downloaded from www.Manualslib.com manuals search engine NOTICE:
When replacing the battery, use care not to touch
any
of the circuitry. Static from your body
transferred to these surfaces may damage
the transmitter.
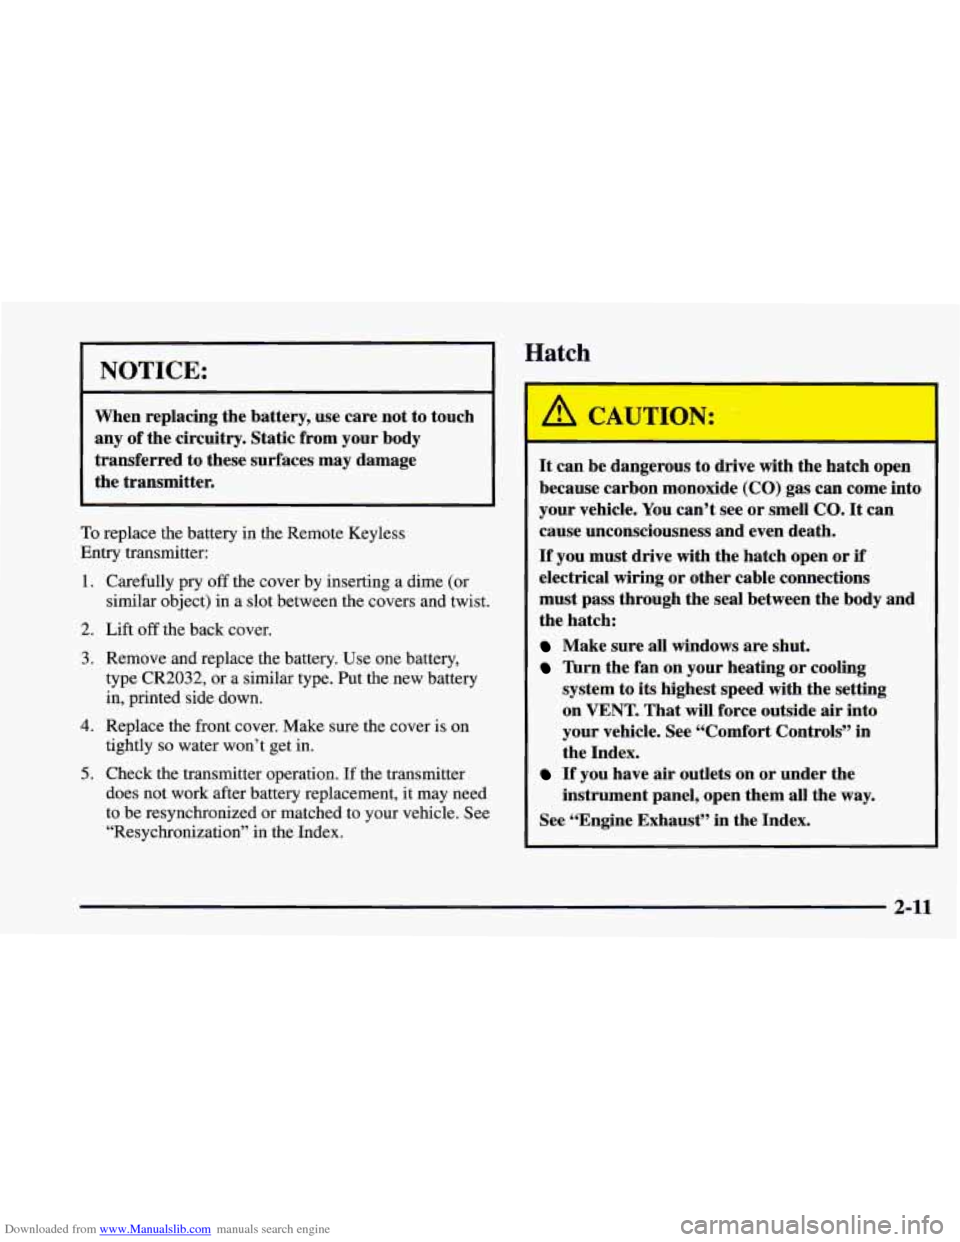
To replace the battery in the Remote Keyless
Entry transmitter:
1.
2.
3.
4.
5.
Carefully pry off the cover by inserting a dime (or
similar object) in a slot between the covers and twist.
Lift
off the back cover.
Remove and replace the battery. Use one battery,
type CR2032, or a similar type. Put the new battery
in, printed side down.
Replace the front cover. Make sure the cover is on
tightly
so water won’t get in.
Check the transmitter operation. If the transmitter
does not work after battery replacement, it may need
to be resynchronized
or matched to your vehicle. See
“Resychronization” in the Index.
N:
It can be dangerous to drive with the hatch open
because carbon monoxide (CO) gas can come into
your vehicle. You can’t see or smell CO.
It can
cause unconsciousness and even death.
If you must drive with the hatch open or if
electrical wiring or other cable connections
must pass through the seal between the body and
the hatch:
Make sure all windows are shut.
Thrn the fan on your heating or cooling
system to
its highest speed with the setting
on VENT. That will force outside
air into
your vehicle. See “Comfort Controls” in
the Index.
instrument panel, open them all the
way.
If you have air outlets on or under the
See “Engine Exhaust” in the Index.
2-11
Page 76 of 404
Downloaded from www.Manualslib.com manuals search engine Starting Your Engine
Automatic Transmission
Move your shift lever to PARK (P) or NEUTRAL (N).
Your engine won’t start in any other position -- that’s a
safety feature. To restart when you’re already moving,
use NEUTRAL (N) only.
NOTICE:
Don’t try to shift to PARK (P) if your Chevrolet
is moving.
If you do, you could damage the
transmission. Shift to PARK
(P) only when your
vehicle
is stopped.
Manual Transmission
The gear selector should be in NEUTRAL (N). Hold the
clutch pedal to the floor and start the engine. Your
vehicle won’t start if the clutch pedal is not
all the way
down
-- that’s a safety feature. 1.
Without pushing the accelerator pedal, turn your
ignition key
to START. When the engine starts, let
go of the key. The idle speed will go down as your
engine gets warm.
I NOTICE:
Holding your key in START for longer than
15 seconds at a time will cause your battery to be
drained much sooner. And the excessive heat can
damage your starter motor.
2. If it doesn’t start right away, hold your key in
START for about three to five seconds at a time until
your engine
starts. Wait about 15 seconds between
each try to help avoid draining your battery.
3. If your engine still won’t start (or starts but then stops),
it could be flooded with too much gasoline. Try
pushing your accelerator pedal all the way to the floor
and holding it there as
you hold the key in START for
about
three seconds. If the vehicle starts briefly but
then stops again, do the
same thing, but this time keep
the pedal down for five or six seconds. This clears the
extra gasoline
fkom the engine. After waiting about
15 seconds, repeat the normal starting procedure.
2-26
Page 104 of 404
Downloaded from www.Manualslib.com manuals search engine Interior Lamps
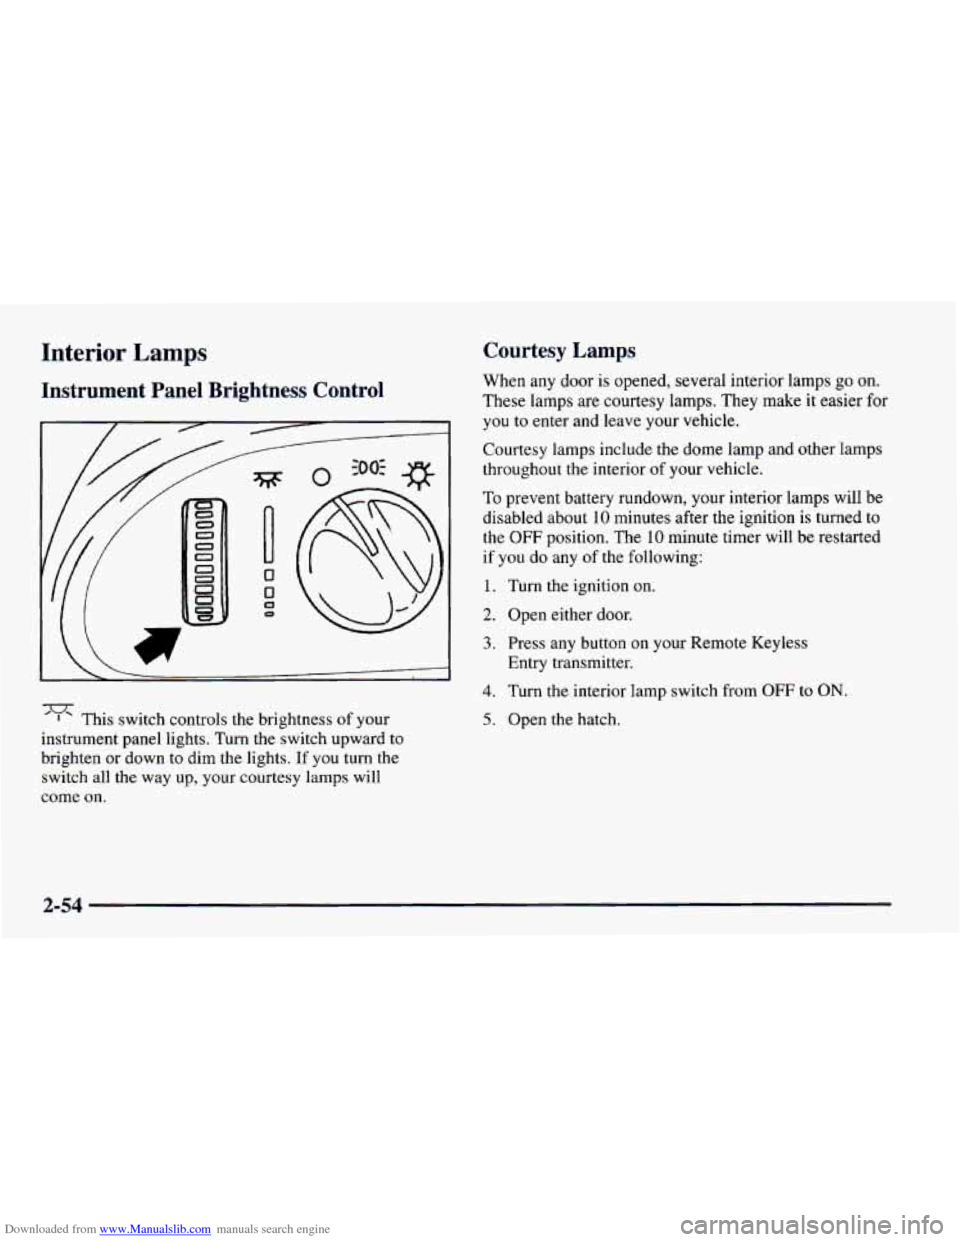
Instrument Panel Brightness Control
5
This switch controls the brightness of your
instrument panel lights. Turn
the switch upward to
brighten or down
to dim the lights. If you turn the
switch all the way
up, your courtesy lamps will
come on.
Courtesy Lamps
When any door is opened, several interior lamps go on.
These lamps are courtesy lamps. They make it easier for
you to enter and leave your vehicle.
Courtesy lamps include the dome lamp and other lamps
throughout the interior of your vehicle.
To prevent battery rundown, your interior lamps will be
disabled about
10 minutes after the ignition is turned to
the
OFF position. The 10 minute timer will be restarted
if you do any of the following:
1. Turn the ignition on.
2. Open either door.
3. Press any button on your Remote Keyless
Entry transmitter.
4. Turn the interior lamp switch from OFF to ON.
5. Open the hatch.
2-54
Page 111 of 404
Downloaded from www.Manualslib.com manuals search engine Sun Visors
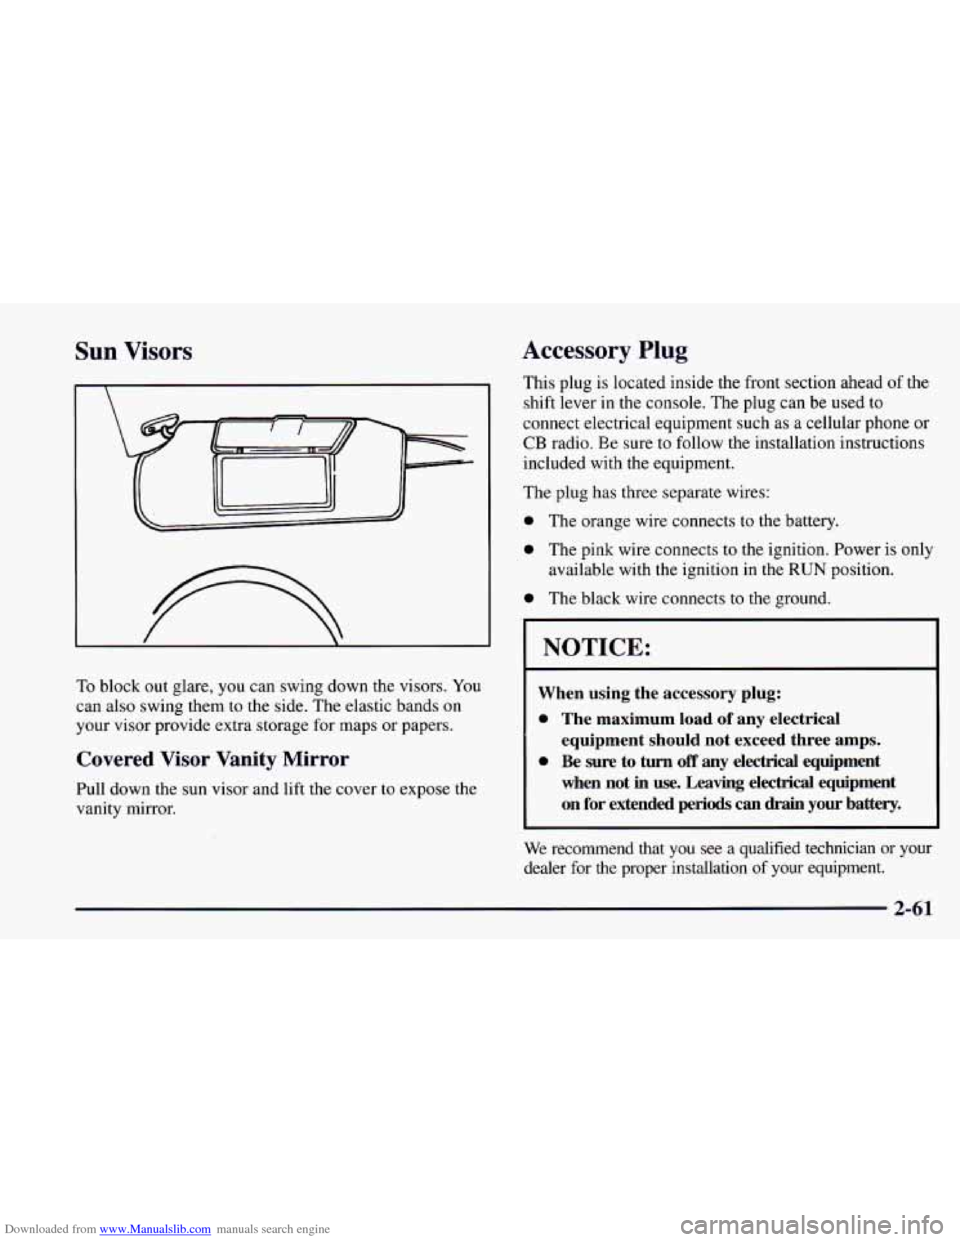
To block out glare, you can swing down the visors. You
can also swing them to the side. The elastic bands on
your visor provide extra storage for maps or papers.
Covered Visor Vanity Mirror
Pull down the sun visor and lift the cover to expose the
vanity mirror.
Accessory Plug
This plug is located inside the front section ahead of the
shift lever
in the console. The plug can be used to
connect electrical equipment such
as a cellular phone or
CB radio. Ee sure to follow the installation instructions
included with the equipment.
The plug has three separate wires:
0 The orange wire connects to the battery.
0 The pink wire connects to the ignition. Power is only
available with the ignition in the
RUN position.
0 The black wire connects to the ground.
I NOTICE:
When using the accessory plug:
0 The maximum load of any electrical
equipment should not exceed three amps.
0 Be sure to turn off any electrical equipment
when not
in use. Leaving electrical equipment
on for extended periods
can drain your battery.
We recommend that you see a qualified technician or your
dealer for the proper installation
of your equipment.
Page 123 of 404
Downloaded from www.Manualslib.com manuals search engine 6. Pull down on the latches and align the hooks with
the holes. Push forward on the larger part of the latch
until it clicks.
Do not force the latch. If it is hard to
lock, the top is not properly aligned.
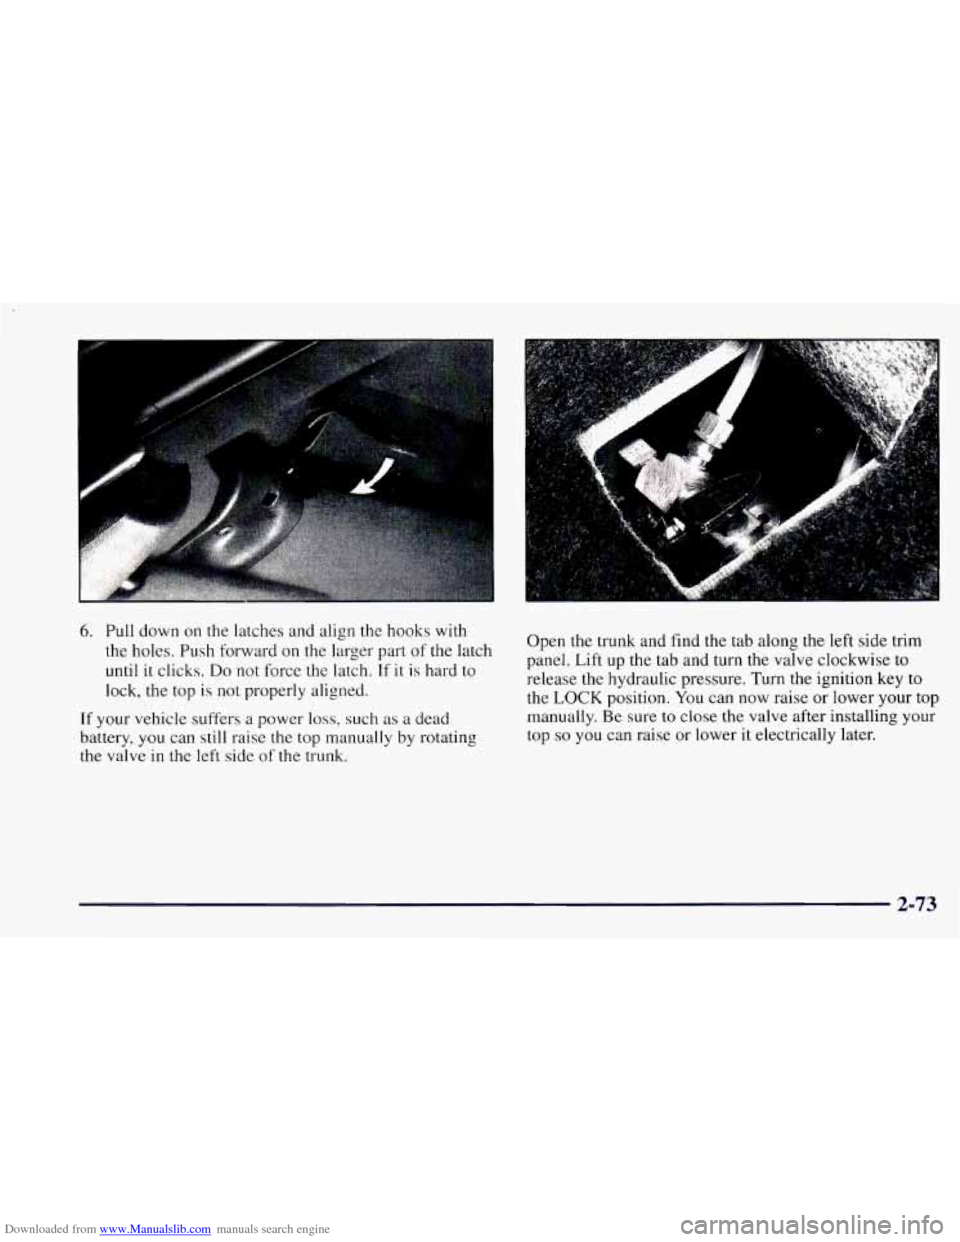
If your vehicle suffers a power loss, such as a dead
battery, you can still raise
the top manually by rotating
the valve in the left side of the trunk. Open the trunk and
find
the tab along the left side trim
panel. Lift up the tab and turn the valve clockwise to
release the hydraulic pressure. Turn the ignition key to
the LOCK position. You can now raise or lower your
top
manually. Be sure to close the valve after installing your
top
so you can raise or lower it electrically later.
2-73