key CHEVROLET CAMARO SS 2010 User Guide
[x] Cancel search | Manufacturer: CHEVROLET, Model Year: 2010, Model line: CAMARO SS, Model: CHEVROLET CAMARO SS 2010Pages: 372, PDF Size: 1.91 MB
Page 16 of 372

Vehicle Security
Vehicle theft is big business,
especially in some cities. This
vehicle has theft-deterrent features,
however, they do not make it
impossible to steal.
Anti-Theft Alarm System
This vehicle has an anti-theft
alarm system.
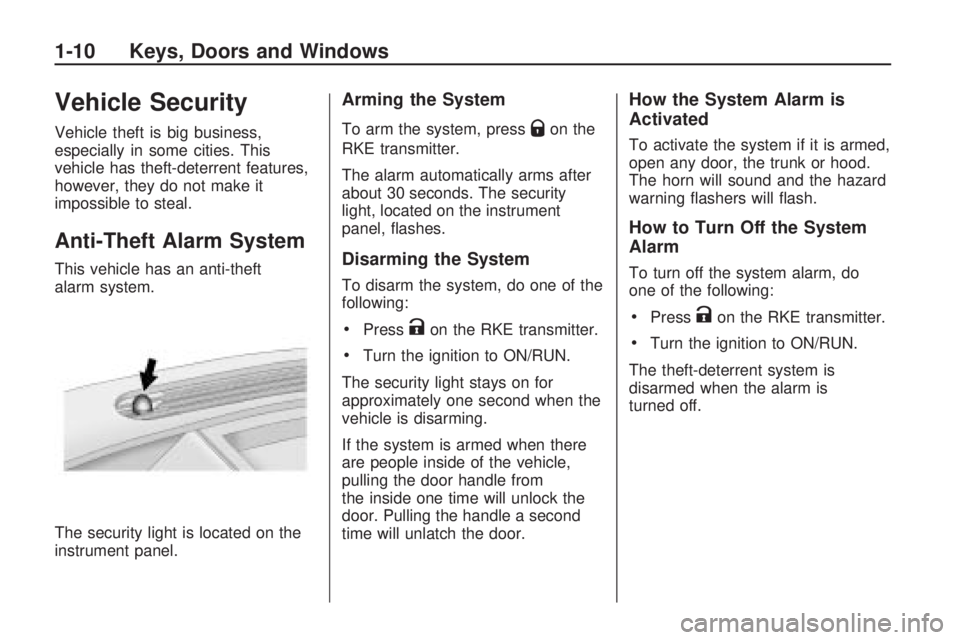
The security light is located on the
instrument panel.
Arming the System
To arm the system, pressQon the
RKE transmitter.
The alarm automatically arms after
about 30 seconds. The security
light, located on the instrument
panel, flashes.
Disarming the System
To disarm the system, do one of the
following:
•PressKon the RKE transmitter.
•Turn the ignition to ON/RUN.
The security light stays on for
approximately one second when the
vehicle is disarming.
If the system is armed when there
are people inside of the vehicle,
pulling the door handle from
the inside one time will unlock the
door. Pulling the handle a second
time will unlatch the door.
How the System Alarm is
Activated
To activate the system if it is armed,
open any door, the trunk or hood.
The horn will sound and the hazard
warning flashers will flash.
How to Turn Off the System
Alarm
To turn off the system alarm, do
one of the following:
•PressKon the RKE transmitter.
•Turn the ignition to ON/RUN.
The theft-deterrent system is
disarmed when the alarm is
turned off.
1-10 Keys, Doors and Windows
Page 17 of 372

How to Detect a Tamper
Condition
If the horn sounds and the turn
signal lamps flash three times
when
Kis pressed, an attempted
break-in has occurred while the
system was armed. The vehicle may
also display a message on the
DIC. SeeAnti-Theft Alarm System
Messages on page 4-35for
more information.
Immobilizer
SeeRadio Frequency Statement
(US, Can) on page 12-15for
information regarding Part 15
of the Federal Communications
Commission (FCC) Rules and
RSS-210/211 of Industry and
Science Canada.
Immobilizer Operation
This vehicle has a passive
theft-deterrent system.
The system does not have to be
manually armed or disarmed.The vehicle is automatically
immobilized when the key is
removed from the ignition.
The system is automatically
disarmed when the vehicle is started
with the correct key. The key uses
a transponder that matches an
immobilizer control unit in the
vehicle and automatically disarms
the system. Only the correct key
starts the vehicle. The vehicle may
not start if the key is damaged.
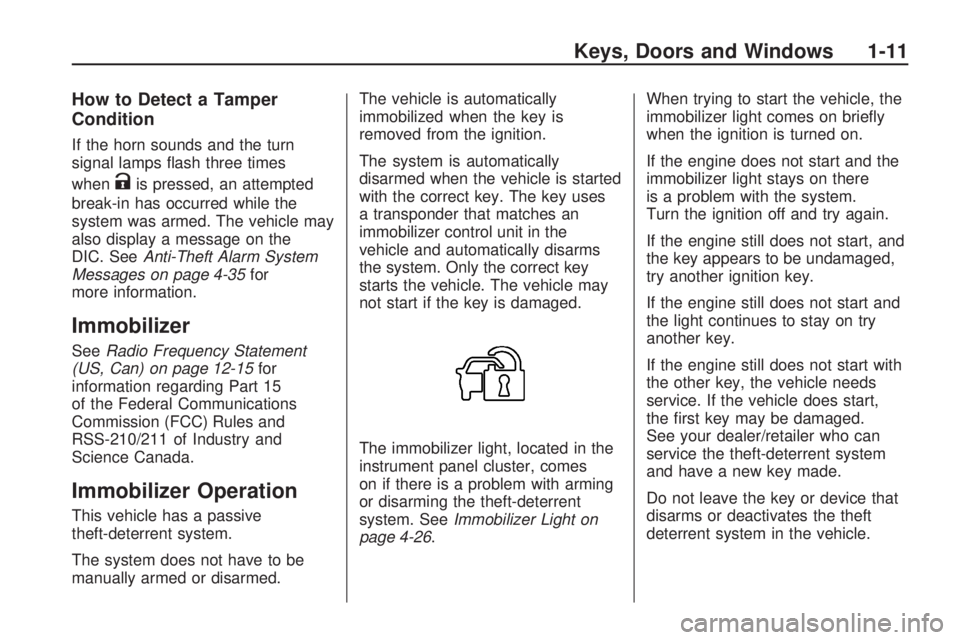
The immobilizer light, located in the
instrument panel cluster, comes
on if there is a problem with arming
or disarming the theft-deterrent
system. SeeImmobilizer Light on
page 4-26.When trying to start the vehicle, the
immobilizer light comes on briefly
when the ignition is turned on.
If the engine does not start and the
immobilizer light stays on there
is a problem with the system.
Turn the ignition off and try again.
If the engine still does not start, and
the key appears to be undamaged,
try another ignition key.
If the engine still does not start and
the light continues to stay on try
another key.
If the engine still does not start with
the other key, the vehicle needs
service. If the vehicle does start,
the first key may be damaged.
See your dealer/retailer who can
service the theft-deterrent system
and have a new key made.
Do not leave the key or device that
disarms or deactivates the theft
deterrent system in the vehicle.
Keys, Doors and Windows 1-11
Page 18 of 372

Exterior Mirrors
Convex Mirrors
{WARNING
A convex mirror can make things,
like other vehicles, look farther
away than they really are. If you
cut too sharply into the right lane,
you could hit a vehicle on the
right. Check the inside mirror or
glance over your shoulder before
changing lanes.
The passenger side mirror is convex
shaped. A convex mirror’s surface
is curved so more can be seen from
the driver seat.
Power Mirrors
Vehicles with outside power mirrors
have controls located on the
driver door armrest.
To adjust each mirror:
1. Press the switch to select the
driver or passenger side
mirror.
2. Press one of the four sides on
the
i(control pad) to adjust
the mirror.3. Adjust each outside mirror so
that a little of the vehicle and
the area behind it can be seen.
Heated Mirrors
For vehicles with heated mirrors:
<(Rear Window Defogger):
Press to heat the mirrors.
See “Rear Window Defogger”
underClimate Control Systems
on page 7-1for more information.
Automatic Dimming
Mirror
Vehicles with automatic dimming
outside mirrors will adjust for
the glare of headlamps behind you.
1-12 Keys, Doors and Windows
Page 19 of 372

Interior Mirrors
Manual Rearview Mirror
Adjust the inside rearview mirror for
a clear view of the area behind
your vehicle. To avoid glare of the
headlamps from behind, push
the tab forward for daytime and pull
it for nighttime use.
Vehicles with OnStar have additional
control buttons located at the
bottom of the mirror. See your
dealer/retailer for more information
on the system and how to
subscribe to OnStar. SeeOnStar
®
System on page 4-42for more
information about the services
OnStar provides.
Automatic Dimming
Rearview Mirror
Vehicles with an automatic dimming
inside rearview mirror reduces
the glare from the headlamps of the
vehicle behind you. The dimming
feature comes on and the indicator
light illuminates each time the
vehicle is started.
Vehicles with OnStar have three
additional control buttons located
at the bottom of the mirror. See your
dealer/retailer for more information
on the system and how to
subscribe to OnStar. SeeOnStar
®
System on page 4-42for more
information about the services
OnStar provides.
O(On/Off):Press to turn the
dimming feature and/or compass
display on or off.
Cleaning the Mirror
Do not spray glass cleaner directly
on the mirror. Use a soft towel
dampened with water.
Keys, Doors and Windows 1-13
Page 20 of 372

Windows
{WARNING
Leaving children, helpless adults,
or pets in a vehicle with the
windows closed is dangerous.
They can be overcome by the
extreme heat and suffer
permanent injuries or even death
from heat stroke. Never leave a
child, a helpless adult, or a pet
alone in a vehicle, especially with
the windows closed in warm or
hot weather.
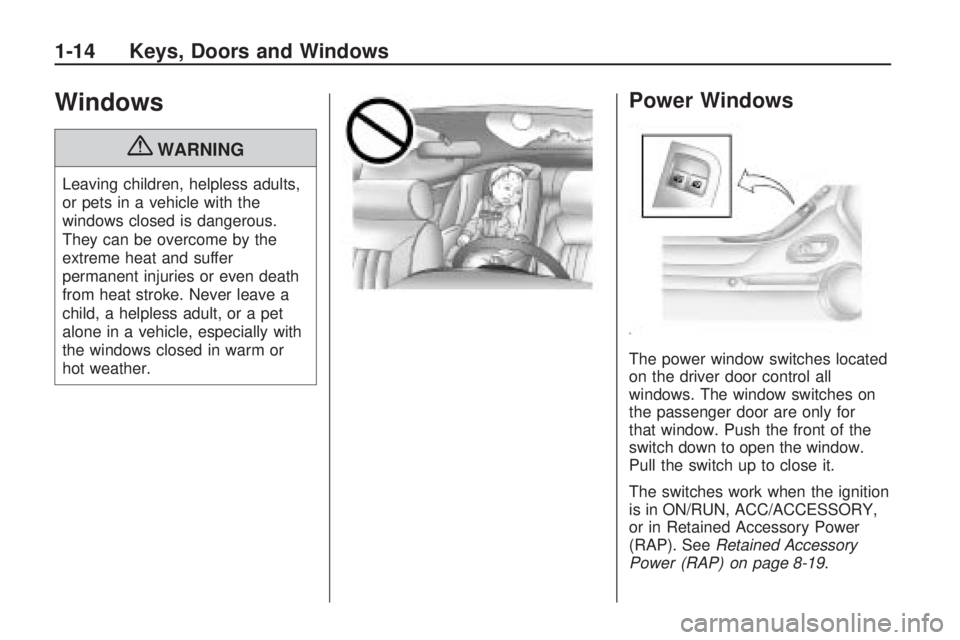
Power Windows
The power window switches located
on the driver door control all
windows. The window switches on
the passenger door are only for
that window. Push the front of the
switch down to open the window.
Pull the switch up to close it.
The switches work when the ignition
is in ON/RUN, ACC/ACCESSORY,
or in Retained Accessory Power
(RAP). SeeRetained Accessory
Power (RAP) on page 8-19.
1-14 Keys, Doors and Windows
Page 21 of 372

Window Indexing
This automatically lowers the
window a small amount when the
door is opened. When the door
is closed, the window will raise fully.
If the vehicle loses power or the
window freezes, this feature may not
work. From outside the vehicle,
close the door and push the window
inward so that the glass goes
under the molding.
If the “Open, Then Close Driver
Window” or “Open, Then Close
Passenger Window” messages are
displayed on the Driver Information
Center (DIC), follow the procedure
for Programming the Power
Windows later in this section.
See alsoDriver Information
Center (DIC) on page 4-27.
Express Window Operation
The front window switches have an
express-up or down feature that
lowers or raises the window without
holding the switch. Pull the switch
up or press it down all the way and
release it. Stop the window by
pressing or pulling the switch.
Express Window Anti-Pinch
Feature
When express-up is active, the
window will auto-reverse if there is
an obstruction or severe icing.
The window returns to normal
operation after the obstruction or
condition is removed.
{WARNING
If express override is activated,
the window will not reverse
automatically. You or others could
be injured and the window could
be damaged. Before you use
express override, make sure that
all people and obstructions are
clear of the window path.
Express Window Anti-Pinch
Override
The anti-pinch feature can be
overridden by holding the window
switch all the way down. The
window will lower for as long as the
switch is held. Once the switch is
released, the express mode is
re-activated. In this mode, the
window can still close on an object
in its path. Use care when using
the override mode.
Keys, Doors and Windows 1-15
Page 22 of 372

Programming the Power
Windows
If the battery on the vehicle has
been recharged, disconnected,
or is not working, you will need to
reprogram each front power window
for the express-up feature to work.
Before reprogramming, replace
or recharge the vehicle’s battery.
To program each front window,
follow these steps:
1. With the ignition in ACC/
ACCESSORY, ON/RUN,
or when Retained Accessory
Power (RAP) is active, close
all doors.
2. Press and hold the power
window switch until the window
is fully open.3. Pull the power window switch up
until the window is fully closed.
4. Continue holding the switch up
for approximately two seconds
after the window is completely
closed.
The window is now reprogrammed.
Repeat the process for the other
windows.
Sun Visors
Pull the sun visor toward you or
move it to the side to reduce glare.
Roof
Sunroof
On vehicles with a sunroof, the
switch is located on the overhead
console.
The sunroof only operates
when the ignition is in ON/RUN,
ACC/ACCESSORY, or if Retained
Accessory Power (RAP) is
active. SeeRetained Accessory
Power (RAP) on page 8-19.
1-16 Keys, Doors and Windows
Page 23 of 372

Express Sunroof Operation
The sunroof can be opened without
holding the switch down. Push the
switch in the open direction until the
second pause. The sunroof will
fully open.
To stop the sunroof from moving,
press either the open or close
sunroof switch.Press and release the back of the
switch to open the sunroof to
the vent position. Press it again
to express-open the sunroof.
To stop the sunroof from opening,
press the switch again.
A deflector automatically raises
when the sunroof is opened and
retracts while the sunroof closes.
If the sunshade is closed, it
opens automatically when the
sunroof opens past the vented
position.
Notice:Forcing the sunshade
forward of the sliding glass panel
may cause damage and the
sunroof may not operate properly.
Always close the glass panel
before closing the sunshade.To close the sunroof, press the front
of the switch and hold it until the
sunroof is closed. The sunroof
will stop if the switch is released.
Close the sunshade by hand.
The sunroof glass panel cannot be
opened or closed if the vehicle
has an electrical failure.
Keys, Doors and Windows 1-17
Page 24 of 372

✍NOTES
1-18 Keys, Doors and Windows
Page 44 of 372

The best way to protect the fetus is
to protect the mother. When a safety
belt is worn properly, it is more likely
that the fetus will not be hurt in a
crash. For pregnant women, as for
anyone, the key to making safety
belts effective is wearing them
properly.
Safety Belt Extender
If the vehicle’s safety belt will fasten
around you, you should use it.
But if a safety belt is not long
enough, your dealer/retailer will order
you an extender. When you go in to
order it, take the heaviest coat you
will wear, so the extender will be
long enough for you. To help avoid
personal injury, do not let someone
else use it, and use it only for the
seat it is made to fit. The extender
has been designed for adults.
Never use it for securing child seats.
To wear it, attach it to the regular
safety belt. For more information,
see the instruction sheet that comes
with the extender.
Safety System Check
Now and then, check that the safety
belt reminder light, safety belts,
buckles, latch plates, retractors and
anchorages are working properly.
Look for any other loose or damaged
safety belt system parts that might
keep a safety belt system from doing
its job. See your dealer/retailer to
have it repaired. Torn or frayed
safety belts may not protect you in
a crash. They can rip apart under
impact forces. If a belt is torn or
frayed, get a new one right away.
Make sure the safety belt reminder
light is working. SeeSafety Belt
Reminders on page 4-16for more
information.
Keep safety belts clean and dry.
SeeSafety Belt Care on page 2-20.
Safety Belt Care
Keep belts clean and dry.
{WARNING
Do not bleach or dye safety belts.
It may severely weaken them.
In a crash, they might not be able
to provide adequate protection.
Clean safety belts only with mild
soap and lukewarm water.
2-20 Seats and Restraints