service schedule CHEVROLET CAVALIER 1993 1.G Owners Manual
[x] Cancel search | Manufacturer: CHEVROLET, Model Year: 1993, Model line: CAVALIER, Model: CHEVROLET CAVALIER 1993 1.GPages: 308, PDF Size: 15.62 MB
Page 3 of 308
Downloaded from www.Manualslib.com manuals search engine I993 Owner’s Manual
0 Chevrolet Cavalier Table of Contents
Printed in USA
introduction How to Use this Manual . . . . . . . . . . . . 6
Part I Seats & Safety Belts , ‘I . . i, . . . . . .
Part 2 Features & Controls . . . . . . . . . . . . 47 =
Part 3
Part 4
Part 5
Part 6
Part 7
Part 8
Part 9
Comfort Controls & Audio Systems . . . I O!
Your Driving and the Road . . , . . . . . . . . 123 I
Problems on the Road. . . . . . . a . . . a
Service & Appearance Care . . . . . . . . . I95
Maintenance Schedule . . . . . . . . . . 259 r
Customer Assistance Information . . . . . 281 I
Includes “Reporting Safety Defects” on page 286
Index .................... 295
Service Station Information . . . . Last Page
10202145 B Second Printing .
Page 8 of 308
Downloaded from www.Manualslib.com manuals search engine How to Use this Manual
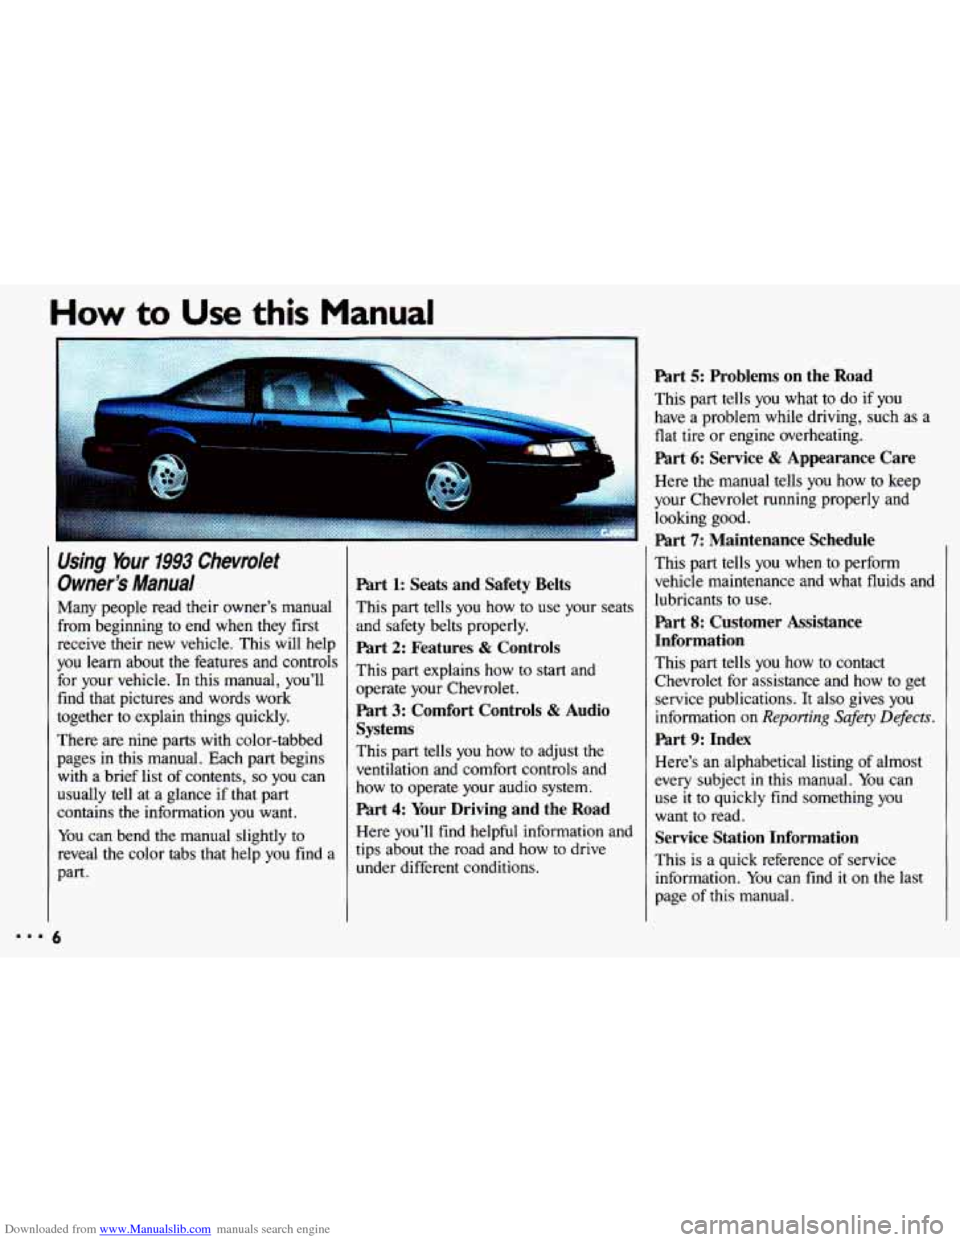
Using Your 1993 Chevrolet
Owner's
Manual
Many people read their owner's manual
from beginning to end when they first
receive their new vehicle. This will help
you learn about the features and controls
for your vehicle.
In this manual, you'll
find that pictures and words work
together to explain things quickly.
There are nine parts with color-tabbed
pages in this manual. Each part begins with a brief list of contents,
so you can
usually tell at a glance if that part
contains the information you want.
You can bend the manual slightly to
reveal the color tabs that help you find a
part.
5
Part 1: Seats and Safety Belts
This part tells you how to use your seats
and safety belts properly.
Part 2: Features & Controls
This part explains how to start and
operate your Chevrolet.
Part 3: Comfort Controls & Audio
Systems
This part tells you how to adjust the
ventilation and comfort controls and
how to operate your audio system.
Part 4: Your Driving and the Road
Here you'll find helpful information and
tips about the road and how to drive
under different conditions.
Part 5: Problems on the Road
This part tells you what to do if you
have a problem while driving, such as a
flat tire or engine overheating.
Part 6: Service & Appearance Care
Here the manual tells you how to keep
your Chevrolet running properly and looking good.
Part 7: Maintenance Schedule
This part tells you when to perform
vehicle maintenance and what fluids and
lubricants to use.
Part 8: Customer Assistance
Information
This part tells you how to contact
Chevrolet for assistance and how to get
service publications. It also gives you
information on
Reporting Safety Defects.
Part 9: Index
Here's an alphabetical listing of almost
every subject
in this manual. You can
use it
to quickly find something you
want to read.
Service Station Information
This is a quick reference of service
information.
You can find it on the last
page of this manual.
Page 211 of 308
Downloaded from www.Manualslib.com manuals search engine Used oil can be a real threat to the
environment.
If you change your own oil, be sure to
drain all free-flowing oil from the filter
before disposal.
Don’t ever dispose
of oil by pouring it
on the ground, into sewers, or into
streams or bodies
of water. Instead,
recycle it by taking it to a place that
collects used oil. If you have a problem
properly disposing of your used oil, ask
your dealer, a service station or a local
recycling center for help.
Air Cleaner
Refer to the Maintenance Schedule to
determine when to replace the air filter.
See the
Index under Scheduled
Maintenance Services.
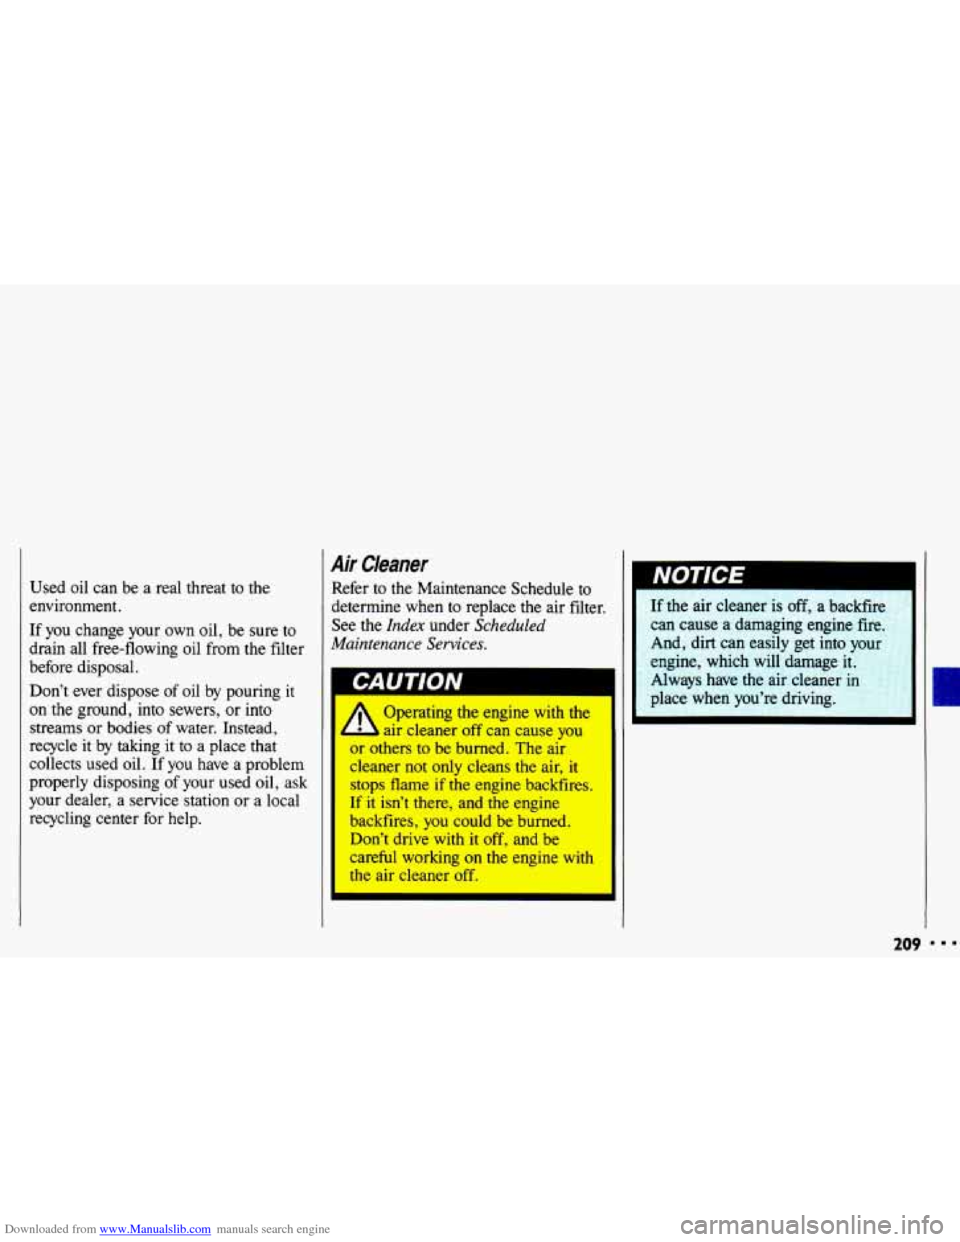
A Opemting the engine with the
1 air cleaner off can cause you
nr others to be burned. The air
mer not only cleans
the air, it
stops flame if the engine backfires.
If it isn’t there,
and the engine
backfires,
you could be burned.
.Don’t drive with it
off, and be
candid working on the engine with
the air cleaner off.
I
I ~~~~ NOTIC€ ~~
If the air cleaner is off, a backfire
can cause a damaging engine fire.
And, dirt can easily get into your
engine, which will damage it.
Always have the air cleaner
i~
place when you’re driving.
209 I
Page 213 of 308
Downloaded from www.Manualslib.com manuals search engine Automaric Transaxle Fluid
When to Check and Change:
A good time to check your automatic
transaxle fluid level is when the engine
oil is changed. Refer to the Maintenance
Schedule to determine when to change
your fluid. See the
Index under
Scheduled Maintenance Services.
How to Check:
Because this operation can be a little
difficult, you may choose to have this
done at a Chevrolet dealership Service
Department.
If you do it yourself, be sure to follow
all the instructions here, or you could
get a false reading on the dipstick.
Too much or too little fluid can
damage
your transaxle. Too much
can mean that some of the fluid
could come out and fall
on hot
engine parts, starting a fire. Be
sure to get an accurate reading
if
you check your transaxle fluid. Wait
at least 30 minutes before checking
the transaxle fluid level if you have been
driving:
When outside temperatures are above
At high speed for quite a while.
In heavy traffic-especially in hot
To get the right reading, the fluid should
be at normal operating temperature,
which is 180°F to 200°F (82°C to
93" C).
Get the vehicle warmed up by driving
about 15 miles (24
km) when outside
temperatures are above
50°F (10OC). If
it's colder than 50" F (10" C), you may
have to drive longer.
90°F (32°C).
weather.
21 I
Page 217 of 308
Downloaded from www.Manualslib.com manuals search engine 2. Push it back in all the way and
remove it.
3. Check both sides of the dipstick and
read the lower level. The fluid level
must be between the
ADD and
FULL marks. (Note: Fluid may
appear at the bottom of the dipstick
even when the fluid level
is several
pints low.)
4. If the fluid level is where it should
be, push the dipstick back
in all the
way.
How to Add Fluid:
Here’s how to add fluid. Refer to the
Maintenance Schedule to determine
what kind
of fluid to use. See the Index
under Fluids & Lubricants.
Remove the dipstick.
Add fluid at the dipstick hole.
Add only enough fluid to bring the fluid
level up to the
FULL mark on the
dipstick.
Push the dipstick back in all the way.
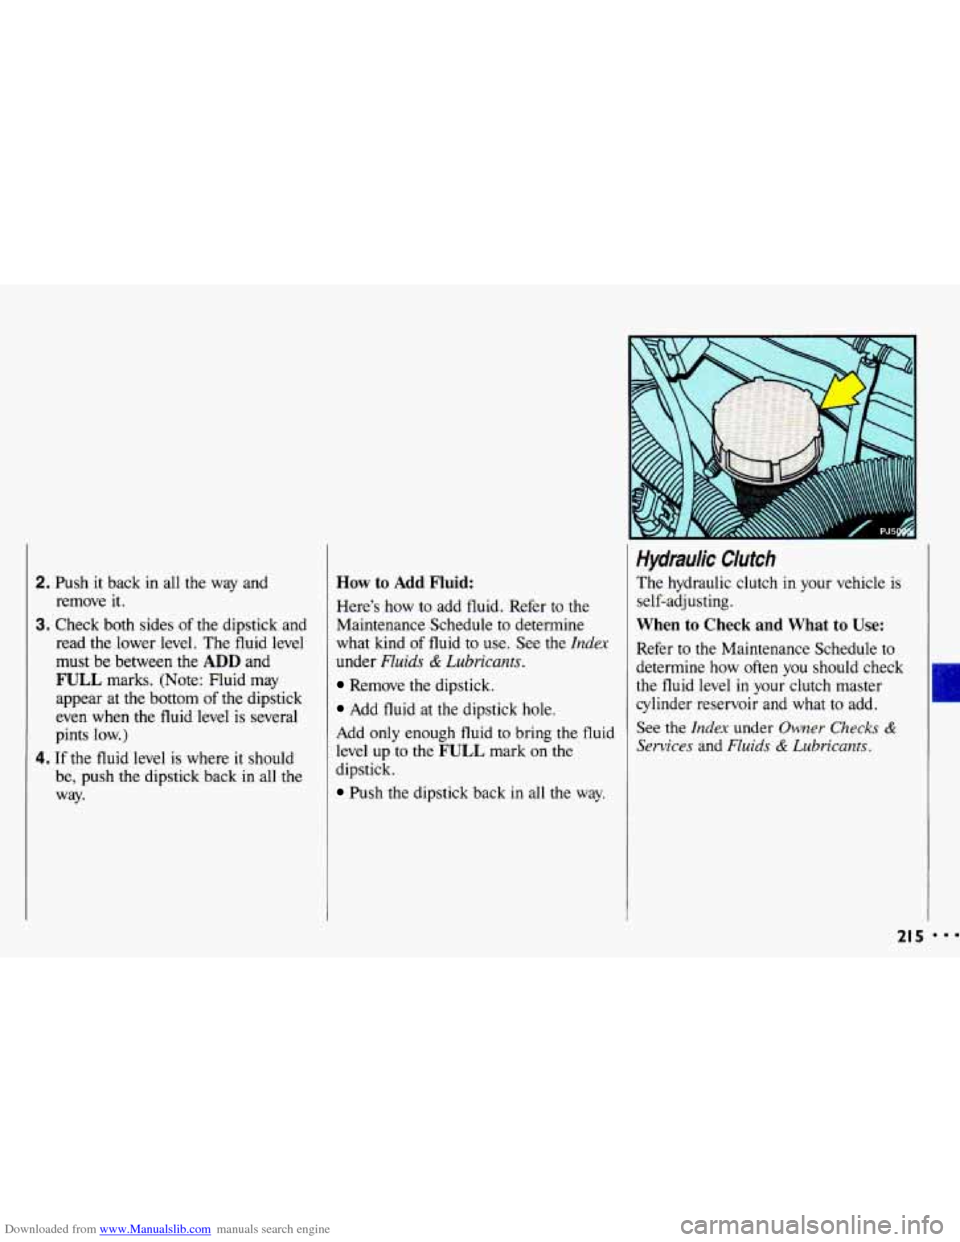
Hydraulic Clutch
The hydraulic clutch in your vehicle is
self-adjusting.
When to Check and What to Use:
Refer to the Maintenance Schedule to
determine how often you should check
the fluid level
in your clutch master
cylinder reservoir and what
to add.
See the
Index under Owner Checks &
Services and Fluids & Lubricants.
I
21 5 ...
Page 222 of 308
Downloaded from www.Manualslib.com manuals search engine ..I
Service & Appearance Care
Power Steering Fluid (CONT.)
What to Add:
Refer to the Maintenance Schedule to determine what kind of fluid to use. See
the
Index under Fluids & Lubricants.
When adding power steering fluid
or making a complete fluid change,
always use the proper fluid. Failure
to use the proper fluid can cause
leaks and damage hoses and seals.
120
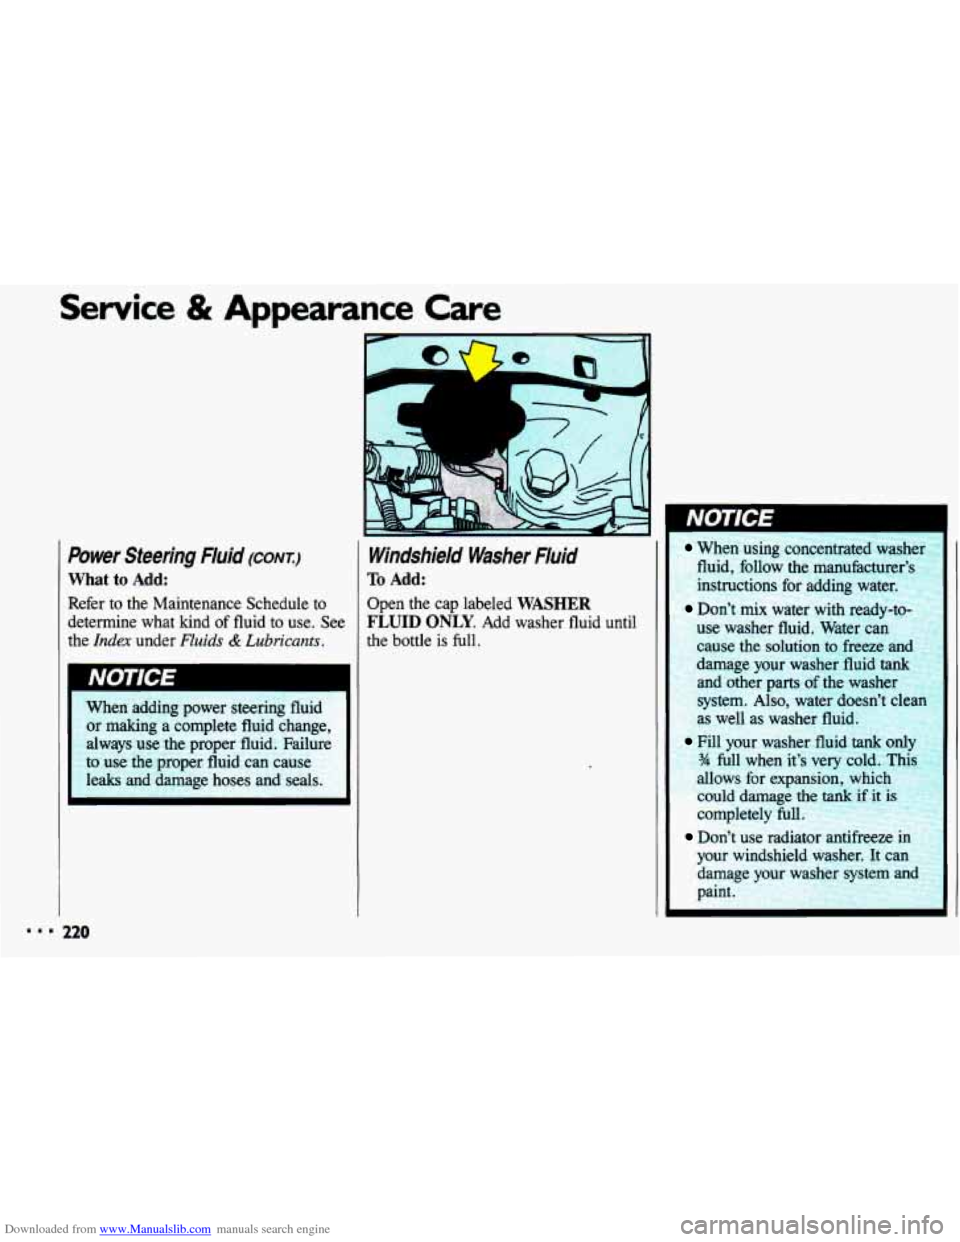
Windshield Washer Fluid
To Add:
Open the cap labeled WASHER
FLUID ONLY. Add washer fluid until
the bottle is full.
When using concentrated washer
fluid, follow the manufacturer’s
instructions for adding water.
Don’t mix water with ready-to-
l15e washer fluid. Water can
use the solution
to freeze and
. .tmage your washer fluid tank
and other parts of the washer
system.
Also, water doesn’t clean
s well as washer fluid.
Fill your washer fluid tank on14
?4 full when it’s very cold. Thir
allows for expansion, which
could damage the
tank if it is
completely
full
Don’t use radiator antifreeze
your windshield washer.
It can
damage your washer system an(
paint.
Page 233 of 308
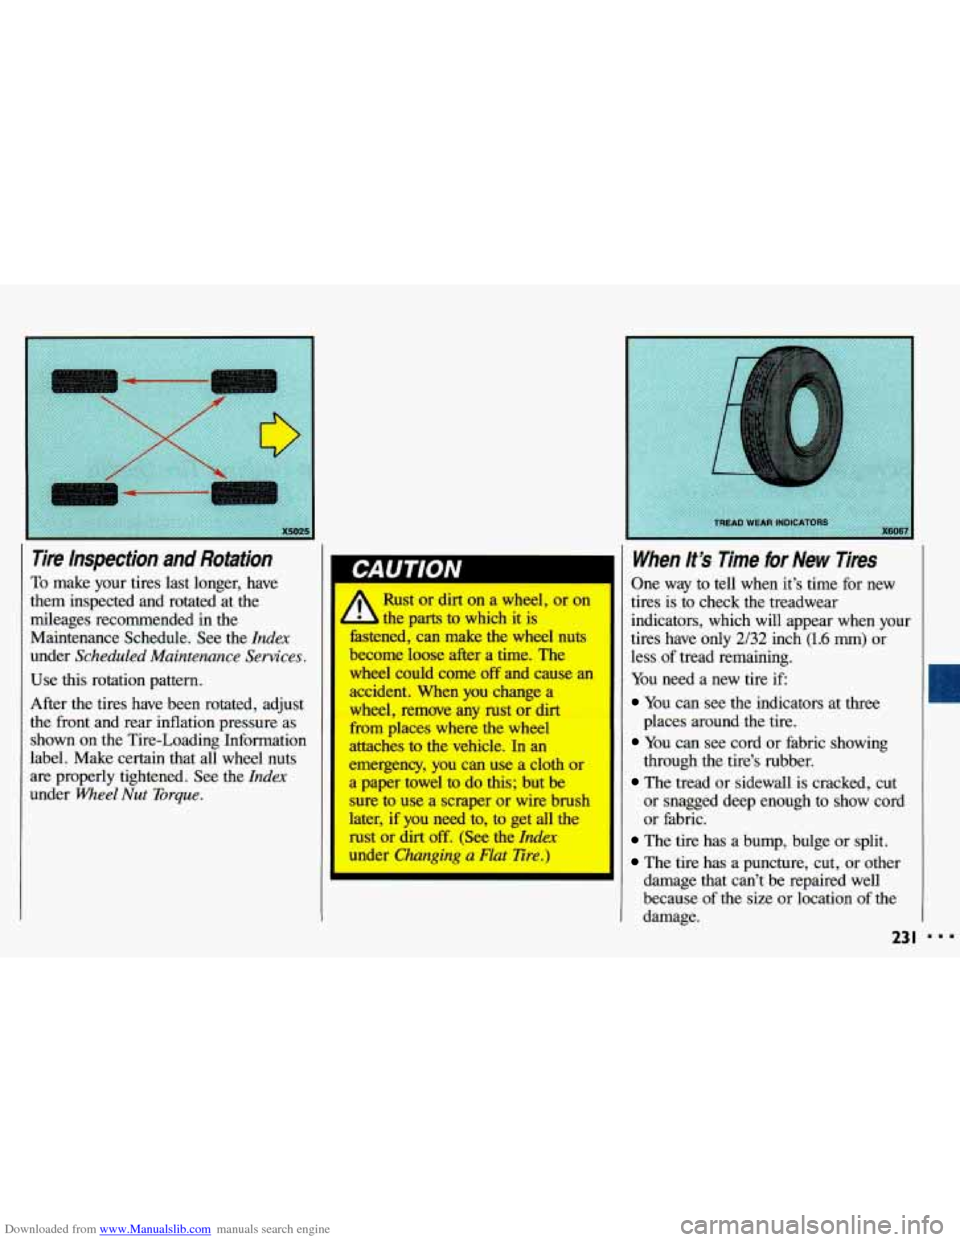
Downloaded from www.Manualslib.com manuals search engine Tire hspection and Rotation I
Use this rotation pattern.
After the tires have been rotated, adjust
the front and rear inflation pressure as
shown on the Tire-Loading Information
label. Make certain that all wheel nuts
are properly tightened. See the Index
under Wheel Nut Torque.
To make your tires last longer, have
them inspected and rotated at the
mileages recommended in the
Maintenance Schedule. See the
Index
under Scheduled Maintenance Services.
u I I’ -
Rust or dirt on a wheel, or on
; parts to which it is
fastened, can make the wheel nuts
become loose after a time. The
wheel could come off and cause an
accident. When you change a
wheel, remove any rust or dirt
from
places where the wheel
attaches to the vehicle. In an
emergency, you can use a cloth or
a paper towel to do this; but be
sure to use a scraper or wire brush
later, if you need to, to get all the
rust or dirt
off. (See the Index
under Changing a Flat Tire.)
When lt’s Time for New Tires
One way to tell when it’s time for new
tires
is to check the treadwear
indicators, which will appear when your
tires have
only 2/32 inch (1.6 mm) or
less of tread remaining.
You need a new tire if
You can see the indicators at three
You can see cord or fabric showing
The tread or sidewall is cracked, cut
places around the tire.
through the tire’s rubber.
or
snagged deep enough to show cord
or fabric.
The tire has a bump, bulge or split.
The tire has a puncture, cut, or other
damage that can’t be repaired well
because
of the size or location of the
damage.
23 I
Page 261 of 308
Downloaded from www.Manualslib.com manuals search engine I IMPORTANT
KEEP ENGINE OIL
AT THE PROPER
LEVEL AND CHANGE AS
RECOMMENDED
This part covers the maintenance
required for your Chevrolet. Your
vehicle needs these services to
retain its safety, dependability and
emission control performance.
Pian I
Section
Part 7
Maintenance Schedule
Have you purchased the
GM Protection Plan?
The Plan supplements your new vehicle warranties.
See your Chevrolet dealer for details.
Introduction
A Word About Maintenance . . . . . . . . . . . . . . . . . . . . . . . . . . . . . .260
Your Vehicle and the Environment
. . . . . . . . . . . . . . . . . . . . . . . , .260
How This
Part is Organized . . . . . . . . . . . . . . . . . . . . . . . . . . . . . . .261
Using Your Maintenance Schedules
. . . . . . . . . . . . . . . . . . . . . . . .262
Selecting the Right Schedule
. . . . . . . . . . . . . . . . . . . . . . . . . . . . . .262
Schedule1
............................................ 264
Schedule11
........................................... 266
Explanation of Scheduled Maintenance Services . . . . . . . . . . . . . .268
AtEachFuelFill
....................................... 271
AtLeastOnceaMonth
.................................. 271
At Least Twice a Year
. . . . . . . . . . . . . . . . . . . . . , . , . . . . . . . . . . .272
At Least Once a Year
. . . . . . . . . . . . . . . . . . . . . . . . . . . . . . . . . . . .272
C. Periodic Maintenance Inspections . . . . . . . . . . . . . . . . . . . . . . . . . . .275
D. Recommended Fluids & Lubricants . . . . . . . . . . . . . . . . . . . . . . . . .276
E. MaintenanceRecord ...................................... 279
A. Scheduled Maintenance Services
B. Owner Checks & Services
259 888
Page 263 of 308
Downloaded from www.Manualslib.com manuals search engine How This Part is Organized
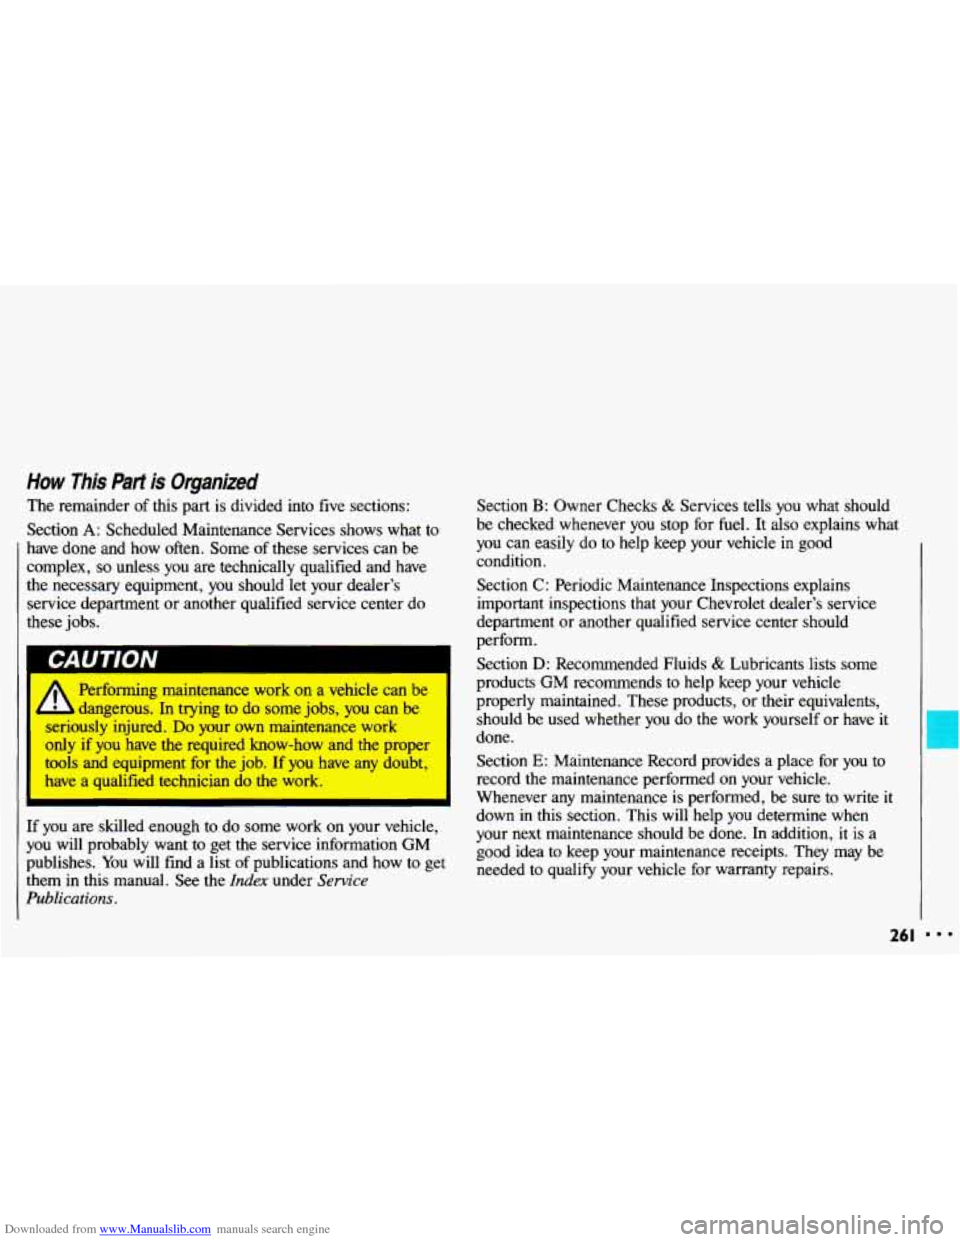
The remainder of this part is divided into five sections:
Section
A: Scheduled Maintenance Services shows what to
have done and how often. Some
of these services can be
complex,
so unless you are technically qualified and have
the necessary equipment, you should let your dealer’s
service department
or another qualified service center do
these jobs.
Performing maintenance work
on a vehicle can be
dangerous. In trying to do some jobs, you can be
seriously injured. Do your own maintenance work
only if you have the required know-how and the proper
tools and equipment for the job.
If you have any doubt,
have
a qualified technician do the work.
If you are skilled enough to do some work on your vehicle,
you will probably want to get the service information GM
publishes. You
will find a list of publications and how to get
them in this manual.
See the Index under Service
Publications.
Section B: Owner Checks & Services tells you what should
be checked whenever
you stop for fuel. It also explains what
you can easily do to help keep your vehicle
in good
condition.
Section
C: Periodic Maintenance Inspections explains
important inspections that your Chevrolet dealer’s service
department or another qualified service center should
perform.
Section
D: Recommended Fluids & Lubricants lists some
products GM recommends to help keep your vehicle
properly maintained. These products, or their equivalents,
should be used whether you do the work yourself or have it
done.
Section
E: Maintenance Record provides a place for you to
record the maintenance performed on your vehicle.
Whenever
any maintenance is performed, be sure to write it
down in this section. This
will help you determine when
your next maintenance should be done. In addition,
it is a
good idea to keep your maintenance receipts. They may be
needed to qualify your vehicle for warranty repairs.
26 I
Page 264 of 308
Downloaded from www.Manualslib.com manuals search engine Maintenance Schedule
Section A: Scheduled Maintenance Services
Using bur Maintenance Schedules
This section tells you the maintenance services you should
have done and when you should schedule them. Your
Chevrolet dealer knows your vehicle best and wants you to
be happy with it. If you go to your dealer for your service
needs, you’ll know that GM-trained and supported service
people will perform the work using genuine
GM parts.
These schedules are for vehicles that:
carry passengers and cargo within recommended limits.
You will find these limits on your vehicle’s Tire-Loading
Information label. See the
Index under Loading Your
Ehicle.
limits.
Fuel.
are driven on reasonable road surfaces within legal driving
use the recommended unleaded fuel. See the Index under
Selecting the Right Schedule
First you’ll need to decide which of the two schedules is
right for your vehicle. Here is how to decide which schedule
I
to follow: