check engine CHEVROLET CAVALIER 1998 3.G User Guide
[x] Cancel search | Manufacturer: CHEVROLET, Model Year: 1998, Model line: CAVALIER, Model: CHEVROLET CAVALIER 1998 3.GPages: 400, PDF Size: 20.74 MB
Page 93 of 400
Downloaded from www.Manualslib.com manuals search engine Starting Your 2.4 Liter Engine
1. With your foot off the accelerator pedal, turn your
ignition key to
START. When the engine starts, let
go
of the key. The idle speed will go down as your
engine warms
up.
NOTICE:
Holding your key in START for longer than
15 seconds at a time will cause your battery to be
drained much sooner. And the excessive heat can
damage your starter motor.
2. If the engine doesn’t start right away, and if the
weather is very cold (below -20” F or -29” C), push
the accelerator pedal about one-quarter
of the way
down while
you turn the key to START. Do this
until the engine starts. As soon as it does, let go
of the key.
3. If your engine still won’t start (or starts but then stops),
it could be flooded with too much gasoline. Try
pushing your accelerator pedal all the way to the floor
and holding it there as you hold the key in START for
a maximurn of 15 seconds. This clears the extra
gasoline
from the engine. If the engine still won’t start
or starts briefly but then stops again, repeat step 1 or 2,
depending on temperature. When the engine starts,
release the key and the accelerator pedal.
NOTICE:
1 Your engine is designed to work with the
electronics in your vehicle.
If you add electrical
parts or accessories, you could change the
way
the engine operates. Before adding electrical
~ equipment, check with your dealer. If you don’t,
your engine might not perform properly.
If you ever have to have your vehicle towed, see
the part
of this manual that tells how to do it
without damaging your vehicle. See “Towing.
Your Vehicle” in the Index.
2-17
Page 110 of 400
Downloaded from www.Manualslib.com manuals search engine lhrn Signal and Lane Change Indicator
The turn signal has two upward (for right) and two
downward (for left) positions. These positions allow
you
to signal a turn or a lane change.
To signal a turn, move the lever all the way up or down.
When the turn is finished, the lever will return
automatically.
I I
Q
An arrow on the instrument
panel will flash in the
direction of the turn or
lane change.
To signal a lane change, just raise or lower the lever
until the arrow starts to flash. Hold it there until you
complete your lane change. The lever will return by
itself when you release it.
As you signal a turn or a lane change, if the arrows don’t
flash rapidly, a signal bulb may be burned out and other
drivers won’t see your turn signal.
If a bulb is burned out, replace it to help avoid an
accident. If the arrows don’t go on at all when you
signal a
turn, check the fuse (see “Fuses and Circuit
Breakers” in the Index) and
for burned-out bulbs.
Headlamp High/Low Beam Changer
To change the headlamps from low beam to high or high
beam to low, pull the turn signal lever all the way
toward you. Then release it.
When the high beams
are on, this light on the
instrument panel will
also be on.
Flash-To-Pass
This feature lets you use your high-beam headlamps to
signal a driver in front of
you that you want to pass.
To use it, pull the turn signal/multifunction lever toward
you until the high-beam headlamps come on, then
release the lever to turn them off.
2-34
Page 122 of 400
Downloaded from www.Manualslib.com manuals search engine Power Remote Control Mirrors
(If Equipped)
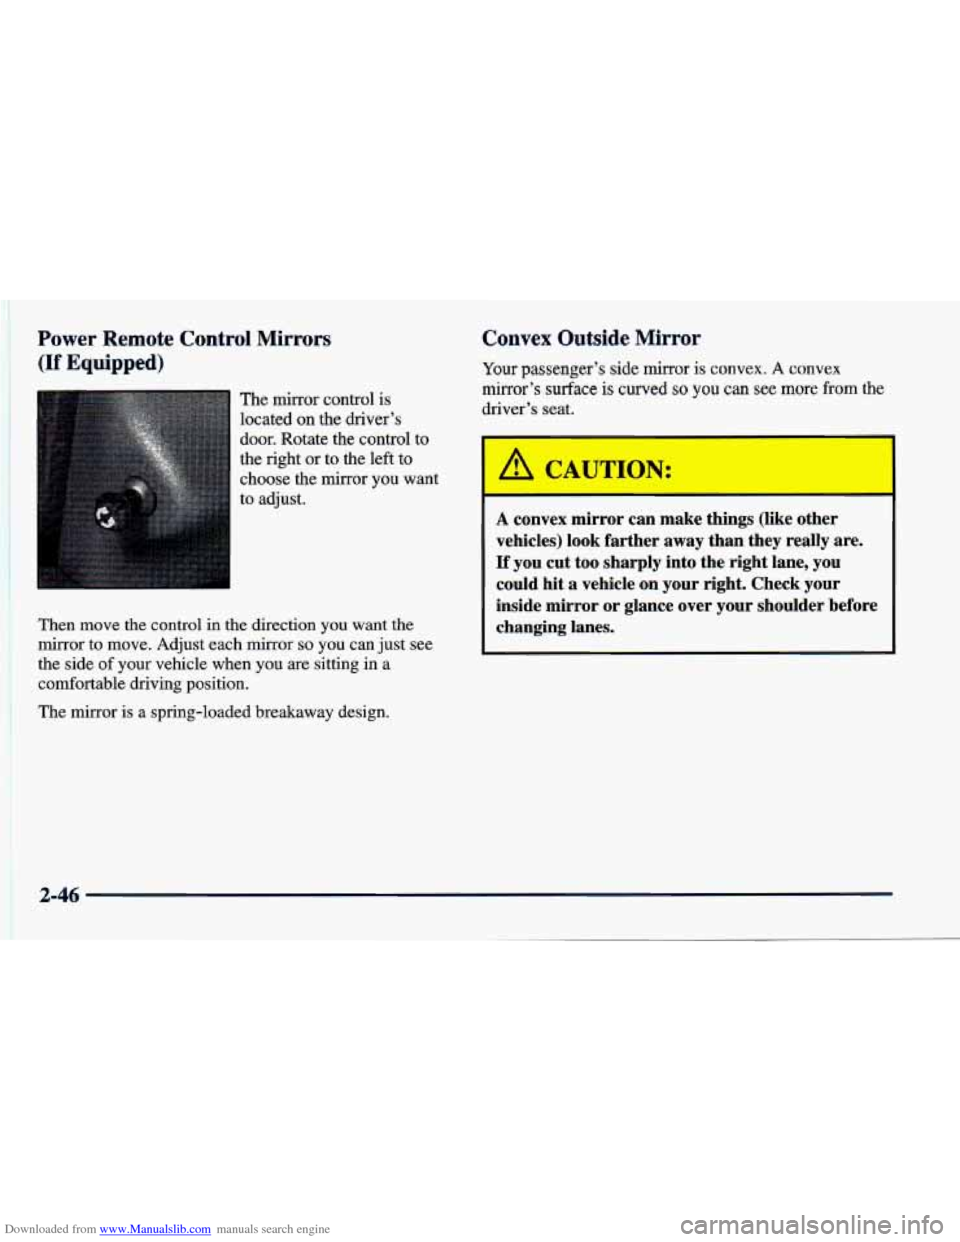
The mirror control is
located on the driver’s
door. Rotate the control to
the right or to the left to
choose the
mirror you want
to adjust.
Convex Outside Mirror
Your passenger’s side mirror is convex, A convex
mirror’s surface is curved so you can see more from the
driver’s seat.
Then
move the control in the direction you want the
mirror to move. Adjust each
mirror so you can just see
the side of your vehicle when you are sitting in
a
comfortable driving position.
The mirror is a spring-loaded breakaway design.
‘ A CA ‘TION:
FL
A convex mirror can make things (like other
vehicles) look farther away than they really are.
If you cut too sharply into the right lane, you
could hit a vehicle on your right. Check your
inside mirror or glance over your shoulder before
changing
lanes.
2-46
Page 133 of 400
Downloaded from www.Manualslib.com manuals search engine Lowering the Top Manually
NOTICE:
Do not attempt to lower the top manually as
damage to the vehicle will occur.
If the top fails to
raise or lower completely, see “Raising the Top
Manually” following.
Raising the Top Manually
1. Set the parking brake and shift your automatic
transaxle to PARK (P) or your manual transaxle to
NEUTRAL (N). Turn the engine off.
2. Push the button in the latch handle and rotate the
handle down.
3. Open the trunk.
If your vehicle loses power, or something else happens
that prevents you from raising the top electrically, you
may need to raise the top manually.
This will allow you
to safely drive the vehicle until you can get the top
repaired. Raising the convertible top manually should only be done in an emergency and requires two people.
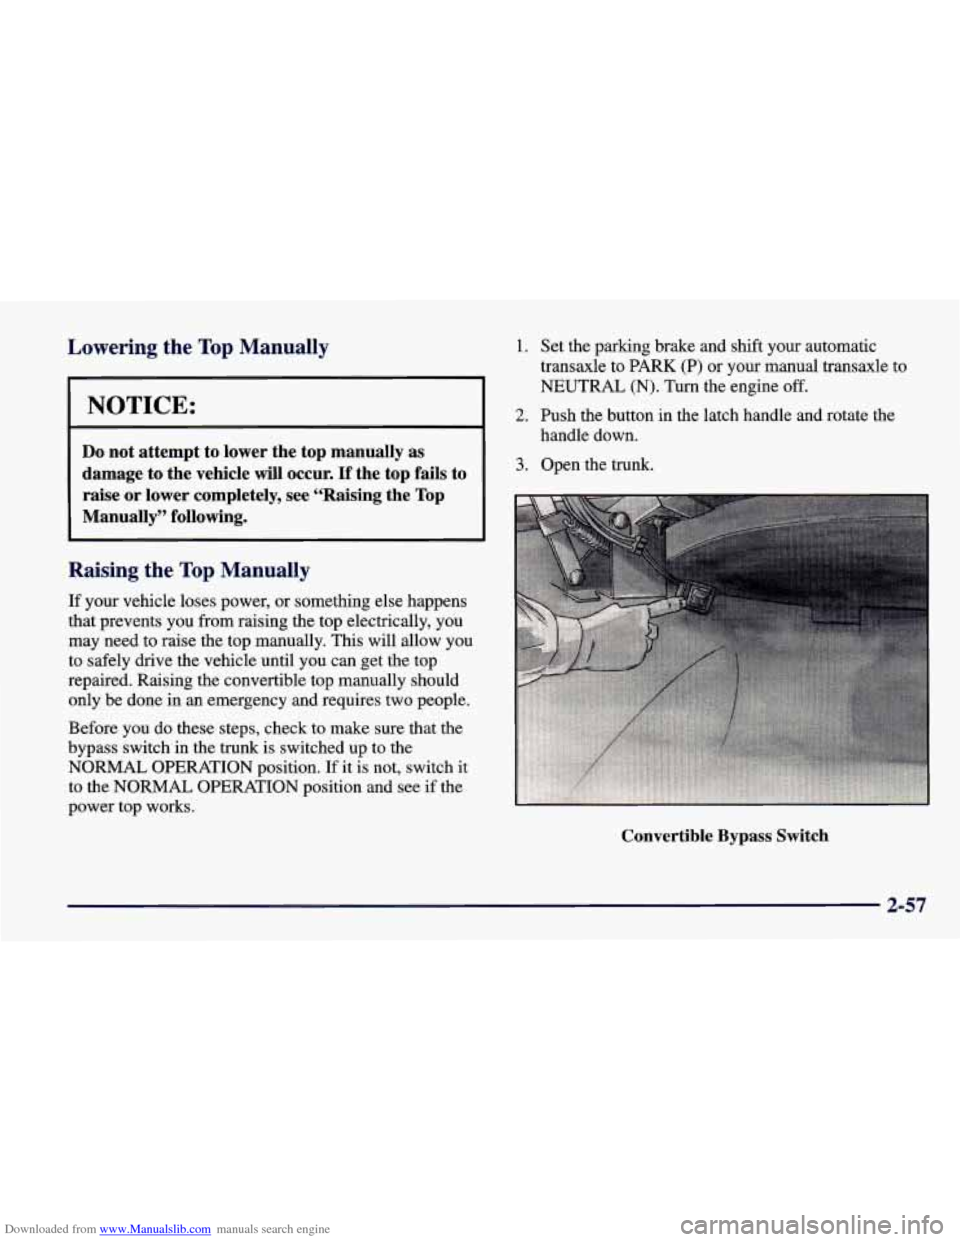
Before you do these steps, check to make sure that the
bypass switch in the trunk is switched up to the
NORMAL OPERATION position.
If it is not, switch it
to the NORMAL OPERATION position and see
if the
power top works.
Convertible Bypass Switch
2-57
Page 141 of 400
Downloaded from www.Manualslib.com manuals search engine I’achometer (If Equipped)
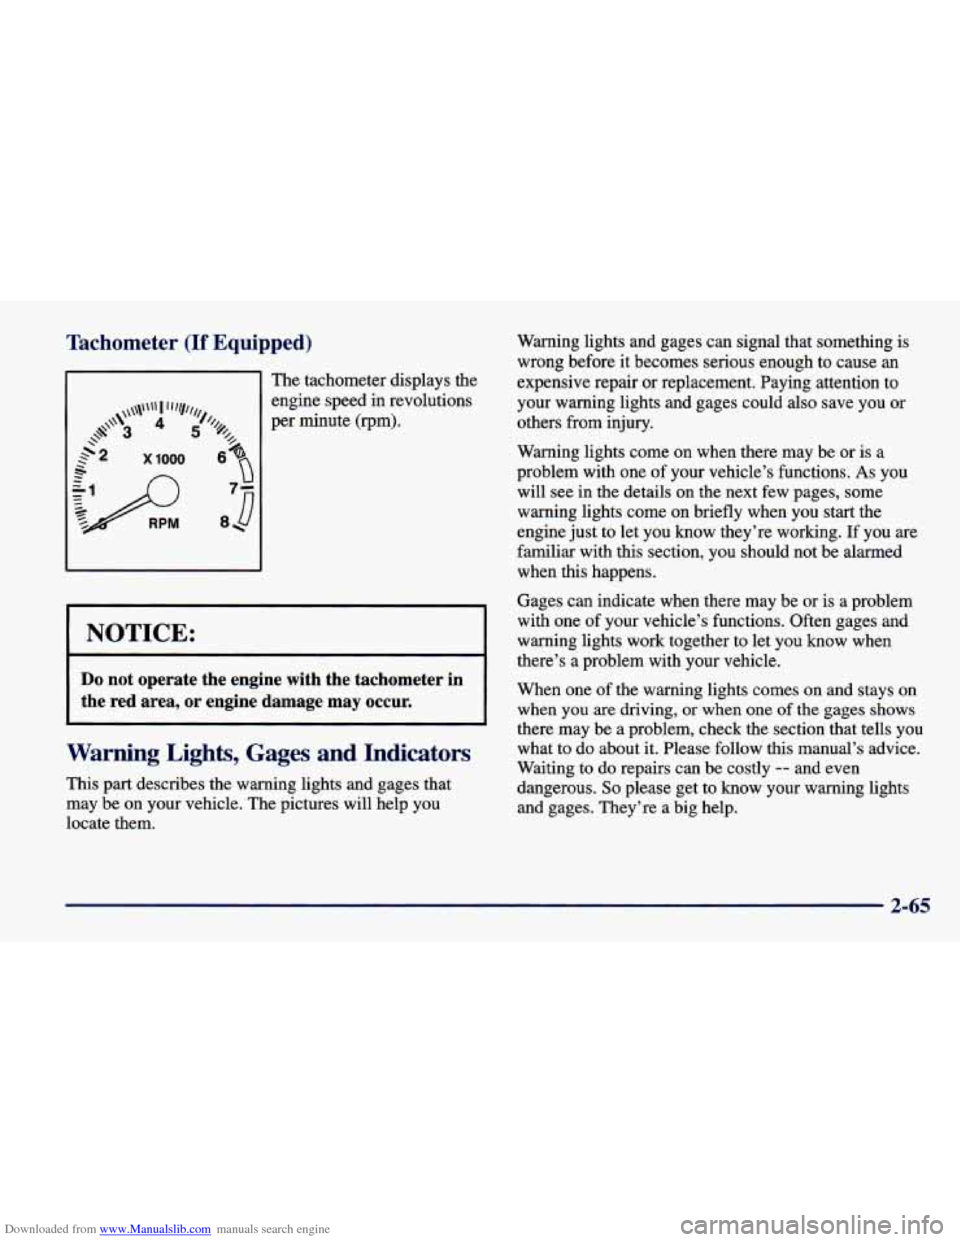
The tachometer displays the
engine speed
in revolutions
per minute (rpm).
I NOTICE:
Do not operate the engine with the tachometer in
the red area, or engine damage may occur.
Warning Lights, Gages and Indicators
This part describes the warning lights and gages that
may be on your vehicle. The pictures will help you
locate them. Warning lights and gages can signal that something
is
wrong before
it becomes serious enough to cause an
expensive repair or replacement. Paying attention
to
your warning lights and gages could also save you or
others from injury.
Warning lights come on when there may be or is a
problem with one of your vehicle’s functions.
As you
will see in the details on the next few pages, some
warning lights come on briefly when you start the
engine just
to let you know they’re working. If you are
familiar with this section, you should not be alarmed
when this happens.
Gages can indicate when there may be or is
a problem
with one of your vehicle’s functions. Often gages and
warning lights work together to let you know when
there’s a problem with your vehicle.
When one of the warning lights comes on and stays on
when you are driving, or when one
of the gages shows
there may be a problem, check the section that tells you
what to do about it. Please follow this manual’s advice.
Waiting to do repairs can be costly
-- and even
dangerous.
So please get to know your warning lights
and gages. They’re a big help.
2-65
Page 142 of 400
Downloaded from www.Manualslib.com manuals search engine Safety Belt Reminder Light
When the key is turned to RUN or START, a chime will
come on for about eight seconds to remind people to
fasten their safety belts, unless the driver’s safety belt is
already buckled.
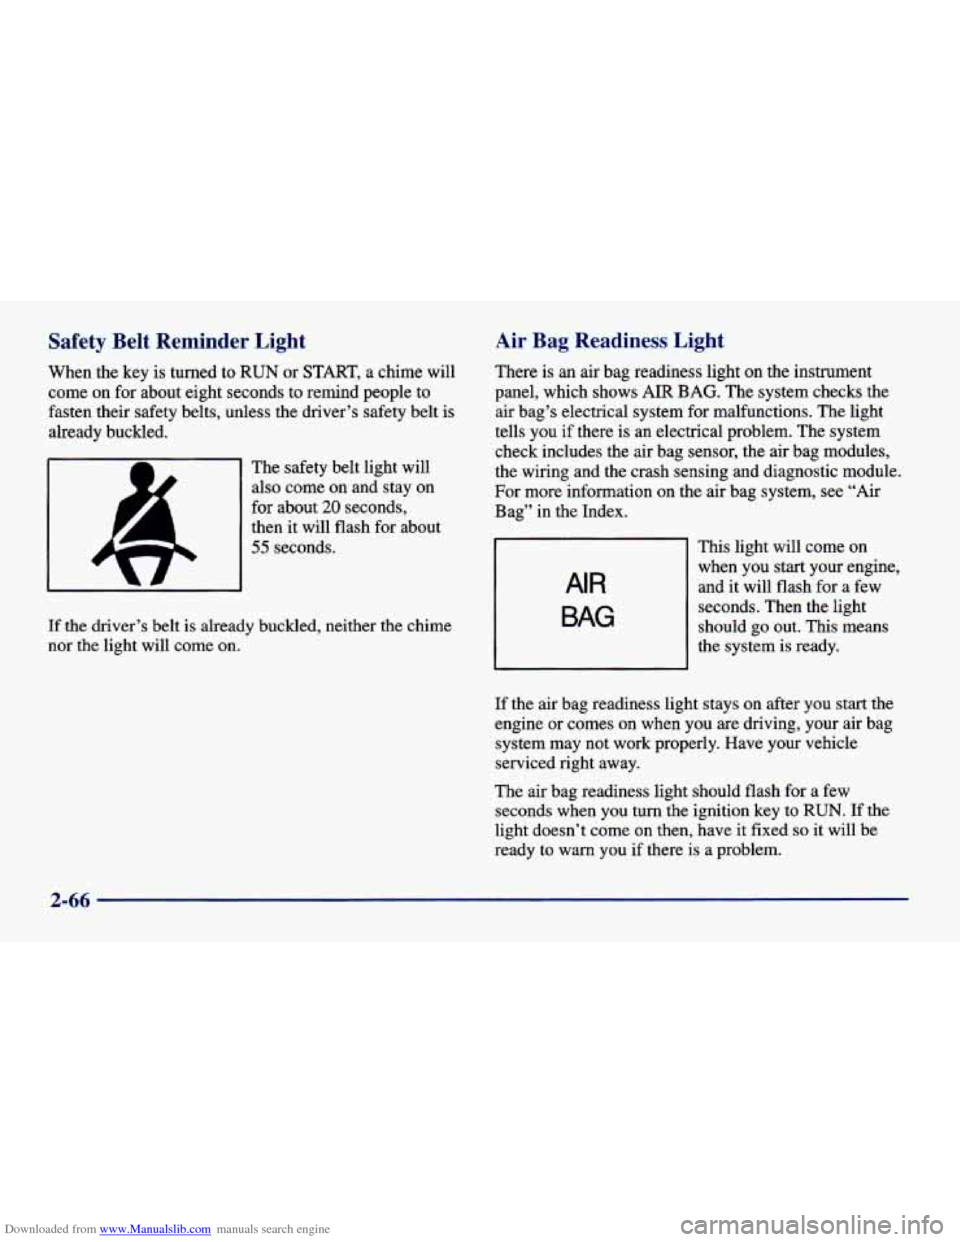
The safety belt light will
also come on and stay on
for about
20 seconds,
then it
will flash for about
55 seconds.
If the driver’s belt is already buckled, neither the chime
nor the light will come on.
Air Bag Readiness Light
There is an air bag readiness light on the instrument
panel, which shows
AIR BAG. The system checks the
air bag’s electrical system for malfunctions. The light
tells you if there is an electrical problem. The system
check includes the air bag sensor, the air bag modules,
the wiring and the crash sensing and diagnostic module.
For more information on the air bag system, see
“Air
Bag” in the Index.
AIR
BAG
This light will come on
when you start your engine,
and it will flash
for a few
seconds. Then the light
should go out. This means
the system is ready.
If the air bag readiness light stays on after you start the
engine or comes on when you are driving, your air bag
system may not work properly. Have your vehicle
serviced right away.
The air bag readiness light should flash for a few
seconds when you turn the ignition key to
RUN. If the
light doesn’t come
on then, have it fixed so it will be
ready to
warn you if there is a problem.
2-66
Page 143 of 400
Downloaded from www.Manualslib.com manuals search engine Charging System Light
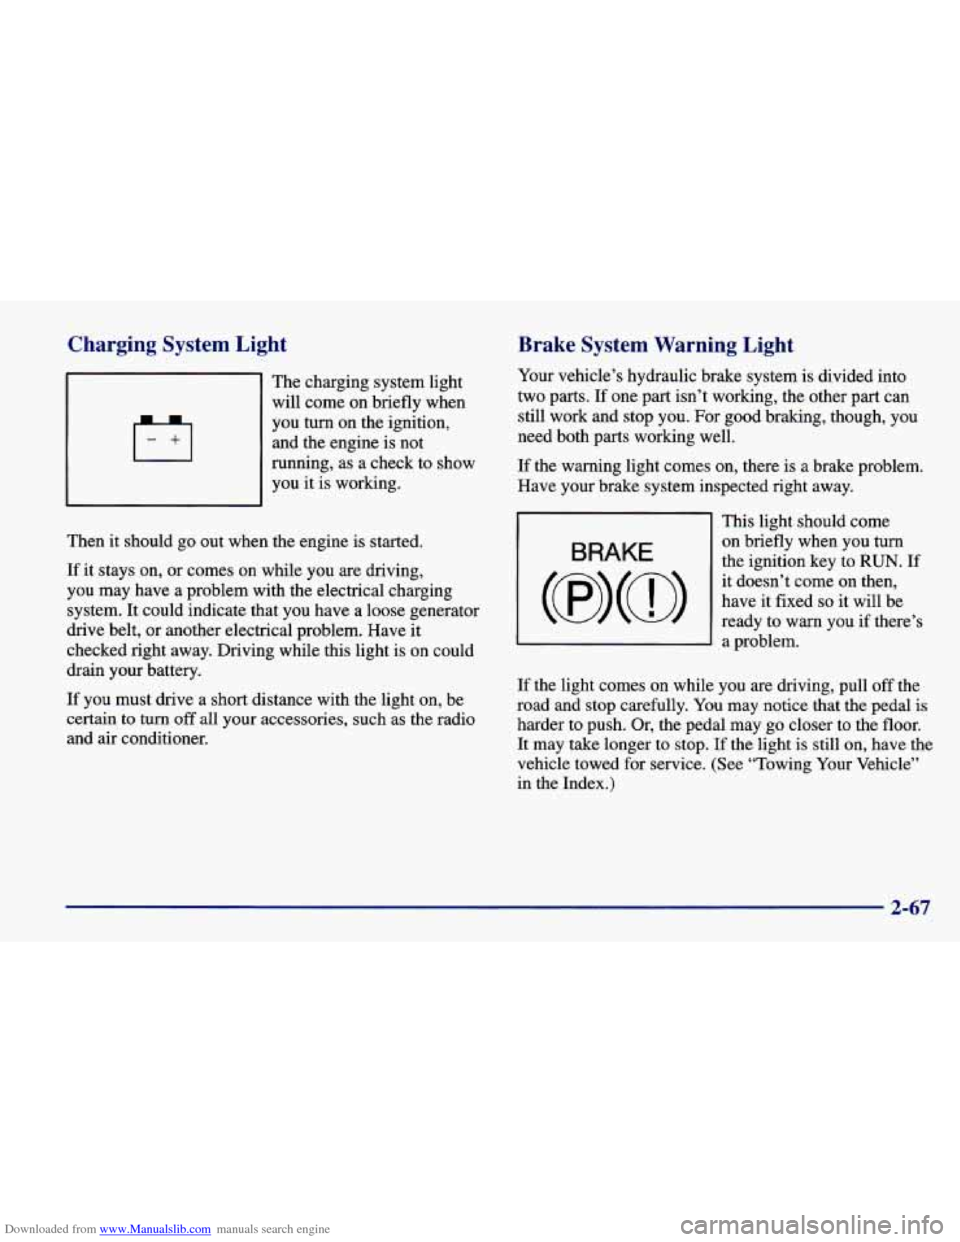
The charging system light
will come on briefly when
you turn on the ignition,
and the engine is not
running, as a check to show
you it is working.
Then
it should go out when the engine is started.
If it stays on, or comes on while you are driving,
you may have a problem with the electrical charging
system. It could indicate that you have a loose generator
drive belt, or another electrical problem. Have it
checked right away. Driving while this light is on could
drain your battery.
If you must drive a short distance with the light on, be
certain to turn
off all your accessories, such as the radio
and air conditioner.
Brake System Warning Light
Your vehicle’s hydraulic brake system is divided into
two parts.
If one part isn’t working, the other part can
still work and stop you. For good braking, though, you
need both parts working well.
If the warning light comes on, there is a brake problem.
Have your brake system inspected right away.
BRAKE
This light should come
on briefly when you
turn
the ignition key to RUN. If
it doesn’t come on then,
have it fixed
so it will be
ready to warn you if there’s
3 a problem.
If the light comes on while you are driving, pull off the
road and stop carefully. You may notice that the pedal
is
harder to push. Or, the pedal may go closer to the floor.
It may take longer to stop. If the light is still on, have the
vehicle towed for service. (See “Towing Your Vehicle”
in the Index.)
2-67
Page 147 of 400
Downloaded from www.Manualslib.com manuals search engine Low Coolant Warning Light
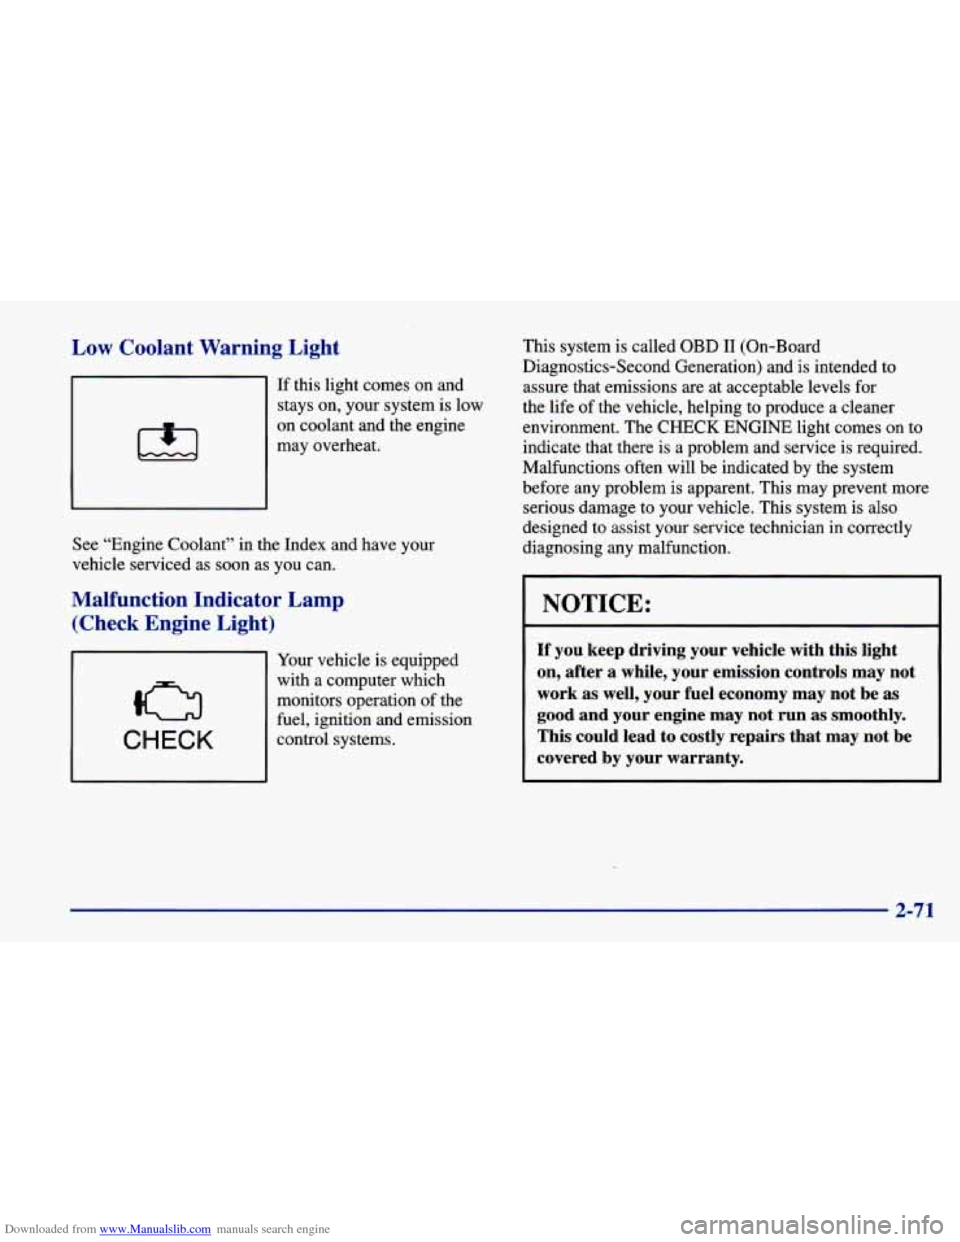
If this light comes on and
stays on, your system is low
on coolant and the engine
may overheat.
See “Engine Coolant” in the Index and have your
vehicle serviced as soon as you can.
Malfunction Indicator Lamp
(Check Engine Light)
CHECK
Your vehicle is equipped
with a computer which
monitors operation of the
fuel, ignition and emission
control systems. This system is called
OBD I1 (On-Board
Diagnostics-Second Generation) and is intended to assure that emissions are at acceptable levels for
the life
of the vehicle, helping to produce a cleaner
environment. The
CHECK ENGINE light comes on to
indicate that there is a problem and service is required.
Malfunctions often will be indicated by the system
before any problem is apparent. This may prevent more serious damage to your vehicle. This system is also
designed to assist your service technician in correctly
diagnosing any malfunction.
NOTICE:
If you keep driving your vehicle with this light
on, after a while, your emission controls may not
work as well, your fuel economy may not be as
good and your engine may not run
as smoothly.
This could lead to costly repairs that may not be
covered by your warranty.
2-71
Page 148 of 400
Downloaded from www.Manualslib.com manuals search engine This light should come on, as a check to show you it is
working, when the ignition is on and the engine is not
running. If the light doesn’t come on, have it repaired.
This light will also come on during a malfunction in one
of two ways:
0
0
Light Flashing -- A misfire condition has been
detected. A misfire increases vehicle emissions and may damage the emission control system
on your
vehicle. Dealer or qualified service center diagnosis
and service may be required.
Light On Steady -- An emission control system
malfunction has been detected
on your vehicle.
Dealer or qualified service center diagnosis and service may be required.
If the Light Is Flashing
The following may prevent more serious damage to
your vehicle:
Reducing vehicle speed.
0 Avoiding hard accelerations.
0 Avoiding steep uphill grades.
If you are towing a trailer, reduce the amount of
cargo being hauled as soon as it is possible.
If the light stops flashing and remains
on steady, see “If
the Light Is On Steady” following.
If the light continues to flash, when
it is safe to do so,
stop the vehicle. Find a safe place to park your vehicle.
Turn the key
off, wait at least 10 seconds and restart the
engine. If the light remains on steady, see
“If the Light
Is On Steady” following. If
the light is still flashing,
follow the previous steps, and drive the vehicle to your
dealer or qualified service center for service.
2-72
Page 149 of 400
Downloaded from www.Manualslib.com manuals search engine If the Light Is On Steady
You may be able to correct the emission system
malfunction by considering the following:
Did you recently put fuel into your vehicle?
If
so, reinstall the fuel cap, making sure to fully install
the cap. The diagnostic system can determine if the fuel
cap has been left off or improperly installed.
A loose or
missing fuel cap will allow fuel to evaporate into the
atmosphere.
A few driving trips with the cap properly
installed should turn the light off.
Did you just drive through a deep puddle of water?
If
so, your electrical system may be wet. The condition
will usually be corrected when the electrical system
dries out.
A few driving trips should turn the light off. Have you recently changed brands
of fuel?
If
so, be sure to fuel your vehicle with quality fuel (see
“Fuel” in the Index). Poor fuel quality will cause your
engine not to run as efficiently as designed.
You may
notice this as stalling after start-up, stalling when you
put the vehicle into gear, misfiring, hesitation on
acceleration or stumbling
on acceleration. (These
conditions may go away once the engine is warmed up.)
This will be detected by the system and cause the light
to turn on.
If you experience one or more of these conditions,
change the fuel brand you use. It will require at least one
full tank of the proper fuel to turn the light off.
If none of the above steps have made the light turn off,
have your dealer or qualified service center check the
vehicle. Your dealer has the proper test equipment and
diagnostic tools to
fix any mechanical or electrical
problems that may have developed.
2-73