ABS CHEVROLET CAVALIER 1998 3.G Owners Manual
[x] Cancel search | Manufacturer: CHEVROLET, Model Year: 1998, Model line: CAVALIER, Model: CHEVROLET CAVALIER 1998 3.GPages: 400, PDF Size: 20.74 MB
Page 7 of 400
Downloaded from www.Manualslib.com manuals search engine Instrument Panel Fuse Block
Supplement to the 1998 Chevrolet
Cavalier and Pontiac Sunfire
Owner’s Manual
This information replaces the “Instrument Panel Fuse
Block” and “Engine Compartment Fuse Block”
information
found on pages 6-59 through 6-62 in
Section
6 of your Owner’s Manual.
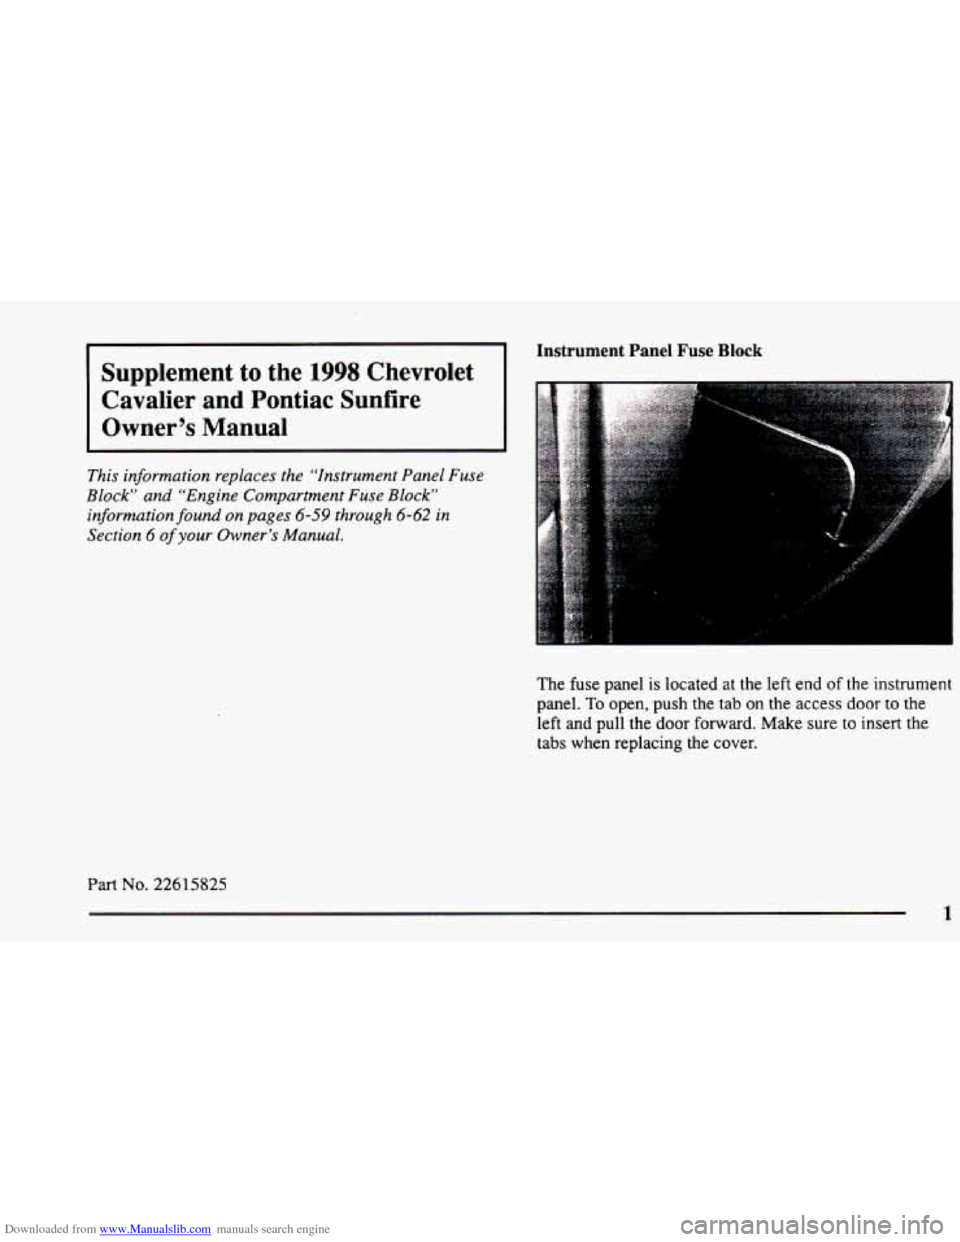
The fuse panel is located at the left end of the instrument
panel.
To open, push the tab on the access door to the
left
and pull the door forward. Make sure to insert the
tabs
when replacing the cover.
Part No. 22615825
1
Page 10 of 400
Downloaded from www.Manualslib.com manuals search engine Engine Compartment Fuse Block
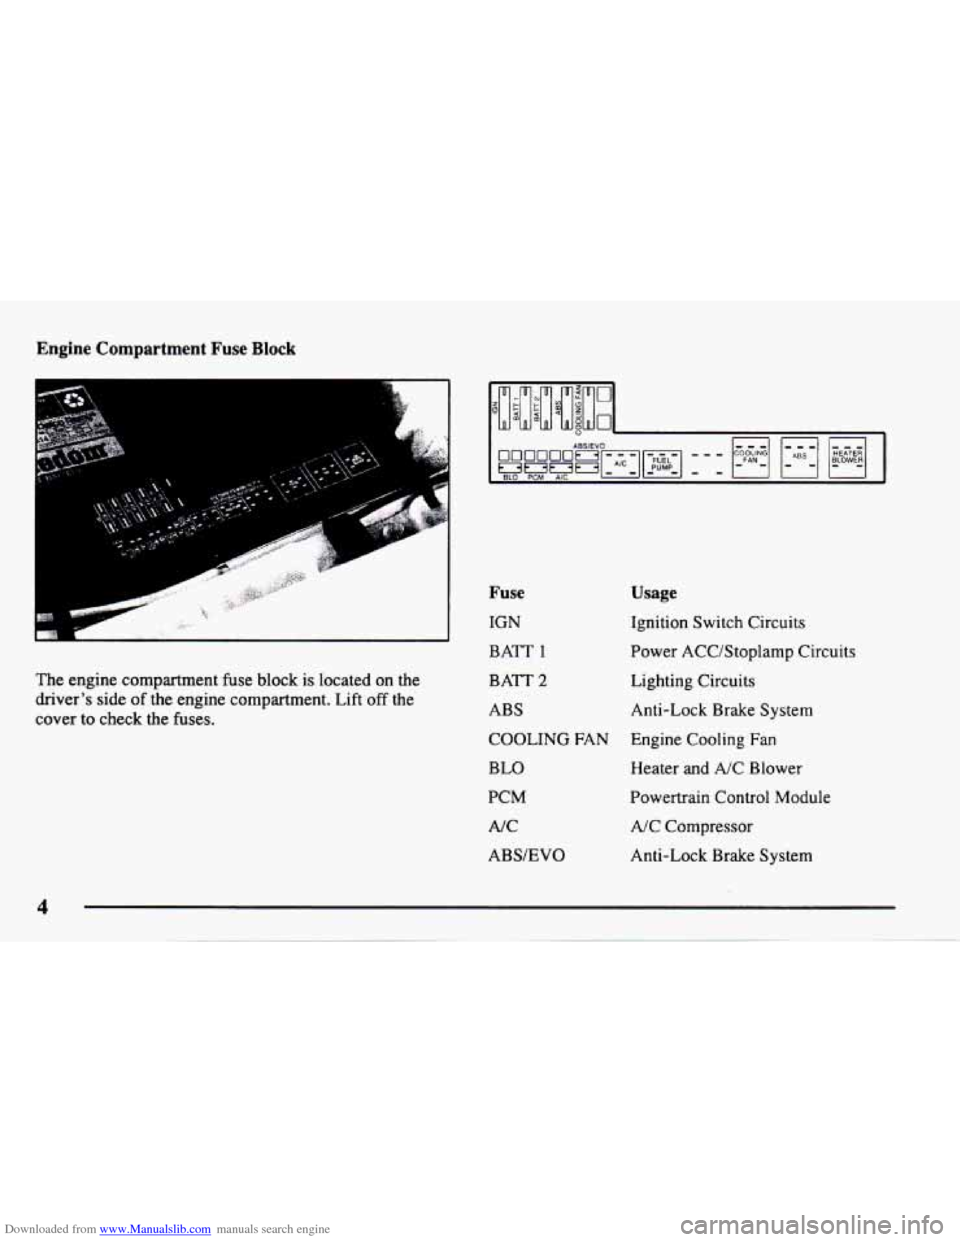
The engine compartment fuse block is located on the
driver's side
of the engine compartment. Lift off the
cover
to check the fuses.
4
Fuse
IGN
BATT
1
BATT 2
ABS
COOLING FAN
BLO
PCM
A/C
ABS/EVO
Usage
Ignition Switch Circuits
Power ACC/Stoplamp Circuits Lighting Circuits
Anti-Lock Brake System
Engine Cooling Fan
Heater
and A/C Blower
Powertrain Control Module
A/C Compressor
Anti-Lock Brake System
Page 187 of 400
Downloaded from www.Manualslib.com manuals search engine Anti-Lock Brakes (ABS)
Your vehicle has anti-lock brakes (ABS). ABS is an
advanced electronic braking system that will help
prevent
a braking skid.
wnen
you start your engine, or when you begin to drive
away, your anti-lock brake system will check itself. You
may hear a momentary motor
or clicking noise while
this test is going on, and you may even notice that your
brake pedal moves or pulses a little. This is normal.
If there’s a problem with the
anti-lock brake system, this
warning light will stay on.
See “Anti-Lock Brake
System Warning Light” in
the Index.
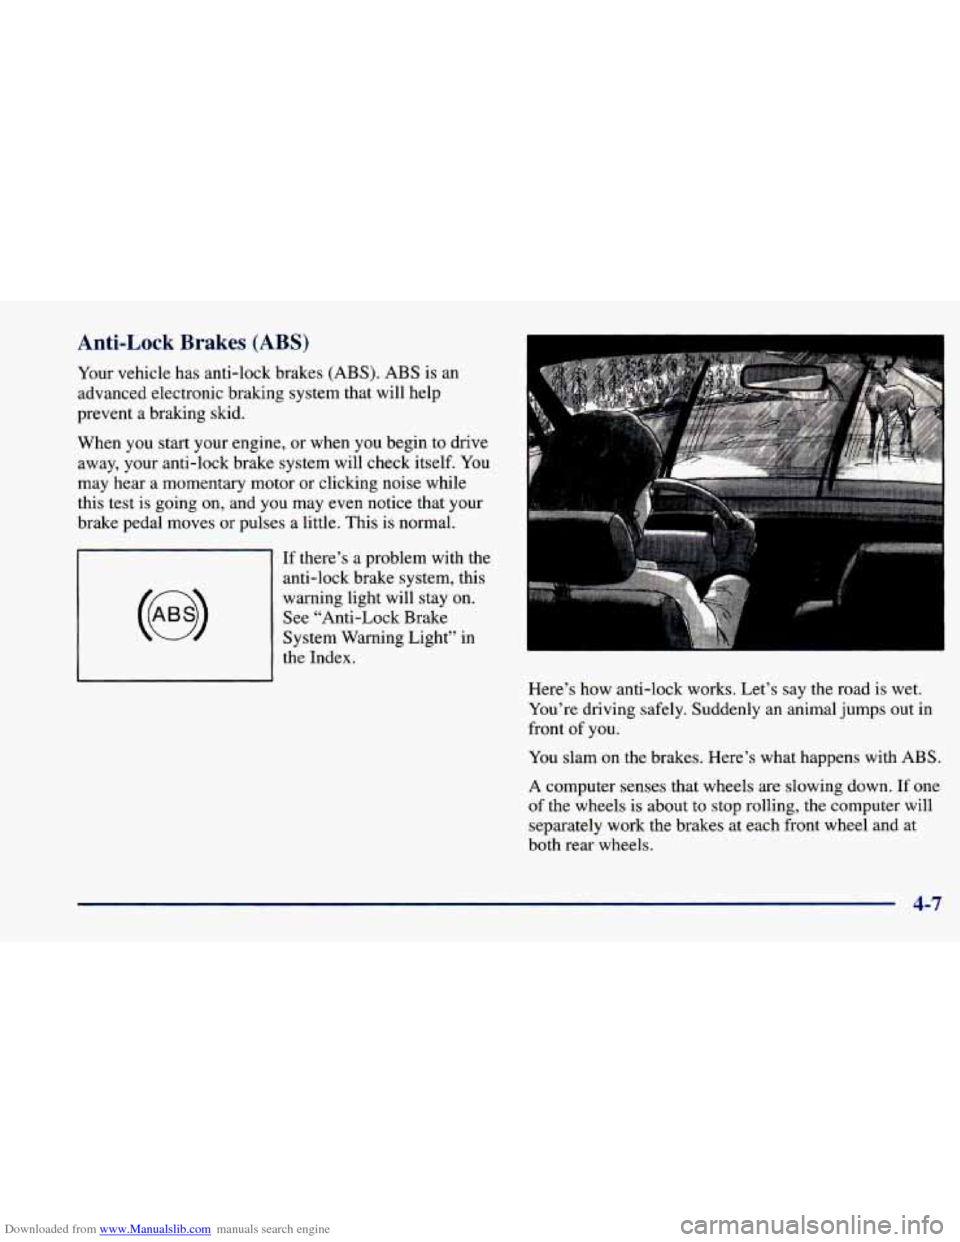
Here’s how anti-lock works. Let’s say the road is wet.
You’re driving safely. Suddenly an animal jumps out in
front
of you.
You slam on the brakes. Here’s what happens with ABS.
A computer senses that wheels are slowing down. If one
of the wheels is about to stop rolling, the computer will
separately work the brakes at each front wheel and at
both rear wheels.
4-7
Page 194 of 400
Downloaded from www.Manualslib.com manuals search engine Loss of Control
Let’s review what driving experts say about what
happens when the three control systems (brakes, steering
and acceleration) don’t have enough friction where the
tires meet the road to do what the driver has asked.
In any emergency, don’t give up. Keep trying to
steer and constantly seek an escape route or area of
less danger.
Skidding
In a skid, a driver can lose control of the vehicle.
Defensive drivers avoid most skids by taking reasonable
care suited to existing conditions, and by not “overdriving”
those conditions. But skids
are always possible.
The three types of skids correspond to your vehicle’s
three control systems. In the braking skid, your wheels
aren’t rolling. In the steering or cornering skid, too
much speed or steering in a curve causes tires to slip and
lose cornering force. And in the acceleration skid, too
much throttle causes the driving wheels to spin,
A cornering skid is best handled by easing your foot off
the accelerator pedal.
If you have the Enhanced Traction System, remember:
It
helps avoid only the acceleration skid.
If you do not have the Enhanced Traction System, or if
the transaxle shift lever is not in the OVERDRIVE (0)
position, then an acceleration skid is also best handled
by easing your foot off the accelerator pedal.
If your vehicle starts to slide, ease your foot off the
accelerator pedal and quickly steer the way you want the
vehicle to go.
If you start steering quickly enough, your
vehicle may straighten out. Always be ready
for a
second skid if it occurs.
Of course, traction is reduced when water, snow, ice,
gravel or other material is on the road. For safety, you’ll
want to slow down and adjust your driving to these
conditions. It is important to slow down on slippery
surfaces because stopping distance will be longer and
vehicle control more limited.
While driving on a surface with reduced traction, try
your best to avoid sudden steering, acceleration or
braking (including engine braking by shifting to a lower
gear). Any sudden changes could cause the tires to
slide. You may not realize the surface is slippery until
your vehicle is skidding. Learn
to recognize warning
clues
-- such as enough water, ice or packed snow on
the road
to make a “mirrored surface” -- and slow down
when you have any doubt.
Remember: Any anti-lock brake system (ABS) helps
avoid only the braking
skid.
4-14
Page 219 of 400
Downloaded from www.Manualslib.com manuals search engine Parking on Hills
You really should not park your vehicle, with a trailer
attached, on a hill.
If something goes wrong, your rig
could start to move. People can be injured, and both
your vehicle and the trailer can be damaged.
But
if you ever have to park your rig on a hill, here’s
how to do it:
1.
2.
3.
4.
5.
Apply your regular brakes, but don’t shift into
PARK (P) yet.
Have someone place chocks under the trailer wheels.
When the wheel chocks are in place, release the
regular brakes until the chocks absorb the load.
Reapply the regular brakes. Then apply your parking
brake, and then shift to PARK
(P).
Release the regular brakes.
When You Are Ready to Leave After
Parking on a
Hill
1. Apply your regular brakes and hold the pedal down
while you:
Start your engine;
Shift into a gear; and
Release the parking brake.
2. Let up on the brake pedal.
3. Drive slowly until the trailer is clear of the chocks.
4. Stop and have someone pick up and store the chocks.
4-39
Page 235 of 400
Downloaded from www.Manualslib.com manuals search engine NOTICE:
Do not tow your vehicle from the rear with the
front wheels
on the ground or your transaxle can
be damaged.
Do not tow with sling-type
equipment or rear fascia will be damaged. Use
wheel-lift or car carrier equipment. Additional
ramping may be required for car-carrier
equipment. Use safety chains and wheel straps.
Towing a vehicle over rough surfaces could
damage a vehicle. Damage can occur from vehicle
to ground or vehicle to wheel-lift equipment. To
help avoid damage, install
a towing dolly and
raise vehicle until adequate clearance
is obtained
between the ground and/or wheel-lift equipment.
Do not attach winch cables or J-hooks to
suspension components when using car-carrier
equipment. Always use T-hooks inserted in the
T-hook slots.
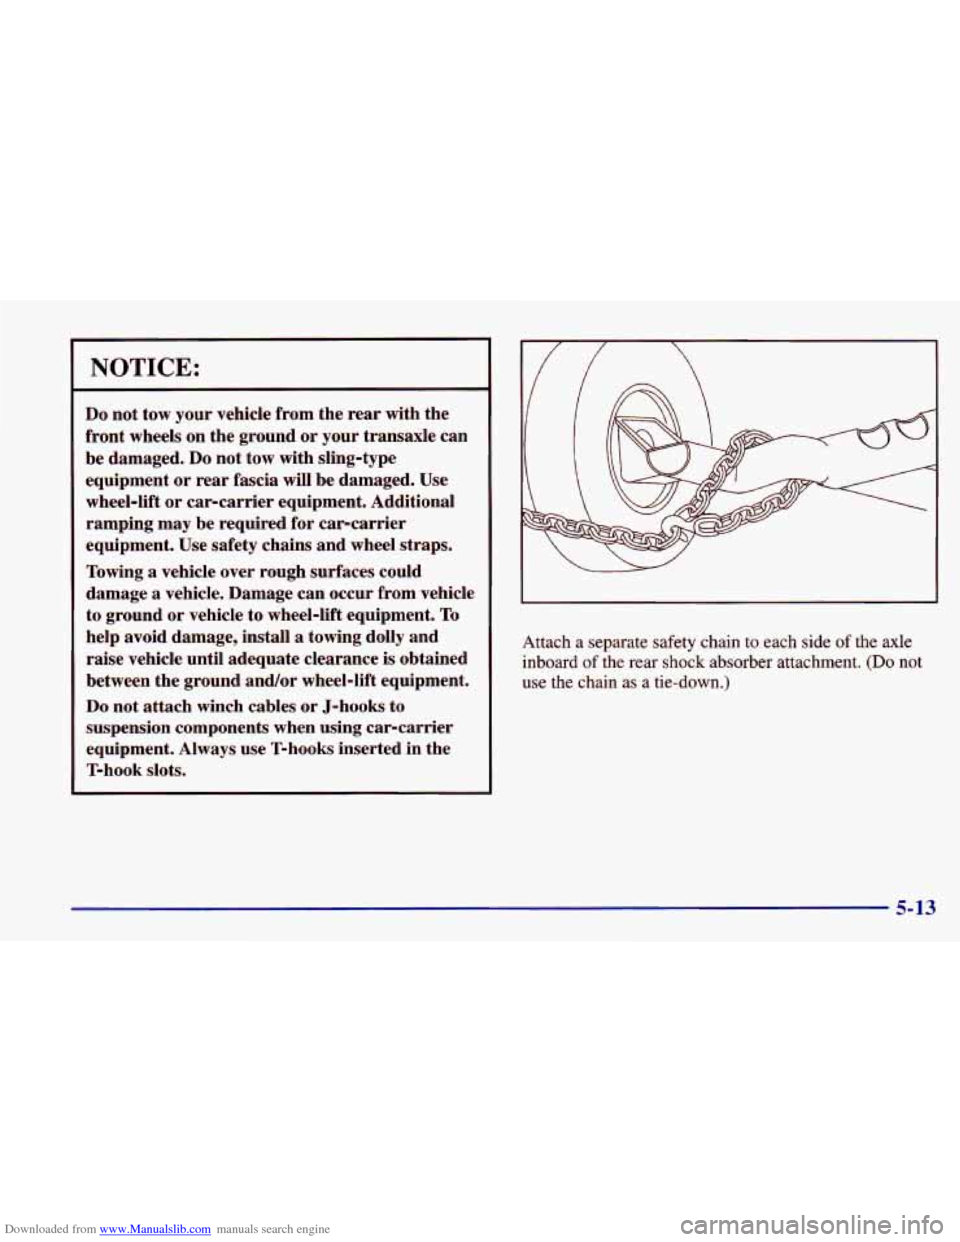
Attach a separate safety chain to each side of the axle
inboard
of the rear shock absorber attachment. (Do not
use the chain
as a tie-down.)
5-13
Page 296 of 400
Downloaded from www.Manualslib.com manuals search engine Back-up Lamps
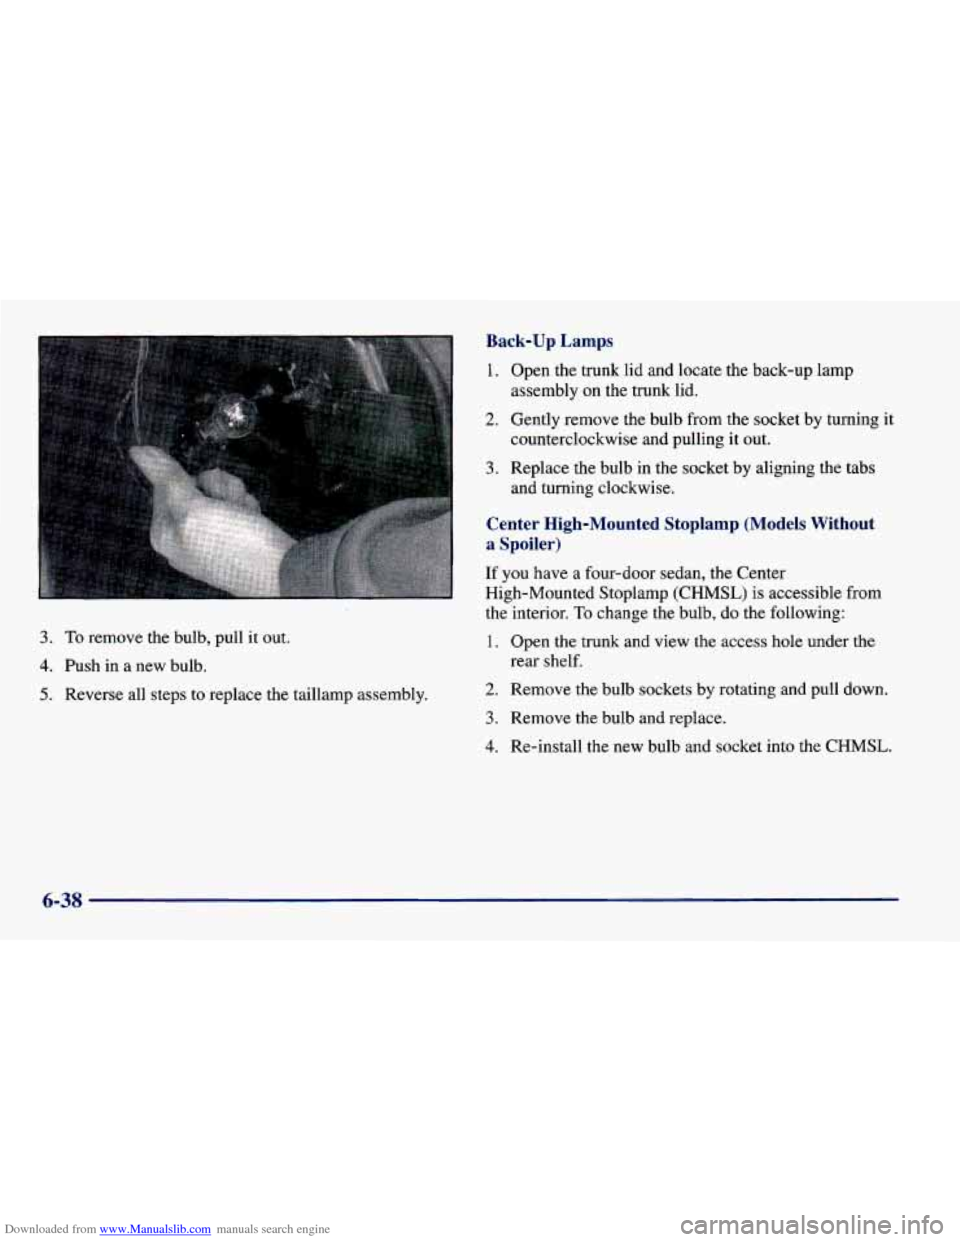
1. Open the trunk lid and locate the back-up lamp
2. Gently remove the bulb from the socket by turning it
assembly on the trunk lid.
counterclockwise and pulling
it out.
3. To remove the bulb, pull it out.
4. Push in a new bulb.
5. Reverse all steps to replace the taillamp assembly.
3. Replace the bulb in the socket by aligning the tabs
and turning clockwise.
Center High-Mounted Stoplamp (Models Without
a Spoiler)
If you have a four-door sedan, the Center
High-Mounted Stoplamp (CHMSL)
is accessible from
the interior.
To change the bulb, do the following:
1. Open the trunk and view the access hole under the
2. Remove the bulb sockets by rotating and pull down.
rear shelf.
3. Remove the bulb and replace.
4. Re-install the new bulb and socket into the CHMSL.
6-38
Page 297 of 400
Downloaded from www.Manualslib.com manuals search engine Center High-Mounted Stoplamp (Models With
a Spoiler)
If you have a two-door coupe, the CHMSL is located on
the spoiler.
To change the bulb, do the following:
1. Use
a Torx screwdriver to unscrew the bulb
assembly from the spoiler.
2. Gently pull out the bulb assembly.
3. Remove the bulb(s) by gently wiggling the bulb
from the assembly.
4. Replace the bulb(s) and reverse these steps to replace
the bulb assembly.
Interior Lamps
Dome Lamp With Integral Reading Lamps
To replace a bulb, do the following:
1. Insert a flat screwdriver into the slot at the rear of
the lens.
2. With the screwdriver, push the tab rearward to
release the lamp lens.
3. Push the lens forward to release the two tabs at the
front
of the lens.
4. Gently remove and replace the bulb(s).
5. Reverse these steps to replace the lens.
Dome Lamp Without Integral Reading Lamps
To replace a bulb, do the following:
1. From the rear of the dome lamp lens, insert a flat
screwdriver between the roof trim and the lens.
2. With the screwdriver, push the tab at the rear of the
3. Pull the lamp lens rearward to release the two lens forward to release the lens.
front tabs.
4. Gently remove and replace the bulb(s).
5. Reverse these steps to replace the lens.
6-39
Page 317 of 400
Downloaded from www.Manualslib.com manuals search engine Fuses and Circuit Breakers
The wiring circuits in your vehicle are protected from
short circuits by a combination of fuses, circuit breakers
and fusible thermal links. This greatly reduces the
chance of damage caused by electrical problems.
Look at the silver-colored band inside the fuse. If the
band is broken or melted, replace the fuse.
Be sure you
replace a bad fuse with a new one of the identical size
and rating.
If you ever have a problem on the road and don’t have a
spare fuse, you can borrow one that has the same
amperage. Just pick some feature of your vehicle that
you can get along without
-- like the radio or cigarette
lighter
-- and use its fuse if it is the correct amperage.
Replace it as soon
as you can.
There are two fuse blocks in your vehicle: the
instrument panel
fuse block and the engine compartment
fuse block.
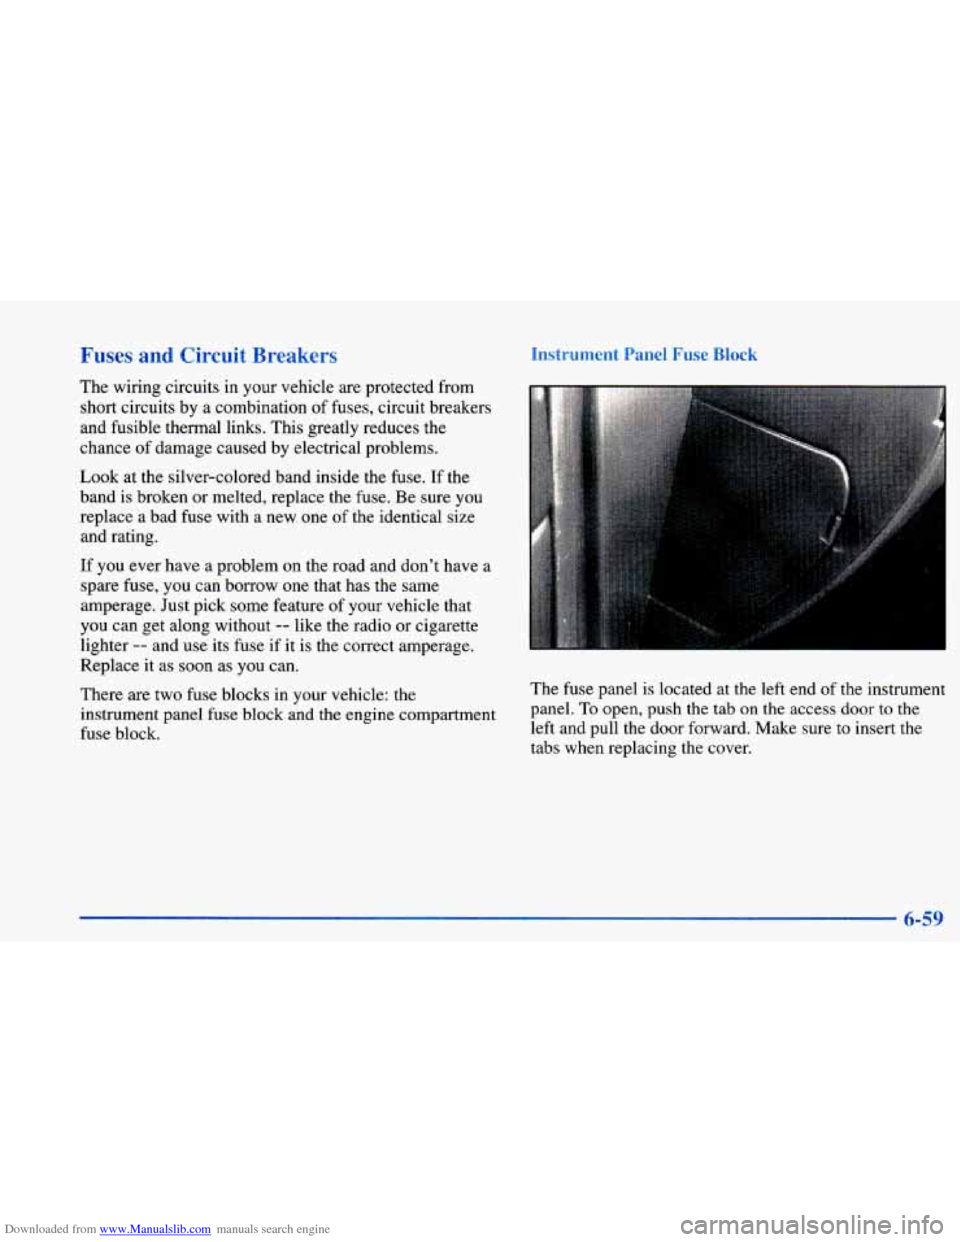
Instrument Panel Fuse Block
The fuse panel is located at the left end of the instrument
panel.
To open, push the tab on the access door to the
left and pull the door forward.
Make sure to insert the
tabs when replacing the cover.
6-59
Page 320 of 400
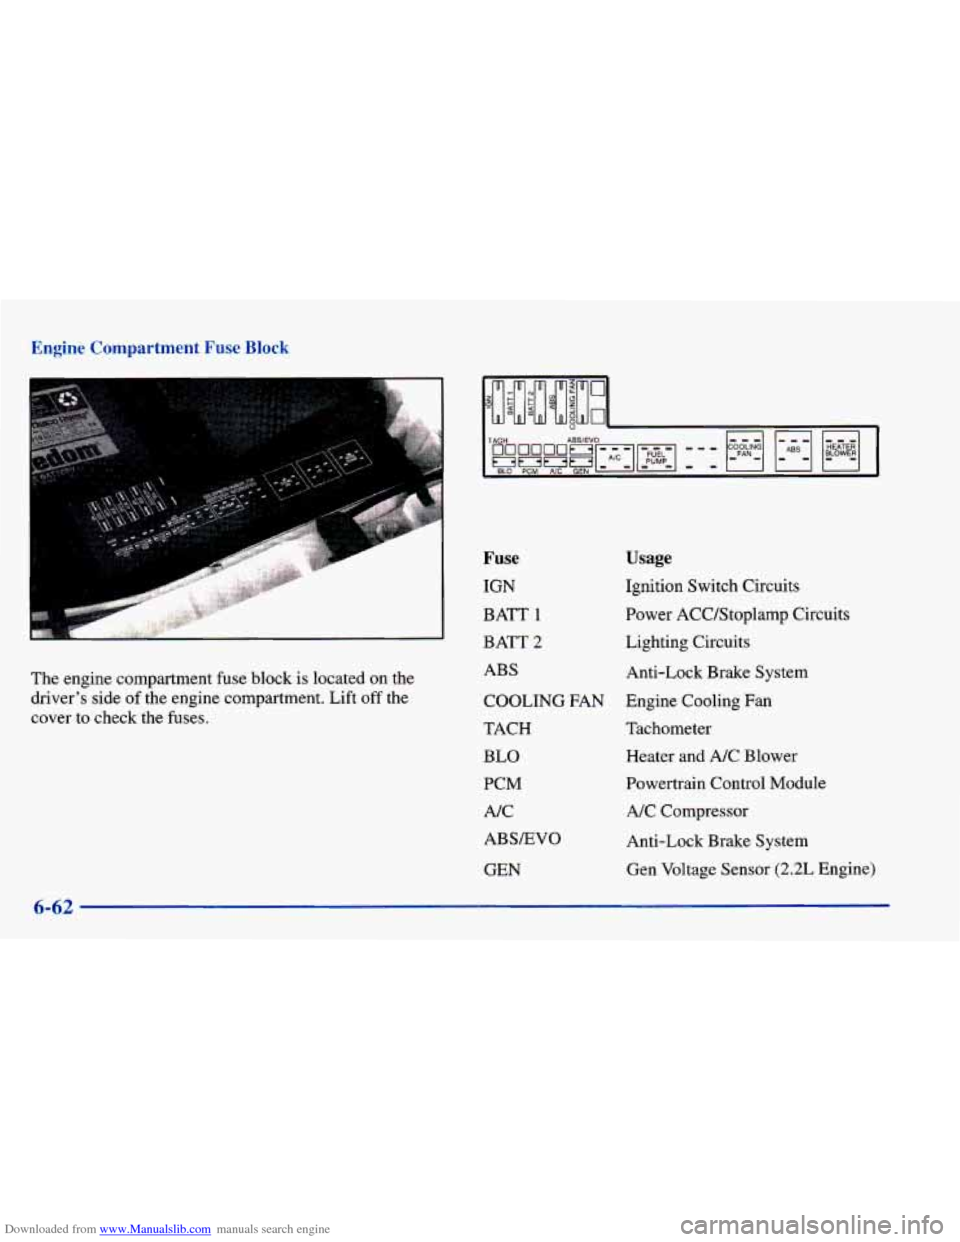
Downloaded from www.Manualslib.com manuals search engine Engine Compartment Fuse Block
The engine compartment fuse block is located on the
driver’s side
of the engine compartment. Lift off the
cover to check the fuses.
Fuse
IGN
BATT 1
BATT 2
ABS
COOLING FAN
TACH
BLO
PCM AIC
ABSEVO
GEN
Usage
Ignition Switch Circuits
Power ACC/Stoplamp Circuits
Lighting Circuits
Anti-Lock Brake System
Engine Cooling Fan
Tachometer
Heater and
A/C Blower
Powertrain Control Module
A/C Compressor
Anti-Lock Brake System
Gen Voltage Sensor (2.2L Engine)
6-62