traction control CHEVROLET CAVALIER 1998 3.G Owners Manual
[x] Cancel search | Manufacturer: CHEVROLET, Model Year: 1998, Model line: CAVALIER, Model: CHEVROLET CAVALIER 1998 3.GPages: 400, PDF Size: 20.74 MB
Page 113 of 400
Downloaded from www.Manualslib.com manuals search engine Cruise control can be dangerous where you
can’t drive safely
at a steady speed. So,
don’t use your cruise control on winding
roads or in heavy traffic.
slippery roads. On such roads,
fast changes
in tire traction can cause needless wheel
spinning, and you could lose control. Don’t
use cruise control on slippery roads.
Cruise control can be dangerous on
Setting Cruise Control
If you leave your cruise control switch on when
you’re not using cruise,
you might hit a button
and
go into cruise when you don’t want to. You
could be startled and even lose control. Keep the
cruise control switch
off until you want to use it.
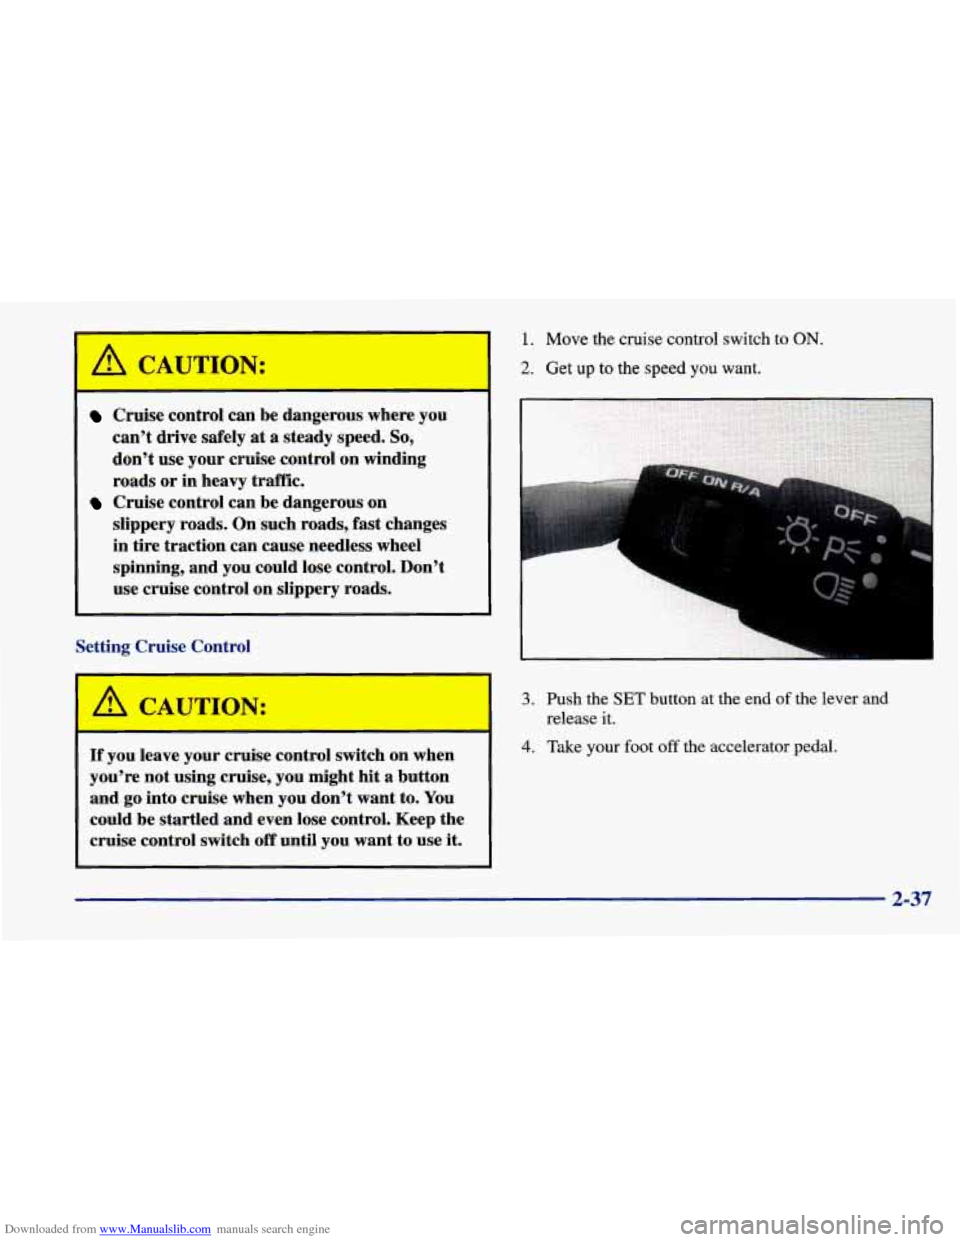
1. Move the cruise control switch to ON.
2. Get up to the speed you want.
3. Push the SET button at the end of the lever and
release it.
4. Take your foot off the accelerator pedal.
2-37
Page 145 of 400
Downloaded from www.Manualslib.com manuals search engine Enhanced Traction System Warning Light
(If Equipped)
ETS
OFF
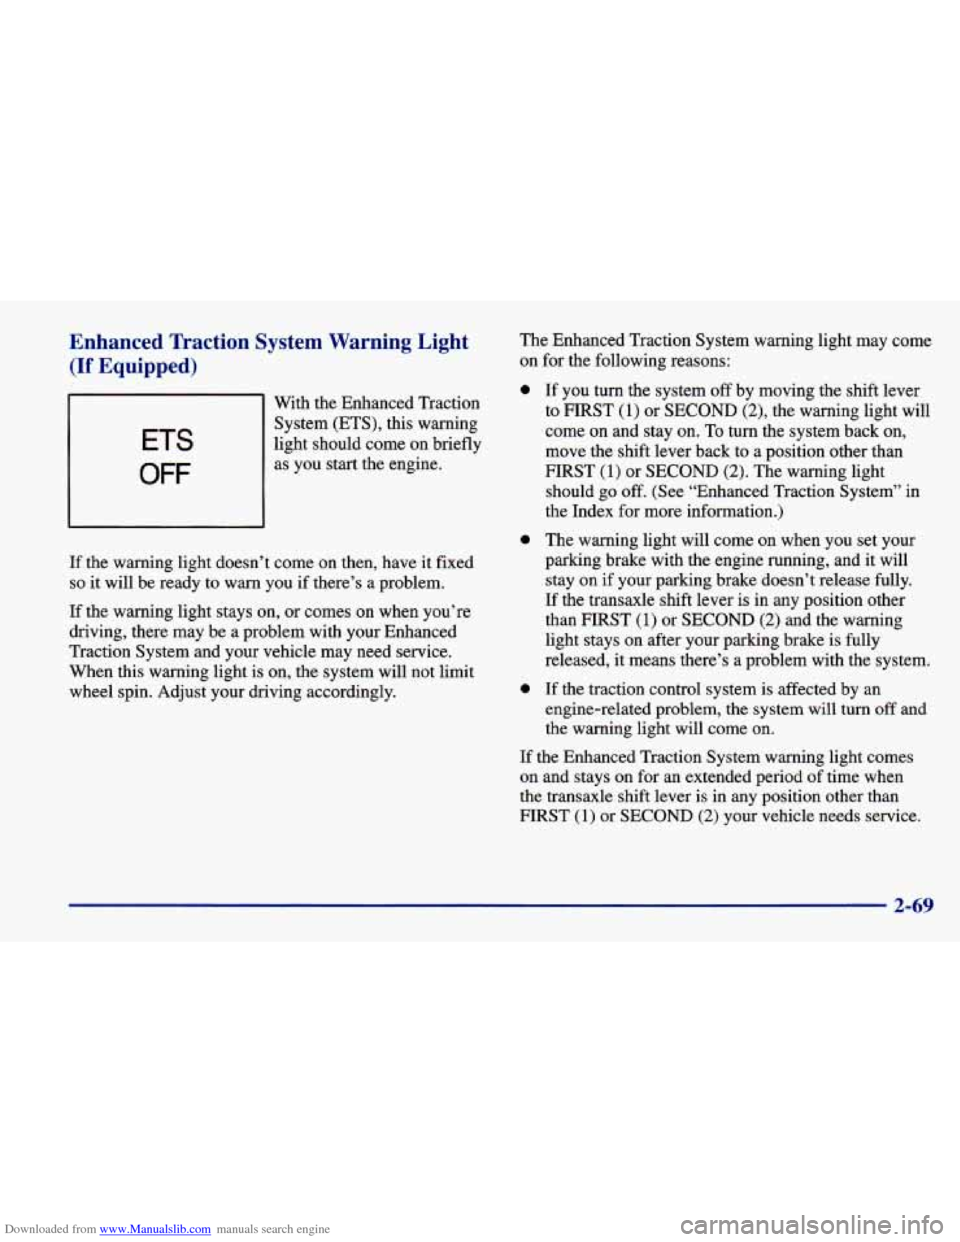
With the Enhanced Traction
System (ETS), this warning
light should come on briefly
as you start the engine.
If the warning light doesn’t come on then, have it fixed
so it will be ready to warn you if there’s a problem.
If the warning light stays on, or comes on when you’re
driving, there may be a problem with your Enhanced
Traction System and your vehicle may need service.
When this warning light is on, the system will not limit
wheel spin. Adjust your driving accordingly. The
Enhanced Traction System warning light may come
on for the following reasons:
0
a
0
If you turn the system off by moving the shift lever
to FIRST (1) or
SECOND (2), the warning light will
come on and stay on. To turn the system back on,
move the shift lever back to a position other than
FIRST
(1) or SECOND (2). The warning light
should
go off. (See “Enhanced Traction System” in
the Index for more information.)
The warning light will come on when you set your
parking brake with the engine running, and it will
stay
on if your parking brake doesn’t release fully.
If the transaxle shift lever is in any position other
than FIRST
(1) or SECOND (2) and the warning
light stays on after your parking brake is fully
released, it means there’s a problem with the system.
If the traction control system is affected by an
engine-related problem, the system will turn
off and
the warning light will come on.
If the Enhanced Traction System warning light comes
on and stays on for an extended period of time when
the transaxle shift lever is in any position other than
FIRST
(1) or SECOND (2) your vehicle needs service.
2-69
Page 188 of 400
Downloaded from www.Manualslib.com manuals search engine The anti-lock system can change the brake pressure faster
than
any driver could. The computer is programmed to
make the
most of available tire and road conditions.
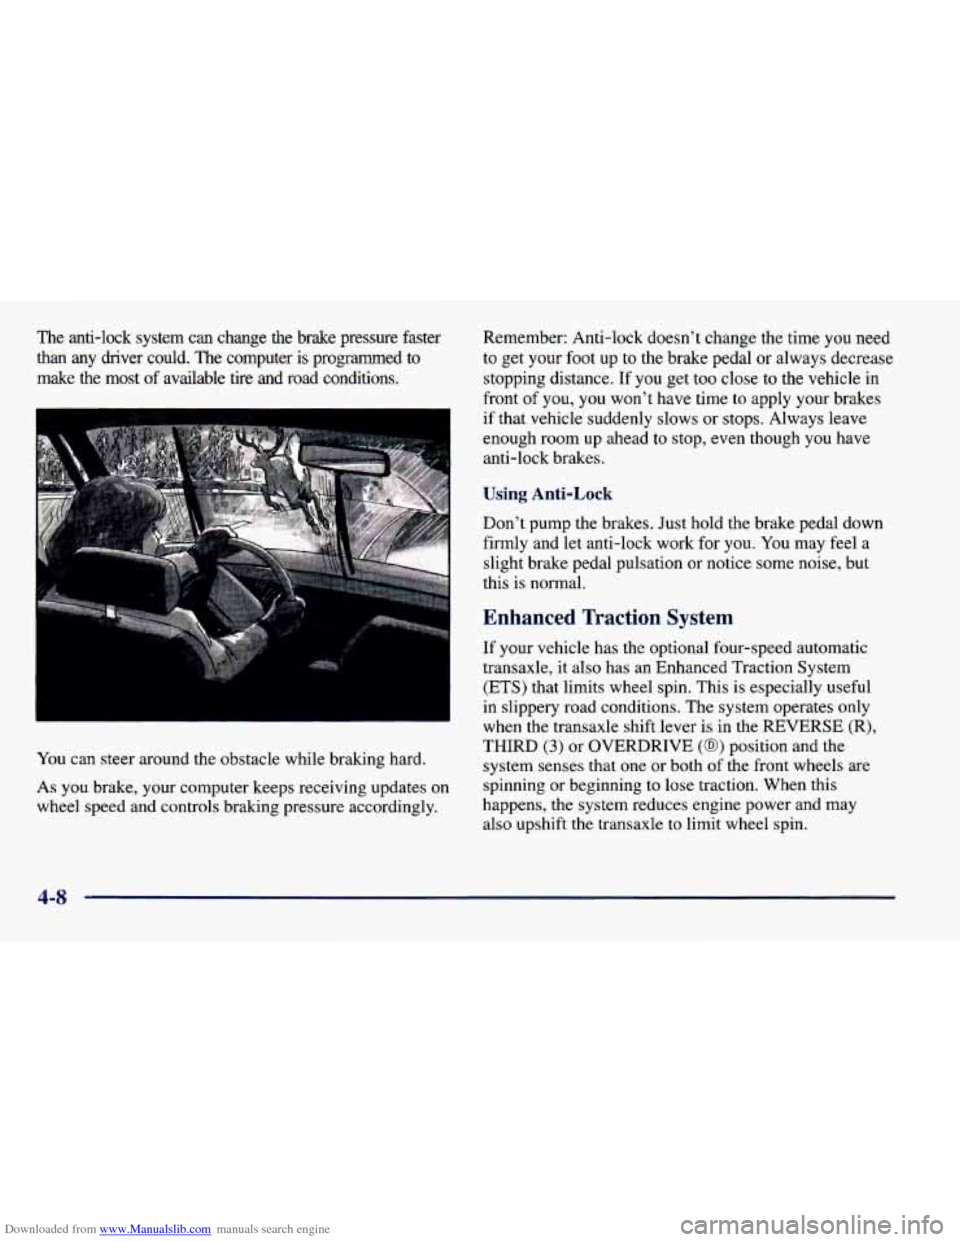
You can steer around the obstacle while braking hard.
As you brake, your computer keeps receiving updates on
wheel speed and controls braking pressure accordingly. Remember:
Anti-lock doesn’t change the time
you need
to get your foot up to the brake pedal or always decrease
stopping distance. If you get too close to the vehicle in
front
of you, you won’t have time to apply your brakes
if that vehicle suddenly slows or stops. Always leave
enough room up ahead to stop, even though you have
anti-lock brakes.
Using Anti-Lock
Don’t pump the brakes. Just hold the brake pedal down
firmly and let anti-lock work
for you. You may feel a
slight brake pedal pulsation or notice some noise, but
this
is normal.
Enhanced Traction System
If your vehicle has the optional four-speed automatic
transaxle, it also has an Enhanced Traction System
(ETS) that limits wheel spin. This is especially useful
in slippery road conditions. The system operates only
when the transaxle shift lever
is in the REVERSE (R),
THIRD (3) or OVERDRIVE (@) position and the
system senses that one or both of the front wheels are
spinning or beginning to lose traction. When this
happens, the system reduces engine power and may
also upshift the transaxle
to limit wheel spin.
4-8
Page 190 of 400
Downloaded from www.Manualslib.com manuals search engine Braking in Emergencies
With anti-lock, you can steer and brake at the same
time. In many emergencies, steering can help you more
than even the very best braking.
Steering
Power Steering
If you lose power steering assist because the engine
stops or the system is not functioning, you can steer but
it will take much more effort.
Steering Tips
Driving on Curves
It’s important to take curves at a reasonable speed.
A lot of the “driver lost control” accidents mentioned on
the news happen on curves. Here’s why:
Experienced driver or beginner, each
of us is subject to
the same laws of physics when driving
on curves. The
traction
of the tires against the road surface makes it
possible for the vehicle to change its path when
you turn
the front wheels. If there’s no traction, inertia will keep
the vehicle going in the same direction.
If you’ve ever
tried
to steer a vehicle on wet ice, you’ll understand this. The
traction you can get in a curve depends
on the
condition
of your tires and the road surface, the angle at
which the curve is banked, and your speed. While you’re
in a curve, speed is the one factor you can control.
Suppose you’re steering through a sharp curve. Then you
suddenly accelerate. Both control systems
-- steering and
acceleration
-- have to do their work where the tires meet
the road. Adding the sudden acceleration can demand too
much of those places. You can lose control. Refer to
“Enhanced Traction System” in the Index.
What should
you do if this ever happens? Ease up on the
accelerator pedal, steer the vehicle the way you want it
to go, and slow down.
Speed limit signs near curves warn that you should
adjust your speed. Of course, the posted speeds are
based on good weather and road conditions. Under less
favorable conditions you’ll want to go slower.
If you need to reduce your speed as
you approach a
curve, do it before you enter the curve, while your front
wheels are straight ahead.
Try
to adjust your speed so you can “drive” through the
curve. Maintain a reasonable, steady speed. Wait to
accelerate
until you are out of the curve, and then
accelerate gently into the straightaway.
4-10
Page 194 of 400
Downloaded from www.Manualslib.com manuals search engine Loss of Control
Let’s review what driving experts say about what
happens when the three control systems (brakes, steering
and acceleration) don’t have enough friction where the
tires meet the road to do what the driver has asked.
In any emergency, don’t give up. Keep trying to
steer and constantly seek an escape route or area of
less danger.
Skidding
In a skid, a driver can lose control of the vehicle.
Defensive drivers avoid most skids by taking reasonable
care suited to existing conditions, and by not “overdriving”
those conditions. But skids
are always possible.
The three types of skids correspond to your vehicle’s
three control systems. In the braking skid, your wheels
aren’t rolling. In the steering or cornering skid, too
much speed or steering in a curve causes tires to slip and
lose cornering force. And in the acceleration skid, too
much throttle causes the driving wheels to spin,
A cornering skid is best handled by easing your foot off
the accelerator pedal.
If you have the Enhanced Traction System, remember:
It
helps avoid only the acceleration skid.
If you do not have the Enhanced Traction System, or if
the transaxle shift lever is not in the OVERDRIVE (0)
position, then an acceleration skid is also best handled
by easing your foot off the accelerator pedal.
If your vehicle starts to slide, ease your foot off the
accelerator pedal and quickly steer the way you want the
vehicle to go.
If you start steering quickly enough, your
vehicle may straighten out. Always be ready
for a
second skid if it occurs.
Of course, traction is reduced when water, snow, ice,
gravel or other material is on the road. For safety, you’ll
want to slow down and adjust your driving to these
conditions. It is important to slow down on slippery
surfaces because stopping distance will be longer and
vehicle control more limited.
While driving on a surface with reduced traction, try
your best to avoid sudden steering, acceleration or
braking (including engine braking by shifting to a lower
gear). Any sudden changes could cause the tires to
slide. You may not realize the surface is slippery until
your vehicle is skidding. Learn
to recognize warning
clues
-- such as enough water, ice or packed snow on
the road
to make a “mirrored surface” -- and slow down
when you have any doubt.
Remember: Any anti-lock brake system (ABS) helps
avoid only the braking
skid.
4-14
Page 302 of 400
Downloaded from www.Manualslib.com manuals search engine 0 The tread or sidewall is cracked, cut or snagged deep
enough to
show cord or fabric.
0 The tire has a bump, bulge or split.
0 The tire has a puncture, cut or other damage that
can’t be repaired well because of the size or location
of the damage.
Buying New Tires
To find out what kind and size of tires you need, look at
the Tire-Loading Information label.
The tires installed on your vehicle when it was new had
a Tire Performance Criteria Specification (TPC Spec)
number on each tire’s sidewall. When you get new tires,
get ones with that same
TPC Spec number. That way
your vehicle will continue to have tires that are designed
to give proper endurance, handling, speed rating,
traction, ride and other things during normal service on your vehicle. If your tires have an all-season tread
design, the TPC number will be followed by an
“MS”
(for mud and snow).
If you ever replace your tires with those not having a
TPC Spec number, make sure they are the same size,
load range, speed rating and construction type (bias,
bias-belted or radial) as your original tires.
Mixing tires could cause you to lose control while
driving.
If you mix tires of different sizes or types
(radial and bias-belted tires), the vehicle may not
handle properly, and you could have
a crash.
Using tires of different sizes may also cause
damage to your vehicle. Be sure to use the same
size and type tires on all wheels.
It’s all right to drive with your compact spare,
though. It was developed for use on your vehicle.
If you use bias-ply tires on your vehicle, the
wheel rim flanges could develop cracks after
many miles
of driving. A tire and/or wheel could
fail suddenly, causing a crash. Use only radial-ply
tires with the wheels on your vehicle.
1
6-44
Page 303 of 400
Downloaded from www.Manualslib.com manuals search engine Uniform Tire Quality Grading
The following information relates to the system developed
by the United States National Highway Traffic Safety Administration, which grades tires by treadwear, traction
and temperature performance.
(This applies only to
vehicles sold in the United States.) The grades are molded
on the sidewalls of most passenger car tires. The Uniform
Tire Quality Grading system does not apply to deep tread, winter-type snow tires, space-saver or temporary use spare
tires, tires with nominal rim diameters of 10 to
12 inches
(25 to 30 cm), or to some limited-production tires.
While the tires available on General Motors passenger
cars and light trucks may vary with respect to these grades, they must also conform to Federal safety
requirements and additional General Motors Tire
Performance Criteria (TPC) standards.
Treadwear
The treadwear grade is a comparative rating based on
the wear rate of the tire when tested under controlled
conditions on a specified government test course. For
example, a tire graded 150 would wear one and
a half
(1
1/2) times as well on the government course as a tire
graded
100. The relative performance of tires depends
upon the actual conditions of their use, however, and
may depart significantly from the norm due to variations in driving habits, service practices and differences in
road characteristics and climate.
Traction -- A, B, C
The traction grades, from highest to lowest, are A, B, and
C,
and they represent the tire’s ability to stop on wet
pavement as measured under controlled conditions on specified government test surfaces
of asphalt and concrete.
A tire marked
C may have poor traction performance.
Warning: The traction grade assigned to this tire is based
on braking (straight ahead) traction tests and does not include cornering (turning) traction.
Temperature -- A, B, C
The temperature grades are A (the highest), B, and C,
representing the tire’s resistance to the generation of
heat and its ability to dissipate heat when tested under
controlled conditions on
a specified indoor laboratory
test wheel. Sustained high temperature can cause the
material of the tire to degenerate and reduce tire life, and
excessive temperature can lead to sudden tire failure.
The grade C corresponds to a level of performance
which all passenger car tires must meet under the
Federal Motor Vehicle Safety Standard
No. 109. Grades
B and A represent higher levels of performance on the
laboratory test wheel than the minimum required by law.
6-45
Page 388 of 400

Downloaded from www.Manualslib.com manuals search engine Ignition Positions .............................. 2- 13
Ignition Transaxle Lock Check
.................... 7-33
Illuminated Entry
............................... 2-43
Inflation. Tire
.................................. 6-41
Inside Daymight Rearview Mirror
................. 2-45
Inspections
.................................... 7-35
Brake System
................................ 7-36
CaliperIKnuckle
.............................. 7-36
Engine Cooling System
........................ 7-35
Exhaust System
.............................. 7-35
Front-Wheel-Drive Axle Boot
.................. 7-35
Front-Wheel-Drive Axle Seal
................... 7-35
Steering
.................................... 7-35
Suspension
.................................. 7-35
Throttle System
.............................. 7-35
Installing the Boot
.............................. 2-51
Instrumentpanel
............................... 2-60
Cleaning
.................................... 6-50
Cluster ................................ 2-62. 2-63
FuseBlock
.................................. 6-59
Intensity Control
............................. 2-43
Intensity Control
............................... 2-43
Interior Lamps
................................. 2-43
Bulb Replacement
............................ 6-39
Jack. Tire
.................................... 5-25
Jump Starting
................................... 5-3
Key Lock Cylinders Service
..................... 7-32
Key Release Button
............................. 2- 15 Keyless Entry
System
............................ 2-6
Keys
.......................................... 2-2
Labels
....................................... 4-31
Certification
................................. 4-31
Service Parts Identification
..................... 6-57
Tire-Loading Information
...................... 4-31
Vehicle Identification Number
................... 6-57
Lamps
........................................ 2-40
Exterior
.................................... 2-40
FrontReading
................................ 2-44
Interior
..................................... 2-43
OnReminder
................................ 2-40
Latches, Seatback
................................ 1-5
Leaving Your Vehicle
............................. 2-6
Leaving Your Vehicle with the Engine Running
....... 2-28
Lighter
....................................... 2-48
Lights
Air Bag Readiness
....................... 1-23, 2-66
Anti-Lock Brake System Warning
............ 2-68, 4-7
Brake System Warning
......................... 2-67
Charging System
............................. 2-67
CheckEngine
................................ 2-71
Enhanced Traction System Active
............ 2-70, 4-9
Enhanced Traction System Warning Light ..... 2-69, 4-9
ETS Active .............................. 2-70, 4-9
ETS Warning
............................ 2-69, 4-9
Interior
..................................... 2-43
Fog
........................................ 2-42
Map
....................................... 2-44
CheckGages
................................ 2-76
9-6