seat adjustment CHEVROLET CAVALIER 2004 3.G Owners Manual
[x] Cancel search | Manufacturer: CHEVROLET, Model Year: 2004, Model line: CAVALIER, Model: CHEVROLET CAVALIER 2004 3.GPages: 354, PDF Size: 2.42 MB
Page 95 of 354

Outside Convex Mirror
Your passenger’s side mirror is convex. A convex
mirror’s surface is curved so you can see more from the
driver’s seat.
{CAUTION:
A convex mirror can make things (like other
vehicles) look farther away than they really are.
If you cut too sharply into the right lane, you
could hit a vehicle on your right. Check your
inside mirror or glance over your shoulder
before changing lanes.
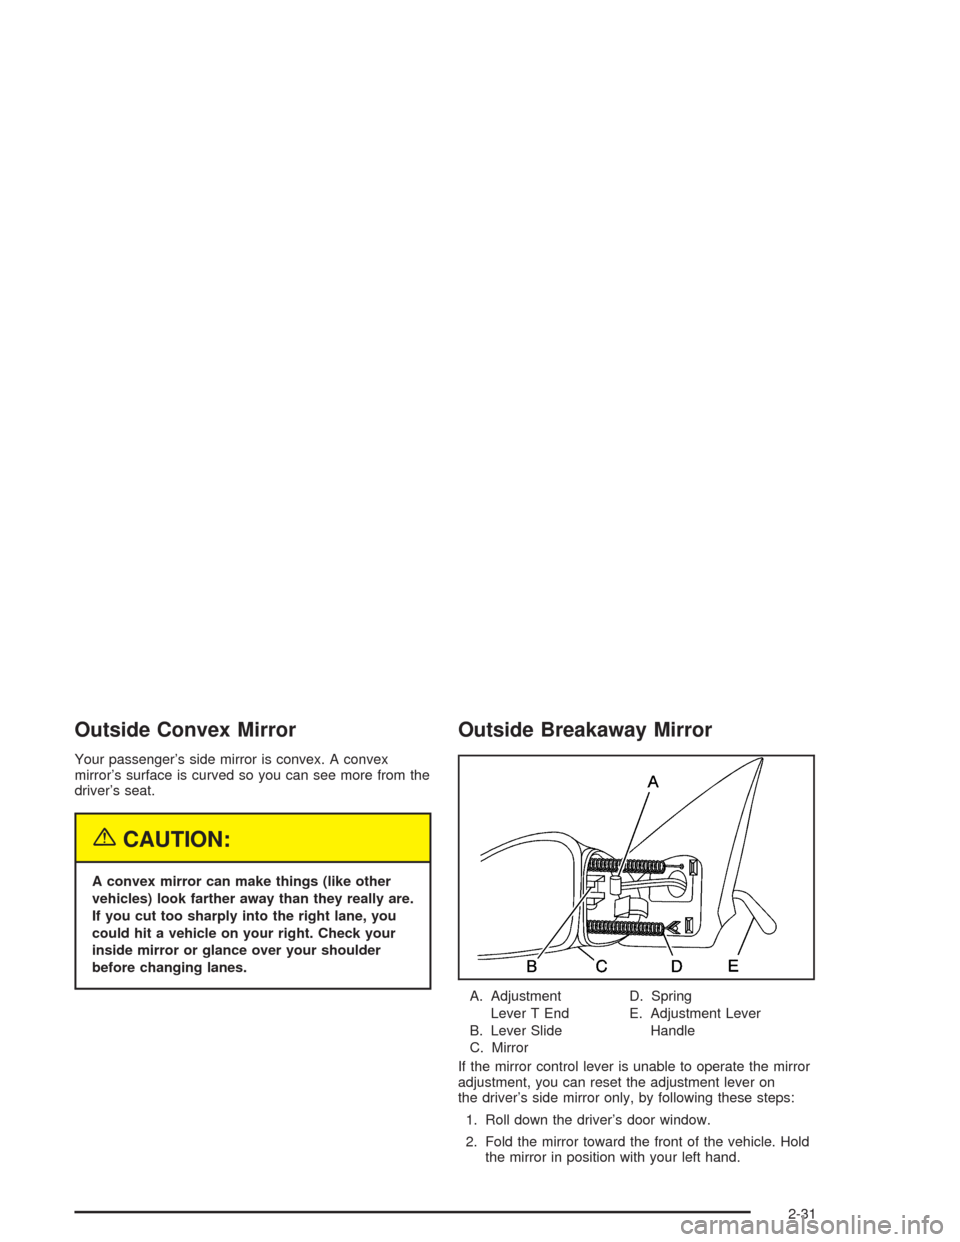
Outside Breakaway Mirror
A. Adjustment
Lever T End
B. Lever Slide
C. MirrorD. Spring
E. Adjustment Lever
Handle
If the mirror control lever is unable to operate the mirror
adjustment, you can reset the adjustment lever on
the driver’s side mirror only, by following these steps:
1. Roll down the driver’s door window.
2. Fold the mirror toward the front of the vehicle. Hold
the mirror in position with your left hand.
2-31
Page 96 of 354

3. With your right hand move the adjustment lever
handle, located inside the vehicle, in order to
align the T end of the lever with the lever slide.
4. Fold the mirror back to the original position in order
to engage the T end of the lever with the lever slide.
5. Make sure the mirror housing is fully seated to
its base.
OnStar®System
Your vehicle may have this feature. OnStar®uses
global positioning system (GPS) satellite technology,
wireless communications, and state of the art call
centers to provide you with a wide range of safety,
security, information and convenience services.
A complete OnStar
®user’s guide and the terms and
conditions of the OnStar®Subscription Service
Agreement are included in your OnStar®-equipped
vehicle’s glove box literature. For more information, visit
www.onstar.com, contact OnStar
®at 1-888-4-ONSTAR(1-888-466-7827), or press the blue OnStar
®button to
speak to an OnStar®advisor 24 hours a day, 7 days
a week.
A completed Subscription Service Agreement is required
prior to delivery of OnStar
®services and prepaid
calling minutes are also required for OnStar®Personal
Calling and OnStar®Virtual Advisor use. Terms and
conditions of the Subscription Service Agreement can be
found at www.onstar.com.
OnStar®Services
One of the following plans is normally included for a
speci�c duration with each vehicle equipped with
OnStar
®. You can upgrade or extend your OnStar®
service plan to meet your needs.
Safe and Sound Plan
Automatic Noti�cation of Air Bag Deployment
Emergency Services
Roadside Assistance
Stolen Vehicle Assistance
AccidentAssist
Remote Door Unlock
Remote Diagnostics
Online Concierge
2-32
Page 117 of 354

Rear Window Defogger
The rear window defogger uses a warming grid to
remove fog from the rear window.
The rear window defogger will only work when the
ignition is in RUN.
<(Rear):Press the button to turn the rear window
defogger on or off. Be sure to clear as much snow from
the rear window as possible. An indicator light above
the button will come on to let you know that the
rear window defogger is activated.
The rear window defogger will turn off about 10 minutes
after the button is pressed. If turned on again, the
defogger will only run for about �ve minutes before
turning off. The defogger can also be turned off
by pressing the button again or by turning off the engine.
Notice:Don’t use anything sharp on the inside of
the rear window. If you do, you could cut or damage
the warming grid, and the repairs wouldn’t be
covered by your warranty. Do not attach a temporary
vehicle license, tape, a decal or anything similar
to the defogger grid.
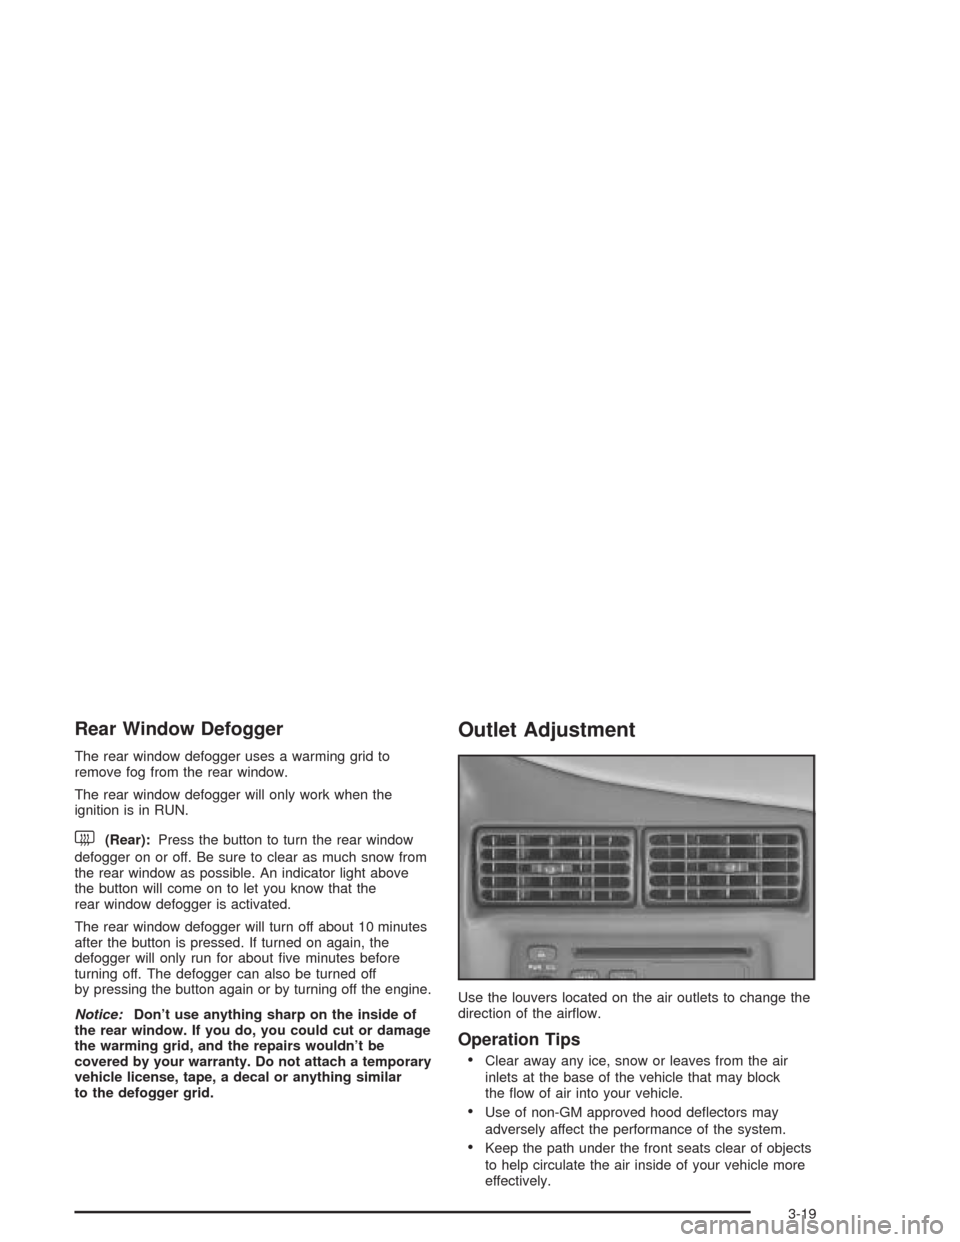
Outlet Adjustment
Use the louvers located on the air outlets to change the
direction of the air�ow.
Operation Tips
Clear away any ice, snow or leaves from the air
inlets at the base of the vehicle that may block
the �ow of air into your vehicle.
Use of non-GM approved hood de�ectors may
adversely affect the performance of the system.
Keep the path under the front seats clear of objects
to help circulate the air inside of your vehicle more
effectively.
3-19
Page 341 of 354

Care of
Safety Belts................................................5-75
Your CD Player...........................................3-68
Your CDs ...................................................3-68
Cassette Tape Player Service...........................6-18
CD Messages................................3-42, 3-51, 3-66
Center Console Storage Area...........................2-34
Chains, Tires..................................................5-60
Charging System Light....................................3-24
Check
Engine Light...............................................3-29
Gages Warning Light...................................3-33
Check Engine Light.........................................3-29
Checking Coolant............................................5-22
Checking Engine Oil........................................5-13
Checking Things Under the Hood......................5-10
Chemical Paint Spotting...................................5-78
Child Restraints
Child Restraint Systems...............................1-34
Infants and Young Children...........................1-31
Lower Anchorages and Top Tethers for
Children (LATCH System)..........................1-40
Older Children.............................................1-29
Securing a Child Restraint Designed
for the LATCH System..............................1-42
Securing a Child Restraint in a Rear
Seat Position...........................................1-42Child Restraints (cont.)
Securing a Child Restraint in the
Right Front Seat Position..........................1-44
Top Strap...................................................1-38
Top Strap Anchor Location............................1-39
Where to Put the Restraint...........................1-37
Chime Level Adjustment..................................3-68
Cigarette Lighter.............................................3-16
Cleaning
Inside of Your Vehicle..................................5-73
Outside of Your Vehicle................................5-75
Underbody Maintenance...............................5-78
Weatherstrips..............................................5-75
Cleaning Aluminum or Chrome-Plated Wheels.....5-77
Cleaning Exterior Lamps/Lenses.......................5-76
Cleaning Fabric/Carpet....................................5-73
Cleaning Glass Surfaces..................................5-75
Cleaning Interior Plastic Components.................5-74
Cleaning the Top of the Instrument Panel...........5-74
Cleaning Tires................................................5-77
Cleaning Vinyl................................................5-74
Cleaning Windshield and Wiper Blades..............5-76
Climate Control System...................................3-16
Outlet Adjustment........................................3-19
Clutch, Hydraulic.............................................5-19
Compact Spare Tire........................................5-72
Content Theft-Deferrent....................................2-14
3